
Fowler 54-860-114-0
Fowler 54-860-114 Electronic IP54 Ball-Anvil Micrometers
Erabiltzailearen eskuliburua
1. Sarrera
This manual provides essential information for the proper setup, operation, and maintenance of your Fowler 54-860-114 Electronic IP54 Ball-Anvil Micrometer. Designed for precise measurements, this instrument features a digital display, IP54 protection against dust and splashing water, and an RS-232 output for data transfer. Its ball-anvil design is specifically suited for measuring the wall thickness of tubing, pipes, and other curved surfaces.
Please read this manual thoroughly before using the micrometer to ensure accurate measurements and prolong the life of your instrument.
2. Produktua amaitu daview
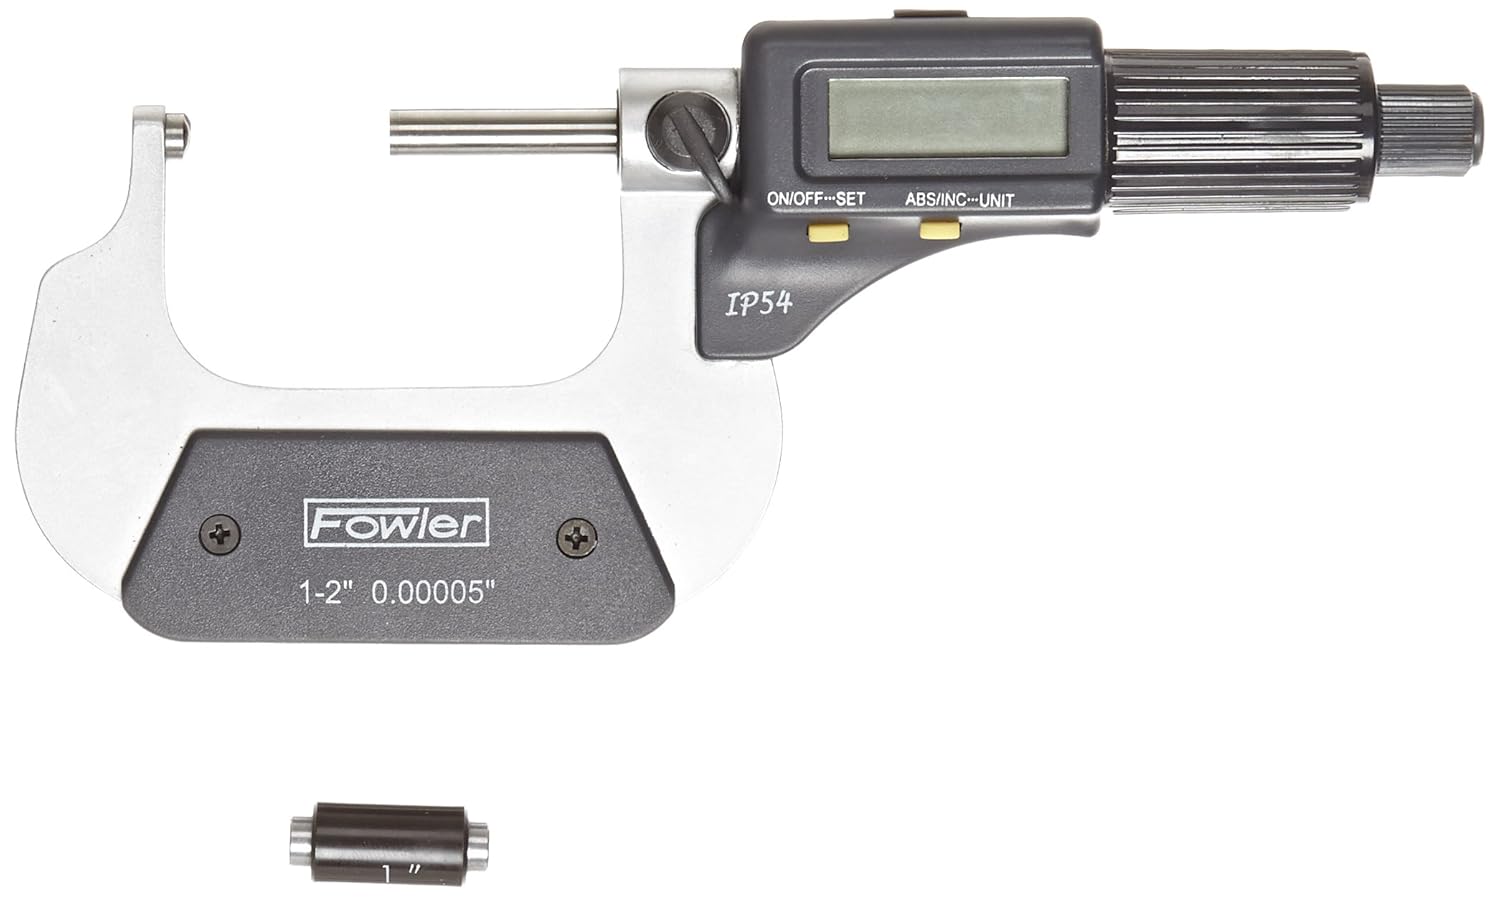
Figure 2.1: The Fowler 54-860-114 Electronic IP54 Ball-Anvil Micrometer. This image shows the main body of the micrometer, including the digital display, control buttons (ON/OFF-SET, ABS/INC-UNIT), the thimble, and the ball-anvil and spindle measuring faces. The IP54 rating is visible on the body.
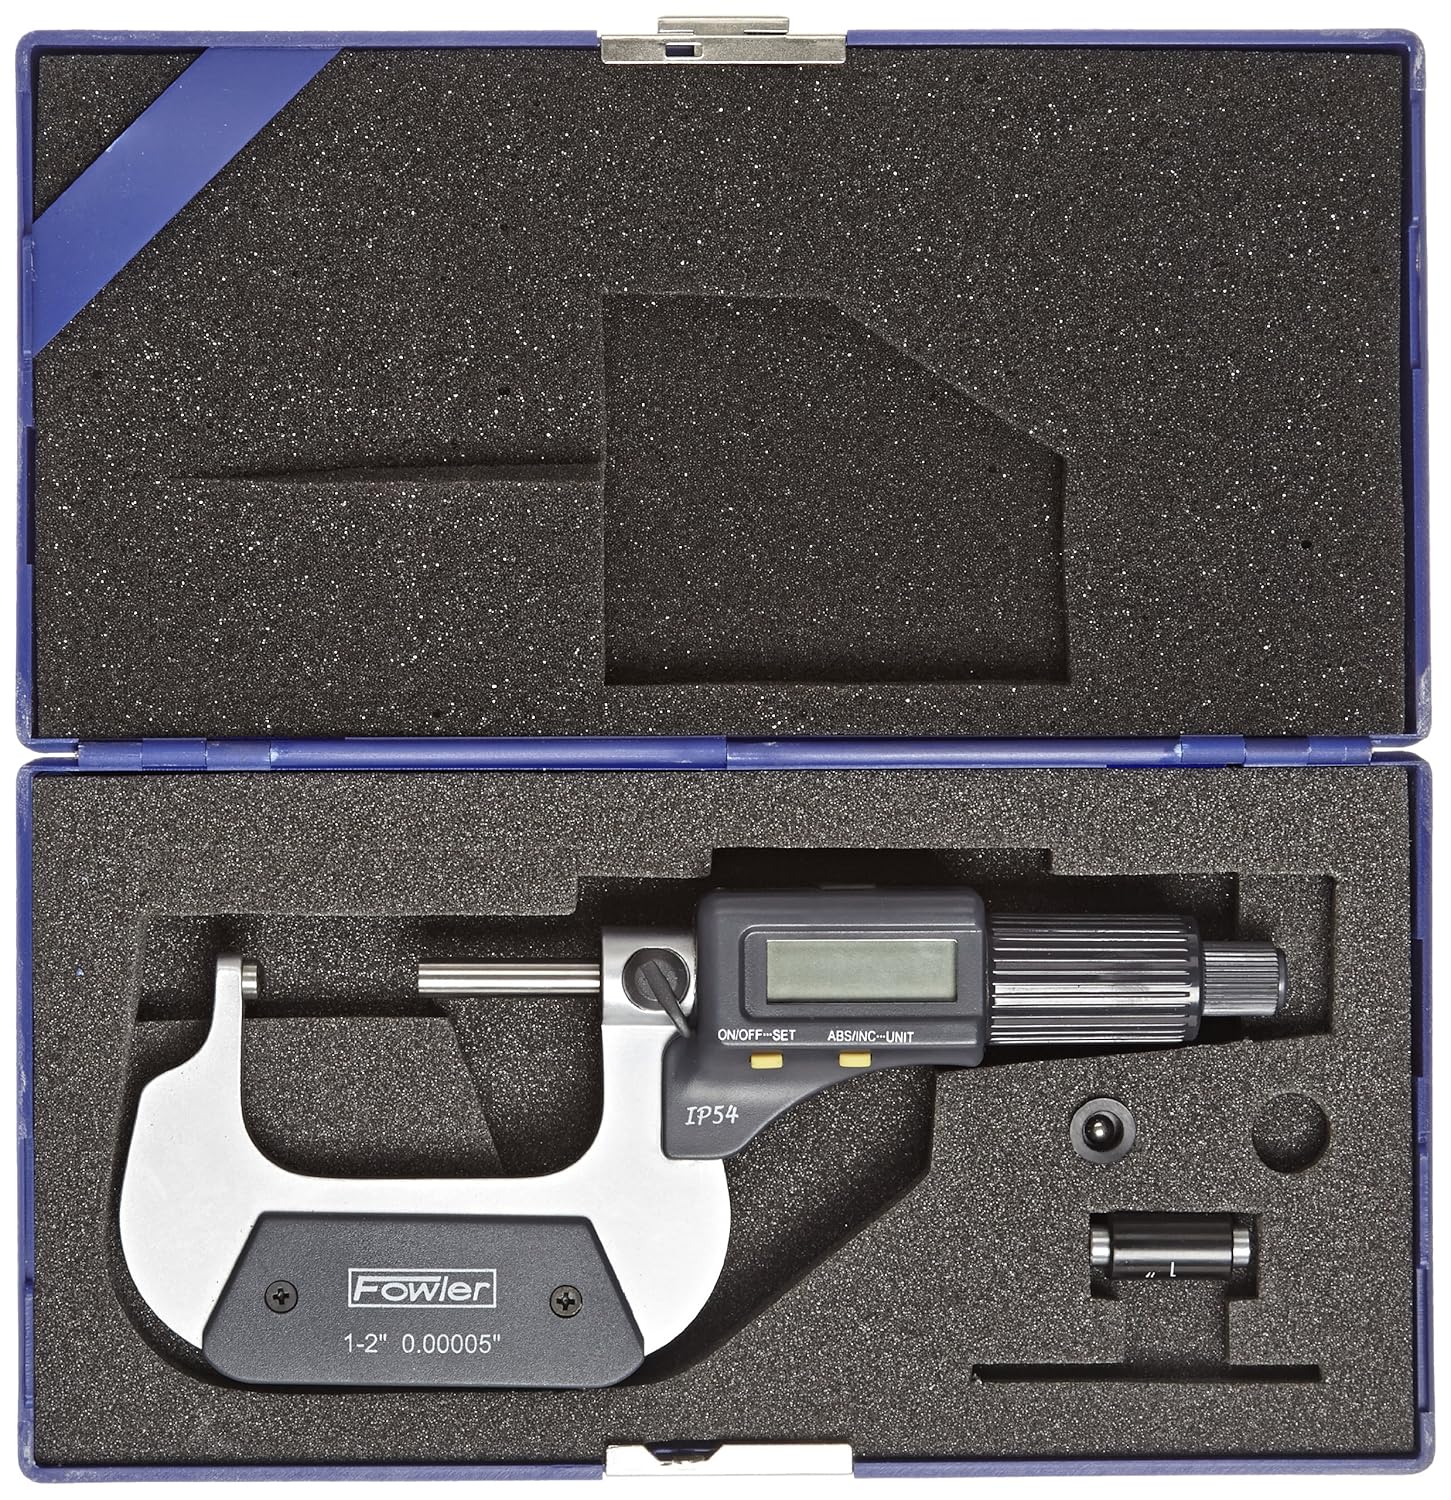
Figure 2.2: The Fowler 54-860-114 Electronic IP54 Ball-Anvil Micrometer stored in its protective carrying case. The case features custom-cut foam inserts to securely hold the micrometer and its accessories, ensuring protection during storage and transport.
3. Konfigurazioa
3.1. Desontziratzea eta ikuskatzea
- Carefully remove the micrometer and all accessories from its protective packaging.
- Inspect the instrument for any signs of damage that may have occurred during shipping. If damage is found, contact your supplier immediately.
- Ensure all components listed in the packing list (micrometer, protective case, battery, calibration standard if included) are present.
3.2. Bateriaren instalazioa
The Fowler 54-860-114 micrometer requires two Lithium Metal batteries funtzionamendurako.
- Locate the battery compartment cover, typically on the side or back of the digital unit.
- Using a small screwdriver or coin, carefully open the battery compartment.
- Insert the two Lithium Metal batteries, ensuring correct polarity (+/-) as indicated inside the compartment.
- Itxi bateriaren konpartimenduaren estalkia ondo.
3.3. Initial Cleaning and Preparation
- Before first use, gently wipe the measuring faces (ball-anvil and spindle) with a clean, lint-free cloth.
- Apply a very thin layer of instrument oil to the spindle and frame to prevent corrosion, especially if storing for extended periods.
4. Funtzionamendu-argibideak
4.1. Power On/Off and Zero Setting
- Sakatu ON/OFF-SET button to turn the micrometer on. The display will illuminate.
- Neurketa-aurpegiak ondo garbitu.
- Gently close the measuring faces until they make contact. Use the ratchet stop or friction thimble to apply consistent measuring force.
- Sakatu ON/OFF-SET button again to set the display to zero. This establishes the absolute zero point.
- To turn off the micrometer, press and hold the ON/OFF-SET botoia pantaila itzali arte.
4.2. Absolute (ABS) and Incremental (INC) Measurement Modes
- Sakatu ABS/INC-UNIT button to toggle between Absolute (ABS) and Incremental (INC) measurement modes.
- In Absolute (ABS) mode, measurements are taken from the established zero point.
- In Incremental (INC) mode, you can set a temporary zero at any point, allowing for comparative measurements. Press ON/OFF-SET while in INC mode to set the current position as zero.
4.3. Unit Conversion (Inch/Metric)
To switch between inch and metric units, press and hold the ABS/INC-UNIT button until the unit changes on the display (e.g., from "in" to "mm" or vice versa).
4.4. Neurketa bat egitea
- Ensure the micrometer is clean and zeroed.
- Open the measuring faces slightly wider than the object to be measured.
- Position the object between the ball-anvil and the spindle. For curved surfaces, ensure the ball-anvil rests securely on the curve.
- Rotate the thimble or ratchet stop slowly until the measuring faces gently contact the object. Use the ratchet stop for consistent measuring force.
- Irakurri neurketa zuzenean pantaila digitalean.
- Carefully remove the object from the measuring faces.
4.5. RS-232 Data Output
The micrometer is equipped with an RS-232 data output port, allowing for connection to a computer or data collection system. This enables digital recording of measurements for statistical process control or other data analysis. Refer to your RS-232 interface cable and software documentation for specific connection and data transfer procedures.
5. Mantentzea
5.1. Garbiketa
- After each use, wipe the micrometer clean with a dry, lint-free cloth.
- For stubborn dirt or oil, use a cloth lightly dampened with instrument cleaner or isopropyl alcohol. Avoid excessive moisture, especially near the electronic components.
- Never use abrasive cleaners or solvents that could damage the finish or electronic parts.
- Ensure the measuring faces are free of dust and debris before and after use.
5.2. Biltegiratzea
- Store the micrometer in its original protective case when not in use.
- Store in a clean, dry environment, away from direct sunlight, extreme temperatures, and high humidity.
- Slightly open the measuring faces (0.05-0.1mm) before storing to relieve tension on the spindle and prevent corrosion between the faces.
5.3. Bateria ordezkatzea
When the display becomes dim or erratic, it is time to replace the batteries. Follow the battery installation steps outlined in Section 3.2.
- Always use new, high-quality Lithium Metal batteries of the specified type.
- Tokiko araudien arabera bota bateria zaharrak.
5.4. Calibration and Accuracy Checks
Regular calibration is crucial for maintaining measurement accuracy. It is recommended to periodically check the micrometer's accuracy using a known standard (e.g., a gauge block or setting rod). If significant deviations are observed, professional calibration or repair may be necessary.
6. Arazoak
| Arazoa | Kausa posiblea | Irtenbidea |
|---|---|---|
| Pantaila hutsik edo ilun dago. | Bateriak gutxi edo agortuta. Bateriaren instalazio okerra. | Replace batteries (refer to Section 3.2). Check battery polarity. |
| Irakurketa okerrak. | Micrometer not zeroed correctly. Dirt or debris on measuring faces. Temperature fluctuations. Instrument damage. | Re-zero the micrometer (refer to Section 4.1). Clean measuring faces thoroughly. Allow instrument to acclimate to ambient temperature. Inspect for physical damage; if damaged, seek professional repair. |
| Botoiek ez dute erantzuten. | Low batteries. Internal electronic issue. | Replace batteries. If problem persists, contact Fowler customer support. |
| RS-232 output not working. | Incorrect cable connection. Software configuration issue. | Ensure cable is securely connected to both micrometer and computer. Verify software settings and drivers. Consult RS-232 interface documentation. |
If you encounter a problem not listed here or if the suggested solutions do not resolve the issue, please contact Fowler High Precision customer support for assistance.
7. Zehaztapenak
| Ezaugarri | Xehetasuna |
|---|---|
| Modelo zenbakia | 54-860-114-0 |
| Neurketa-eremua | 1-2" / 25-50mm |
| Ebazpena | 0.00005" / 0.001 mm |
| Babes-balorazioa | IP54 (Dust and Splash Water Resistant) |
| Irteera | RS-232 |
| Bateria mota | 2 x Lithium Metal batteries |
| Fabrikatzailea | Fred V. Fowler Company, Inc. |
| ASIN | B00B5HO3SC |
8. Bermea eta Laguntza
This Fowler 54-860-114 Electronic IP54 Ball-Anvil Micrometer comes with a 1 urteko bermea offered by Fowler High Precision.
For warranty claims, technical support, or any operational issues not covered in this manual, please contact Fowler High Precision directly. Ensure you have your product model number (54-860-114-0) and purchase details available when contacting support.
For the most current contact information, please visit the official Fowler High Precision webgunea edo erosketarekin batera emandako dokumentazioa kontsultatu.
Erlazionatutako dokumentuak - 54-860-114-0
 |
Fowler 52-562-781 Test Indicator: Operating Instructions and Parts Manual Official operating instructions and parts manual for the Fowler 52-562-781 Test Indicator. Learn how to mount, maintain, and accurately measure with this precision tool. |
 |
Fowler Tool-A-Thon 25.2: Precision Measuring Instruments Catalog Explore the Fowler Tool-A-Thon 25.2 event featuring a comprehensive catalog of high-precision measuring instruments, including calipers, micrometers, CMMs, height gages, and shop tools. Discover advanced metrology solutions for professional use. |
 |
Fowler Tool-A-Thon 26.1: Precision Measuring Instruments Catalog Explore Fowler's comprehensive Tool-A-Thon 26.1 catalog, celebrating 80 years of precision measuring instruments. Discover CMMs, calipers, micrometers, indicators, and shop tools for advanced manufacturing and quality control. |
 |
Fowler Tool-A-Thon v25.2: Precision Measurement Tools Explore the Fowler Tool-A-Thon v25.2 catalog featuring a wide range of high-precision measurement tools, including calipers, micrometers, height gages, CMMs, and more. Discover innovative solutions for industrial and workshop applications. |
 |
Fowler: The Metrology Authority - Advanced Inspection Solutions Explore Fowler's comprehensive range of precision metrology equipment, including CMMs, optical scanners, measuring arms, bore gages, and height gages for advanced inspection solutions in manufacturing. |
 |
Grandstream GHP610/611/620/621 Firmwarearen Argitalpen Oharrak Dokumentu honek Grandstream GHP610(W), GHP611(W), GHP620(W) eta GHP621(W) firmware bertsioen argitalpen oharrak eskaintzen ditu, bertsio bakoitzerako hobekuntzak eta akatsen konponketak zehaztuz. |
Ask a question about this manual
Ask about setup, troubleshooting, compatibility, parts, safety, or missing instructions. Manuals+ will review the question and use this page’s manual context to help answer it.