1. Sarrera
Thank you for choosing the EXCELVAN WH1281 Wireless Digital Weather Station. This device provides accurate indoor and outdoor temperature and humidity readings, along with a weather forecast display. Please read this manual carefully before use to ensure proper operation and to maximize the lifespan of your product.
2. Produktuaren osagaiak
The EXCELVAN WH1281 Weather Station consists of two main parts:
- Pantaila-unitate nagusia: Displays indoor/outdoor temperature, humidity, time, and weather forecast.
- Haririk gabeko kanpoko sentsorea: Measures outdoor temperature and transmits data to the main unit. This sensor is waterproof.
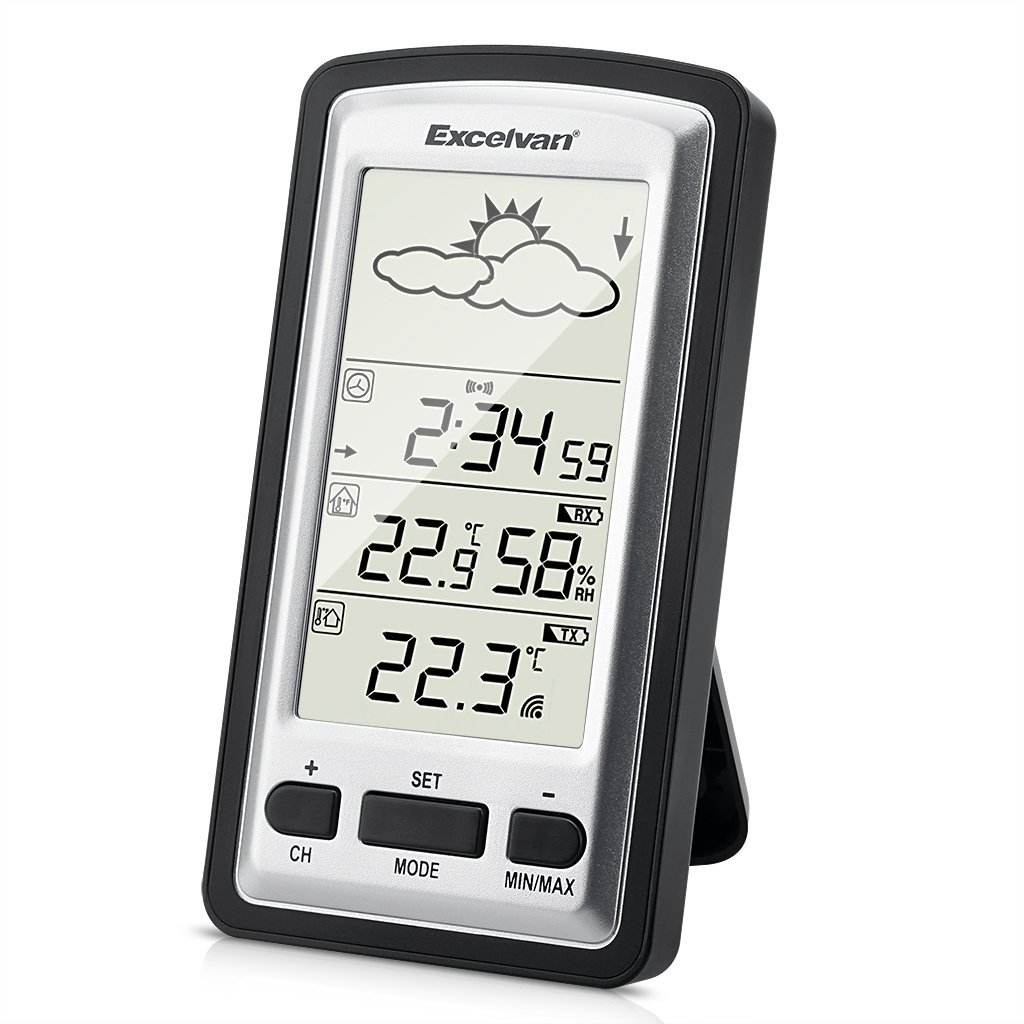
Image 1: Main Display Unit and Wireless Outdoor Sensor. The effective transmission distance between the sensor and the main unit is up to 100 meters in open areas.

Image 2: Separate view of the main display unit and the wireless outdoor temperature sensor.
3. Konfigurazio gida
3.1 Bateriaren instalazioa
Batteries are not included and must be purchased separately. Both the main unit and the outdoor sensor require batteries for operation.
- Kanpoko sentsorea:
- Ireki kanpoko sentsorearen atzealdean dagoen bateriaren konpartimentuaren estalkia.
- Insert 2 x 1.5V AAA batteries, ensuring correct polarity (+/-).
- Itxi bateriaren konpartimenduaren estalkia ondo.
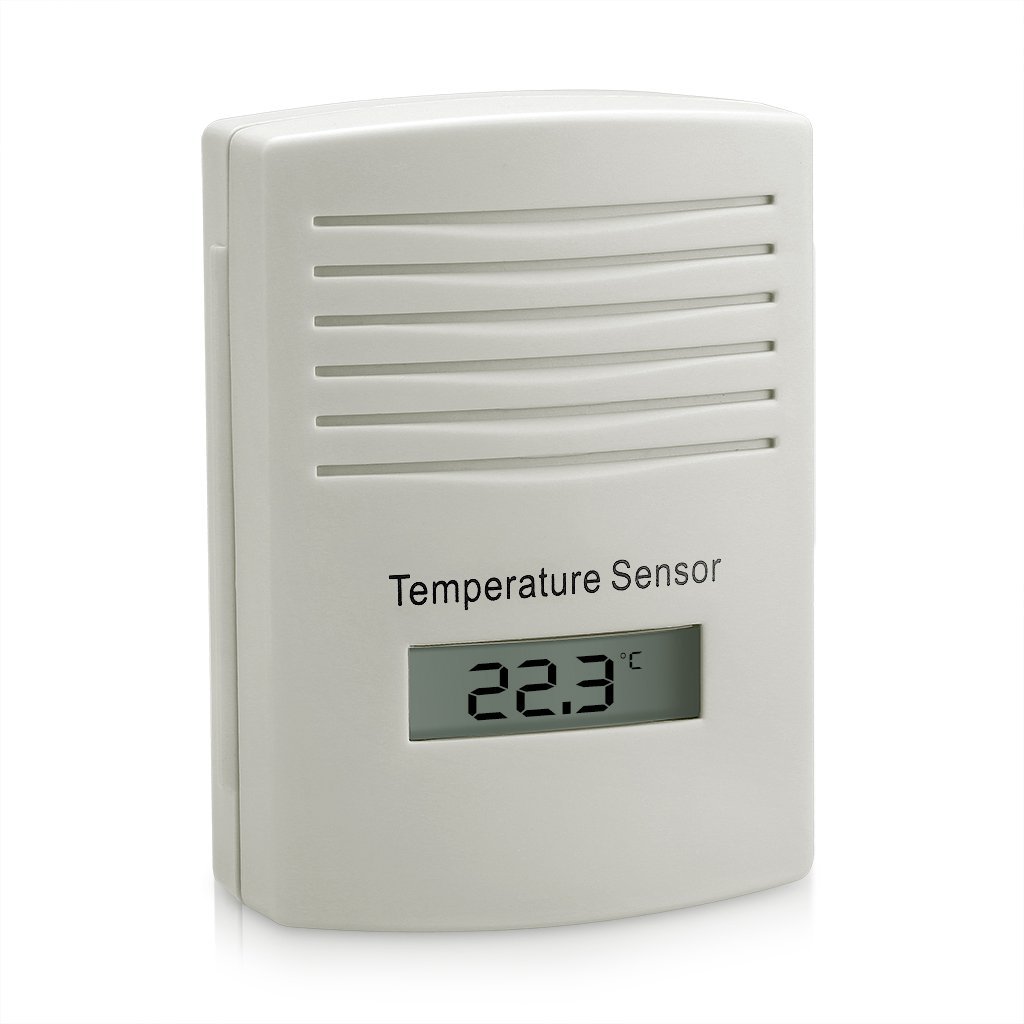
3. irudia: Atzekoa view of the outdoor sensor, indicating the battery compartment and power requirements (2x1.5V AAA batteries).
- Pantaila-unitate nagusia:
- Ireki unitate nagusiaren atzealdean dagoen bateriaren konpartimentuaren estalkia.
- Insert batteries (typically AAA or AA, refer to the unit's markings for exact type and quantity), ensuring correct polarity (+/-).
- Itxi bateriaren konpartimenduaren estalkia ondo.
3.2 Sensor Pairing and Initial Synchronization
For optimal performance, always insert batteries into the outdoor sensor first, then into the main display unit. This ensures proper synchronization.
- After inserting batteries into both units, the main display unit will automatically search for the outdoor sensor. This process may take a few minutes.
- Once connected, the outdoor temperature and humidity will appear on the main display. If the connection is not established, try pressing the "CH" button on the main unit to manually search for the sensor, or remove and reinsert batteries in both units.
3.3 Placement of the Outdoor Sensor
To ensure accurate readings and prolong the sensor's life:
- Place the sensor in a shaded area, away from direct sunlight, which can cause artificially high temperature readings.
- Protect the sensor from direct rain and snow, even though it is designed to be waterproof. An overhang or protective cover is recommended.
- Ensure the sensor is within the effective transmission range (up to 100 meters in open air) of the main unit. Walls and other obstructions can reduce this range.
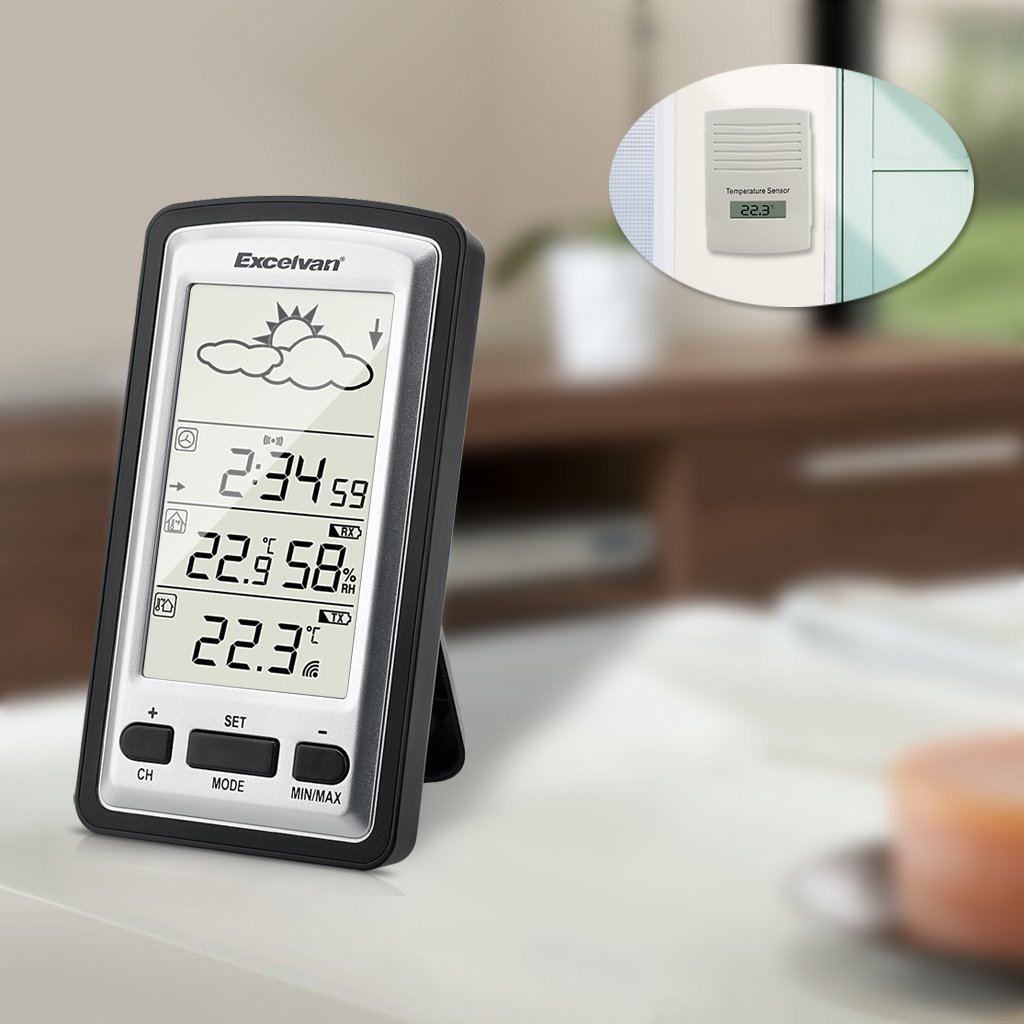
4 irudia: Adibideaample placement of the outdoor sensor, visible through a window, while the main unit is indoors.
4. Funtzionamendu-argibideak
4.1 Pantaila nagusiaview
The main display unit features a clear LED screen showing various environmental data and time information.

Image 5: Main display unit with active green backlight, showing current time, indoor temperature and humidity, outdoor temperature, and weather forecast icons.
Key display elements include:
- Eguraldi Iragarpen ikonoak: Sun, clouds, rain, etc., indicating predicted weather trends.
- Denbora bistaratzea: Current time in HH:MM format.
- Barruko tenperatura eta hezetasuna: Current indoor conditions.
- Kanpoko tenperatura: Current temperature from the wireless sensor.
- Seinalearen adierazlea: Shows connection status with the outdoor sensor.
4.2 Botoien funtzioak
The main unit has several buttons for configuration and data viewesan:
- CH (kanala): Used to switch between multiple outdoor sensors (if supported and additional sensors are purchased) or to manually search for the sensor.
- SET: Enters settings mode for time, date, and other parameters. Also confirms settings.
- JARRAIBIDEAK: Switches between different display modes (e.g., time, alarm).
- MIN / MAX: Displays the minimum and maximum recorded indoor/outdoor temperatures and humidity since the last reset. Press again to cycle through values. Long press to reset MIN/MAX records.
- +/-: Used to adjust values during settings mode or to switch between Celsius (°C) and Fahrenheit (°F) temperature units (often by pressing one of these buttons outside of settings mode).
4.3 Ordua eta data ezartzea
- Press and hold the "SET" button until the time display starts flashing.
- Use the "+" or "-" buttons to adjust the hour.
- Press "SET" to confirm the hour and move to the minute setting.
- Errepikatu prozesua minutu, urte, hilabete eta egunetarako.
- Press "SET" again to exit the settings mode.
4.4 Tenperatura Unitatearen Hautaketa (°C/°F)
Outside of settings mode, press the "+" or "-" button (depending on model, usually "+") to toggle between Celsius (°C) and Fahrenheit (°F) temperature display.
5. Mantentzea
- Bateria ordezkatzea: Replace batteries in both the main unit and the outdoor sensor when the low battery indicator appears on the display. It is recommended to replace all batteries at the same time. For the outdoor sensor, users have reported batteries lasting approximately one year.
- Garbiketa: Garbitu unitateak zapi leun batekin,amp oihal. Ez erabili garbitzaile edo disolbatzaile urratzailerik.
- Sentsoreen babesa: While the outdoor sensor is waterproof, placing it under an eave or protective cover can extend its lifespan and prevent direct exposure to extreme weather conditions.
6. Arazoak
| Arazoa | Kausa posiblea | Irtenbidea |
|---|---|---|
| Ez dago pantailarik unitate nagusian. | Bateriak hilda edo gaizki instalatuta. | Egiaztatu bateriaren polaritatea eta ordezkatu bateria berriekin. |
| Outdoor temperature not displayed or flashing. | No connection to outdoor sensor; sensor batteries low/dead; sensor out of range. |
|
| Tenperaturaren irakurketa okerrak. | Outdoor sensor exposed to direct sunlight or heat sources; units not stabilized. |
|
| Erlojuak denbora galtzen du. | Non-radio controlled clock mechanism. | The WH1281 model is not radio-controlled. Manual time adjustment may be required periodically (e.g., monthly). |
7. Zehaztapenak
| Ezaugarri | Xehetasuna |
|---|---|
| Eredua | WH1281 |
| Marka | EXCELVAN |
| Neurriak (unitate nagusia) | Approximately 143 x 81 x 27 mm (L x H x W) |
| Pisua | 199.58 gramo gutxi gorabehera |
| Energia iturria (unitate nagusia) | Battery powered (type not specified, typically AAA or AA) |
| Energia iturria (kanpoko sentsorea) | 2 x 1.5V AAA bateria |
| Bistaratzeko mota | LED |
| Ezaugarri Berezia | Kanpoko sentsore iragazgaitza |
| Haririk gabeko maiztasuna | 433.9 MHz |
| Tarte eraginkorra | 100 metro arte (aire zabalean) |
| UPC | 708624290486 |
8. Bermea eta Laguntza
For warranty information, please refer to the documentation provided with your purchase or contact the retailer. For technical support or further inquiries, please reach out to EXCELVAN customer service or your point of purchase.