Papablic Papablic01
Papablic Baby Bottle Sterilizer and Dryer Pro Instruction Manual
Model: Papablic01
Sarrera
The Papablic Baby Bottle Sterilizer and Dryer Pro is designed to provide a safe and efficient way to sterilize and dry baby bottles, pump parts, pacifiers, and other feeding essentials. Utilizing steam for sterilization and hot air for drying, this appliance ensures hygiene and convenience for parents. Its ceramic-coated heating plate simplifies cleaning and maintenance.

Segurtasun-argibide garrantzitsuak
- Irakurri argibide guztiak aparatua erabili aurretik.
- Ez murgildu oinarrizko unitatea, kablea edo entxufea uretan edo beste likido batzuetan.
- Deskonektatu beti tresna entxufetik erabiltzen ez duzunean eta garbitu aurretik. Utzi hozten piezak jarri edo kendu aurretik.
- Ez erabili aparaturik kablea edo entxufea hondatuta dagoenean, edo aparatuak gaizki funtzionatzen duenean edo nolabait hondatu ondoren.
- Erabili ur destilatua soilik esterilizatzeko, mineralen metaketa saihesteko eta errendimendu optimoa bermatzeko.
- Haurren eskura ez utzi. Tresna hau ez da jostailu bat.
- Ez jarri gas edo erregailu elektriko bero baten gainean edo inguruan, edo berotutako labe batean.
- Kontuz ibili behar da likido beroak dituen aparatua mugitzean.
- Ez erabili aparatua aurreikusitako erabilera ez den beste ezertarako.
- Ensure the lid is properly secured during operation to prevent steam escape.
Produktuaren osagaiak
Familiarize yourself with the parts of your Papablic Sterilizer and Dryer Pro:
- Oinarrizko Unitatea: Contains the heating plate and control knob.
- Beheko saskia: For larger items like bottles.
- Upper Basket/Accessory Tray: For smaller items like pacifiers, nipples, and pump parts.
- Estalkia: Covers the baskets during operation.
- Kontrol Knob: Used to select different operating modes.


Konfigurazio Argibideak
Follow these steps to set up your sterilizer and dryer:
- Place the base unit on a flat, stable, heat-resistant surface.
- Pour 100ml of distilled water into the heating plate of the base unit. Ensure water does not exceed the MAX fill line.
- Place the lower basket onto the base unit. Arrange clean, empty bottles upside down in the lower basket.
- Place the upper basket/accessory tray on top of the lower basket. Place smaller items like nipples, pacifiers, and pump parts in the upper basket.
- Place the lid securely on top of the upper basket.
- Entxufatu korronte-kablea entxufe elektriko egoki batean.

Video 1: An instructional video demonstrating the setup and basic operation of the Papablic Bottle Sterilizer and Dryer, including adding water, loading items, and selecting cycles.
Funtzionamendu-argibideak
The Papablic Sterilizer and Dryer Pro features a simple one-dial control for various functions:
- Auto (Sterilize & Dry): This mode performs both sterilization and drying. The full cycle takes approximately 36 minutes (8 minutes for sterilization, 28 minutes for drying).
- Esterilizatu: This mode only sterilizes items using steam. The cycle takes approximately 8 minutes. Items will remain wet after this cycle.
- Lehorra: This mode only dries items using hot air. The cycle takes approximately 28 minutes.
- Gehigarria: An extended drying cycle, typically around 50 minutes, for thorough drying.
- 24H Storage: After a sterilization or drying cycle, this mode keeps items sanitized for up to 24 hours by periodically running a short drying cycle.
Funtzionatzeko:
- Ensure the unit is set up as described in the "Setup Instructions" section.
- Turn the control knob to select your desired operating mode (e.g., Auto, Sterilize, Dry).
- Press the center button on the knob to start the selected cycle. The LED light will indicate operation.
- The appliance will automatically shut off once the cycle is complete.

Mantentzea
Regular cleaning and maintenance will prolong the life of your sterilizer and ensure optimal performance.
Plaka berogailua garbitzea:
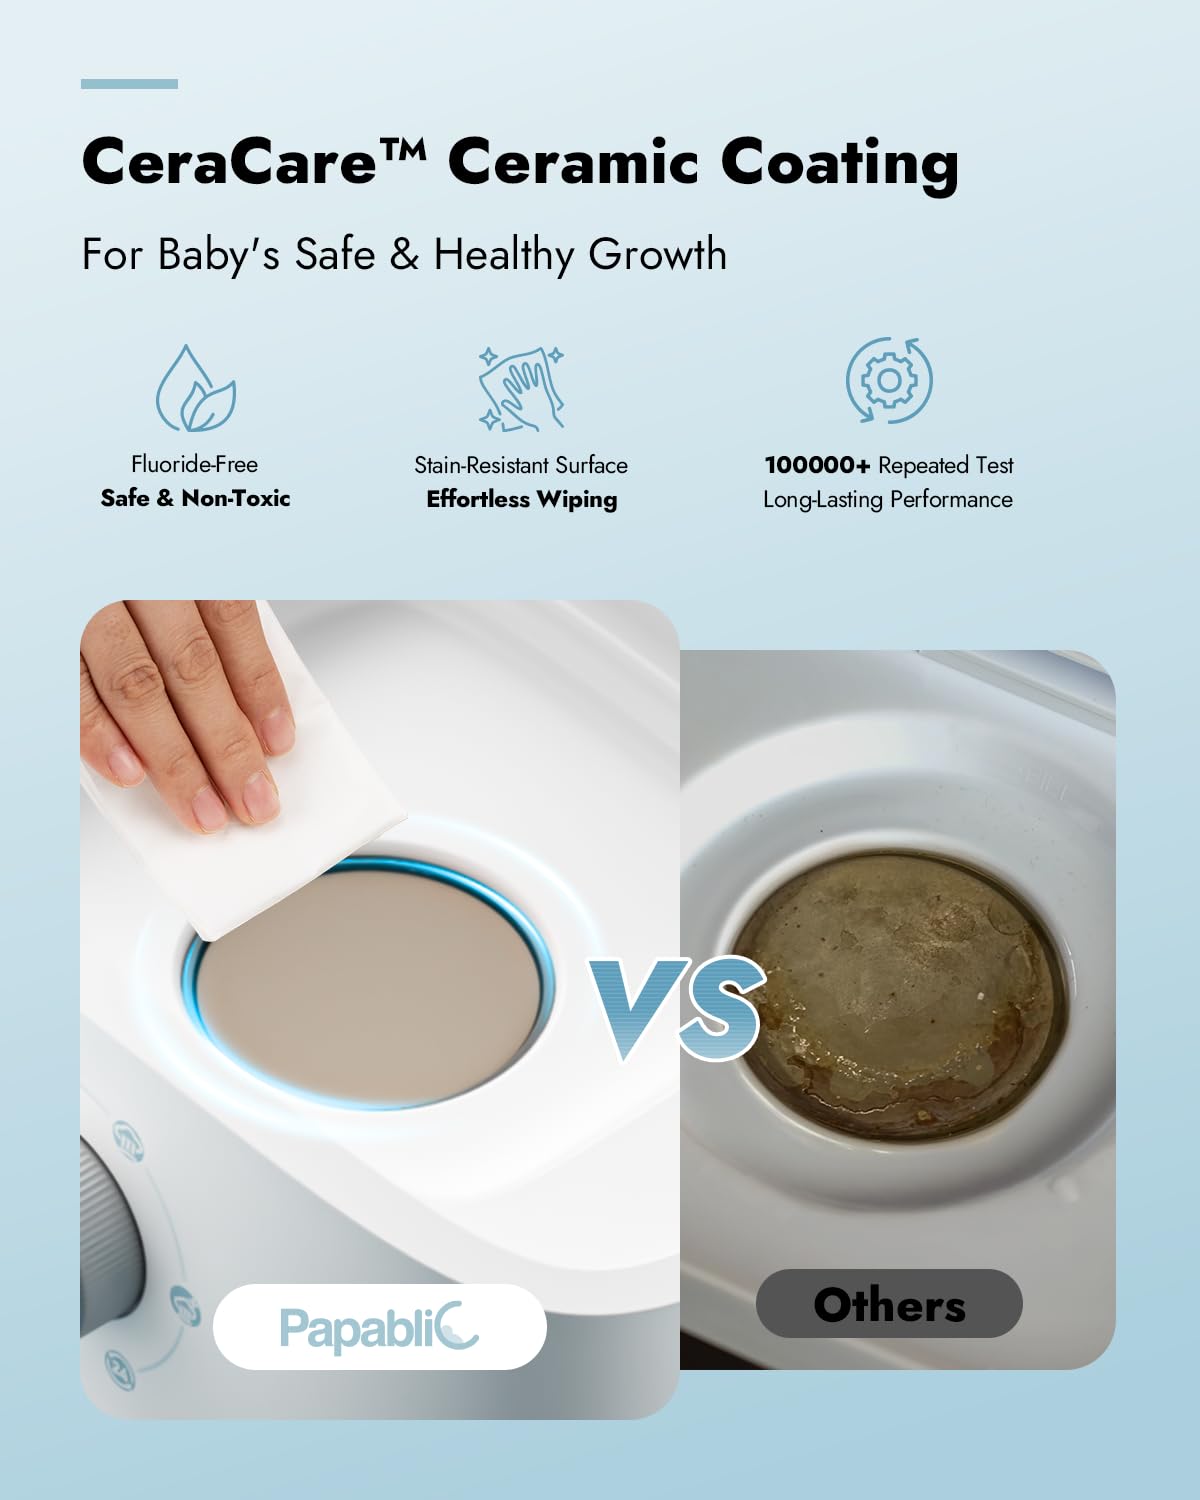
The ceramic-coated heating plate is designed for easy cleaning. Mineral deposits (limescale) may accumulate on the heating plate, especially if tap water is used. It is recommended to clean the heating plate regularly, ideally after every few uses, or when visible deposits appear.
- Ensure the unit is unplugged and completely cooled down.
- Wipe the heating plate with a soft, damp cloth. For stubborn mineral deposits, use a solution of 80ml white vinegar and 20ml distilled water. Pour the solution onto the heating plate and let it sit for 20 minutes.
- After soaking, gently scrub the plate with a soft brush or sponge to remove deposits.
- Rinse the heating plate area with a damp cloth, ensuring no residue remains.
- Lehortu ondo hurrengo erabili aurretik.
Beste osagai batzuk garbitzea:
- The baskets and lid can be washed with warm soapy water and rinsed thoroughly.
- Ez erabili garbitzaile urratzailerik edo urratzailerik, gainazalak kaltetu ditzaketelako.
- Ziurtatu pieza guztiak guztiz lehor daudela unitatea berriro muntatu edo gorde aurretik.
Arazoak konpontzea
| Arazoa | Kausa posiblea | Irtenbidea |
|---|---|---|
| Items are not completely dry after a cycle. |
|
|
| White/brown mineral deposits on heating plate. | Ur gogorraren erabilera. | Clean the heating plate as described in the Maintenance section using distilled water and vinegar solution. Always use distilled water for operation. |
| Unitatea ez da pizten. |
|
|
Zehaztapenak
- Modelo zenbakia: Papablic01
- Produktuaren neurriak: Approximately 7.5 x 10.4 x 16.1 inches (Width x Depth x Height)
- Elementuaren pisua: 4 kilo inguru
- Material mota: Plastikoa
- Estaldura: 100% Non-toxic Ceramic Coating (CeraCare™)
- Edukiera: Up to 10 narrow-neck bottles or 6 wide-neck bottles
- Esterilizazio denbora: 8 minutu
- Lehortzeko denbora: 28 minutes (standard)
- Total Auto Cycle Time: 36 minutu

Bermea eta Laguntza
For warranty information, product support, or to purchase replacement parts, please contact Papablic customer service. Refer to the product packaging or the official Papablic webwebgunea, harremanetarako datu eguneratuenak lortzeko.
Webgunea: Papablic Official Store
Ask a question about this manual
Ask about setup, troubleshooting, compatibility, parts, safety, or missing instructions. Manuals+ will review the question and use this page’s manual context to help answer it.