1. Sarrera
This manual provides essential information for the safe and efficient use of your Alienware AW3418DW 34.1-inch Curved Gaming Monitor. This monitor features a WQHD (3440x1440) resolution, a 120Hz refresh rate (overclocked), and NVIDIA G-SYNC technology for an immersive gaming experience. Please read this manual thoroughly before operating the device.
2. Segurtasun informazioa
- Always disconnect the power cable from the wall outlet before cleaning the monitor.
- Ez jarri monitoreari euri edo hezetasun eraginpean sute edo deskarga elektrikoen arriskuak saihesteko.
- Ez ireki monitorearen casing. Ez dago erabiltzaileak konpondu beharreko piezarik barruan. Konponketa guztiak zerbitzu-langile kualifikatuei eskatu.
- Jarri monitoreak gainazal egonkor eta lau batean, eror ez dadin.
- Ziurtatu monitorearen inguruan behar bezala aireztatuta dagoela. Ez blokeatu aireztapen-irekidurak.
- Erabili monitorearekin batera datozen korronte-egokitzailea eta kableak soilik.
3. Paketearen edukia
Egiaztatu osagai guztiak paketean daudela:
- Alienware AW3418DW Monitor
- Monitorearen euskarria (oinarria eta altxagarria)
- Elikatze-kablea
- DisplayPort kablea
- HDMI kablea
- USB 3.0 upstream kablea
- Documentation (Quick Setup Guide, Safety Information)
4. Konfigurazioa
4.1 Konfigurazio fisikoa
Carefully remove the monitor and its components from the packaging. Place the monitor face down on a soft cloth or cushion to prevent scratches.
Standa eranstea
- Attach the stand riser to the monitor panel until it clicks into place.
- Attach the stand base to the stand riser and tighten the captive screw.

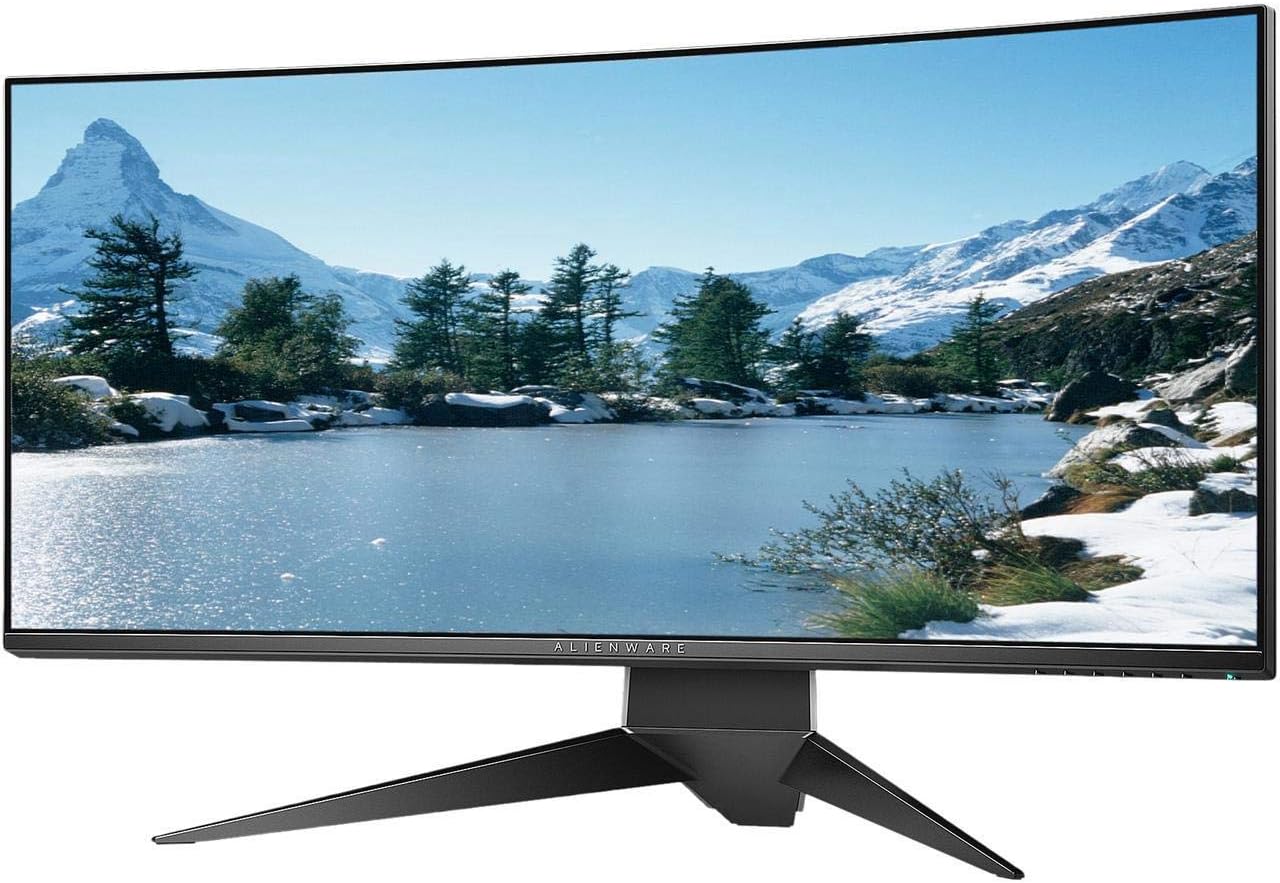
4.1. irudia: Aurrealdea view of the Alienware AW3418DW monitor with its stand attached.

4.2. irudia: Aldea view of the Alienware AW3418DW monitor with its stand.
4.3. Irudia: Atzealdea view of the Alienware AW3418DW monitor showing the stand and AlienFX lighting.
VESA muntaketa
The monitor supports VESA mounting (100 x 100 mm). Remove the stand riser by pressing the release button and then attach the VESA-compatible mount to the monitor using appropriate screws. Ensure the mount can support the monitor's weight of 26.1 pounds (without stand).

Figure 4.4: Monitor dimensions for VESA mount compatibility.
4.2 Konektatzeko kableak
Konektatu beharrezko kableak monitore eta ordenagailura.
- Sare elektrikoa Connect the power cable to the monitor's power port and then to a wall outlet.
- Bideo kablea: Connect either the DisplayPort cable or the HDMI cable from your computer's graphics card to the corresponding port on the monitor. For optimal performance, especially for 120Hz refresh rate and G-SYNC, use the DisplayPort connection.
- USB kable gorakorra: Connect the USB 3.0 upstream cable from your computer to the monitor's upstream USB port to enable the monitor's USB hub functionality.
- USB beherako portuak: Connect your USB devices (e.g., keyboard, mouse, webcam) to the four USB 3.0 downstream ports on the monitor.
5. Funtzionamendu-argibideak
5.1 Piztu/Itzali
Press the power button located on the monitor to turn it on or off. The power LED will indicate the monitor's status.
5.2 Pantailan bistaratze (OSD) nabigazioa
The On-Screen Display (OSD) menu allows you to adjust various monitor settings. Use the control buttons, typically located on the bottom right or rear of the monitor, to navigate the OSD.
- Sakatu kontrol-botoi bat OSD menua aktibatzeko.
- Use the navigation buttons (up/down/left/right) to move through menu options.
- Sakatu hautatzeko botoia hautaketa berresteko edo azpimenu batera sartzeko.
- Erabili atzera/irten botoia aurreko menura itzultzeko edo OSDtik irteteko.
5.3 Pantailaren ezarpenak
Doitu pantailaren ezarpenak optimorako viewing and gaming performance.
- Ebazpena: Set your computer's display resolution to 3440x1440 for the native WQHD experience.
- Freskatze-tasa: The monitor supports up to 120Hz refresh rate (overclocked). Ensure your graphics card drivers are updated and the refresh rate is set in your operating system's display settings or graphics control panel.
- NVIDIA G-SYNC: For tear-free and smooth gameplay, enable G-SYNC in your NVIDIA Control Panel. This feature synchronizes the monitor's refresh rate with your GPU's frame rate.
- Distira/Kontrastea: Adjust these settings in the OSD menu to suit your environment and preference.
5.4 AlienFX Lighting
Customize the AlienFX lighting zones on your monitor through the OSD menu or Alienware Command Center software (if installed on your PC). You can select colors, effects, and synchronize lighting with other Alienware devices.
5.5 USB Hub-aren erabilera
The monitor acts as a USB 3.0 hub, providing convenient access to four downstream USB ports for connecting peripherals. Ensure the USB upstream cable is connected to your computer for this feature to function.
6. Mantentzea
6.1 Monitorea garbitzea
- Always unplug the monitor from the electrical outlet before cleaning.
- Erabili lipurrik gabeko zapi leun bat dampUrarekin edo pantaila-garbitzaile ez-urratzaile batekin garbitu.
- Ez ihinztatu garbitzailea zuzenean pantailan.
- Garbitu pantaila astiro hautsa eta orbanak kentzeko.
- Garbitu kanpoaldea c.asinoihal leun eta lehor batekin garbitu.
6.2 Biltegiratzea
If storing the monitor for an extended period, disconnect all cables, carefully disassemble the stand (if applicable), and store it in its original packaging in a cool, dry place.
7. Arazoak
Monitorearekin arazoak badituzu, jarraitu arazoak konpontzeko ohiko urrats hauek:
- Ez dago pantailarik: Ensure all power and video cables are securely connected. Check if the monitor is powered on and the correct input source is selected in the OSD.
- Keinuka/Tartamudez: Verify that your graphics drivers are up to date. Ensure G-SYNC is properly configured in the NVIDIA Control Panel. Check for interference from other electronic devices.
- Bereizmen/Freskatze-maiztasun okerra: Adjust the display settings in your operating system or graphics control panel to the native resolution (3440x1440) and desired refresh rate (up to 120Hz).
- Pixel hilak: The Alienware AW3418DW comes with a Premium Panel Guarantee. Refer to the warranty information for details on pixel policy.
- USB atakak ez dira funtzionatzen: Ziurtatu USB 3.0 goranzko kablea monitorearen eta ordenagailuaren artean konektatuta dagoela.
8. Zehaztapenak
| Ezaugarri | Zehaztapena |
|---|---|
| Marka | Alienware |
| Modelo zenbakia | AW3418DW |
| Pantailaren tamaina | 34.1 hazbete |
| Ebazpena | WQHD (3440 x 1440 Pixels) |
| Aspektu-erlazioa | 21:9 |
| Freskatze tasa | 120 Hz (Overclocked) |
| Erantzun Denbora | 4 milisegundo |
| Adaptive Sync Teknologia | NVIDIA G-SYNC |
| Bistaratzeko mota | LED IPS |
| Kurbadura | 1900R |
| Distira | 300 cd/m² |
| Kontraste-erlazioa | 1000:1 |
| Viewangelua | 178 gradu |
| Konektibitatea | 1x DisplayPort (1.2), 1x HDMI (1.4), 4x USB 3.0 Downstream, 1x USB 3.0 Upstream |
| Elementuaren pisua | 26.1 Pounds (without stand) |
| Muntatze Mota | VESA Compatible (100 x 100 mm) |
9. Bermea eta Laguntza
Your Alienware AW3418DW monitor is covered by a 3 Years Limited Hardware Warranty eta 3 Years Advance Exchange Service, a barne Premium Panel Guarantee. The Premium Panel Guarantee ensures a free panel replacement during the limited hardware warranty period even if only one bright pixel is found.
For technical support, warranty claims, or additional information, please visit the official Alienware or Dell support website. You may also find updated drivers and firmware there.
Lineako laguntza: www.dell.com/support


