1. Sarrera
The Audio-Technica PRO24CM is a lightweight, compact stereo condenser microphone designed for digital recording with high-fidelity stereo sound. It is optimized for use with camcorders that feature an accessory shoe and a stereo microphone input. The microphone utilizes a pair of cardioid elements in an X-Y configuration to capture the spatial impact and realism of a live sound field.
This manual provides essential information for the proper setup, operation, and maintenance of your PRO24CM microphone.
2. Paketearen edukia
Egiaztatu elementu hauek guztiak zure paketean sartuta daudela:
- PRO24CM Stereo Condenser Microphone with permanently attached 6-12 inch coiled cable and right-angle 3.5 mm stereo mini plug
- Video-camera shoe mount
- LR44 battery (1.5V)
- Haizetakoa
- Babes-zorro leuna

Image: Included accessories for the PRO24CM microphone.
3. Konfigurazioa
3.1 Bateriaren instalazioa
The PRO24CM can operate on a 1.5V LR44 battery or via plug-in power from your camcorder. If your camcorder does not provide plug-in power, battery installation is required.
- Locate the battery compartment on the microphone body.
- Kontu handiz ireki konpartimentua.
- Insert one LR44 battery, ensuring correct polarity (+/-).
- Itxi bateriaren konpartimendua ongi.
Image: The LR44 battery for microphone power.
3.2 Mikrofonoa muntatzea
The PRO24CM is designed to attach to a camcorder's accessory shoe.
- Slide the video-camera shoe mount onto your camcorder's accessory shoe.
- Secure the mount by tightening its locking mechanism.
- Insert the microphone into the shoe mount.
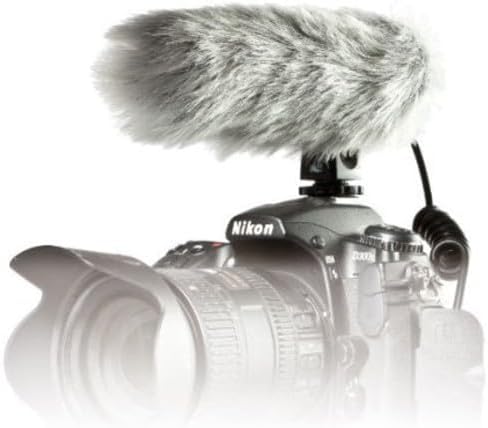
Image: PRO24CM microphone attached to a camcorder.
3.3 Connecting to a Camcorder
Connect the microphone to your camcorder's stereo microphone input.
- Locate the 3.5 mm stereo mini plug on the microphone's coiled cable.
- Insert the plug firmly into the microphone input jack on your camcorder.

Image: The PRO24CM microphone showing its coiled cable and 3.5mm connector.
3.4 Haizetakoaren erabilera
For outdoor recording or in windy conditions, attach the included windscreen to reduce wind noise and plosives.
- Gently slide the foam windscreen over the microphone's capsule.
- Ensure it fits snugly without obstructing the microphone elements.
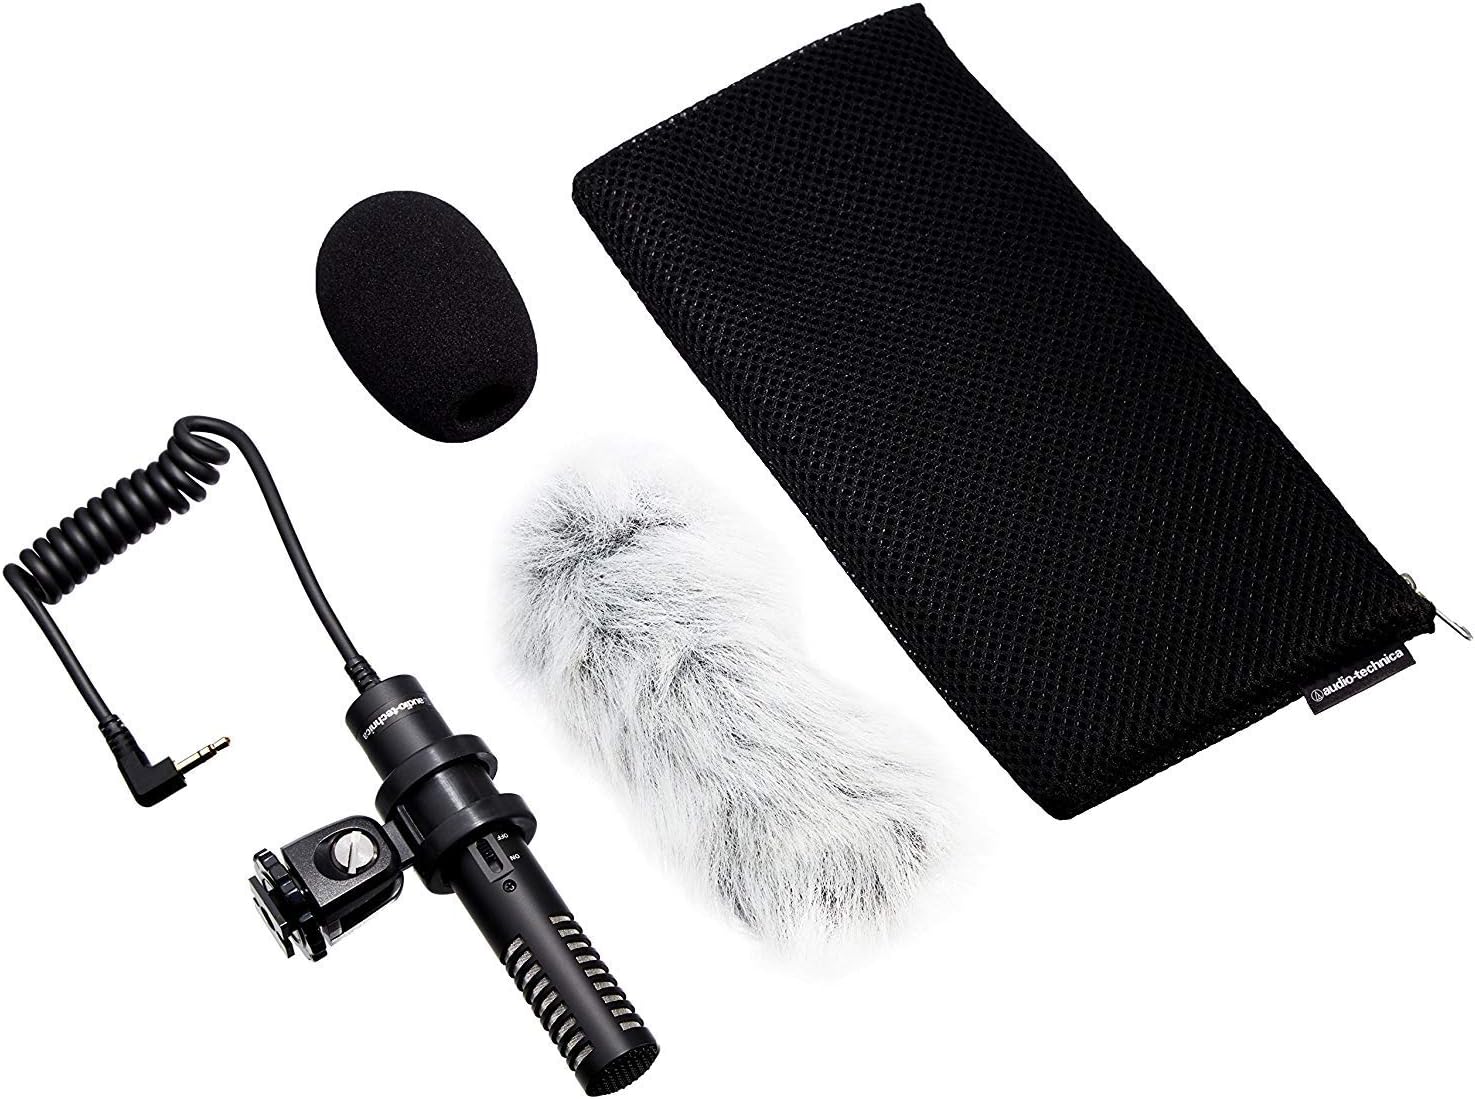
Image: PRO24CM microphone with windscreen and other accessories.
4. Funtzionamendua
4.1 Piztu/Itzaltzea
The PRO24CM features an on/off switch for convenient operation.
- Mikrofonoa pizteko. ON, irristatu etengailua "ON" posiziora.
- Mikrofonoa pizteko. OFF, irristatu etengailua "OFF" posiziora.
When using plug-in power from your camcorder, the microphone will draw power directly from the camcorder, and battery operation is not required. However, it is still recommended to turn the microphone off when not in use to conserve battery life if a battery is installed.
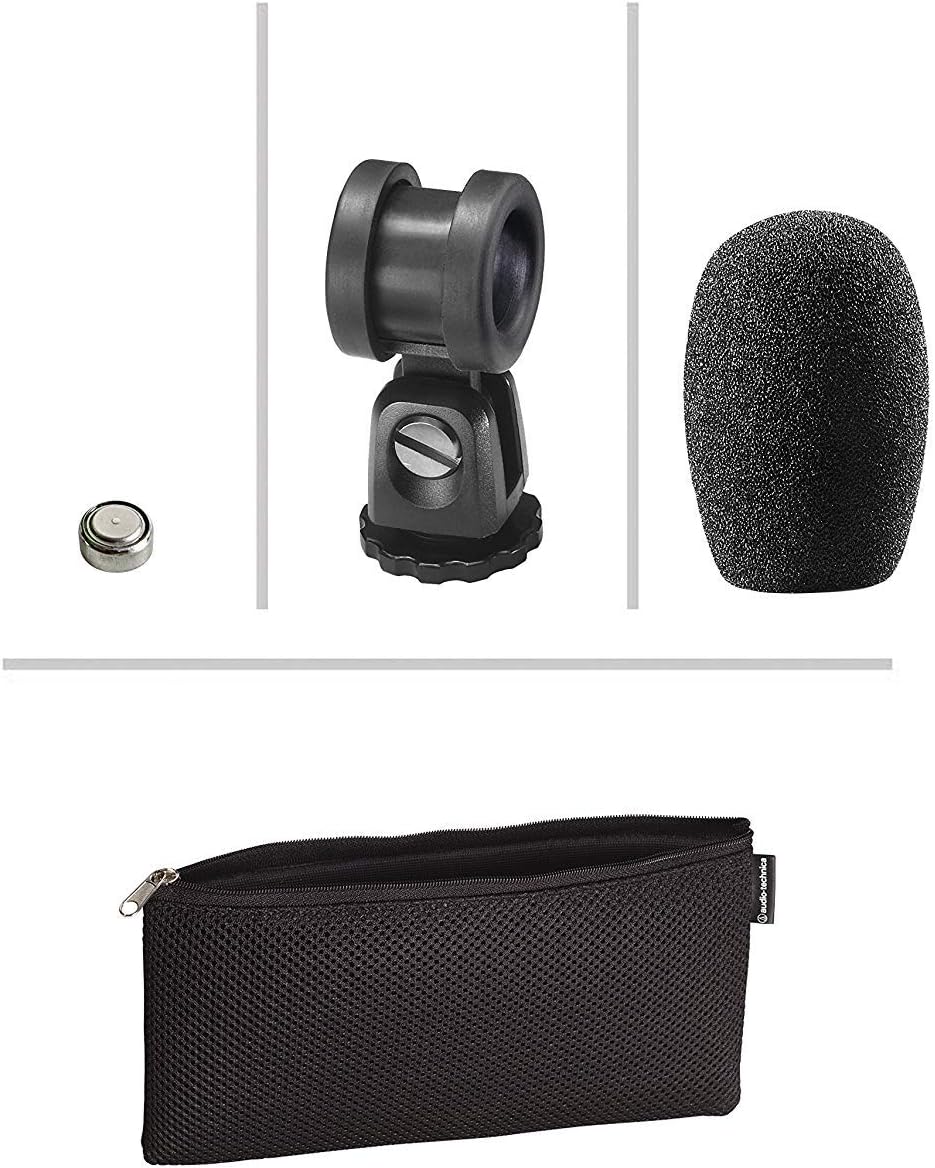
Image: The PRO24CM microphone with its on/off switch visible.
4.2 Recording Considerations
- Lekua: Position the microphone to capture the desired sound source. The X-Y stereo configuration is designed to provide a natural stereo image.
- Jarraipena: Always monitor your audio through headphones connected to your camcorder to ensure optimal sound quality and to detect any unwanted noise.
- Irabazi mailak: Adjust the input gain on your camcorder to prevent clipping (distortion) while ensuring a strong signal.
5. Mantentzea
- Garbiketa: Erabili zapi leun eta lehor bat mikrofonoaren gorputza garbitzeko. Saihestu produktu kimiko gogorrak edo material urratzaileak erabiltzea.
- Biltegiratzea: When not in use, store the microphone in its protective pouch to prevent dust and damage. Remove the battery if storing for extended periods to prevent leakage.
- Kableen zainketa: Avoid sharp bends or kinks in the microphone cable.
6. Arazoak
- Soinurik ez:
- Ensure the microphone's on/off switch is in the "ON" position.
- Egiaztatu bateria behar bezala instalatuta dagoen eta nahikoa karga duen. Beharrezkoa bada, ordezkatu.
- Verify the 3.5 mm plug is fully inserted into the camcorder's microphone input.
- Confirm the camcorder's audio input settings are correct and the input gain is not set to zero.
- Soinu distortsionatua:
- Reduce the input gain on your camcorder.
- Ensure the microphone is not too close to the sound source, causing overload.
- Haizearen gehiegizko zarata:
- Ensure the windscreen is properly installed.
- Consider using an additional furry wind muff for extreme conditions (not included).
7. Zehaztapenak
| Ezaugarri | Zehaztapena |
|---|---|
| Elementua | Karga finkoko atzeko plaka etengabe polarizatutako kondentsadorea |
| Eredu polarra | X/Y Stereo |
| Maiztasun Erantzuna | 100-17,000 Hz |
| Zirkuitu irekiko sentsibilitatea | -50 dB (3.1 mV) re 1V 1 Pa-tan |
| Inpedantzia | 600 ohmio |
| Gehienezko sarrerako soinu-maila | 119 dB SPL, 1 kHz THD% 1ean |
| Dynamic Range (typical) | 82 dB, 1 kHz Max SPL-n |
| Seinaleen eta zarataren arteko erlazioa | 57 dB, 1 kHz 1 Pa-tan |
| Potentzia-eskakizunak | 2-10V DC plug-in power or 1.5V LR44 battery |
| Bateria mota | 1.5V LR44 |
| Bateriaren Korrontea / Bizitza | 0.6 mA / 200 ordu tipikoa |
| Aldatu | Piztu/desaktibatu |
| Pisua | 3.9 oz (111 g) / 120 Grams |
| Dimensions (L x Max Body Dia.) | 4.59" (116.5 mm) long, 0.83" (21.0 mm) maximum body diameter |
| Irteerako konektorea | 3.5 mm stereo mini plug on cable |
| Kablea | Permanently attached 152.4 mm - 304.8 mm (6"-12") coiled cable with right-angle molded 3.5 mm stereo mini-plug |
8. Segurtasun informazioa
- Ez jarri mikrofonoa tenperatura altuen, hezetasunaren edo eguzki-argiaren eraginpean.
- Saihestu mikrofonoa erortzea edo kolpe gogorren eraginpean jartzea.
- Mantendu mikrofonoa eremu magnetiko indartsuetatik urrun.
- Do not attempt to disassemble or modify the microphone. This will void any warranty.
- Bota ezazu erabilitako bateriak arduraz tokiko araudiaren arabera.
9. Bermea eta Laguntza
For warranty information or technical support, please contact Audio-Technica customer service or visit their official webgunea. Gorde erosketa-agiria erosketaren frogagiri gisa.
Audio-Technica-ren harremanetarako informazioa:
- Audio-Technica ofiziala Webgunea
- Kontsultatu zure produktuaren ontzia edo informazio ofiziala website for specific regional contact details.