
1. Produktua amaitu daview
The AUTENS Wireless Doorbell system provides a convenient and reliable solution for home, office, or classroom use. It features a waterproof push button transmitter and a plug-in receiver, offering a long operating range and a variety of customizable settings. This manual will guide you through the installation, operation, and maintenance of your doorbell.

Image 1.1: The AUTENS Wireless Doorbell kit, showing the plug-in receiver and the wireless push button.

Image 1.2: Diagram illustrating the doorbell's operating range of up to 1000 feet in open space, demonstrating signal penetration through walls within a typical home environment.
2. Instalazio gida
2.1 Osagaiak
- 1 x Hartzaile entxufagarria
- 1 x Wireless Push Button Transmitter
- 1 x 12V 23A Alkaline Battery (pre-installed in push button)
- Mounting Hardware (Screws, Anchors, Double-sided Tape)
2.2 Instalazioa urratsez urrats
The push button transmitter can be mounted using either the provided double-sided tape or screws and anchors. The receiver simply plugs into a standard electrical outlet.
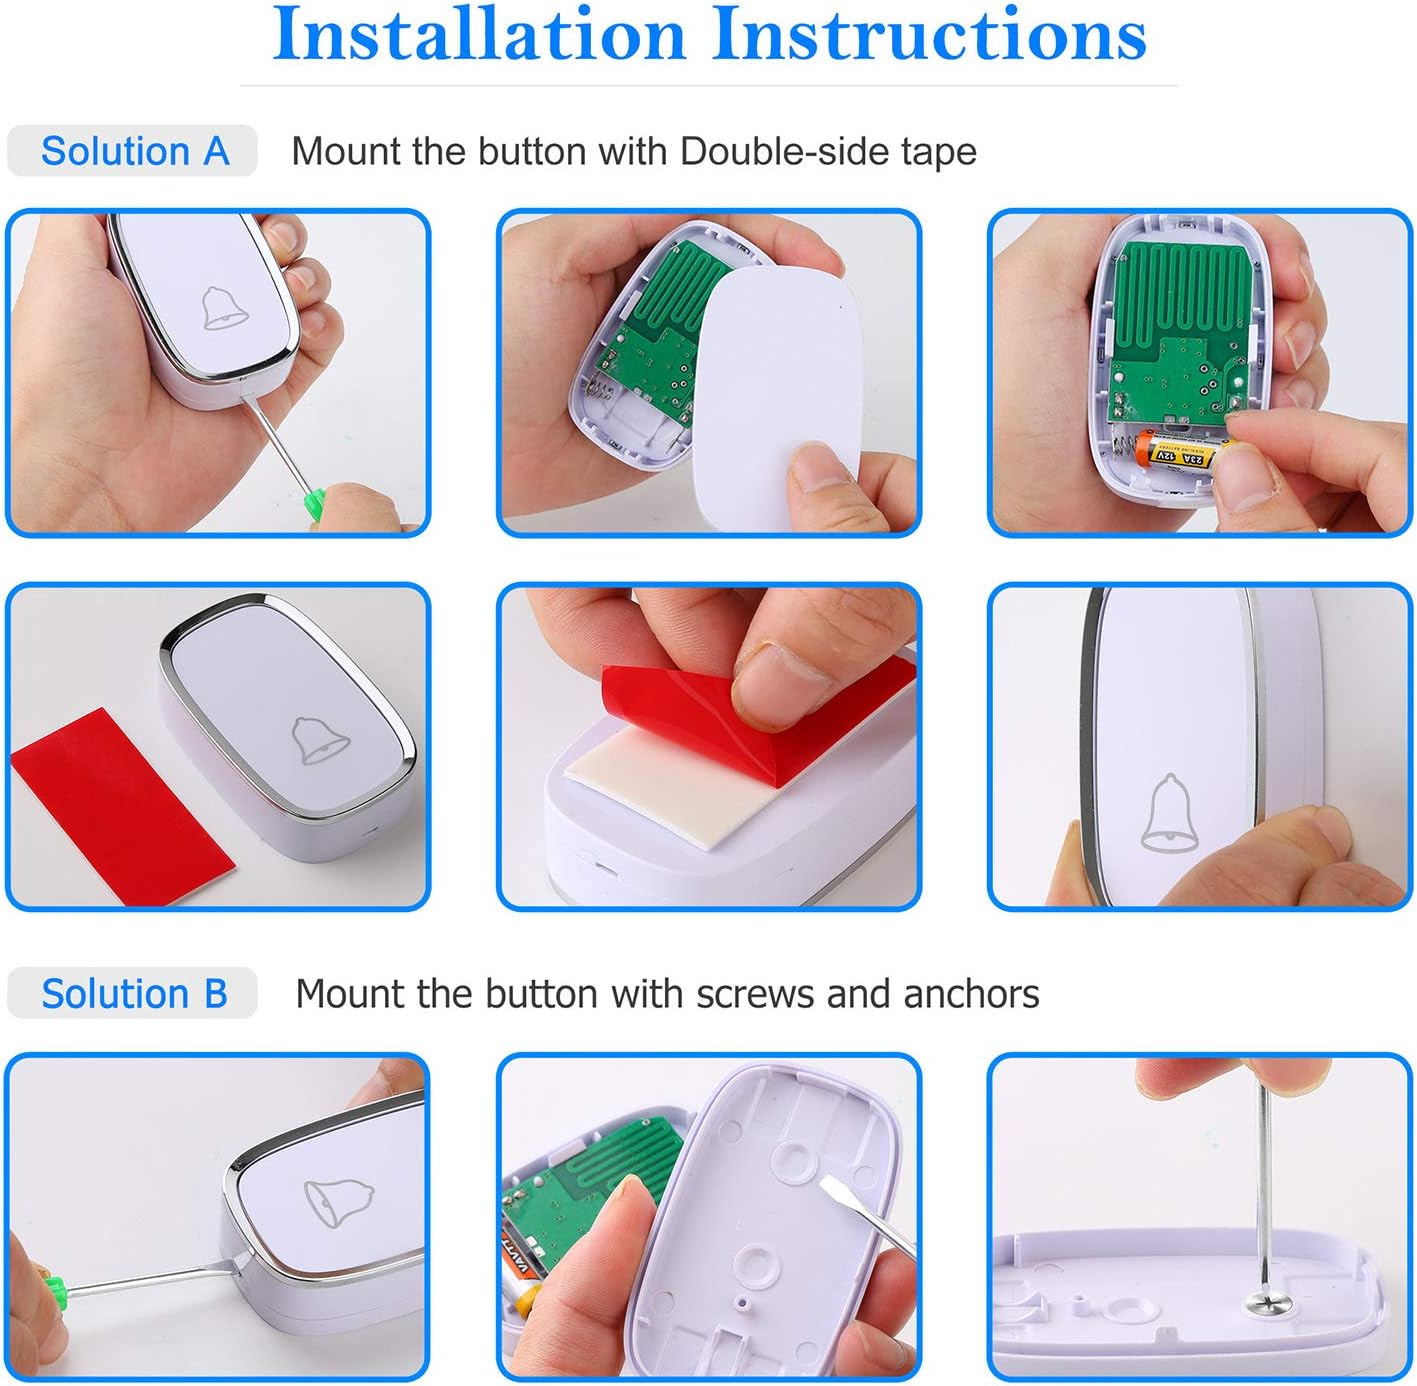
Image 2.1: Visual guide for installing the push button using either double-sided tape or screws and anchors.
Method A: Double-sided Tape Installation
- Prestatu botoia: Open the back cover of the push button transmitter. Ensure the 12V 23A battery is correctly installed.
- Zinta aplikatu: Peel off one side of the protective film from the double-sided tape and firmly attach it to the back of the push button.
- Aukeratu kokapena: Select a clean, flat surface near your entry door or gate. Ensure the surface is dry and free of dust or grease.
- Mount Button: Peel off the other side of the protective film from the tape. Press the push button firmly onto the chosen surface for at least 30 seconds to ensure strong adhesion.

2.2 irudia: Gertuko planoa view of the push button being installed using double-sided adhesive tape.
Method B: Screw and Anchor Installation
- Prestatu botoia: Open the back cover of the push button transmitter. Ensure the 12V 23A battery is correctly installed.
- Markatu zulatzeko zuloak: Hold the back plate of the push button against the desired mounting surface. Use a pencil to mark the positions for the two screw holes.
- Zulatzeko zuloak: Drill two small holes at the marked positions. Insert the plastic anchors into the drilled holes.
- Atzeko plaka segurua: Align the back plate with the anchors and secure it using the provided screws.
- Attach Push Button: Lotu botoia atzeko plaka finkatuan.

Image 2.3: Detailed steps for installing the push button using screws and wall anchors for a more permanent fixture.
2.3 Hargailuaren konfigurazioa
Simply plug the receiver into any standard electrical outlet within range of the push button. For optimal performance, choose an outlet that is centrally located or closer to the push button, avoiding large metal objects or thick walls that may interfere with the signal.
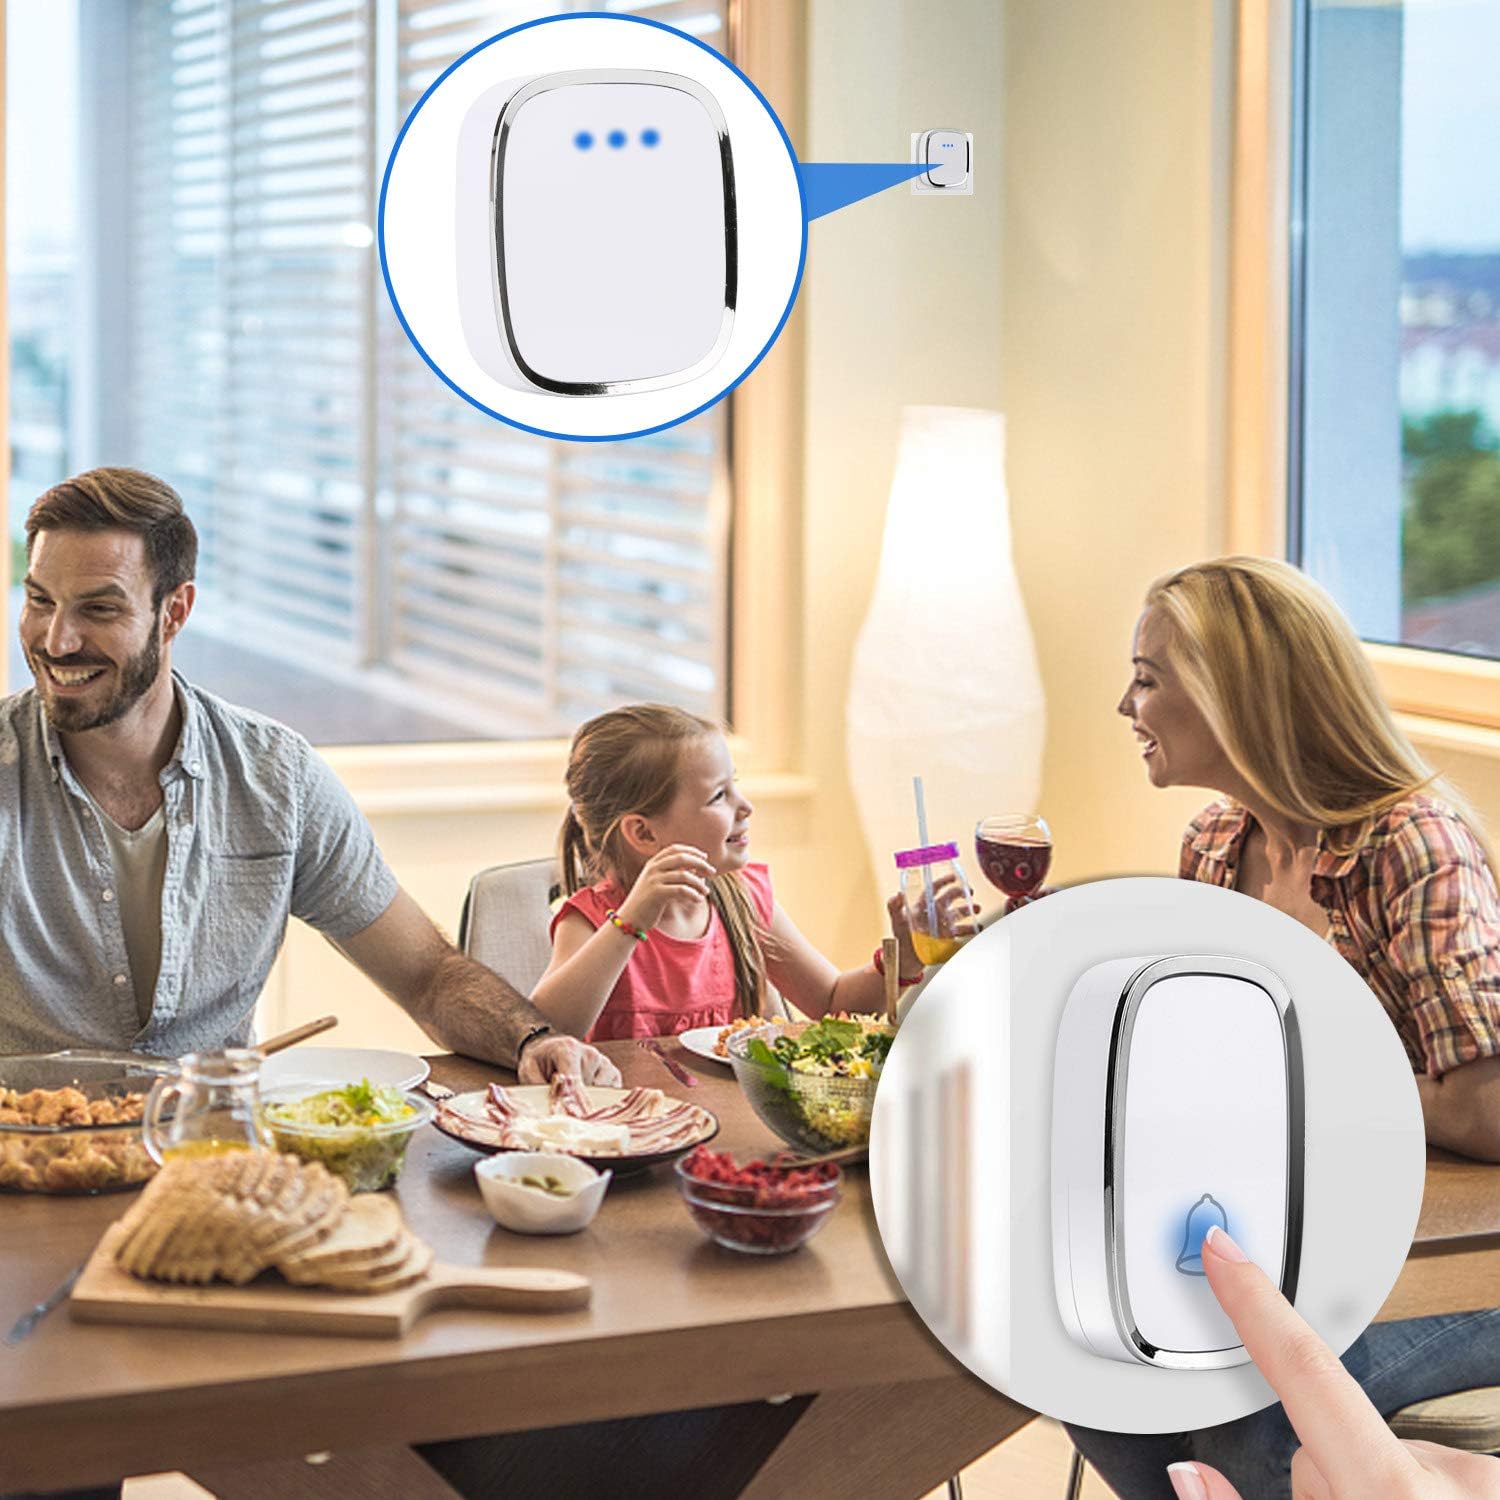
Image 2.4: The doorbell receiver plugged into a wall outlet, indicating its readiness for use in a home setting.
3. Funtzionamendua
Your AUTENS Wireless Doorbell offers various customization options for melodies and volume levels.

3.1. irudia: Atzekoa view of the receiver showing the Ringtone Button and Volume Button, along with an illustration of the 36 melodies and 4 volume levels (0dB to 80dB).
3.1 Adjusting Melodies
The receiver comes with 36 selectable melodies. To change the melody:
- Press the "Ringtone Button" on the side of the receiver to cycle through the available melodies.
- Stop pressing when you hear your desired melody. The receiver will remember this selection.
3.2 Bolumen mailak doitzea
The receiver has 4 adjustable volume levels, ranging from 25 dB to 80 dB.
- Press the "Volume Button" on the side of the receiver to cycle through the volume levels.
- Select the volume level that best suits your environment.
3.3 Silent Mode and LED Indicator
A silent mode is available for times when you prefer not to be disturbed. Even in silent mode, the LED indicator on both the push button and receiver will flash when the button is pressed, providing a visual alert. This feature is particularly useful for individuals with hearing impairments.
3.4 Pairing Additional Units (Expandable System)
The AUTENS doorbell system is expandable, allowing you to pair additional receivers or push buttons. Follow these steps to pair new units:
- Konektatu hargailua: Plug the receiver you wish to pair into an electrical outlet.
- Sartu parekatze moduan: Press and hold the "Volume Button" on the receiver. Do not release it.
- Press Transmitter: While still holding the Volume Button on the receiver, press the push button transmitter you want to pair. You should hear a chime from the receiver, indicating successful pairing.
- Askatzeko botoia: Release the Volume Button on the receiver.
- Repeat for Multiple Transmitters/Receivers: If pairing multiple transmitters to one receiver, repeat steps 2-4 for each additional transmitter. If pairing multiple receivers, repeat steps 1-4 for each additional receiver.
4. Zainketa eta Mantentzea
Proper care ensures the longevity and optimal performance of your doorbell system.
- Garbiketa: Wipe the receiver and push button with a soft, dry cloth. Do not use abrasive cleaners or solvents.
- Push Button Battery Replacement: The push button uses a 12V 23A alkaline battery, which typically lasts about 1 year. If the LED indicator on the push button does not light up or the signal range decreases significantly, it may be time to replace the battery. To replace, open the back cover of the push button, remove the old battery, and insert a new 12V 23A battery, observing polarity.
- Iragazgaitzaren balorazioa: The remote transmitter button is rated IP44 dustproof and waterproof, suitable for outdoor use. However, avoid submerging it in water or exposing it to extreme pressure washing.
- Funtzionamendu-tenperatura: The unit is functional between -30°C to 70°C (-22°F to 158°F).
Image 4.1: Illustration highlighting the IP44 waterproof rating of the push button and its working temperature range of -30°C to 70°C.
5. Arazoak
If you encounter issues with your doorbell, refer to the table below for common problems and solutions.
| Arazoa | Kausa posiblea | Irtenbidea |
|---|---|---|
| Receiver does not ring. | Hartzailea deskonektatuta edo korrontetik kanpotage. Push button battery low or dead. Units not paired. | Ensure receiver is securely plugged into a working outlet. Replace 12V 23A battery in push button. Re-pair the push button and receiver as per Section 3.4. |
| Short operating range or intermittent signal. | Obstructions (thick walls, metal objects). Interference from other wireless devices. Low push button battery. | Relocate receiver or push button to minimize obstructions. Ensure receiver is not near large metal appliances. Replace push button battery. |
| Melodia edo bolumen ezarpenak berrezarri dira. | Power interruption to receiver. | Re-select your desired melody and volume settings. The receiver should retain settings after minor power fluctuations. |
| Push button LED does not light up. | Push button battery is dead or incorrectly installed. | Replace the 12V 23A battery, ensuring correct polarity. |
6. Zehaztapen Teknikoak
| Ezaugarri | Zehaztapena |
|---|---|
| Modelo zenbakia | SVS09-14-15 |
| Eragiketa-eremua | Gehienez 1000 oin (300 metro) espazio irekian |
| Doinuak | 36 txirrin hautagarri |
| Bolumen-mailak | 4 maila (25 dBtik 80 dBra) |
| Soinu Maila | 100 dB (gehienez) |
| Botoi-bateria | 1 x 12V 23A Alkaline Battery (included) |
| Average Battery Life (Push Button) | Urtebete gutxi gorabehera |
| Waterproof Rating (Push Button) | IP44 |
| Funtzionamendu-tenperatura | -30 °C eta 70 °C (-22 °F eta 158 °F) |
| Materiala | Plastikoa |
| Kolorea | Zuria |
| Elementuaren pisua | 100 g |
| Paketearen neurriak | 11.94 x 9.14 x 7.37 cm (4.7 x 3.6 x 2.9 hazbete) |

Image 6.1: Diagram showing the dimensions of both the receiver and the push button in inches.
7. Bermea eta Laguntza
7.1 Itzultzeko politika
This product is subject to a 30-day return policy for refund or replacement, as per standard retail terms.
7.2 Bezeroarentzako laguntza
For further assistance, technical support, or inquiries regarding your AUTENS Wireless Doorbell, please contact the manufacturer directly or visit the official AUTENS store page:
