MASTERCANOPY 8X5 Grill Gazebo Brown Edge
MASTERCANOPY Patio Outdoor Gazebo Instruction Manual
Model: 8X5 Grill Gazebo Brown Edge (13x11 Brown)
Sarrera
Thank you for choosing the MASTERCANOPY Patio Outdoor Gazebo. This manual provides detailed instructions for the safe and efficient assembly, operation, and maintenance of your new gazebo. Please read this manual thoroughly before beginning assembly and keep it for future reference.
Segurtasun Informazioa
OHARRA: Segurtasun-jarraibide hauek ez betetzeak lesio larriak edo ondasunen kalteak eragin ditzake.
- Always assemble and disassemble the gazebo on a stable, flat surface.
- Use appropriate tools and follow the instructions carefully.
- Do not leave the gazebo unattended when in use.
- Keep children and pets away from the gazebo during assembly, disassembly, and while it is in use.
- Do not use the gazebo in windy or stormy conditions. High winds can cause the gazebo to become unstable and collapse.
- Regularly inspect the gazebo for any damage or wear and tear, and perform necessary maintenance to ensure its safety and stability.
- Ziurtatu konexio guztiak ondo lotuta daudela erabili aurretik eta erabili bitartean.
- Remove canopy top during heavy rain or snow to prevent pooling and collapse.
Paketearen edukia
Before beginning assembly, ensure all parts listed below are present and undamaged. If any parts are missing or damaged, please contact customer service.
- Steel Frame (8 reinforced roof beams)
- Top Cover (PU coated 300D polyester canopy)
- 4 Removable Zipper-Ended Mesh Screens
- Corner Shelves
- Center Hook
- Plant Rings (on each corner of the roof)
- Assembly Hardware (bolts, pins, etc.)

Image: The complete MASTERCANOPY Patio Outdoor Gazebo, showcasing its spacious interior and design with furniture.
Muntatzeko jarraibideak
Assembly typically requires two people. While the instructions are primarily visual, paying close attention to component orientation is crucial. Ensure all connections are secure for stability.
Urratsez urratseko muntaketa:
- Oinarrizko markoa muntatu: Connect the horizontal and vertical steel frame components to form the base structure. Ensure all pins click into place securely.
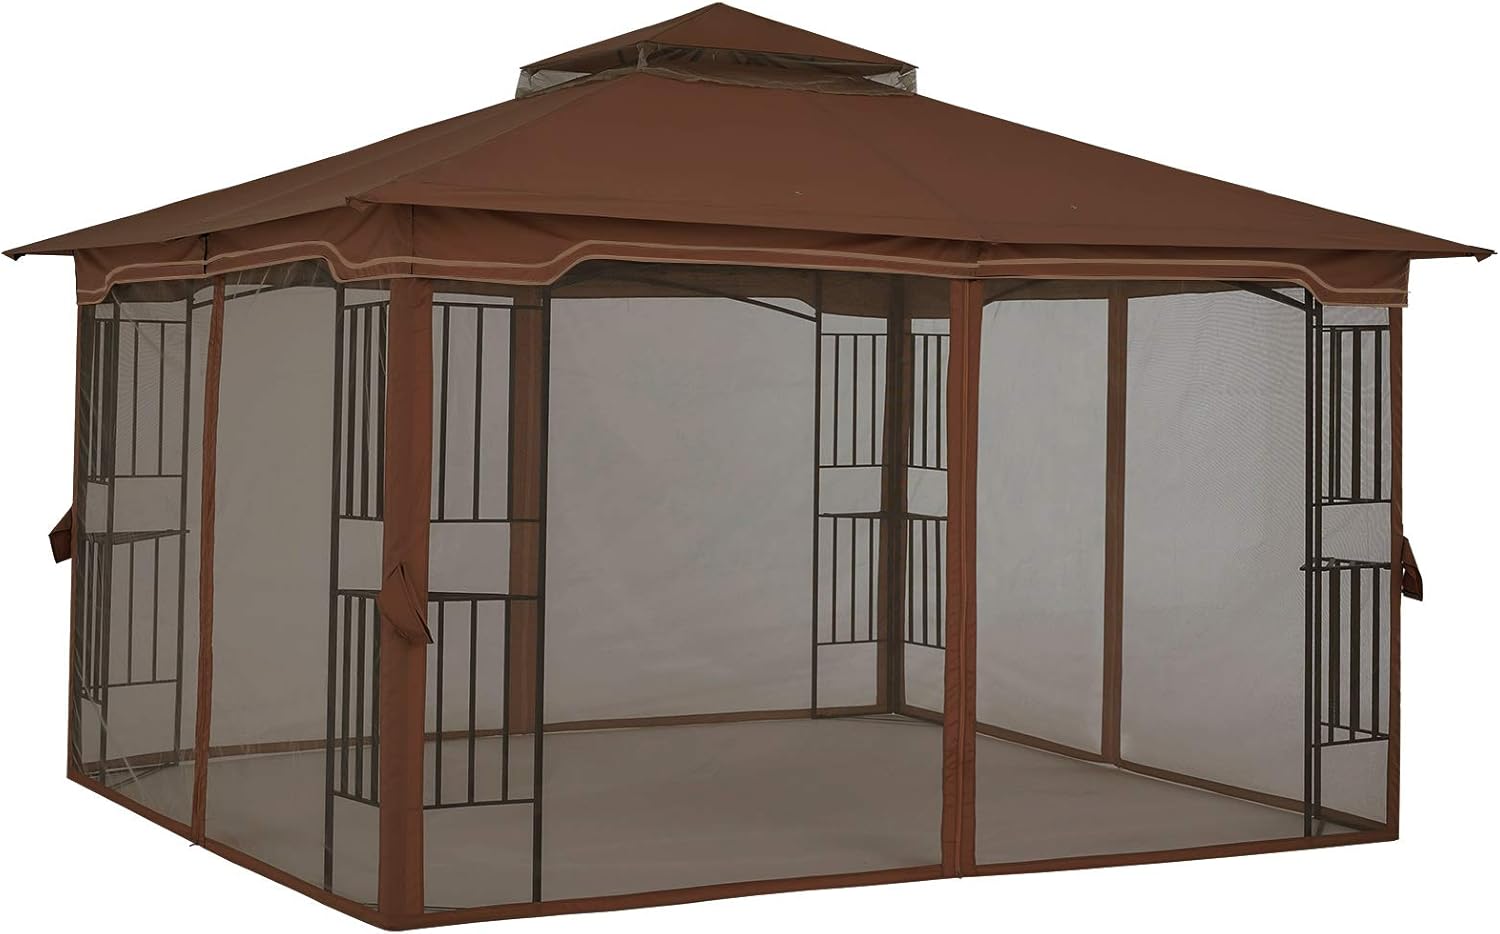
Image: Various components of the gazebo frame, including poles and connectors.
- Attach Corner Shelves and Supports: Integrate the corner shelf structures into the main frame. These provide additional stability and utility.

Irudia: Gertutik view of the triangular corner shelf design, which can hold potted plants or lights.
- Install Roof Beams: Connect the 8 reinforced roof beams to the top of the frame. Pay attention to the orientation of each beam and ensure they are properly secured with the provided hardware.

Image: The gazebo frame with the roof structure partially assembled, showing the connection points.
- Attach the Main Canopy: Carefully drape the main canopy over the roof frame. It is recommended to place the canopy loosely before fully raising the frame. Secure the canopy to the frame, ensuring it is taut but not overly stretched.
Ohar garrantzitsua: When attaching the canopy, especially around parts like 'Q' and 'S' (refer to your specific part diagram if available), ensure the fabric is not overly stressed. Some users have found it easier to adjust the rail length (if applicable) to prevent tearing when stretching the canopy over corners. Secure the top canopy firmly once in place.
- Install the Vented Double Roof: Place the smaller, upper canopy onto the main canopy, aligning it with the central vent. This design promotes airflow and reduces wind pressure.
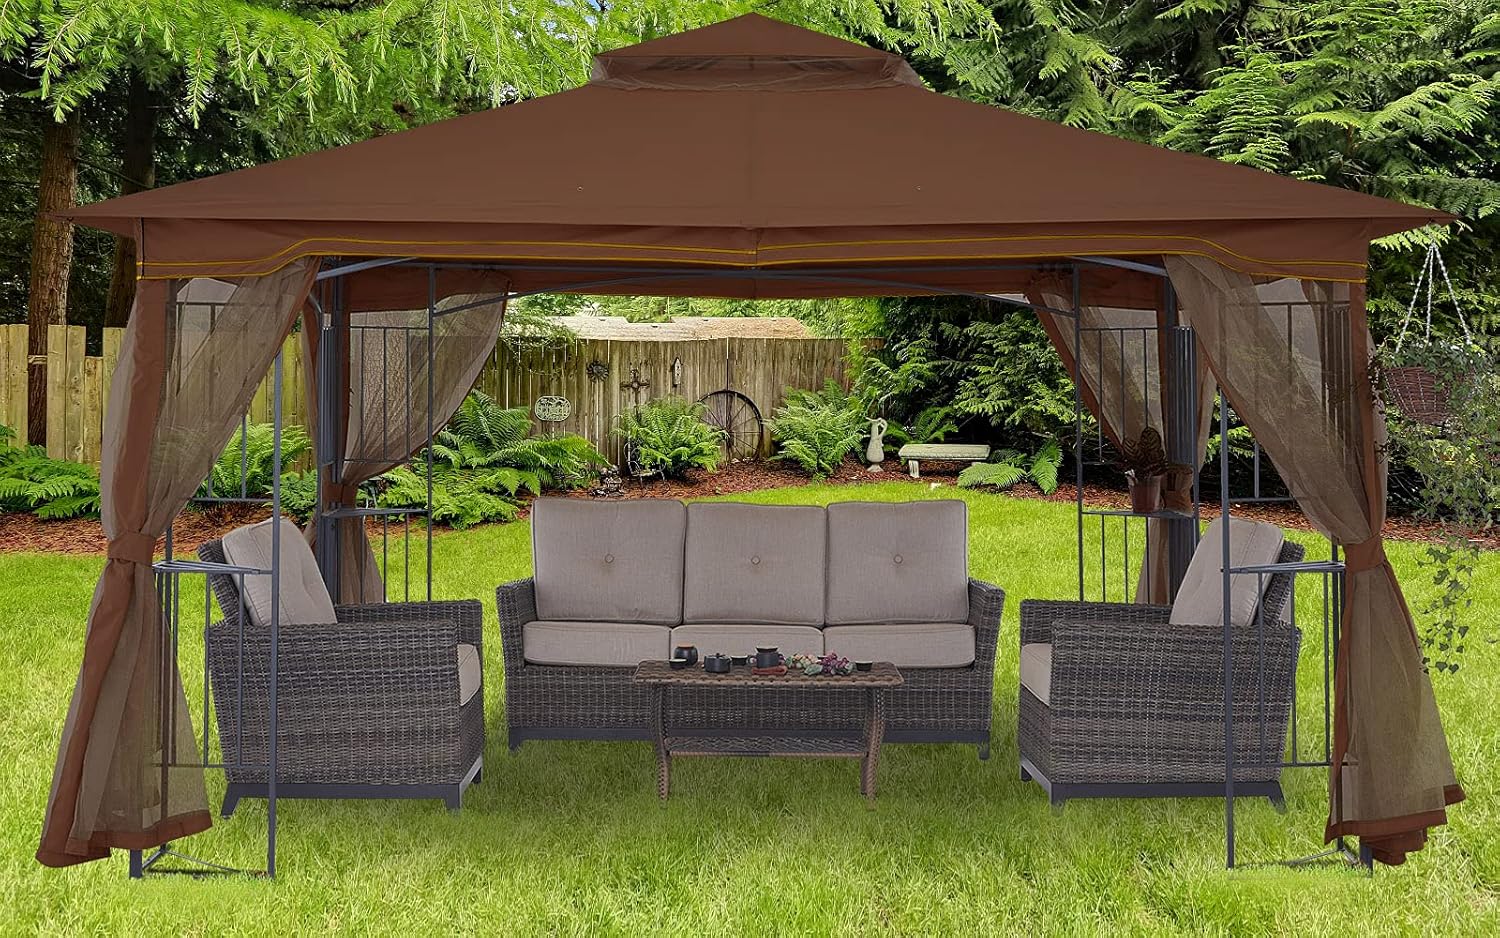
Image: A visual representation of the vented double roof, illustrating how it promotes air circulation.
- Attach Mesh Screens: Hang the four removable zipper-ended mesh screens from the designated points on the frame. These screens are designed to keep insects out while allowing airflow.
Image: The gazebo with all mesh screens installed, providing an enclosed space.
- Azken egiaztapenak: Ensure all connections are tight and the gazebo is stable. Anchor the gazebo to the ground using appropriate methods (e.g., sandbags, stakes, or bolt the legs to a solid surface) to prevent movement in mild winds.
Funtzionamendu-argibideak
- Mesh Screen Operation: The mesh screens feature zippers for easy opening and closing. They can be tied back to the frame when not in use.
- Corner Shelves: Utilize the integrated corner shelves for placing small items, potted plants, or decorative lighting.
- Center Hook: The hook located at the center of the roof frame is designed for hanging lights or other lightweight decorations.

Image: A close-up of the durable steel hook located at the center of the gazebo's roof frame.
- Plant Rings: Rings on the edge of the roof are available for hanging additional decorations or small plant pots.

Image: A close-up of the plant ring on the gazebo's edge, designed for hanging decorations.
- Eguraldiaren babesa: The PU coated 300D polyester canopy provides full waterproof protection and blocks 95% UV rays. The double-layer roof promotes airflow and reduces wind pressure.
Mantentzea
- Garbiketa: Clean the canopy and mesh screens with mild soap and water. Do not use harsh chemicals or abrasive cleaners. Rinse thoroughly and allow to air dry completely before storage.
- Markoaren zainketa: Inspect the steel frame periodically for any signs of rust or damage. Clean with a damp cloth and dry thoroughly. Apply rust-preventative paint if necessary.
- Sasoiko biltegiratzea: For prolonged lifespan, especially in areas with harsh winters or frequent severe weather, it is recommended to disassemble and store the gazebo indoors. This prevents damage from heavy snow accumulation or strong winds.
- Drainatzea: The canopy is equipped with drainage holes to prevent water pooling. Regularly check these holes to ensure they are clear of debris.

Irudia: Gertutik view of a drainage hole on the canopy, designed to prevent water accumulation.
Arazoak konpontzea
| Arazoa | Kausa posiblea | Irtenbidea |
|---|---|---|
| Ura pilatzen ari da kanpalekuan | Drainage holes are blocked or canopy is not taut enough. | Clear drainage holes of debris. Ensure canopy is stretched tightly across the frame. Consider removing canopy during heavy rain. |
| Gazebo unstable or swaying in wind | Not properly anchored; loose connections; strong winds. | Ensure all frame connections are secure. Use sandbags, stakes, or bolt the legs to a solid surface. Do not use in strong winds. |
| Canopy fabric tearing during assembly | Excessive stretching; improper part alignment. | Ensure canopy is placed loosely before raising the frame. Double-check part alignment (e.g., Part Q/S) to avoid over-stressing fabric. Seek assistance for assembly. |
| Mesh screens not closing properly | Kremaileraren oztopoa edo deslerrokatzea. | Check zippers for fabric obstruction. Ensure screens are hung correctly and not twisted. |
Zehaztapenak
| Atributua | Xehetasuna |
|---|---|
| Marka | MASTERCANOPY |
| Modelo zenbakia | 8X5 Grill Gazebo Brown Edge |
| Produktuaren neurriak | 156"L x 132"Z x 108"A (Gutxi gorabehera 13'L x 11'Z x 9'A) |
| Elementuaren pisua | 78 kilo |
| Markoaren materiala | Altzairu aleazioa |
| Kanopiaren materiala | PU coated 300D Polyester |
| Uraren Erresistentzia Maila | Urarekiko erresistentea |
| UV babesa | Blocks 95% UV rays |
| Forma | Laukizuzena |
| Muntaia Beharrezkoa | Bai |
| Kolorea | Marroia |
| UPC | 619548543599 |
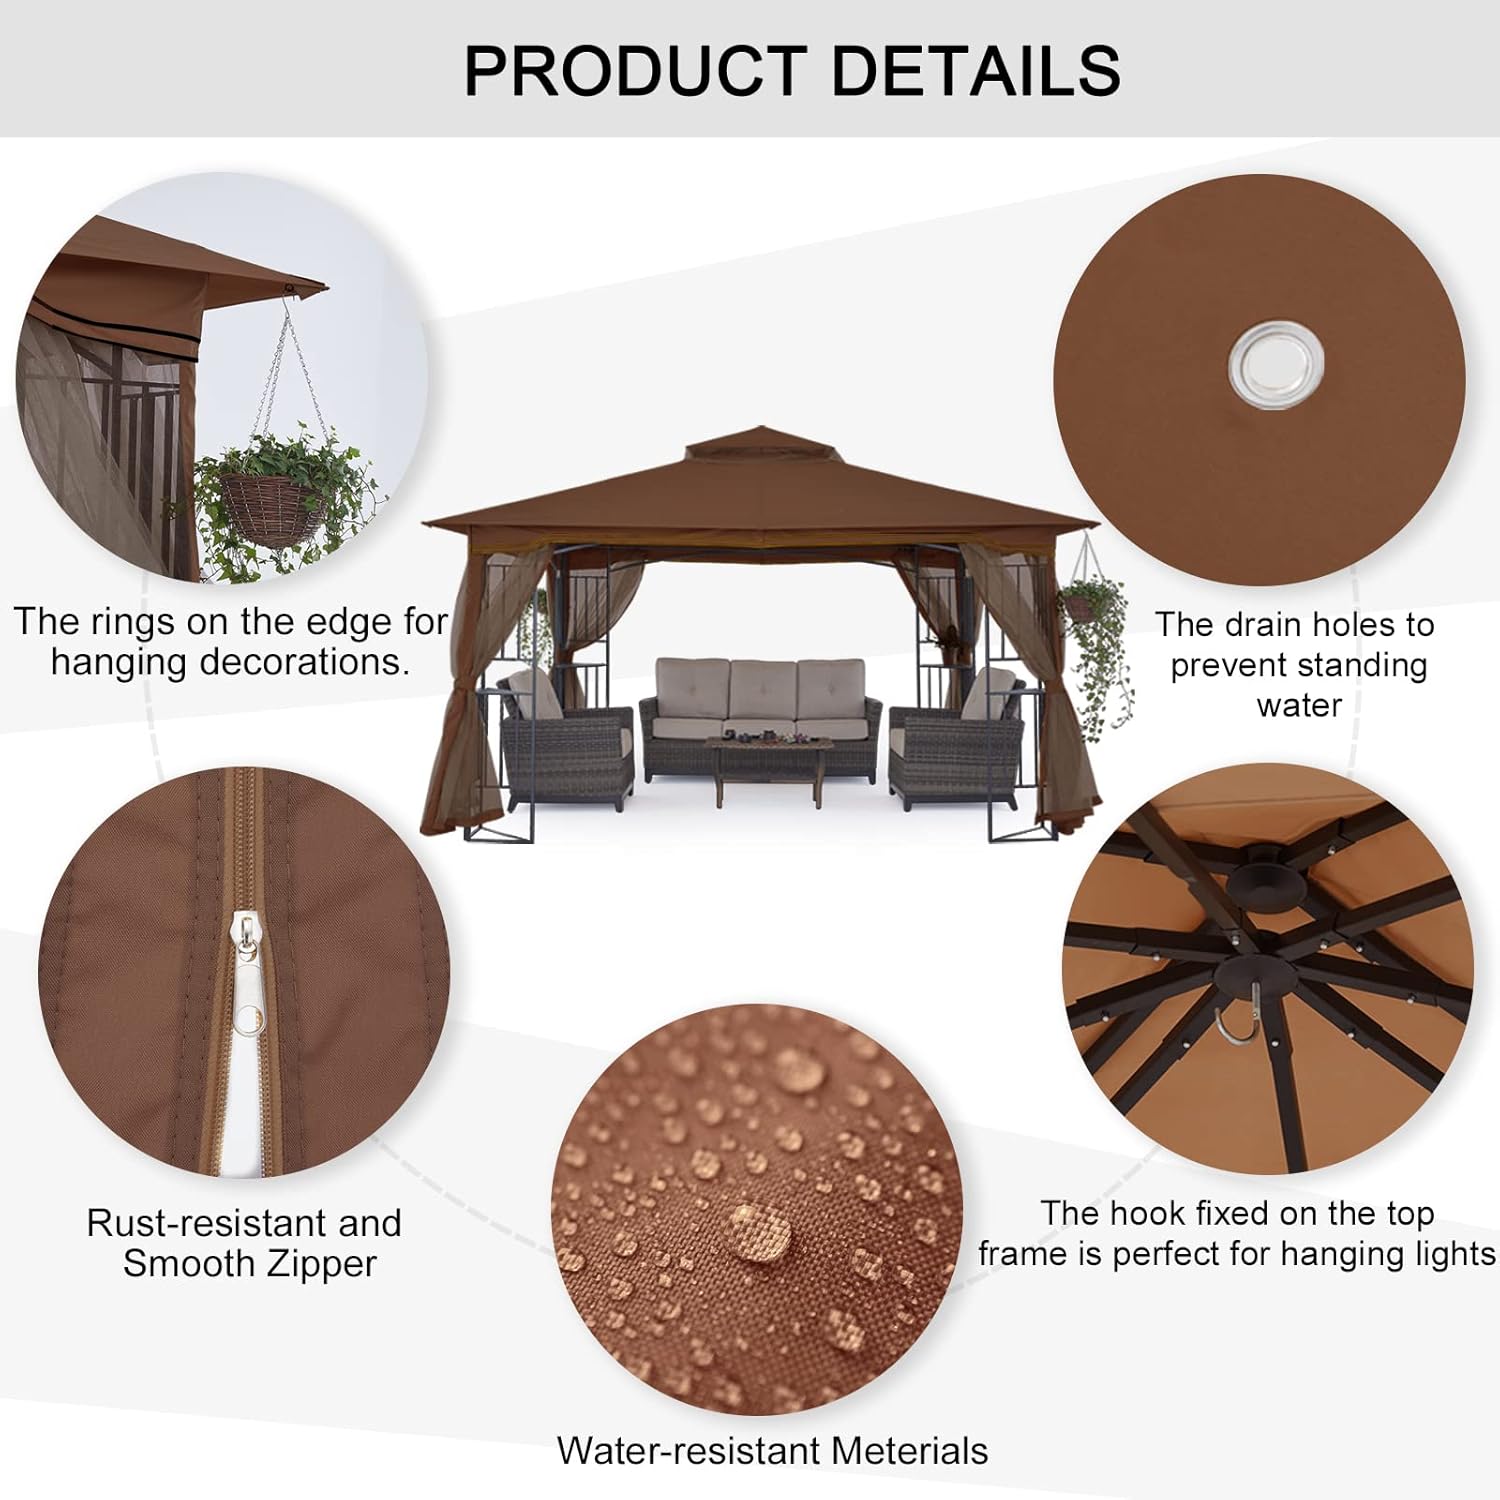
Image: Diagram illustrating various product details such as drain holes, rust-resistant zipper, and water-resistant material.
Image: Diagram showing the overall dimensions of the gazebo in both centimeters and feet.
Bermea eta Laguntza
MASTERCANOPY offers the following warranty for your gazebo:
- Markoa: 1 year for replacements.
- Beste zati batzuk: 6 months for replacements.
If you encounter any manufacturing defects or require assistance with parts, please contact MASTERCANOPY customer service. They are ready to help with product support and replacements.
For further assistance, please visit the official MASTERCANOPY store or contact their customer support directly. Visit MASTERCANOPY Store
Ask a question about this manual
Ask about setup, troubleshooting, compatibility, parts, safety, or missing instructions. Manuals+ will review the question and use this page’s manual context to help answer it.