KitchenAid KQ906
KitchenAid Programmable Wired Probe Thermometer KQ906 User Manual
Model: KQ906
1. Sarrera
The KitchenAid Programmable Wired Probe Thermometer KQ906 is designed to assist in accurately monitoring food temperatures during cooking. This device features a wired probe for use in ovens or grills, a digital display, and programmable settings for various types of meat and desired doneness. It also includes a timer function for versatile kitchen use.

1.1. irudia: KitchenAid Programmable Wired Probe Thermometer KQ906. This image displays the main unit with its digital screen, the stainless steel probe, and the connecting silicone cord with a cord wrap.
2. Paketearen edukia
Egiaztatu osagai guztiak paketean daudela:
- 1 x KitchenAid Programmable Wired Probe Thermometer (Main Unit)
- 1 x Stainless Steel Probe with Silicone Cord
- 1 x Silicone Cord Wrap
- Erabiltzailearen eskuliburua (dokumentu hau)
3. Konfigurazioa
3.1 Bateriaren instalazioa
- Bilatu bateriaren konpartimentua termometro unitatearen atzealdean.
- Ireki bateriaren estalkia.
- Insert two AAA 1.5V batteries, ensuring correct polarity (+/-) as indicated inside the compartment.
- Itxi bateriaren estalkia ongi.

3.1. irudia: Atzekoa view of the thermometer showing the battery compartment. The image displays the open battery compartment with slots for two AAA batteries and the battery cover.
3.2 Hasierako piztea
After battery installation, the unit should power on automatically. If not, locate the power switch (often combined with COOK/TIMER/OFF selector) and slide it to the 'COOK' or 'TIMER' position.
3.3 Zundaren konexioa
Insert the stainless steel probe's jack into the designated port on the side of the main thermometer unit. Ensure a firm connection.

3.2. irudia: Amaituview of the KitchenAid thermometer highlighting its features and dimensions. This image illustrates the thermometer's programmable nature, oven-proof silicone cord, magnetic back, and timer range, along with its physical dimensions and temperature range.
4. Funtzionamendu-argibideak
The thermometer offers two primary modes: Termometro modua eta Tenporizadorearen modua. These modes function independently and cannot be used simultaneously. Programming one will disable the other.
4.1 Thermometer Mode (COOK)
- Slide the switch on the back of the unit to the 'COOK' position.
- Select Meat Type: Press the 'Meat' button to cycle through preset protein options: Beef, Pork, Fish, Veal, Lamb, Chicken, Turkey, Hamburger, and PGM (custom).
- Select Doneness (Taste): After selecting a meat type, press the 'Taste' button to choose the desired doneness (e.g., Rare, Medium, Well). For 'PGM' (custom), you can manually set the target temperature.
- Txertatu zunda: Carefully insert the stainless steel probe into the thickest part of the food, avoiding bone or gristle. Ensure the probe tip is fully embedded.
- Monitorearen tenperatura: The display will show the current internal temperature of the food and the set target temperature.
- Alarma: An audible alarm will sound when the food reaches the preset target temperature.
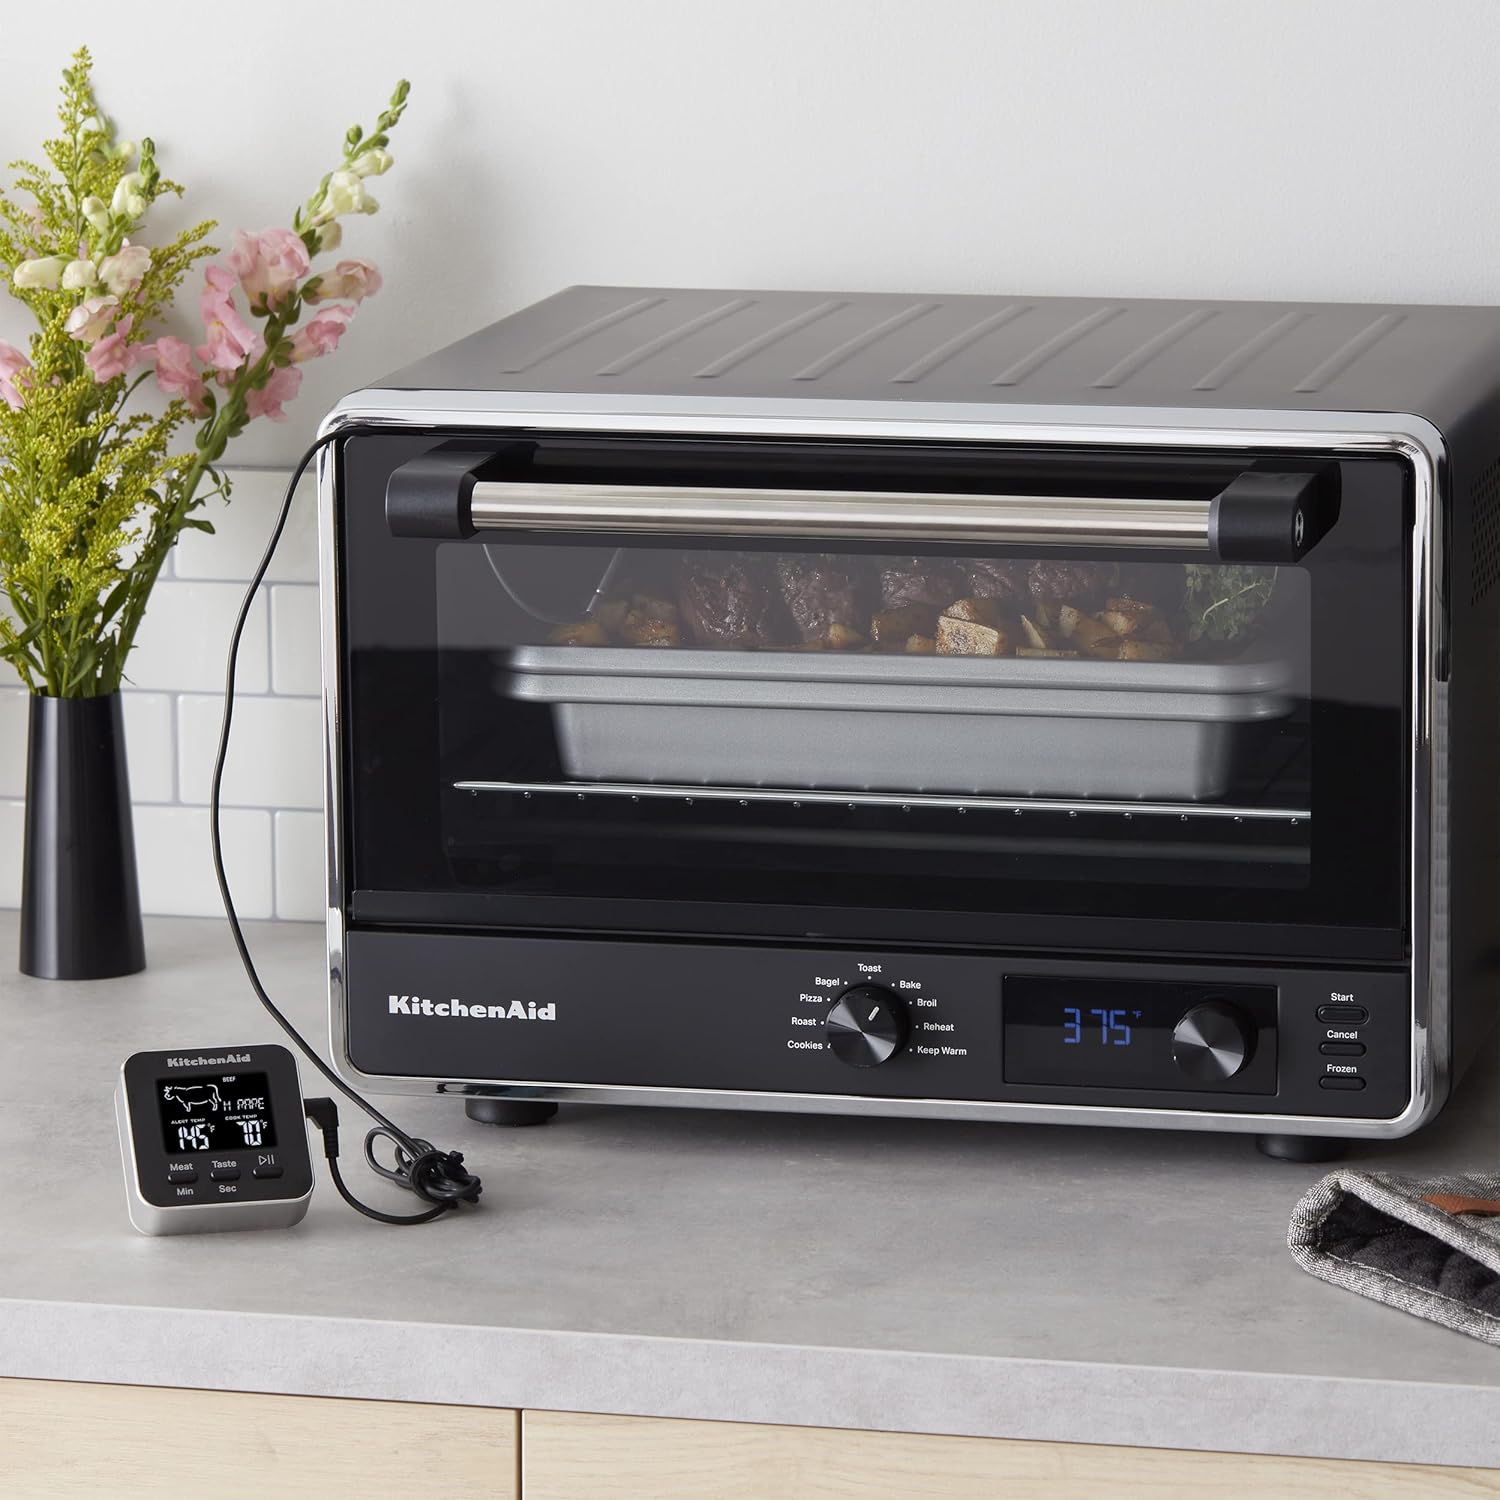
4.1. irudia: The thermometer unit placed outside an oven, with its probe inserted into food cooking inside. This demonstrates how to monitor internal food temperature without opening the oven door.

4.2. irudia: A hand interacting with the thermometer's display buttons while the probe is inserted into food within an oven. This illustrates the process of setting or checking temperature parameters during cooking.
4.2 Tenporizadore modua
- Slide the switch on the back of the unit to the 'TIMER' position.
- Ezarri ordua: Use the 'Min' and 'Sec' buttons to set the desired countdown time (up to 99 minutes, 59 seconds).
- Hasi/Gelditu: Press the Play/Pause button (often labeled with a triangle/two vertical bars icon) to start or pause the timer.
- Zenbatu gora: The timer can also function as a count-up timer if not set for a countdown.
- Alarma: An alarm will sound when the countdown timer reaches zero.
5. Important Notes and Safety Precautions
- Zundaren kokapena: Digital thermometers are designed for continuous monitoring during cooking. The probe can remain in the food inside the oven or grill.
- Bero-esposizioa: The main thermometer unit (display) is EZ meant to be left inside the oven or grill. The plastic and electronic components can be damaged by excessive heat.
- Probe Temperature Limits: The wired probe should not be exposed to temperatures exceeding 482°F (250°C) or come into direct contact with flames.
- Handling Hot Probe: The probe will be hot after use. Always use oven mitts or potholders when handling the hot probe.
- Timer and Thermometer: Remember that the thermometer and timer functions are independent and cannot be used simultaneously. Activating one will disable the other.
6. Mantentzea eta Garbiketa
6.1 Garbiketa jarraibideak
- Unitate nagusia: Hand wash only. Do not immerse the main thermometer unit in water or place it in a dishwasher. For best results, wipe the unit with a damp zapi eta ondo lehortu.
- Zunda: The stainless steel probe can be cleaned with warm, soapy water. Rinse thoroughly and dry completely before storage.
6.2 Biltegiratzea
Utilize the integrated silicone cord wrap to neatly store the probe's cord, preventing tangles and damage. Store the thermometer in a dry place away from extreme temperatures.
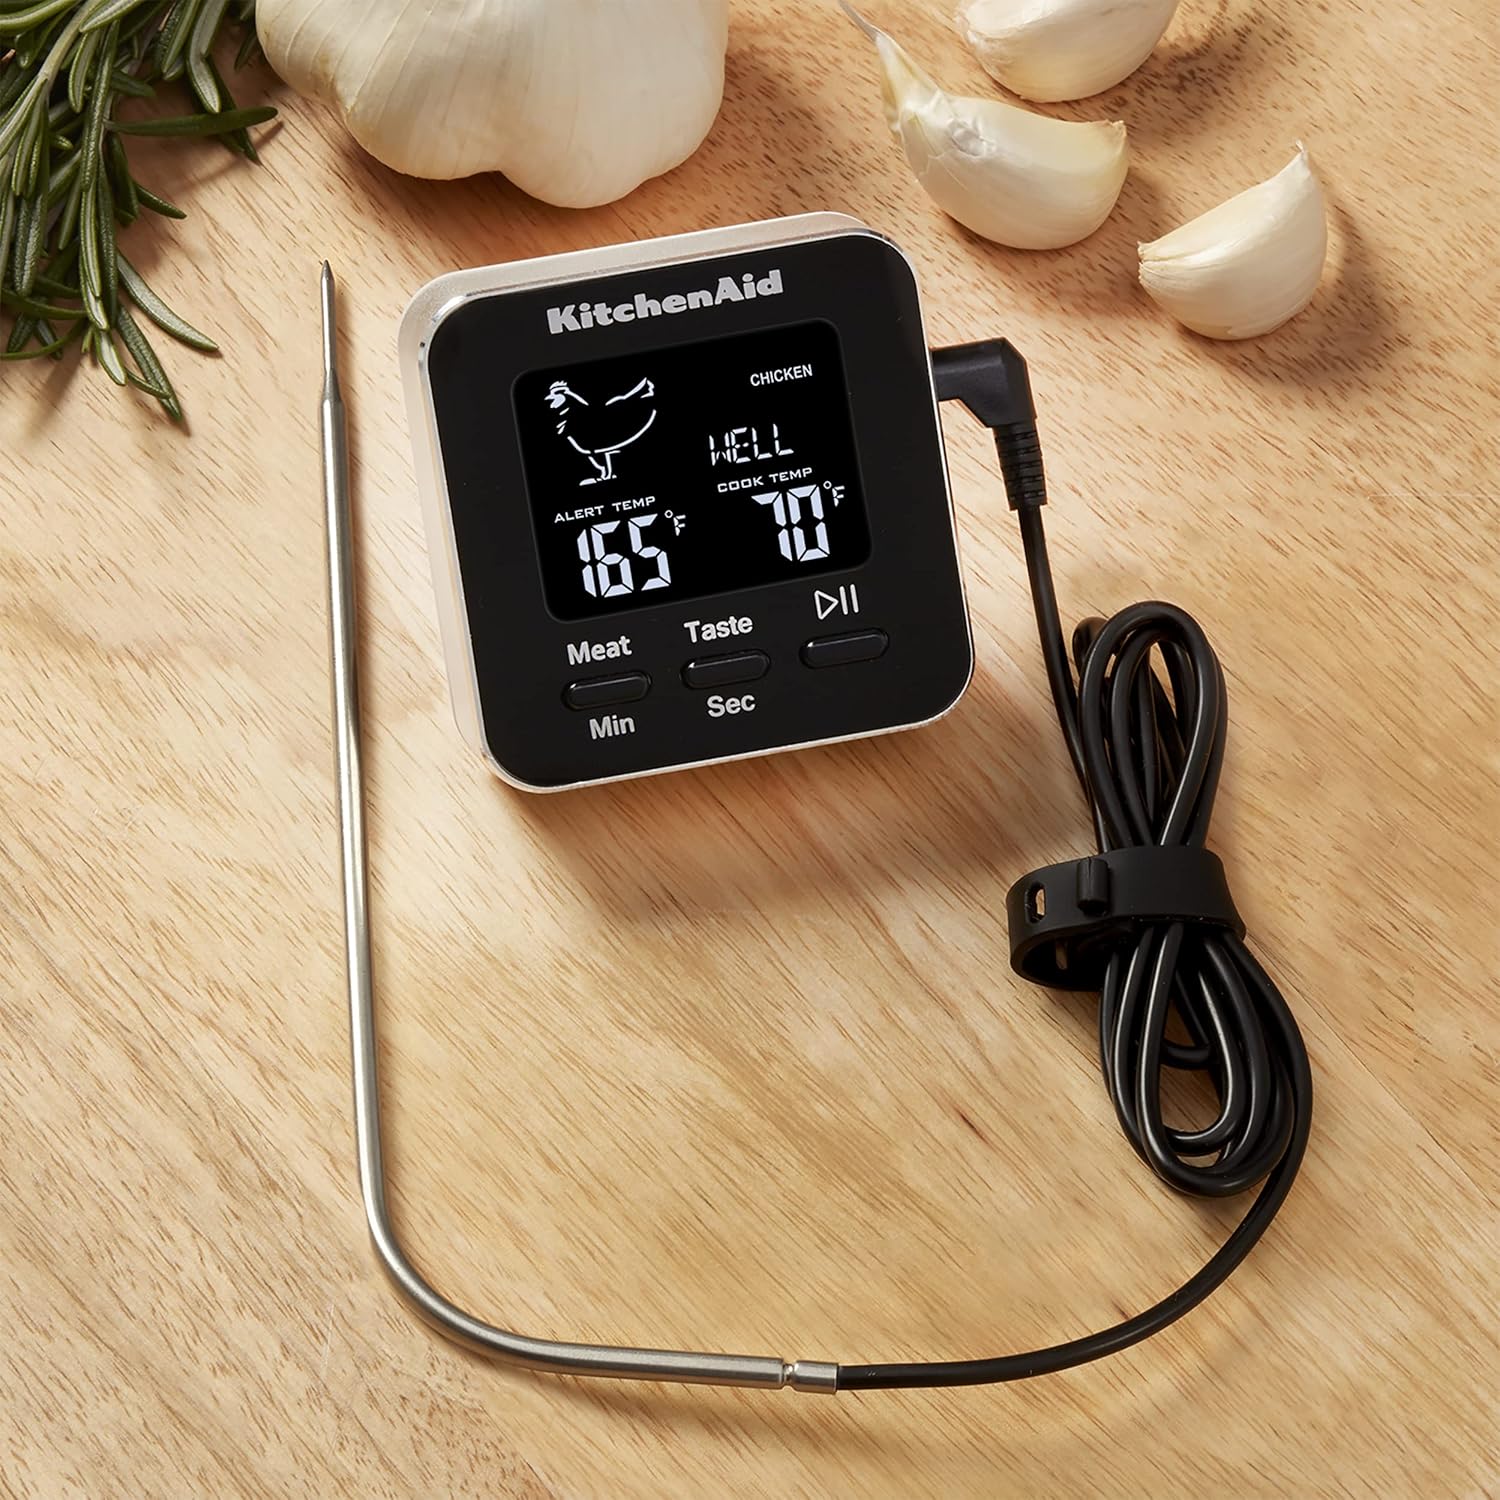
6.1. irudia: The KitchenAid thermometer displayed on a wooden cutting board, accompanied by garlic cloves and rosemary sprigs. This image showcases the product in a typical kitchen setting.
7. Arazoak
If you encounter issues with your KitchenAid Programmable Wired Probe Thermometer, refer to the following common solutions:
- Pantailarik ez/Unitatea ez da pizten:
- Egiaztatu bateriaren polaritatea.
- Ordeztu bateriak berriekin.
- Ensure the power switch is in the 'COOK' or 'TIMER' position.
- Tenperatura-irakurketa okerrak:
- Ensure the probe is fully inserted into the thickest part of the food, avoiding bone.
- Verify the probe cord is securely connected to the main unit.
- Check if the probe or cord has visible damage.
- Alarma ez da jotzen:
- Confirm the target temperature or timer duration is correctly set.
- Ensure the unit is in the correct mode (COOK for temperature, TIMER for timer).
- Timer or Thermometer Not Working Simultaneously:
- This is normal operation. The unit is designed to function in one mode at a time. Select either 'COOK' or 'TIMER' mode.
8. Zehaztapenak
| Modelo zenbakia | KQ906 |
| Tenperatura tartea | -40°F eta 482°F (-40°C eta 250°C) |
| Tenporizadorearen barrutia | Up to 99 minutes, 59 seconds |
| Bistaratzeko mota | Digitala |
| Energia iturria | 2 x AAA 1.5V bateriak (ez dira barne hartzen) |
| Kanpoko Materiala | Silicone, Stainless Steel |
| Produktuaren neurriak | 1 x 3.2 x 7.6 hazbete (Unitate Nagusia) |
| Produktuaren pisua | 4.97 ontza |
| Zaintzeko jarraibideak | Hand Wash Only (Main Unit), Probe is washable |
9. Bermea eta Laguntza
For warranty information, product support, or to inquire about replacement parts, please refer to the official KitchenAid website or contact KitchenAid customer service directly. Keep your purchase receipt as proof of purchase.
Webgunea: www.kitchenaid.com
Ask a question about this manual
Ask about setup, troubleshooting, compatibility, parts, safety, or missing instructions. Manuals+ will review the question and use this page’s manual context to help answer it.