YESWELDER MIG-250 PRO
YESWELDER MIG-250 PRO Aluminum MIG Welder User Manual
Model: MIG-250 PRO
1. Sarrera
Thank you for choosing the YESWELDER MIG-250 PRO Aluminum MIG Welder. This 6-in-1 multiprocess welding machine is designed for versatility and performance, offering MIG, Pulsed MIG, Flux Core, Spool Gun MIG, Lift TIG, and Stick welding capabilities. This manual provides essential information for safe operation, setup, maintenance, and troubleshooting to ensure optimal performance and longevity of your welding machine.

Figure 1.1: The YESWELDER MIG-250 PRO Aluminum MIG Welder.
2. Segurtasun informazioa
Beti eman lehentasuna segurtasunari soldadura-ekipoak erabiltzean. Irakurri eta ulertu segurtasun-abisu eta argibide guztiak erabili aurretik. Hori ez egiteak lesio larriak edo heriotza eragin ditzake.
- Deskarga elektrikoak hil dezake: Do not touch live electrical parts. Wear dry welding gloves and protective clothing. Insulate yourself from work and ground.
- Lurrunak eta gasak arriskutsuak izan daitezke: Mantendu burua kearen eraginpean. Erabili nahikoa aireztapen edo ihes-hodi arkuan kea eta gasak arnasketa-eremutik urrun mantentzeko.
- Arku izpiek begiak eta azala erre ditzakete: Wear a welding helmet with a proper shade of filter to protect your face and eyes when welding or watching. Wear appropriate eye protection with side shields.
- Sute eta leherketa arriskua: Protect yourself and others from flying sparks and hot metal. Remove all flammables within 35 feet (10.7 m) of the welding area.
- Zati beroek erredura larriak eragin ditzakete: Do not touch hot parts with bare hands. Allow cooling time before handling.
3. Produktuaren ezaugarriak
The MIG-250 PRO is engineered with advanced features for superior welding performance:
- Funtzio anitzekoa: Capable of MIG, Pulsed MIG, Flux Core, Spool Gun MIG, Lift TIG, and Stick welding. Dynamic control allows setting arc characteristics from crisp to soft.
- Pantaila digital aurreratua: A state-of-the-art digital display provides crystal-clear operation monitoring and precise feedback, enhancing visual acuity and streamlining workflow.
- Synergic & Manual MIG: Synergic control automatically adjusts wire feed speed to optimal voltage, ideal for beginners. Manual MIG offers full customization for professionals.
- IGBT inbertsorearen teknologia: Delivers a robust 250Amp maximum output with reliable performance and steadfast stability for demanding applications.
- Wide Welding Wire Compatibility: Supports various wire types including .023”/.030”/.035” solid/SS wire, .023”/.030”/.035” flux core wire, and .035”/.045” aluminum wire for spool gun MIG welding.
- Segurtasun babesa: Features automatic protection against over-current, over-voltage, and over-heating, reducing energy consumption and prolonging device life.

Figure 3.1: The MIG-250 PRO offers 6 welding processes.

3.2. irudia: Xehetasuna view of the upgraded large LED digital display.
4. Package Contents & Accessories
Egiaztatu elementu guztiak bertan daudela eta kalterik gabe daudela paketea desblokeatzean:
- 1 x MIG-250 PRO Welder
- 1 x Laneko KLamp
- 1 x Electrode Holder
- 1 x Groove Drive Roller
- MIG Gun Tips
- 1 x MIG Gun
- 1 x Gas Hose
- 1 x Graphene Feeding Liner

Figure 4.1: All accessories included with the MIG-250 PRO.
5. Konfigurazioa
Follow these steps to set up your YESWELDER MIG-250 PRO:
5.1 Makina gaindituview
Familiarize yourself with the machine's components:
- Panel digitala
- Euro Torch Socket
- Wire Drive Polarity Lead
- Spool Gun Socket
- Output Terminal (+)
- Output Terminal (-)
- Pizteko etengailua
- Gasaren sarrera
- Sarrerako korronte kablea
- Fan

5.1. irudia: Aurrealdea eta atzealdea view of the MIG-250 PRO with labeled components.
5.2 Panelaren Sarrera
Understand the controls on the digital panel:
- Wire Diameter Selector Button
- 2T / 4T Selector Button
- Weld Mode Selector Button
- Spool Gun Switch Button
- Feed Wire Button
- Gas Selector Button
- Left Value Knob/Button
- Right Value Knob/Button
- Digital Panel Display

5.2. irudia: Xehetasuna view of the control panel and digital display.
5.3 Connecting Power and Gas
Connect the input power cable to a 220V power source. For MIG welding, connect your gas cylinder to the gas inlet on the rear of the machine using the provided gas hose.
5.4 Loading Welding Wire
Open the wire feed compartment. Place the welding wire spool onto the spindle, ensuring it rotates freely. Thread the wire through the drive roller and into the MIG gun liner. Select the appropriate groove on the drive roller for your wire diameter. The machine supports both 2LB and 10LB welding wire spools.

Figure 5.3: Illustration of compatible welding wire spool sizes.
6. Funtzionamendu-argibideak
The MIG-250 PRO offers multiple welding processes. Select the desired mode using the Weld Mode Selector Button on the control panel.
6.1 Welding Modes Overview

6.1. irudia: Adibamples of Flux Core, Gas MIG, Spool Gun, Lift TIG, and Stick welding.

Figure 6.2: Setup configurations for MIG, Lift TIG, Spool Gun, Flux-Core, and Stick welding.
6.2 Synergic MIG & Manual MIG
The MIG-250 PRO offers both Synergic and Manual MIG modes. In Synergic mode, the machine automatically sets optimal voltage based on your selected wire feed speed, simplifying operation for consistent welds. Manual mode provides full control over voltage and wire feed speed for experienced users.
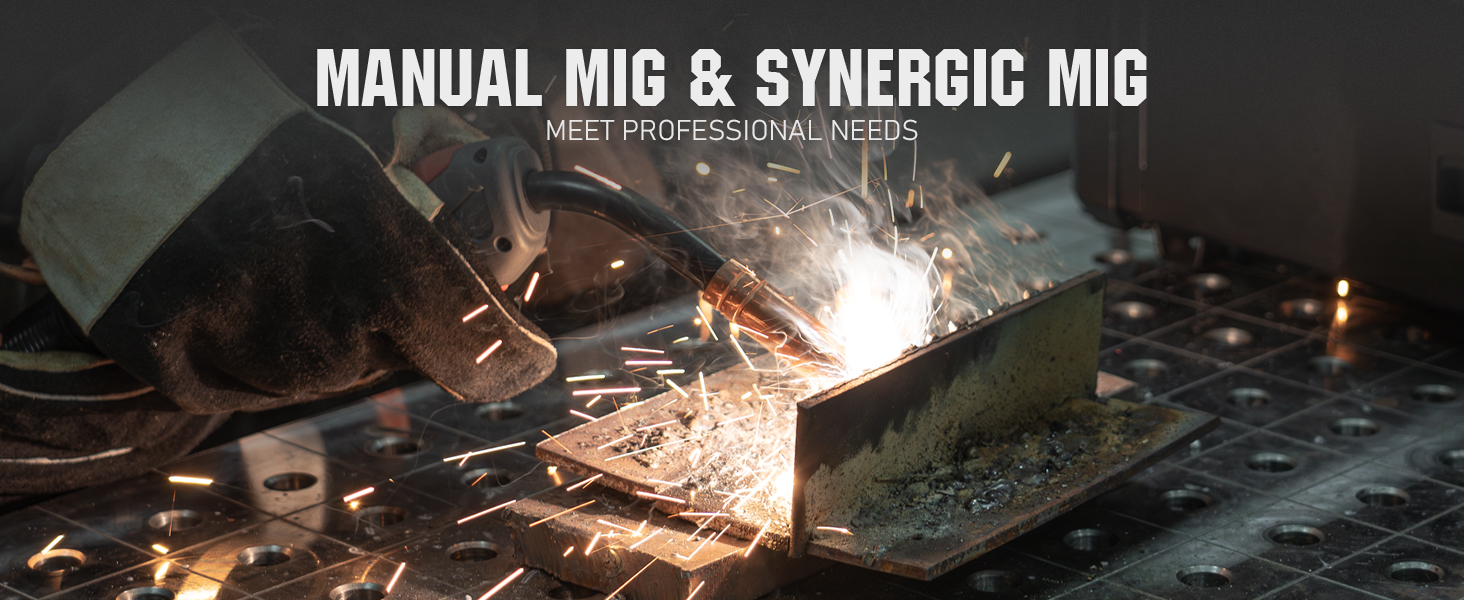
Figure 6.3: Demonstrating Manual MIG and Synergic MIG capabilities.
6.3 Stick Welding
For Stick welding, connect the electrode holder and work clamp to the appropriate terminals. The machine features Hot Start, Arc Force, VRD (Voltage Reduction Device), and Anti-Stick functions for enhanced performance and safety.

Figure 6.4: Key features for Stick welding, including Hot Start and Anti-Stick.
6.4 Spool Gun MIG Welding
The MIG-250 PRO is compatible with a spool gun (sold separately) for aluminum welding. Connect the spool gun to the dedicated socket and select the Spool Gun mode.

Figure 6.5: The MIG-250 PRO is compatible with spool guns for aluminum welding.
6.5 Onartutako materialak
The MIG-250 PRO is suitable for welding various materials, including Mild Steel, Cast Iron, Square Pipe, Stainless Steel, Sheet Metal, and Aluminum.

6.6. irudia: Adibamples of materials that can be welded with the MIG-250 PRO.
6.7 Produktuaren bideo ofiziala
Video 6.1: Official product video demonstrating the features and capabilities of the YESWELDER MIG-250 PRO Aluminum MIG Welder.
7. Mantentzea
Regular maintenance ensures the longevity and optimal performance of your welding machine:
- Garbiketa: Regularly clean the machine's exterior and ventilation openings to prevent dust and debris buildup. Use compressed air to clear internal components if necessary, ensuring the machine is unplugged.
- Kontsumigarriak: Inspect and replace MIG gun tips, nozzles, and drive rollers as they wear out. Ensure proper wire feeding by checking the liner for kinks or blockages.
- Konexioak: Periodically check all electrical connections, including power cables, work clamp, and electrode holder, for tightness and signs of wear or damage.
- Hozte haizagailua: Ensure the cooling fan is free from obstructions and operating correctly to prevent overheating.

Figure 7.1: Ensure the cooling fan is clean and unobstructed for proper machine operation.
8. Arazoak
This section addresses common issues you might encounter with your MIG-250 PRO. For problems not listed here, contact YESWELDER customer support.
| Arazoa | Kausa posiblea | Irtenbidea |
|---|---|---|
| Botererik ez | Power switch off, loose power cable, circuit breaker tripped | Turn on power switch, check cable connections, reset breaker |
| Alanbre-jariorik ez | Wire spool empty, drive roller tension incorrect, liner clogged | Replace wire, adjust tension, clear liner |
| Poor arc stability | Incorrect settings, poor ground connection, worn consumables | Egokitu boltage/wire speed, ensure good ground, replace tip/nozzle |
| Gainberoaren babesa aktibatuta dago | Exceeded duty cycle, blocked ventilation | Allow machine to cool, clear obstructions from fan/vents |
9. Zehaztapenak
Technical specifications for the YESWELDER MIG-250 PRO:
| Atributua | Xehetasuna |
|---|---|
| Modelo zenbakia | MIG-250 PRO |
| Fabrikatzailea | BAI SOLDARIA |
| Sarrera boltage | 220 Volt |
| Elementuaren pisua | 32.5 kilo |
| Paketearen neurriak | 20.63 x 15.75 x 13.31 hazbete |
| Materiala | Metala |
| Hozteko modua | Fan hoztea |
| Isolamendu-maila | F |
| Babes-maila | IP21S |

Figure 9.1: Comprehensive technical specifications for the MIG-250 PRO.

Figure 9.2: Physical dimensions and weight of the MIG-250 PRO.
10. Bermea eta Laguntza
For detailed warranty information and customer support, please refer to the official YESWELDER webgunea edo zure produktuarekin batera emandako erabiltzailearen gidan dagoen PDFa.
A digital version of the user guide can be found here: YESWELDER MIG-250 PRO User Guide (PDF)
The product typically comes with a 30-day return/replacement policy. For specific terms, please consult your purchase documentation.
Ask a question about this manual
Ask about setup, troubleshooting, compatibility, parts, safety, or missing instructions. Manuals+ will review the question and use this page’s manual context to help answer it.