1. Sarrera
This manual provides detailed instructions for the installation, operation, and maintenance of your COLORFUL Battle-AX B550M-HD PRO V14 motherboard. Please read this manual thoroughly before proceeding with installation to ensure proper setup and to maximize the performance and longevity of your system. This motherboard is designed to support AMD AM4 socket processors, including 3rd Gen Ryzen CPUs, offering a robust platform for personal computing.
2. Produktua amaitu daview
2.1 Ezaugarri nagusiak
- Supports AMD AM4 socket and AMD 3rd Gen Ryzen processors with AMD B550 chipset.
- Dual-channel DDR4 memory support.
- Integrated 6-channel high-definition audio codec.
- M.2 port for high-speed storage.
- PCI Express 4.0 x16 slot for graphics cards.
- Multiple USB ports: 12 USB ports (including internal headers), with USB 3.1 Gen1 and USB 2.0.
- 4 SATA 3.0 6GB/s ports.
- Integrated 1000Mbps wired LAN (10/100/1000Mbps Ethernet).
- Video output options: HDMI, DVI, and VGA ports.
- Supports CPUs up to 95W.
2.2 Motherboard Layout and Components
Familiarize yourself with the various components and connectors on your motherboard. Refer to the images below for visual guidance.
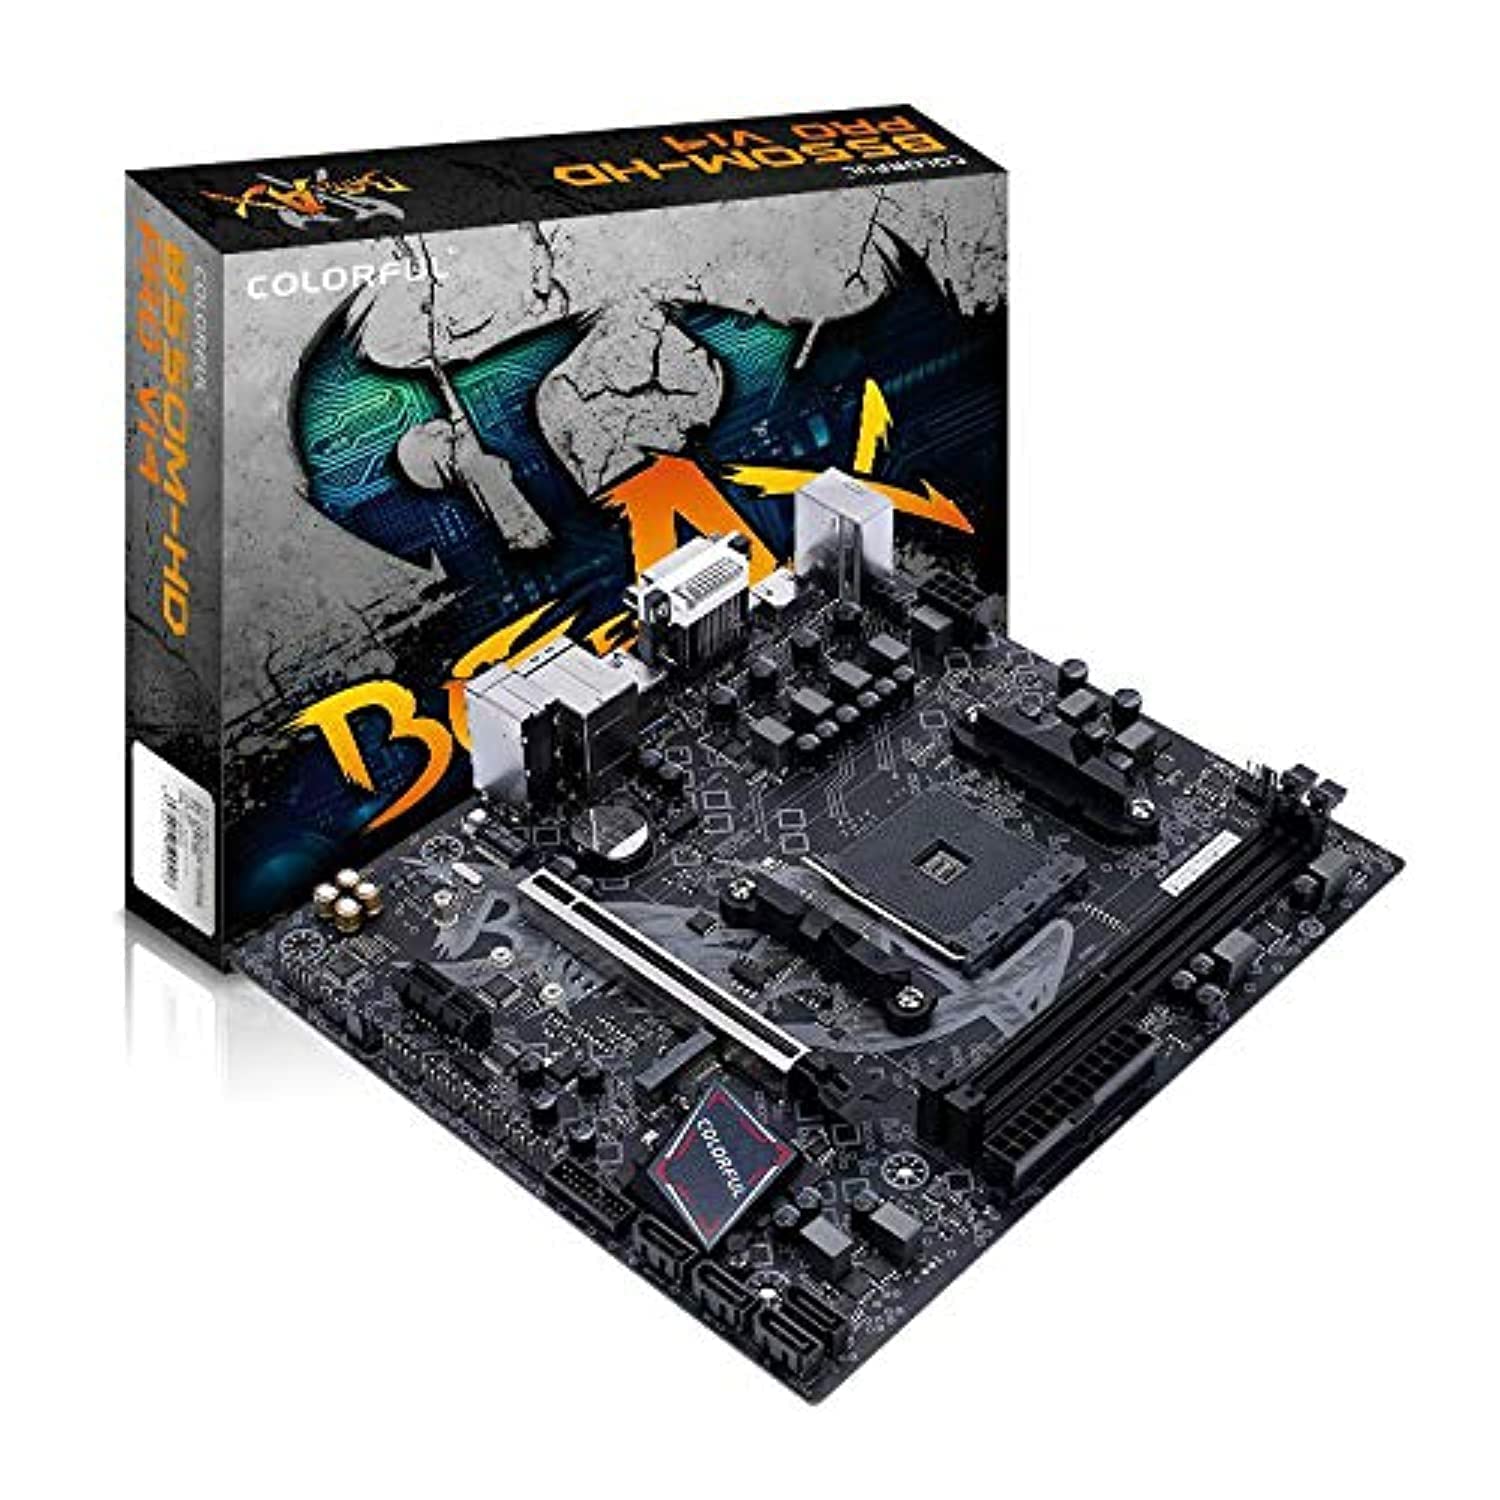
1. irudia: Goitik behera view of the COLORFUL Battle-AX B550M-HD PRO V14 motherboard, highlighting the CPU socket, RAM slots, PCIe slot, and various headers.

2. irudia: Angelukoa view of the motherboard, providing a clearer perspective of the CPU socket, DDR4 memory slots, and power connectors.
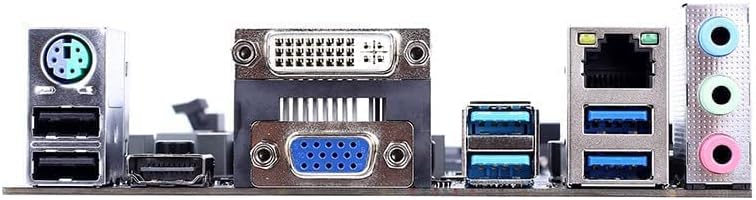
3. irudia: Rear I/O panel connectors, including PS/2, USB, video outputs (VGA, DVI, HDMI), LAN, and audio jacks.
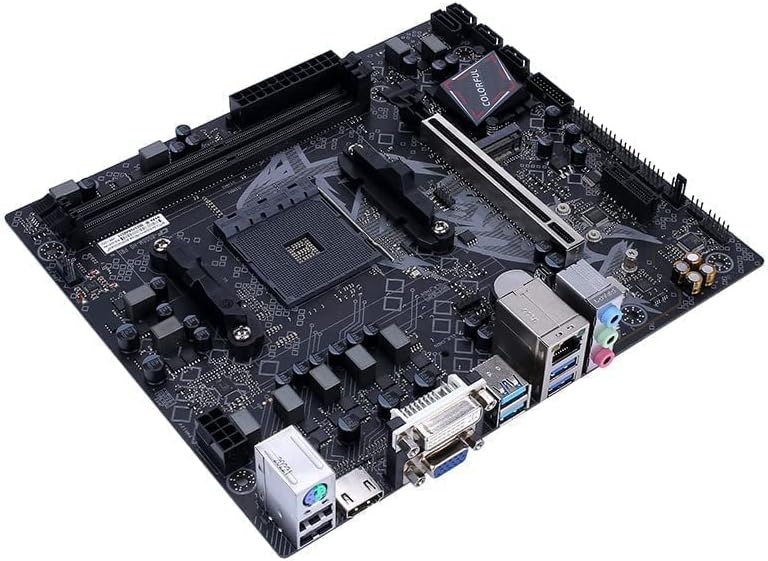
4. irudia: An alternative angled view of the motherboard, highlighting the PCIe x16 slot and the M.2 slot.
3. Konfigurazioa eta instalazioa
Instalazioa hasi aurretik, ziurtatu zure lan-eremua garbi, ondo argiztatuta eta elektrizitate estatikorik gabe dagoela. Eskumuturreko uhal antiestatiko bat erabiltzea gomendatzen da.
3.1 PUZa instalatzea
- Aurkitu AM4 CPUaren socket-a plaka basean.
- Altxatu entxufearen alboan dagoen kargatzeko palanka.
- Carefully align the triangular mark on the CPU with the corresponding mark on the socket.
- Jarri CPUa astiro-astiro socketean, indarrik eman gabe.
- Jaitsi kargatzeko palanka CPUa bere lekuan finkatzeko.
- Aplikatu pasta termikoa eta instalatu CPU hozkailua fabrikatzailearen argibideen arabera.
3.2 DDR4 memoria instalatzea
- Open the clips on both ends of the DDR4 memory slots.
- Align the notch on the memory module with the key in the DIMM slot.
- Sakatu gogor memoria-moduluaren bi muturretan, klipak bere lekuan sartu arte.
- For dual-channel operation, install memory modules into matching colored slots (if applicable, refer to motherboard manual for specific slot pairing).
3.3 Biltegiratze gailuak instalatzea
3.3.1 M.2 SSD instalazioa
- Kokatu M.2 zirrikitua plakan.
- Kendu M.2 distantziagailuaren torlojua.
- Sartu M.2 SSDa zirrikituan 30 graduko angeluan.
- Push the SSD down and secure it with the standoff screw.
3.3.2 SATA unitatearen instalazioa
- Connect one end of a SATA data cable to a SATA 3.0 port on the motherboard.
- Konektatu SATA datu-kablearen beste muturra zure SATA disko gogorrera edo SSDra.
- Connect a SATA power cable from your power supply to the SATA drive.
3.4 Installing the Graphics Card (PCIe)
- Locate the PCI Express 4.0 x16 slot.
- Kendu dagokion hedapen-zirrikituaren estalkia zure ordenagailuaren kaxatik.
- Align the graphics card with the PCIe slot and press down firmly until it is seated correctly and the retention clip locks.
- Txartel grafikoa kaxari torloju batekin lotu.
- Connect any necessary PCIe power cables from your power supply to the graphics card.
3.5 Elikatze-iturria konektatzea
- Konektatu 24 pineko ATX elikatze-konektore nagusia elikatze-iturritik plaka basera.
- Connect the 4-pin (or 8-pin, if applicable) auxiliary CPU power connector to the motherboard.
- Connect power cables to any other components as needed (e.g., SATA drives, graphics card).
3.6 Connecting Front Panel and Peripherals
- Connect the front panel headers (Power Switch, Reset Switch, HDD LED, Power LED) to their respective pins on the motherboard. Refer to the motherboard diagram for exact pin locations.
- Connect front panel USB and audio headers.
- Connect external peripherals such as keyboard, mouse, and monitor to the rear I/O ports.
4. Funtzionamendu-argibideak
4.1 Hasierako abiarazpena eta BIOS/UEFI konfigurazioa
- After connecting all components and power, turn on your system.
- Abiaraztean, behin eta berriz sakatu DEL giltza (edo F2 depending on BIOS version) to enter the BIOS/UEFI setup utility.
- In the BIOS/UEFI, you can configure boot order, system time, fan speeds, and other hardware settings.
- Gorde aldaketak eta irten BIOS/UEFItik abiarazten jarraitzeko.
4.2 Sistema eragilearen instalazioa
This motherboard supports Windows 10. To install an operating system:
- Prepare a bootable USB drive or DVD with your desired operating system installer.
- Set the boot order in BIOS/UEFI to prioritize your installation media.
- Jarraitu pantailako argibideei sistema eragilea instalatzeko.
4.3 Gidariaren instalazioa
After OS installation, install the necessary drivers for optimal performance. Drivers can typically be found on the COLORFUL official website or on an included driver CD/USB drive.
- Txip-multzoaren kontrolatzaileak
- LAN kontrolatzaileak
- Audio kontrolatzaileak
- Grafikoen kontrolatzaileak (grafiko integratuak edo GPU dedikatu bat erabiltzen bada)
- USB kontrolatzaileak
5. Mantentzea
5.1 Cleaning Your Motherboard
Garbiketa erregularrak errendimendu optimoa mantentzen laguntzen du eta plaka basearen bizitza luzatzen du.
- Itzali: Always power down and unplug your PC before cleaning.
- Hautsa kentzea: Use compressed air to remove dust from components, especially heatsinks and fan blades. Hold the can upright to prevent propellant discharge.
- Garbiketa leuna: For stubborn dirt, use a soft, lint-free cloth lightly dampened with isopropyl alcohol. Avoid excessive moisture.
- Saihestu kontaktua: Do not touch sensitive components or circuit traces directly.
5.2 BIOS/UEFI eguneraketak
BIOS/UEFI updates can provide improved compatibility, stability, and new features. Always download BIOS updates from the official COLORFUL webzure plaka basearen modelo espezifikorako gunea.
- Babeskopia: Back up your current BIOS settings before updating.
- Jarraitu argibideak: Carefully follow the update instructions provided by COLORFUL. Incorrect BIOS updates can render your motherboard inoperable.
- Potentzia egonkorra: Ensure a stable power supply during the update process to prevent interruptions.
5.3 Gidarien eguneraketak
Keep your drivers updated to ensure compatibility and optimal performance with new software and hardware. Visit the COLORFUL support website regularly for the latest drivers.
6. Arazoak
Atal honek konfigurazioan edo funtzionamenduan zehar aurki ditzakezun arazo ohikoenei buruzkoa da.
6.1 No Power / System Not Starting
- Egiaztatu energia-konexioak: Ensure the 24-pin ATX and 4-pin/8-pin CPU power connectors are securely seated.
- Elikatze-iturria: Verify the power supply unit (PSU) is switched on and functioning correctly. Test with another PSU if possible.
- Aurrealdeko paneleko goiburuak: Double-check that the power switch header is correctly connected to the motherboard.
- Zirkuitu laburra: Remove the motherboard from the case and test it on a non-conductive surface to rule out short circuits.
6.2 Ez dago pantaila-irteerarik
- Monitorearen konexioa: Ensure the monitor is properly connected to the graphics card or motherboard (if using integrated graphics) and is powered on.
- Txartel grafikoa: If using a dedicated graphics card, ensure it is fully seated in the PCIe slot and any necessary power cables are connected.
- RAM: Reseat the RAM modules. Try booting with only one RAM stick.
- BIOSa berrezartzea: Clear the CMOS by removing the motherboard battery for a few minutes or using the CLR_CMOS jumper (refer to motherboard diagram).
6.3 Sistemaren ezegonkortasuna / Matxura
- Gehiegizko berotzea: Check CPU and GPU temperatures. Ensure all fans are spinning and heatsinks are clean.
- RAM Issues: Run a memory diagnostic tool (e.g., MemTest86) to check for faulty RAM.
- Gidarien arteko gatazkak: Ensure all drivers are up-to-date and correctly installed. Uninstall and reinstall problematic drivers.
- BIOS ezarpenak: Berrezarri BIOSa lehenetsitako ezarpenetara.
7. Zehaztapenak
| Ezaugarri | Xehetasuna |
|---|---|
| Marka | KOLORETASUNA |
| Ereduaren izena | Battle-AX B550M-HD PRO V14 |
| CPU Socketa | AM4 entxufea |
| Prozesadore bateragarriak | AMD 3rd Gen Ryzen |
| Txip mota | AMD B550 |
| RAM teknologia | DDR4 |
| Memoria Erlojuaren Abiadura | 2133 MHz (Base, higher speeds supported via OC) |
| OS euskarria | Windows 10 |
| PCIe zirrikituak | 1 x PCI Express 4.0 x16 |
| Biltegiratze interfazeak | 1 x M.2 slot, 4 x SATA 3.0 6GB/s ports |
| USB atakak | Rear: 4 x USB 3.1 Gen1, 2 x USB 2.0; Internal Headers: 1 x USB 3.1 Gen1, 2 x USB 2.0 (total 12 ports including headers) |
| Bideo Irteerak | 1 x HDMI, 1 x DVI, 1 x VGA |
| LAN | 1000Mbps Ethernet (RJ45) |
| Audioa | 6-channel High Definition Audio |
| CPU Power Support | Gehienez 95W |
| Auxiliary CPU Power Connector | 4-pin (Note: Main ATX power is 24-pin) |
8. Bermea eta Laguntza
For detailed warranty information, please refer to the warranty card included with your product or visit the official COLORFUL website. Technical support and driver downloads are also available on the COLORFUL support page.
Ofiziala Webgunea: www.colorful.cn (Mesedez, egiaztatu eskualdeko websites for specific support.)