Sarrera
This user manual provides detailed instructions for the installation, operation, maintenance, and troubleshooting of your Xprinter XP-K200L 80mm Thermal Receipt Printer. Please read this manual thoroughly before using the printer to ensure proper function and to extend the product's lifespan. Keep this manual for future reference.
Segurtasun Informazioa
- Erabili beti inprimagailuarekin batera datorren korronte-egokitzailea.
- Ez jarri inprimagailua uraren edo hezetasunaren eraginpean.
- Saihestu inprimagailua eguzki-argitan edo bero-iturrietatik gertu jartzea.
- Ziurtatu aireztapen egokia inprimagailuaren inguruan.
- Do not attempt to disassemble or repair the printer yourself. Contact qualified service personnel.
- Mantendu haurren eskura.
Paketearen edukia
Please check the package contents upon unpacking. If any items are missing or damaged, contact your vendor.
- Xprinter XP-K200L Thermal Receipt Printer
- Elikatze-moldagailua
- Elikatze kablea
- USB kablea
- Thermal Paper Roll (starter roll)
- Kutxako tiraderaren kablea
- Erabiltzailearen eskuliburua (dokumentu hau)
Produktua amaituview
Familiarize yourself with the main components of your Xprinter XP-K200L thermal receipt printer.

1. irudia: Aldea view of the Xprinter XP-K200L thermal receipt printer. On the right, the power switch is visible, and on the left, a button to open the paper cover is present.
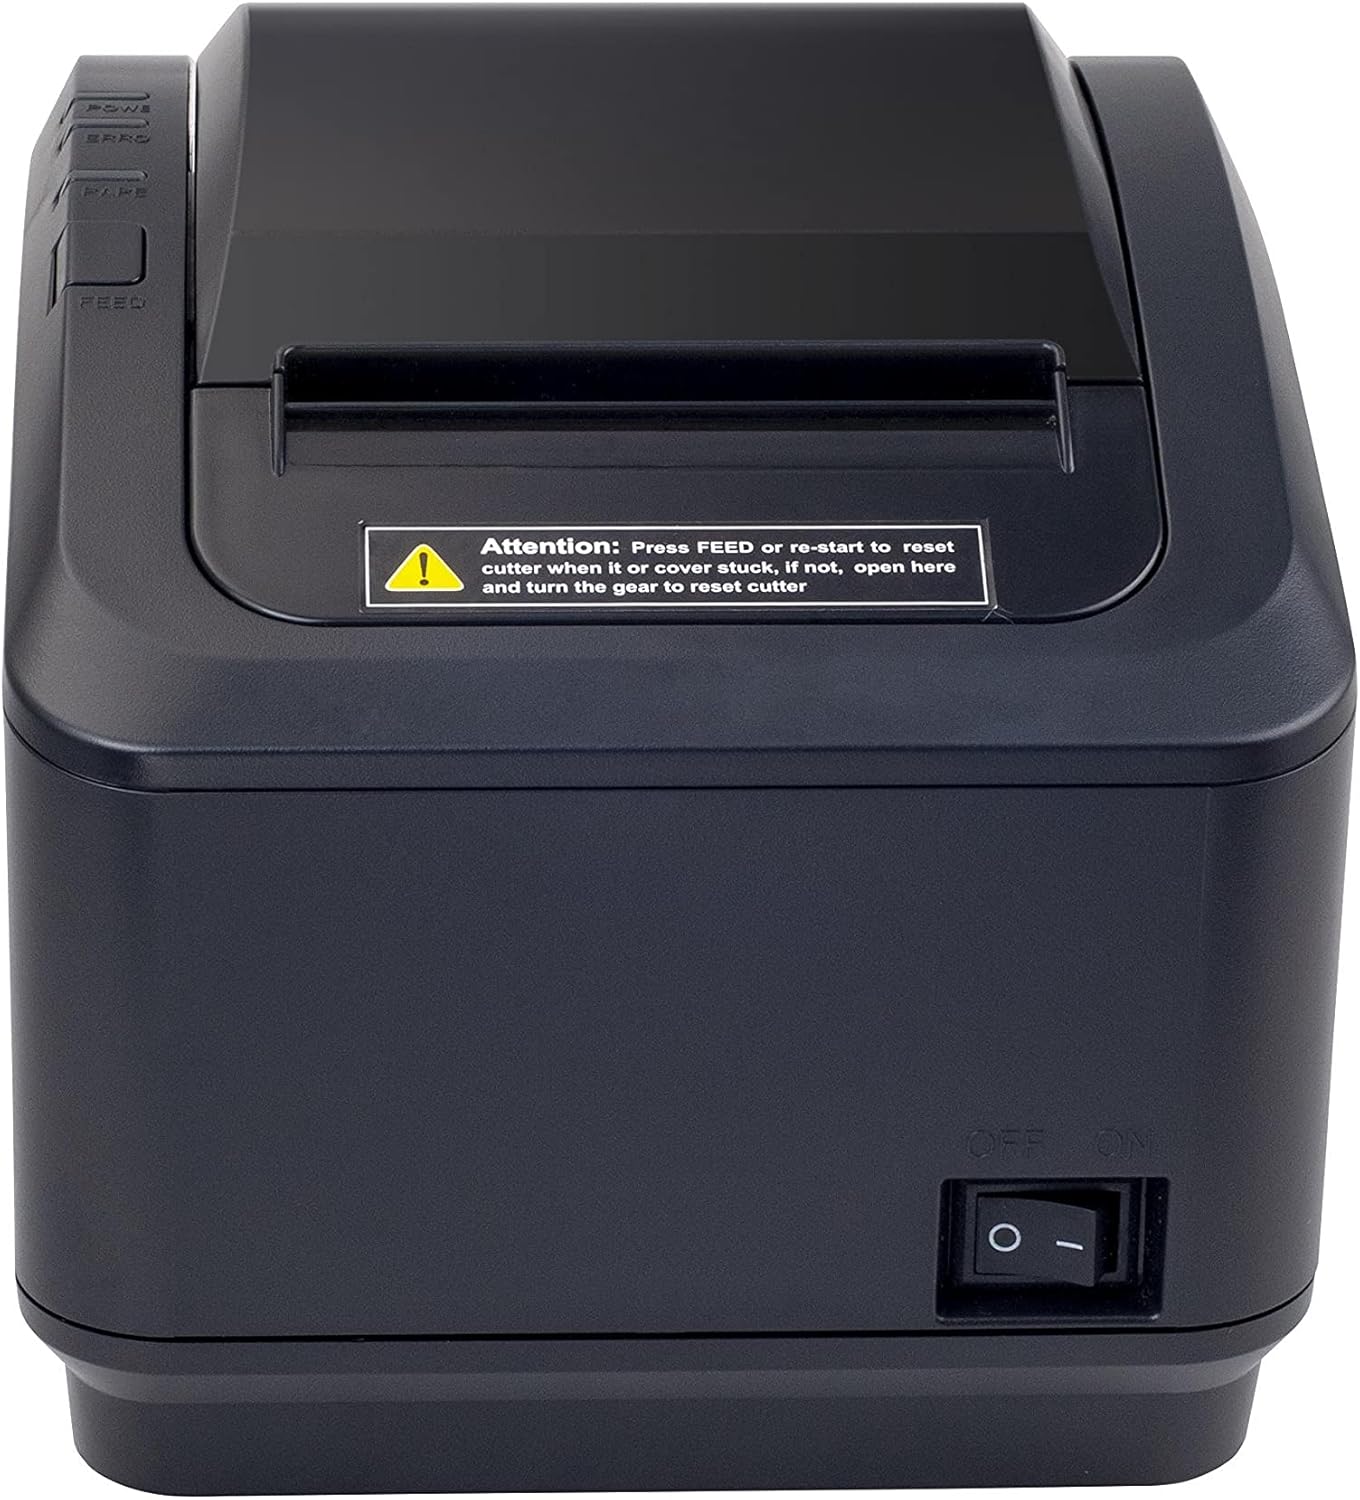
2 irudia: Aurrealde bat view of the Xprinter XP-K200L thermal receipt printer. The paper output slot is at the top, and below it are control buttons for functions like feed and error reset. A warning label is also visible.

Figure 3: This image displays the Xprinter XP-K200L thermal receipt printer with its top cover open, showing the internal compartment where the thermal paper roll is loaded. The print head mechanism is also visible.
Konfigurazioa
1. Energia konektatzea
- Ensure the printer's power switch is in the OFF posizioa.
- Konektatu korronte-egokitzailea inprimagailuaren korronte-atakara.
- Entxufatu korronte-kablea entxufe elektriko egoki batean.
2. Paper termikoa kargatzea
- Press the cover open button (refer to Figure 1) to open the top cover of the printer.
- Insert a new 80mm thermal paper roll into the compartment, ensuring the paper feeds from the bottom and the leading edge extends slightly out of the printer.
- Close the top cover firmly until it clicks into place. Ensure there is no slack in the paper roll.
3. Connecting to a Computer/Network
The XP-K200L printer supports both USB and LAN (Ethernet) connectivity.
USB konexioa:
- Connect one end of the USB cable to the printer's USB port.
- Konektatu USB kablearen beste muturra ordenagailuko USB ataka erabilgarri batera.
- Install the printer drivers. Drivers are typically provided on a CD or can be downloaded from the manufacturer's webgunea. Jarraitu pantailan agertzen diren argibideei instalaziorako.
LAN (Ethernet) konexioa:
- Connect one end of an Ethernet cable to the printer's LAN port.
- Konektatu Ethernet kablearen beste muturra zure sareko bideratzaile edo etengailura.
- Configure the printer's network settings (e.g., IP address) if necessary. This usually involves printing a self-test page to get the current IP address and then accessing the printer's web interface or using a utility tool provided by the manufacturer.
- Install the printer drivers on your computer, selecting the network connection option during setup.
4. Connecting a Cash Drawer
- Connect the cash drawer cable to the dedicated cash drawer port on the printer.
- Ensure your POS software is configured to send commands to open the cash drawer via the printer.
Funtzionamendu-argibideak
Piztu/Itzaltzea
- To power on the printer, flip the power switch (refer to Figure 1) to the ON posizioa.
- To power off the printer, flip the power switch to the OFF posizioa.
Oinarrizko Inprimaketa
Once the printer is connected and drivers are installed, you can print receipts from your POS software or any application that supports printing.
- Ziurtatu inprimagailua piztuta dagoela eta papera kargatuta duela.
- Aplikaziotik, hautatu inprimatzeko aukera.
- Choose the "Xprinter XP-K200L" from the list of available printers.
- Confirm print settings and click "Print".
Self-Test Page
To print a self-test page, which provides information about the printer's settings and status:
- Ensure the printer is powered off and the paper roll is loaded.
- Eduki sakatuta ELIKATU botoia.
- eusten duen bitartean ELIKATU button, turn the power switch to ON.
- Askatu ELIKATU button after the printer starts printing.
Mantentzea
Inprimagailua garbitzea
- Inprimatzeko burua: Kotoi-puska bat erabili arinkiampened with isopropyl alcohol to gently wipe the thermal print head. Allow it to dry completely before use. Clean regularly to ensure print quality.
- Ebakitzailea: If the cutter becomes jammed or dirty, carefully clean it with a soft brush or cloth.
- Kanpoaldea: Garbitu inprimagailuaren kanpoaldea oihal leun eta lehor batekin. Ez erabili garbitzaile edo disolbatzaile urratzailerik.
Replacing Thermal Paper
When the paper roll is depleted or near its end, replace it following the steps in the "Loading Thermal Paper" section under Setup.
Arazoak konpontzea
| Arazoa | Kausa posiblea | Irtenbidea |
|---|---|---|
| Inprimagailua ez da pizten. | Power cord or adapter not connected properly; power outlet issue. | Check all power connections. Try a different power outlet. |
| Inprimaketarik ez. | No paper; paper loaded incorrectly; printer offline; driver issue; incorrect connection. | Load paper correctly. Check printer status. Reinstall drivers. Verify USB/LAN connection. |
| Inprimatze-kalitate eskasa. | Dirty print head; low quality thermal paper. | Clean the print head (see Maintenance). Use recommended thermal paper. |
| Paper jam or cutter error. | Paper loaded incorrectly; debris in cutter mechanism. | As per printer label: Sakatu ELIKATU or re-start to reset cutter. If the issue persists, open the top cover and carefully turn the gear to reset the cutter mechanism. Ensure paper is loaded correctly and remove any obstructions. |
| Cash drawer does not open. | Cable not connected; POS software not configured. | Check cash drawer cable connection. Verify POS software settings for cash drawer trigger. |
Zehaztapenak
| Ezaugarri | Xehetasuna |
|---|---|
| Marka | Xprinter |
| Ereduaren izena | XP-K200L |
| Inprimagailuaren teknologia | Termikoak |
| Konektibitate Teknologia | USB, LAN (Ethernet) |
| Ezaugarri bereziak | Sareko prest |
| Kolorea | Beltza |
| Inprimagailuaren irteera | Monokromoa |
| Elementuaren pisua | 1.5 kg |
| Produktuaren neurriak (LxWxH) | 19.5 cm x 14 cm x 13.8 cm |
| Compatible OS/Controller Type | Android (and typically Windows/Linux via drivers) |
| Inprimatutako euskarriak | Plain Thermal Paper |
| Inprimatu kolorea | Beltza |
| Ebazpena | 576 x 512 dots per inch (or dots per line) |
| Max Print Resolution B/W | 576 ppp |
| Inprimagailuaren funtzio gehigarriak | Inprimatu bakarrik |
| Kontrol-metodoa | Urrunekoa |
| Gehienezko euskarriaren tamaina | 80 mm |
| Paper Tamaina | 79.5 mm |
| Boterea | 60 watt |
| Dakarten osagaiak | Power adapter, Cash drawer cable |
| Seriea | XP-K |
| Erabilera espezifikoak | Restaurants, bars, cinemas, garages, transportation, hospitals, clinics |
| USB portuak guztira | 1 |
Bermea eta Laguntza
For warranty information and technical support, please refer to the documentation provided with your purchase or contact your vendor directly. Keep your proof of purchase for warranty claims.
For driver downloads and further support resources, visit the official Xprinter webgunea.