Sarrera
Welcome to the user manual for your Beats Studio Buds True Wireless Noise Cancelling Earbuds. These earbuds are designed to deliver powerful, balanced sound with the flexibility of two distinct listening modes: Active Noise Cancelling (ANC) and Transparency mode. They offer a comfortable fit, long battery life, and seamless compatibility with both Apple and Android devices.
This manual provides essential information on setting up, operating, maintaining, and troubleshooting your Studio Buds to ensure an optimal audio experience.
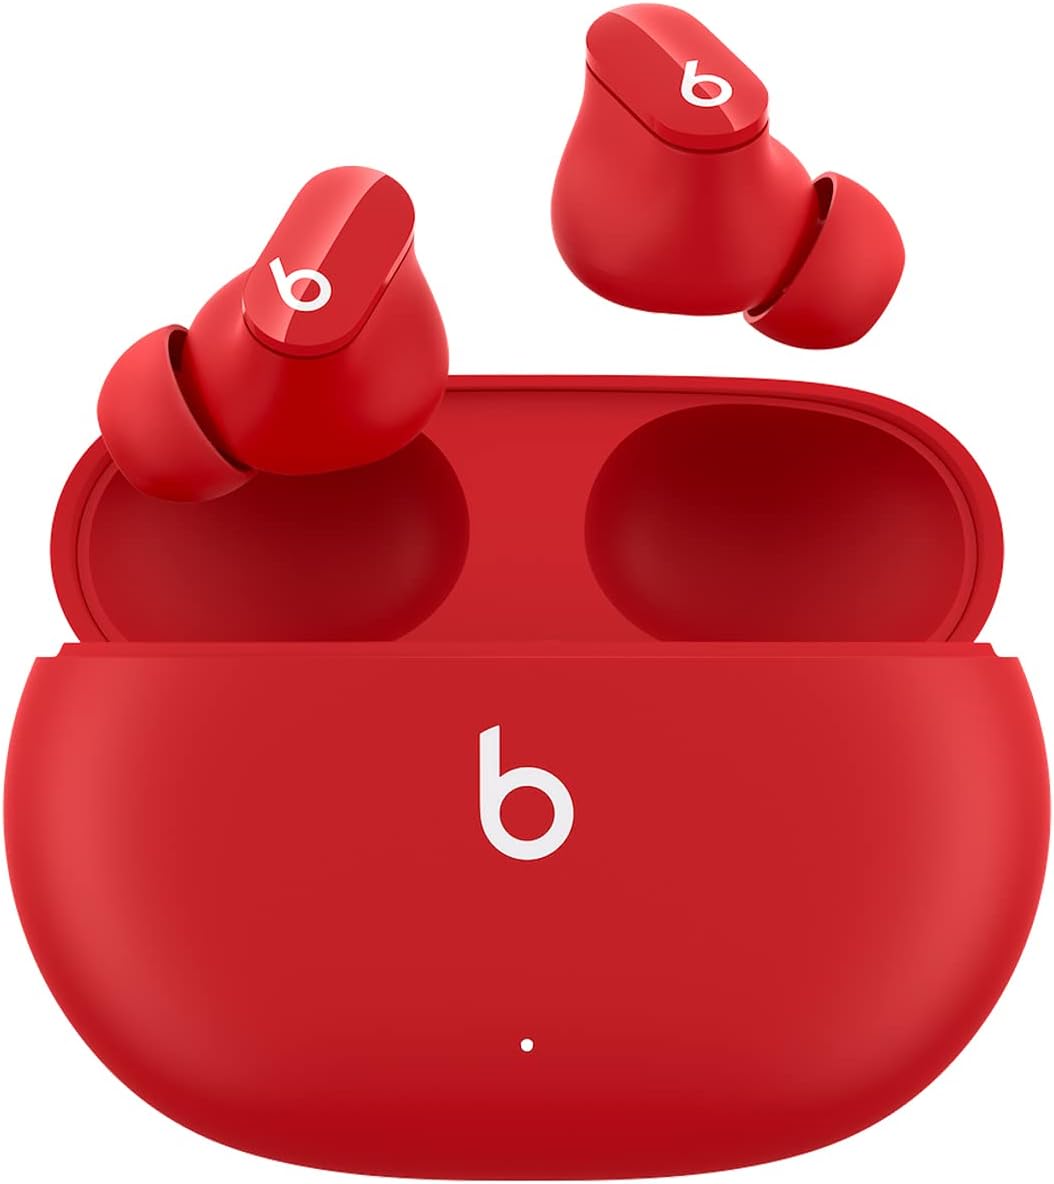
Image: Beats Studio Buds in their charging case, showcasing the compact design and vibrant red color.
Kutxan dagoena
Your Beats Studio Buds package includes the following components:
- Beats Studio Buds true wireless noise cancelling earphones
- Kargatzeko kaxa
- Ear tips with three size options (Small, Medium, Large)
- USB-C USB-C kargatzeko kablea
- Hasierako gida azkarra
- Berme txartela

Image: A visual representation of all items included in the Beats Studio Buds retail packaging.
Konfigurazioa
Hasierako parekatzea
To pair your Beats Studio Buds with your device:
- Ensure your Studio Buds are in the charging case and the case lid is open.
- For Apple devices: Hold your Studio Buds near your unlocked iPhone or iPad. A setup animation will appear on your device. Follow the on-screen instructions.
- For Android devices: Download the Beats app from the Google Play Store. Open the app and follow the on-screen instructions to pair your Studio Buds. Alternatively, go to your device's Bluetooth settings and select "Beats Studio Buds" from the list of available devices.
- Once paired, the indicator light on the charging case will turn white.

Image: Demonstrates the simple one-touch pairing process for Beats Studio Buds with a mobile device.
Belarri-punta egokitzea
Achieving a proper seal with the ear tips is crucial for optimal sound quality and effective Active Noise Cancellation. Your Studio Buds come with three sizes of silicone ear tips (Small, Medium, Large). Experiment with each size to find the one that provides a comfortable and secure fit, creating a good seal in your ear canal.
- Insert the earbud gently into your ear.
- Twist the earbud slightly forward or backward until it feels secure and forms a comfortable seal.
- If the sound quality is poor or noise cancellation is ineffective, try a different ear tip size.
Operating Your Studio Buds
Kontrolak
Each earbud features a multi-function button (the 'b' logo) that allows you to control playback, calls, and listening modes:
- Prentsa bakarra: Audioa erreproduzitu/pausatu, deia erantzun/amaitu.
- Prentsa bikoitza: Saltatu aurrera.
- Prentsa hirukoitza: Saltatu atzera.
- Luze sakatu: Toggle between Active Noise Cancellation (ANC) and Transparency mode. This action can be customized via the Beats app for Apple and Android devices to activate your voice assistant.

Image: An illustration detailing the various button press commands on the Beats Studio Buds for media, calls, and voice assistant.
Zarata aktiboaren baliogabetzea (ANC)
Active Noise Cancellation blocks external noise for an immersive listening experience. When ANC is active, the earbuds use microphones to detect external sounds and then generate an anti-noise signal to cancel them out.

Image: Visual explanation of how Active Noise Cancelling works to block external noise for an immersive sound experience.
Gardentasun modua
Transparency mode allows you to hear your surroundings while still enjoying your audio. This is useful for staying aware of your environment, such as when walking in a city or listening for announcements.

Image: Visual explanation of Transparency Mode, enabling users to stay aware of their surroundings while listening to audio.
Kargatzen
To charge your Beats Studio Buds:
- Place the earbuds into the charging case. The earbuds will begin charging automatically.
- To charge the case, connect the included USB-C to USB-C charging cable to the port on the back of the case and plug the other end into a USB-C power adapter (sold separately).
- The LED indicator on the front of the case shows the charging status:
- White (solid): Fully charged.
- White (flashing): Charging.
- Red (flashing): Low battery.
Bateriaren iraupena
Your Beats Studio Buds offer extended listening time:
- Up to 8 hours of listening time on a single charge (with ANC/Transparency off).
- Up to 5 hours of listening time with Active Noise Cancellation or Transparency mode enabled.
- Up to 24 hours of combined listening time with the charging case.
- Erregai azkarra: A 5-minute charge provides up to 1 hour of playback when the battery is low.

Image: An infographic detailing the battery life of Beats Studio Buds, highlighting 8 hours for earbuds and 24 hours with the charging case.
Mantentzea eta zaintzea
Proper care will extend the life and performance of your Beats Studio Buds.
Garbiketa
- Erabili zapi leun, lehor eta lihorik gabeko bat entzungailuak eta kargatzeko zorroa garbitzeko.
- Do not use abrasive cleaners, aerosols, solvents, or chemical sprays.
- For ear tips, remove them from the earbuds and wipe with a damp oihal. Ziurtatu guztiz lehor daudela berriro jarri aurretik.
- Saihestu hezetasuna irekiduretan sartzea.
Biltegiratzea
- Always store your Studio Buds in their charging case when not in use to protect them and keep them charged.
- Gorde leku fresko eta lehor batean, tenperatura altuetatik eta eguzki-argitik babestuta.
The Beats Studio Buds are IPX4-rated sweat and water resistant, meaning they can withstand splashes and sweat. They are not waterproof and should not be submerged in water.
Arazoak konpontzea
If you encounter issues with your Beats Studio Buds, try the following solutions:
- Soinurik ez edo etengabeko audioa:
- Ziurtatu entzungailuak kargatuta daudela.
- Check Bluetooth connection on your device. Try turning Bluetooth off and on again.
- Hurbildu zure gailura interferentziak saihesteko.
- Garbitu entzungailuen bozgorailuetatik eta belarri-puntetatik geratzen den edozein hondakin.
- Entzungailuak ez dira parekatzen:
- Ensure earbuds are in the charging case with the lid open.
- Press and hold the system button on the charging case for 5 seconds until the LED indicator flashes white.
- On your device, forget the "Beats Studio Buds" from your Bluetooth settings and try pairing again.
- Active Noise Cancellation Not Working Effectively:
- Ensure you have a proper seal with the ear tips. Try different sizes.
- Make sure ANC is enabled (toggle using the earbud button or Beats app).
- Kargatzeko arazoak:
- Ensure the USB-C cable is securely connected to both the case and the power adapter.
- Probatu beste USB-C kable edo korronte egokitzaile batekin.
- Garbitu entzungailuetako eta zorro barruko kargatzeko kontaktuak.
- Resetting Your Studio Buds:
- Jarri bi entzungailuak kargatzeko zorroan eta utzi tapa irekita.
- Press and hold the system button on the charging case for 15 seconds until the LED indicator light flashes red and white.
- Release the button. Your Studio Buds are now reset and ready to be paired again.
Zehaztapenak
| Ereduaren izena | Beats Studio Buds |
| Modelo zenbakia | MJ503LL/A |
| Konektibitatea | Wireless (Bluetooth Class 1) |
| Zarata Kontrola | Zarata aktiboaren ezeztapena, gardentasun modua |
| Bateriaren iraupena (entzungailuak) | Up to 8 hours (ANC/Transparency off), Up to 5 hours (ANC/Transparency on) |
| Bateriaren iraupena (zorroarekin) | Up to 24 hours combined |
| Erregai azkarra | 5-minute charge provides 1 hour playback |
| Uraren Erresistentzia | IPX4-rated sweat and water resistant |
| Entzungailuen pisua (bakoitzak) | 5g |
| Kasuaren pisua | 48 g |
| Neurriak (Kaxua) | 7.2 cm (L) x 5.1 cm (W) x 2.55 cm (H) |
| Dakarten osagaiak | Earbuds, Charging Case, Ear Tips (3 sizes), USB-C Charging Cable, Quick Start Guide, Warranty Card |
Bermea eta Laguntza
Your Beats Studio Buds are covered by a limited warranty. Please refer to the warranty card included in your product packaging for detailed terms and conditions.
For additional support, frequently asked questions, and the latest software updates, please visit the official Beats support website or refer to the full user manual PDF: