1. Sarrera
This manual provides instructions for the safe and efficient operation, setup, and maintenance of your CCLIFE Pneumatic Grease Gun. This robust tool is designed for lubricating various mechanical components, such as those found in trucks and tractors, delivering grease at pressures ranging from 1200 PSI to 6000 PSI. It features a sturdy anodized aluminum container and is suitable for demanding, regular use.

Image 1.1: The CCLIFE Pneumatic Grease Gun, showcasinbere diseinua eta osagaiak.
2. Segurtasun-argibideak
Always follow these safety guidelines to prevent injury and damage to the equipment:
- Erabili babes pertsonaleko ekipamendu (PPE) egokia, including safety glasses and gloves, when operating the grease gun.
- Ensure the air supply is disconnected before performing any maintenance, loading grease, or changing accessories.
- Do not exceed the maximum operating pressure of 150 PSI for the air inlet.
- Never point the grease gun nozzle at yourself or others. High-pressure grease injection can cause serious injury.
- Use only compatible grease types and ensure the grease gun is clean before loading new grease to prevent contamination.
- Mantendu lan-eremua garbi eta ondo argiztatuta.
- Store the grease gun in a dry, secure place, out of reach of children.
3. Paketearen edukia
Egiaztatu behean zerrendatutako elementu guztiak zure paketean sartuta daudela:
- 1 x Pneumatic Grease Gun (400 cc capacity)
- 1 x 30.3 cm (12 inch) Flexible Hose
- 1 x 14.5 cm Metal Extension (bend type)

3.1. irudia: Amaituview of the pneumatic grease gun and its included accessories: the main unit, a flexible hose, and a bent metal extension.
4. Konfigurazioa
Follow these steps to prepare your pneumatic grease gun for use:
- Load the Grease Cartridge: Unscrew the barrel from the head of the grease gun. Pull the telescopic rod fully back. Insert a standard 400g grease cartridge into the barrel. Remove the cap from the cartridge. Reattach the barrel to the head, ensuring a secure fit.
- Prime the Grease Gun: Press the lower button (air bleeder valve) and push the T-handle of the telescopic rod forward to remove any air pockets and prime the grease gun. This ensures a consistent flow of grease.
- Attach Hose/Extension: Screw either the flexible hose or the metal extension onto the outlet port of the grease gun head. Ensure it is tightened securely to prevent leaks.
- Aire hornidura konektatu: Connect your air compressor hose to the 1/4 inch BSP air inlet on the grease gun. Ensure the air pressure is within the recommended operating range of 30-150 PSI.

Image 4.1: Step-by-step visual guide for loading a grease cartridge and priming the grease gun.

Image 4.2: Detail of the air bleeder valve, used to quickly eliminate air pockets for efficient operation.
5. Funtzionamendu-argibideak
Once the grease gun is set up and connected to an air supply, you can begin lubrication:
- Target Lubrication Point: Place the nozzle of the flexible hose or metal extension firmly onto the grease nipple of the component you wish to lubricate.
- Aplikatu koipea: Press the trigger on the grease gun handle. The pneumatic action will force grease through the nozzle and into the lubrication point. Release the trigger to stop the flow.
- Monitor Grease Flow: Apply grease until a small amount of fresh grease appears around the nipple, or as recommended by the component manufacturer. Avoid over-greasing.
- Deskonektatu: Once lubrication is complete, release the trigger and carefully remove the nozzle from the grease nipple.
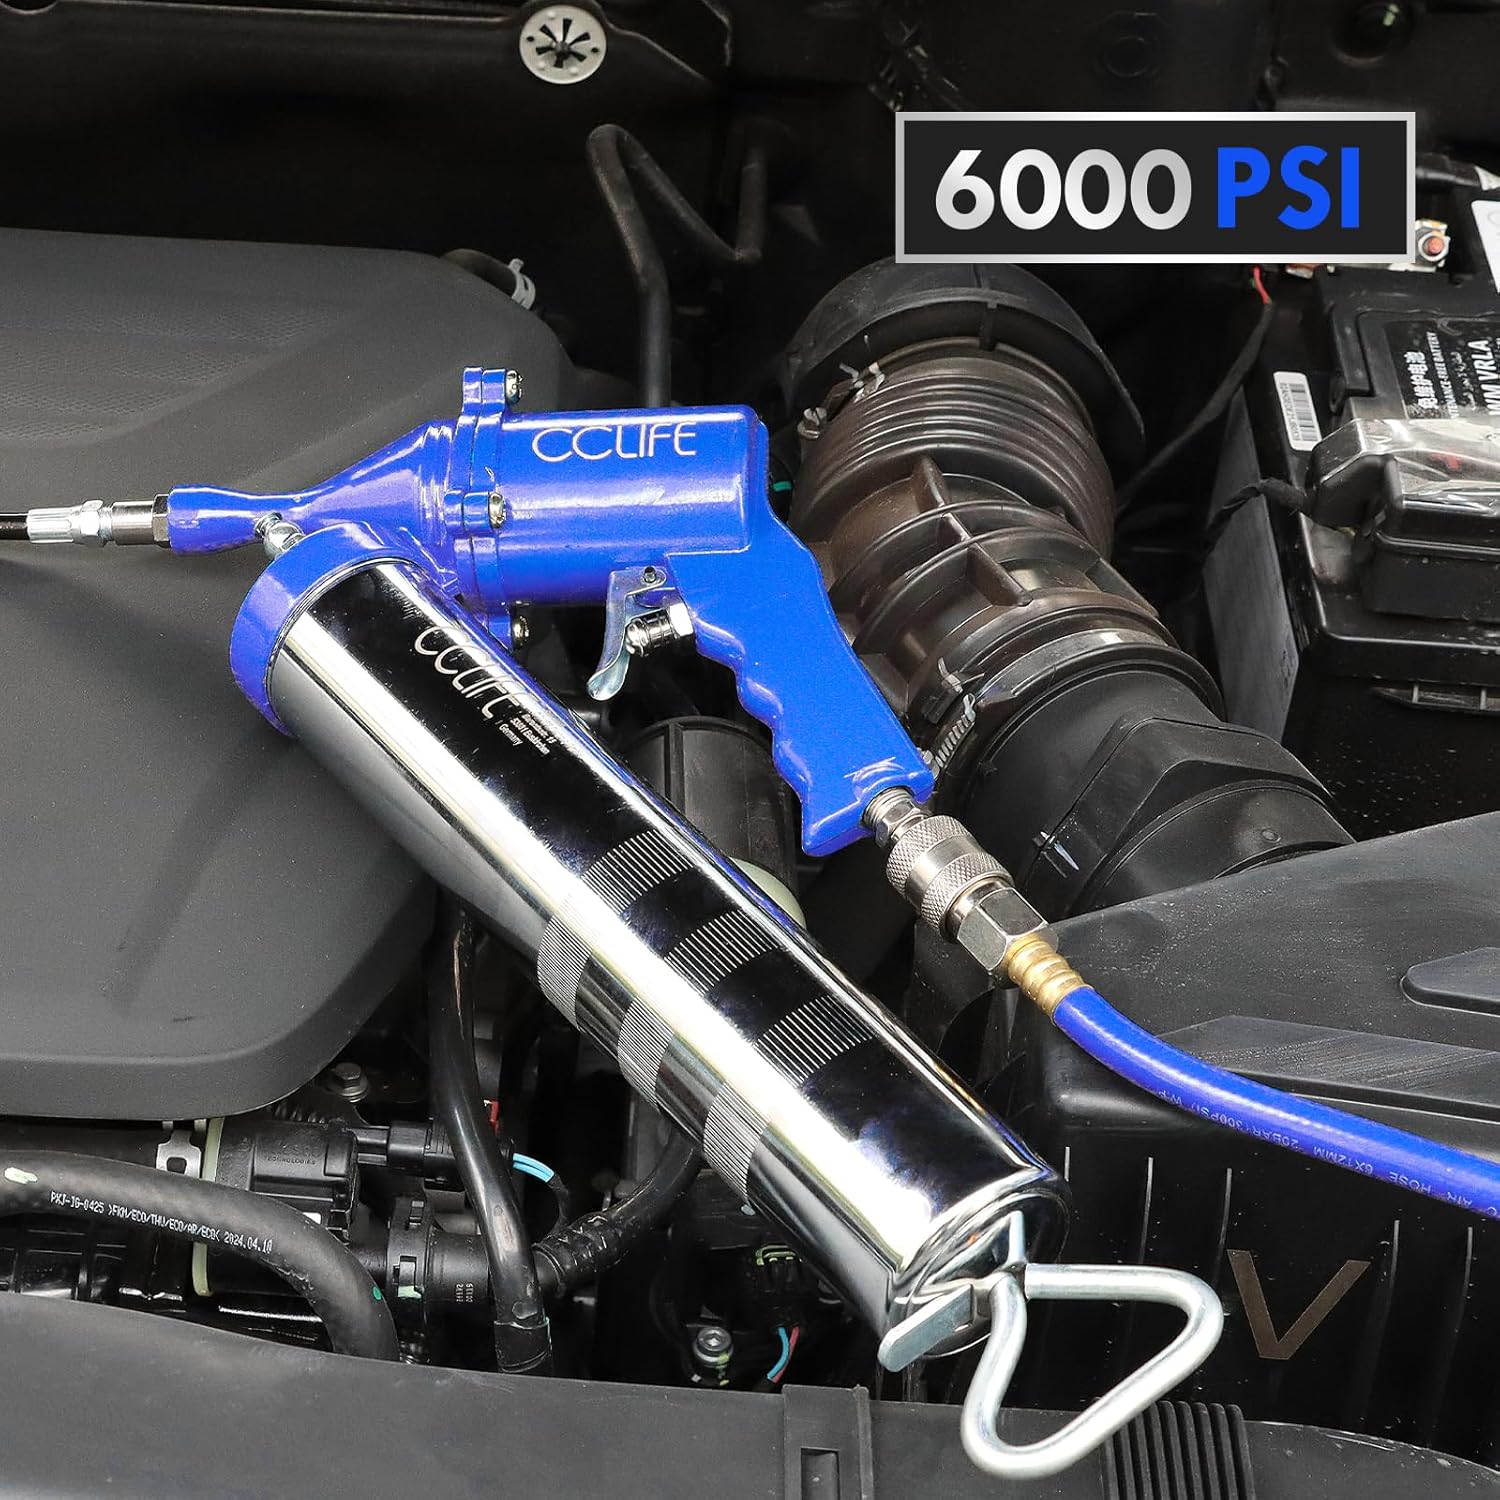
Image 5.1: The pneumatic grease gun connected to an air line, ready for use in a vehicle engine bay.

Image 5.2: Demonstrating the use of the flexible hose for effortless lubrication in hard-to-reach areas.

Image 5.3: A user holding the grease gun, applying lubricant to a component within a vehicle's engine compartment.
6. Mantentzea
Proper maintenance ensures the longevity and performance of your grease gun:
- Erabili ondoren garbitu: Wipe down the exterior of the grease gun and accessories with a clean cloth after each use to remove excess grease and dirt.
- Mahuka eta konexioak ikuskatu: Regularly check the flexible hose and metal extension for signs of wear, cracks, or damage. Ensure all connections are tight. Replace damaged parts immediately.
- Behar bezala gordetzea: Disconnect the air supply and store the grease gun in a clean, dry environment.
- Grease Cartridge Replacement: When a cartridge is empty, follow the loading instructions in Section 4 to replace it.
7. Arazoak
If you encounter issues with your grease gun, refer to the following common problems and solutions:
| Arazoa | Kausa posiblea | Irtenbidea |
|---|---|---|
| No grease flow | Air pocket in the gun; Empty grease cartridge; Clogged nozzle/hose | Prime the gun using the air bleeder valve; Replace cartridge; Clean or replace nozzle/hose. |
| Grease leakage from connections | Loose connections; Damaged seals/O-rings; Incorrect assembly | Tighten all connections; Inspect and replace damaged seals; Reassemble correctly. |
| Low grease pressure | Insufficient air pressure; Air leak in the system; Worn pump components | Check air compressor pressure (30-150 PSI); Inspect for air leaks and seal; Contact support if pump is worn. |
| Difficulty removing nozzle from nipple | Excessive pressure; Nipple wear; Nozzle wear | Release pressure before removing; Inspect and replace worn nipples or nozzle. |
8. Zehaztapenak
- Eredua: 6360
- Fabrikatzailea: CCLIFE
- Produktuaren neurriak: 43 x 16.7 x 6.7 cm
- Pisua: 1.43 kg
- Energia iturria: Aire Konprimitua
- Aireko sarrera: 1/4 inch BSP
- Funtzionamenduko aire-presioa: 30-150 PSI
- Grease Output Pressure: 1200 PSI - 6000 PSI
- Grease Capacity: 400 cc (standard cartridge)
- Dakarten osagaiak: Grease gun, 12-inch flexible hose, metal extension
- Pilak: Ez da beharrezkoa
9. Bermea eta Laguntza
For warranty information or technical support, please refer to the documentation provided with your purchase or contact CCLIFE customer service directly. Keep your purchase receipt as proof of purchase.