
1. Sarrera
The AXTON AT401 is a powerful 4-channel Class D amplifier specifically designed for 24V on-board networks found in trucks, lorries, and motorhomes. This amplifier provides a significant audio upgrade, enhancing the performance and sound quality of existing factory or aftermarket multimedia/GPS systems without requiring a complete system overhaul. Its compact design and robust construction ensure reliable operation and flexible installation.
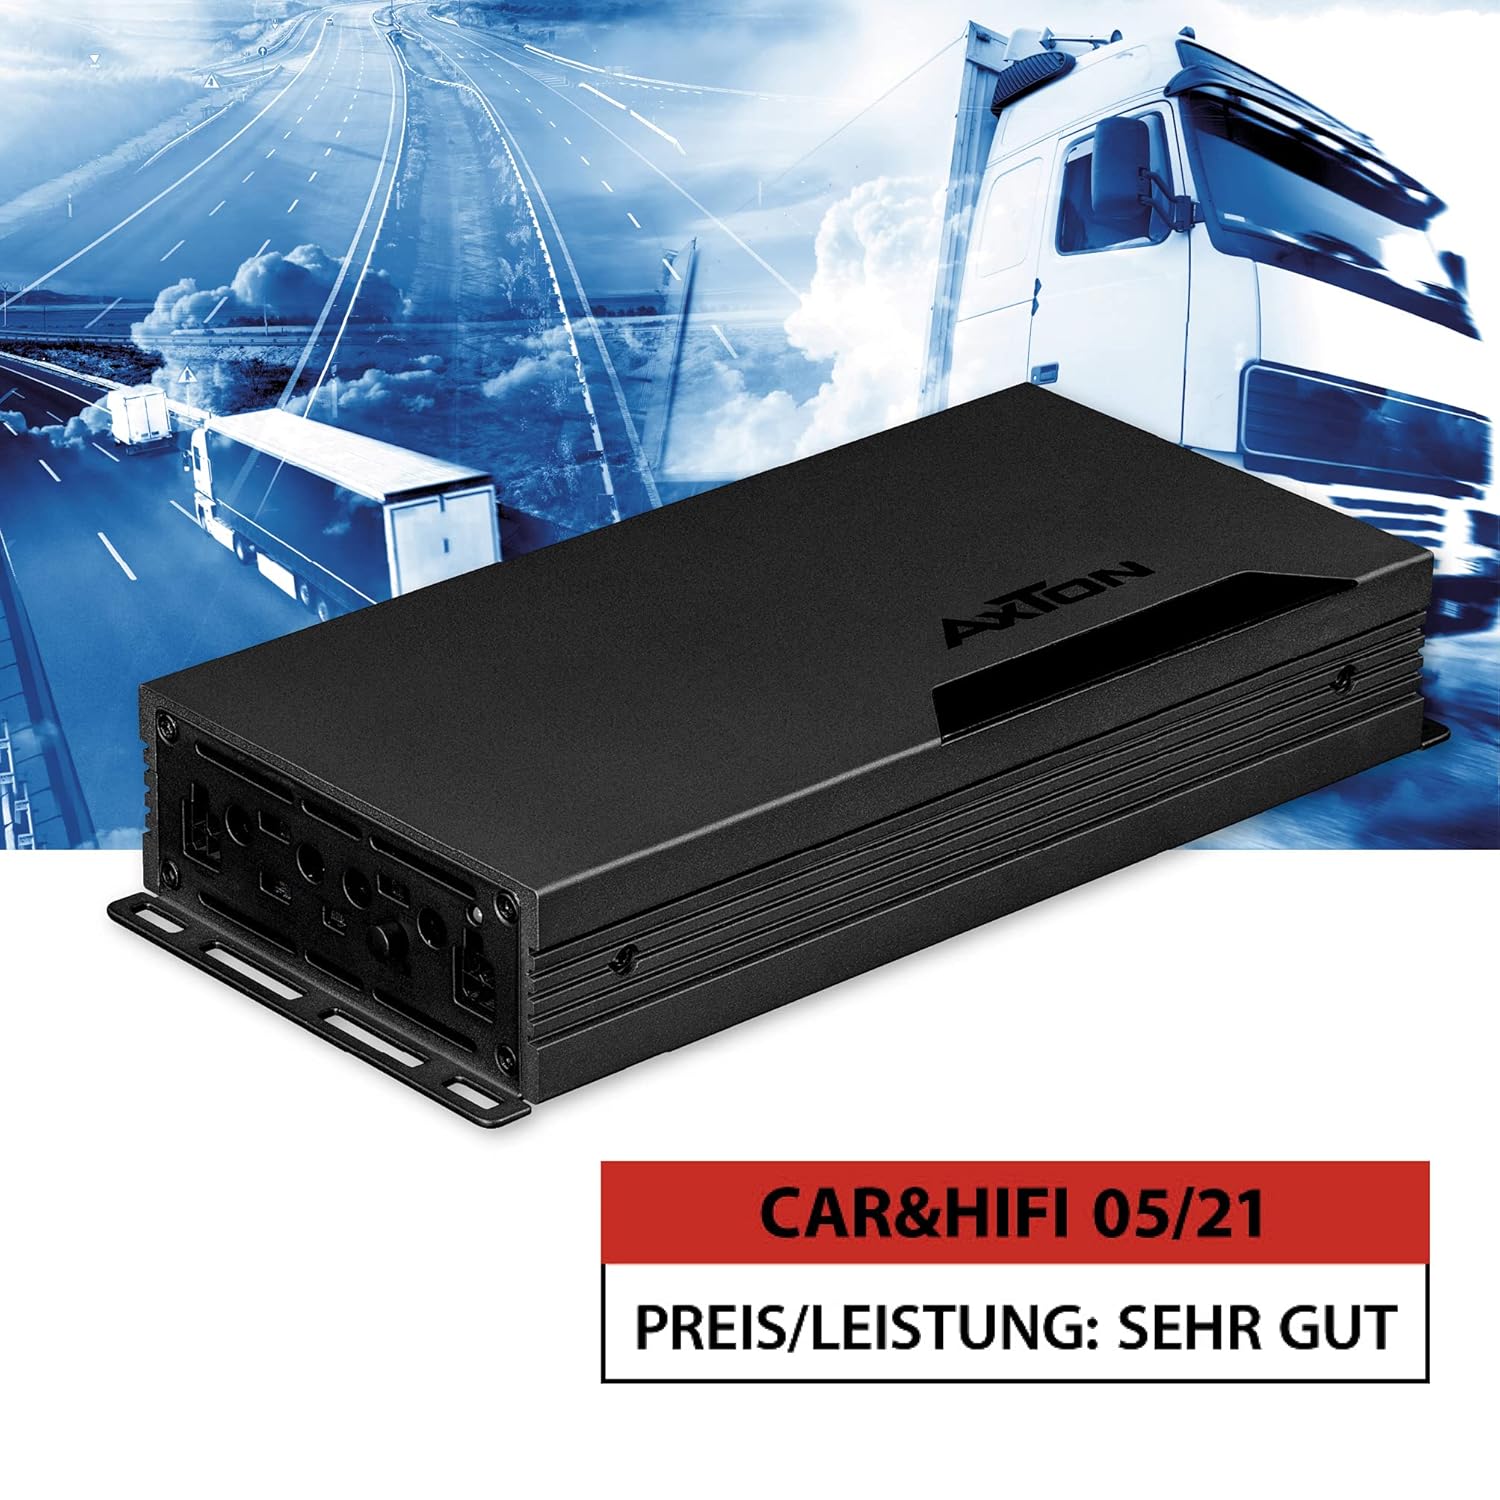
1.1. irudia: Aurrealdea view of the AXTON AT401 4-Channel 24V Class D Ampbiziagoa.
2. Segurtasun-argibideak
- Always disconnect the vehicle's battery before starting any electrical work.
- Ziurtatu lurrerako egokia den arrisku elektrikoak saihesteko.
- Instalatu ampGorde hozkailua leku lehor eta ondo aireztatu batean, eguzki-argitik, bero-iturrietatik eta hezetasunetik urrun.
- Use appropriate gauge wiring for power, ground, and speaker connections as specified in the installation guide.
- Ez saiatu irekitzen edo aldatzen ampKonpontzailea. Konponketa guztiak langile kualifikatuei bidali.
- Avoid routing cables near moving parts or sharp edges. Secure all wiring to prevent damage.
- Hau amplifier is designed for 24V vehicle electrical systems only. Connecting it to a 12V system or higher voltage than specified will cause damage.
3. Paketearen edukia
Mesedez, egiaztatu paketea elementu hauek dituen:
- AXTON AT401 4-Channel Ampbiziagoa
- Muntatzeko hardwarea (torlojuak, euskarriak)
- Erabiltzailearen eskuliburua (dokumentu hau)
- Connector plugs for power and speaker outputs
Elementuren bat falta edo hondatuta badago, jarri harremanetan zure saltzailearekin berehala.
4. Produktuaren ezaugarriak
- Powerful 4-Channel Class D Ampbiziagoa: Delivers robust sound performance for 24V vehicle systems.
- 24V On-Board Network Compatibility: Specifically designed for trucks, lorries, and motorhomes.
- Diseinu trinkoa: Measuring approximately 10.5 cm wide and 4 cm high, allowing flexible installation in confined spaces.
- Bero xahutze eraginkorra: Solid aluminum heat sink ensures optimal continuous operating temperature.
- Optimized Circuitry: Board layout designed for low distortion and equipped with selected components.
- Irteera handiko potentzia: 4 x 100 W RMS (4 ohms) or 2 x 350 W RMS (bridged).
- Integrated Electronic Crossovers: 12 dB/octave, continuously adjustable from 40 to 400 Hz (High-Pass or Low-Pass filter).
- High-Level Inputs with Auto-Turn-On: Allows connection to original radios without RCA outputs, simplifying integration with factory systems.
5. Konfigurazioa eta instalazioa
Instalazio egokia ezinbestekoa da errendimendu eta segurtasun optimoa lortzeko. Urrats baten inguruan ziur ez bazaude, kontsultatu instalatzaile profesional bati.
5.1 Muntaketa Ampbiziagoa
Choose a mounting location that is dry, well-ventilated, and secure. Ensure sufficient space around the amplifier for air circulation. Use the provided mounting hardware to firmly secure the amplifier to a solid surface in the vehicle.

Image 5.1: The aluminum heat sink ensures efficient heat dissipation.
5.2 Kableatutako konexioak
Refer to the diagram below for connection points. Always use appropriate gauge wiring.

5.2. irudia: Amaituview of amplifier connections and controls.
- Energia konexioa (+24V): Connect a fused 24V power cable directly from the vehicle's battery. Ensure the fuse is located close to the battery.
- Lurreko konexioa (GND): Connect a short, heavy-gauge cable from the ampkonektatu bizigarriaren GND terminala ibilgailuaren xasiseko metalezko gainazal garbi eta margotu gabe batera.
- Urruneko piztea (REM): If using low-level inputs, connect this to the remote output of your head unit. If using high-level inputs with Auto-Turn-On, this connection may not be necessary.
- Bozgorailuaren irteerak: Connect your speakers to the FRONT and REAR output terminals. Observe correct polarity (+/-). For bridged mode, refer to the specific bridging instructions.
- Sarrerako konexioak:
- Goi-mailako sarrera: Connect the speaker outputs from your head unit directly to the amplifier's high-level input terminals. This is ideal for factory radios without RCA outputs.
- Maila baxuko sarrera (RCA): Zure unitate nagusiak RCA aurre-irteerak baditu, konektatu itzazu amplifier-aren RCA sarrera-konektoreak.
5.3 Auto-Turn-On Function
The AT401 features an Auto-Turn-On function for high-level inputs. This allows the amplifier to turn on automatically when it detects an audio signal from the head unit, eliminating the need for a separate remote turn-on wire. Ensure the switch is set to the appropriate mode (DC or VOX) for this function.

Image 5.3: Auto-Turn-On function switch for flexible use.
6. Funtzionamendu-argibideak
Once installed, the AT401 amplifier offers various adjustments to fine-tune your audio system.
6.1 Gain (SENS) Adjustment
The gain control (SENS) matches the amplifier's input sensitivity to the output level of your head unit. Start with the gain set to minimum. Gradually increase the head unit volume until distortion is heard, then back off slightly. Then, slowly increase the amplifier's gain until the desired volume is achieved without distortion.
6.2 Crossover (X-OVER) Settings
The AT401 features integrated 12 dB/octave electronic crossovers, adjustable from 40 to 400 Hz. These allow you to filter specific frequency ranges to your speakers.

Image 6.1: Adjustment options for crossovers and input sensitivity.
- HPF (Pasa handiko iragazkia): Maiztasunak onartzen ditu goian the set point to pass through. Use for full-range speakers to prevent low bass distortion.
- LPF (Pase Baxuko Iragazkia): Maiztasunak onartzen ditu behean the set point to pass through. Use for subwoofers.
- OSOA: Disables the crossover, allowing all frequencies to pass.
Adjust the FREQ knob to select the desired crossover frequency for each channel pair (FRONT/REAR).
7. Mantentzea
- Mantendu ampGarbitu lifatzailea oihal leun eta lehor batekin. Ez erabili produktu kimiko gogorrik edo garbitzaile urratzailerik.
- Ensure that the heat sink fins are free from dust and debris to maintain proper cooling.
- Aldian-aldian egiaztatu kableatu guztien konexioak estutasuna eta korrosioa duten ikusteko.
- Saihestu objektuak gainean jartzea amplifier that could obstruct airflow.
8. Arazoak
| Arazoa | Kausa posiblea | Irtenbidea |
|---|---|---|
| Argirik ez / Soinurik ez | Blown fuse, loose power/ground connection, no remote signal, incorrect Auto-Turn-On setting. | Check fuse, verify power/ground connections, ensure remote wire is connected (if applicable), check Auto-Turn-On switch. |
| Soinu distortsionatua | Gain set too high, incorrect crossover settings, damaged speaker. | Reduce gain, adjust crossover settings, check speaker condition. |
| Kanal bateko soinurik ez | Loose speaker wire, faulty RCA/high-level input, damaged speaker. | Check speaker connections, verify input signal, test speaker. |
| Amplifier gets hot | Aireztapen eskasa, inpedantzia baxuko karga, irteera altua denbora luzez. | Ensure proper airflow, check speaker impedance, reduce volume or gain. |
9. Zehaztapenak
| Ezaugarri | Zehaztapena |
|---|---|
| Modelo zenbakia | AT401 |
| Fabrikatzailea | AXTON |
| Kanal kopurua | 4 |
| Amplifier Klase | D klasea |
| Irteerako potentzia (RMS) | 4 x 100 W (4 Ohms) / 2 x 350 W (Bridged) |
| liburukiatage | 24 voltio (DC) |
| Crossover mota | 12 dB/oct. High-Pass/Low-Pass |
| Gurutze-maiztasun-tartea | 40 - 400 Hz (Continuously adjustable) |
| Sarrera mota | High-Level with Auto-Turn-On / Low-Level (RCA) |
| Materiala | Aluminioa |
| Neurriak (L x W x H) | Gutxi gorabehera 27.7 x 10.5 x 4 cm (10.9 x 4.1 x 1.6 hazbete) |
| Pisua | 1.38 kg (3.04 lb) |
| Ziurtagiriak | CE |
10. Bermea eta Laguntza
AXTON products are manufactured to high-quality standards. This product is covered by a manufacturer's warranty against defects in materials and workmanship. The specific warranty period and terms may vary by region and retailer. Please retain your proof of purchase for warranty claims.
For technical support, service, or warranty inquiries, please contact your authorized AXTON dealer or visit the official AXTON webharremanetarako informazioa lortzeko gunea.