
Sarrera
This manual provides detailed instructions for the assembly, operation, and maintenance of your Dayton Audio 6-1/2" Down Firing Passive Mini Subwoofer Kit, Model DCS165-4. This kit is designed for audio enthusiasts seeking to build a compact subwoofer with surprising output and extension. The down-firing configuration offers inherent protection for the driver and allows for flexible placement. The adjustable-length port design enables tuning to various frequencies to suit specific audio needs.
Kutxan dagoena
Desontziratzean, egiaztatu behean zerrendatutako osagai guztiak daudela:
- Pre-cut enclosure panels (CNC machined)
- DCS165-4 driver (6-1/2" high excursion)
- Adjustable port tube
- Lotura-zutoinak
- Muntatzeko torlojuak
- Bozgorailuaren haria
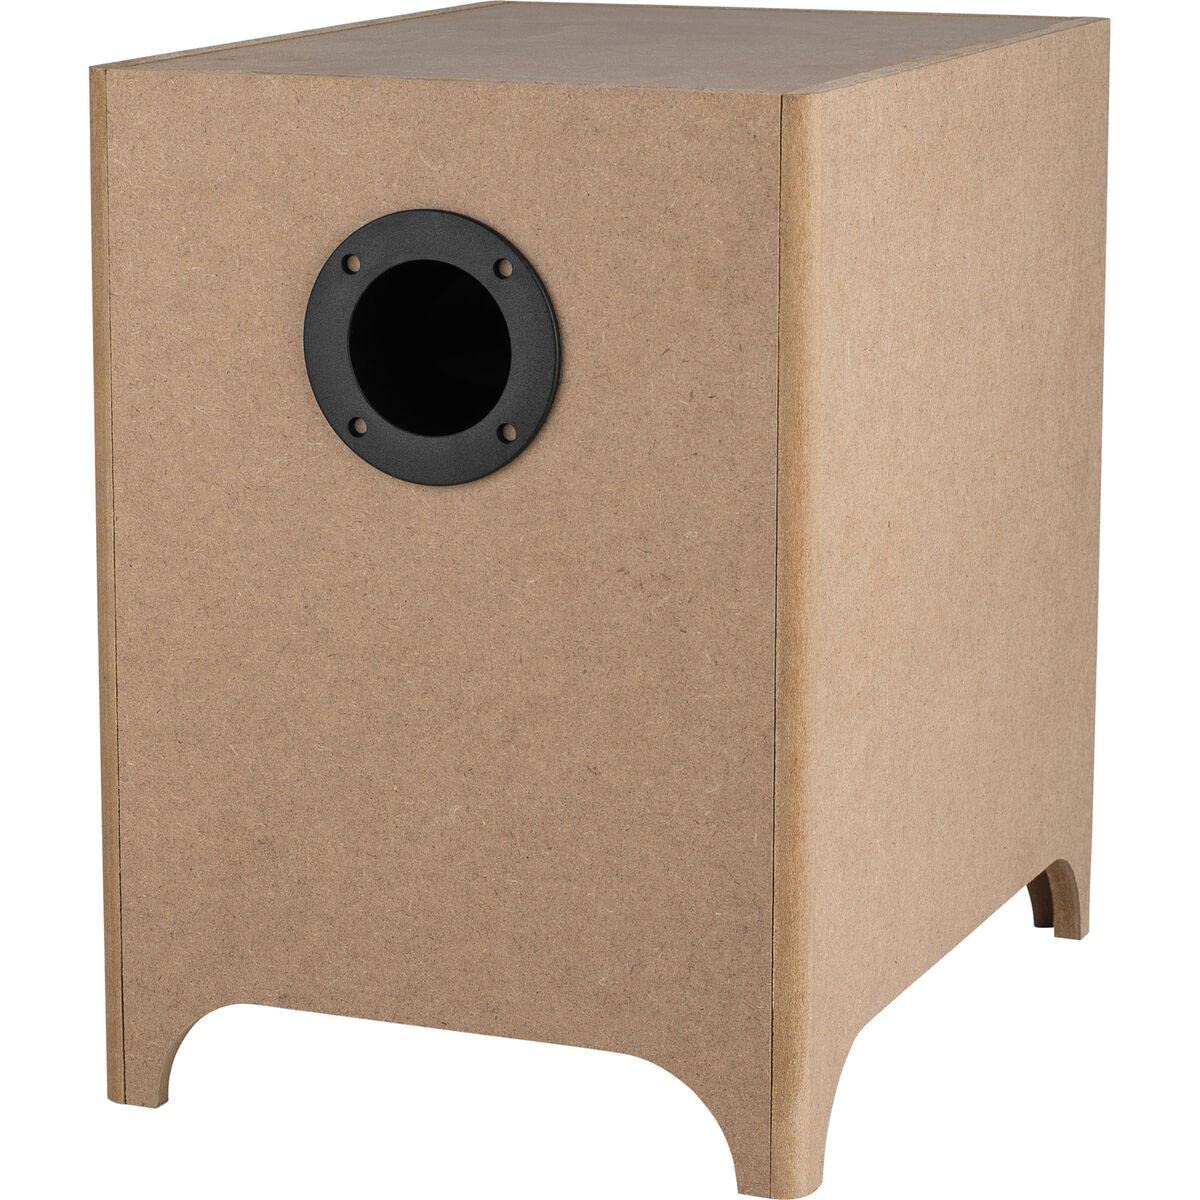
Image: All components of the Dayton Audio 6-1/2" Down Firing Passive Mini Subwoofer Kit.
Muntatzeko jarraibideak
Follow these steps carefully for proper assembly of your subwoofer kit. Tools required: Wood glue, clamps, screwdriver, soldering iron (optional for binding posts).
- Itxituraren muntaia: Apply wood glue to the edges of the pre-cut MDF panels. Carefully align and join the panels to form the subwoofer enclosure. Use clamps to hold the panels firmly in place while the glue dries. Ensure all joints are tight and square to prevent air leaks.
- Port Tube Installation: Insert the adjustable port tube into its designated opening in the enclosure. The port tube's length can be adjusted to tune the subwoofer to different frequencies. For initial setup, use the longest configuration for the lowest frequency response. Secure the port tube with glue if desired, ensuring a sealed fit.
- Binding Post Installation: Install the binding posts into the pre-drilled holes on the rear panel of the enclosure. Ensure a secure and airtight fit. Connect the speaker wire internally to the binding posts. Soldering is recommended for a reliable connection, but crimp connectors can also be used.
- Gidariaren instalazioa: Carefully place the DCS165-4 driver into its recess on the bottom panel (for down-firing configuration). Connect the internal speaker wires to the driver terminals, observing correct polarity (+ to + and - to -). Secure the driver using the provided screws. Do not overtighten.

Image: Dayton Audio DCS165-4 driver.

Image: Adjustable port tube.

Image: Handling the speaker driver.
Funtzionamendu-argibideak
Once assembled, your passive subwoofer is ready for integration into your audio system.
- Konexioa Ampbiziagoa: Connect the subwoofer's binding posts to the subwoofer output or a dedicated amplifier channel using appropriate speaker wire. Ensure correct polarity. This is a passive subwoofer and requires an external amplifier capable of driving a 4-ohm load.
- Lekua: Position the subwoofer in your listening area. Due to its down-firing design, it can be placed under a desk or in a corner. Experiment with placement to achieve optimal bass response and integration with your main speakers.
- Tuning (Port Length): The adjustable port allows for tuning. A longer port generally results in lower frequency extension, while a shorter port can provide a tighter, punchier bass. Adjust the port length based on your preference and room acoustics.

Irudia: Adibample of connecting leads to a speaker for testing or connection.
Mantentzea
The Dayton Audio Mini Subwoofer Kit requires minimal maintenance.
- Keep the enclosure clean and free of dust using a soft, dry cloth.
- Avoid exposing the subwoofer to extreme temperatures or humidity.
- Ensure all connections remain secure to prevent signal loss or damage.
Arazoak konpontzea
Subwooferrarekin arazoak badituzu, jo ezazu honako arazo eta irtenbide ohikoenei:
| Arazoa | Kausa posiblea | Irtenbidea |
|---|---|---|
| Ez dago soinurik subwooferretik | Kableatu okerra, amplifier off, no signal from source, faulty driver. | Check all wiring connections for correct polarity and tightness. Ensure amplifier is powered on and receiving a signal. Test driver with a multimeter for continuity. |
| Baxu distortsionatua edo lausoa | Gehiegi gidatzea amplifier, enclosure air leak, incorrect port tuning, damaged driver. | Murriztu amplifier volume. Inspect enclosure for any air leaks and seal them. Adjust port length. Check driver for physical damage. |
| Port noise (chuffing) | High air velocity through port, sharp port edges. | Reduce volume. Ensure port edges are smooth; consider rounding them if not already. |
Zehaztapenak
Detailed technical specifications for the Dayton Audio 6-1/2" Down Firing Passive Mini Subwoofer Kit:
| Ezaugarri | Zehaztapena |
|---|---|
| Marka | Dayton Audioa |
| Modelo zenbakia | DCS165-4 |
| Bozgorailuaren irteera-potentzia maximoa | 400 watt |
| Maiztasun Erantzuna | 20 hertz |
| Konektibitate Teknologia | Laguntzailea (kableatua) |
| Audio irteera modua | Estereoa |
| Muntatze Mota | Under A Desk (Down-firing) |
| Itxituraren Materiala | MDF (pre-cut) |
| Hizlari mota | Woofer-a |
| Ezaugarri gehigarriak | Bass Boost (via amplifier), Adjustable Port |
| Subwoofer-aren diametroa | 6.5 hazbetekoa |
| Kontrol-metodoa | Kanpokoa Amplifier (Touch control refers to ampbiziagoa) |
| Elementuaren pisua | 17.6 kilo |
| Energia iturria | Kable bidezko elektrikoa (bidez) ampbiziagoa) |
| Audio kontrolatzaile mota | Gidari dinamikoa |
| Audio kontrolatzailearen tamaina | 6.5 hazbetekoa |
| Produkturako erabilera espezifikoak | Home entertainment systems, watching movies, TV viewing |
| Audio-kanal kopurua | 5.1 (system compatibility) |
Bermearen informazioa
This Dayton Audio product is covered by a Limited Warranty. For specific terms and conditions, please refer to the warranty documentation included with your purchase or visit the official Dayton Audio webgunea. Bermeak normalean materialen eta fabrikazioaren akatsak estaltzen ditu erabilera normalaren pean.
Laguntza
For further assistance, technical support, or to inquire about replacement parts, please contact Dayton Audio customer service. You can find contact information and additional resources on the official Dayton Audio website or through the retailer where you purchased the kit.
Visit the Dayton Audio Store: Dayton Audio Store on Amazon


