
1. Sarrera
This user manual provides comprehensive instructions for the installation, operation, and maintenance of your HUNSN RJ05f Mini Firewall Appliance. Please read this manual thoroughly before using the device to ensure proper functionality and to prevent damage. Keep this manual for future reference.
2. Segurtasun informazioa
- Ziurtatu elikadura hornidura boltage matches the device's requirements (12V/5A).
- Ez jarri gailua hezetasunean, tenperatura altuetan edo eguzki-argiaren eraginpean.
- Avoid blocking ventilation openings to prevent overheating. This device is fanless, but proper airflow is still recommended.
- Ez saiatu gailua zeuk irekitzen edo konpontzen. Mantendu konponketa guztiak langile kualifikatuen esku.
- Erabili emandako korronte-moldagailua eta kableak soilik.
3. Paketearen edukia
Egiaztatu elementu guztiak paketean daudela:
- HUNSN RJ05f Mini Firewall Appliance
- Korronte egokitzailea (12V/5A)
- Elikatze kablea
- Berme Txartela
4. Produktua amaitu daview
4.1 Aurreko panela

The front panel features essential connectivity and control options:
- DP (DisplayPort): Pantaila batera konektatzeko.
- Pizteko botoia: Gailua pizteko edo itzaltzeko.
- HDMI: Pantaila batera konektatzeko.
- USB 3.0 portuak (x2): For high-speed peripheral connections.
4.2 Atzeko panela
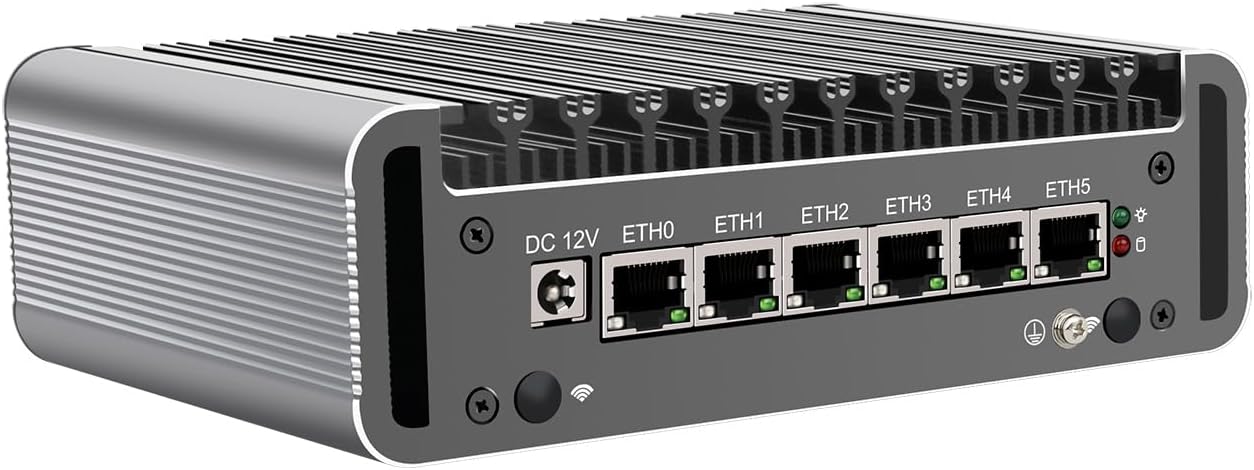
The rear panel provides network and additional peripheral connections:
- 12 V DC: Energia-sarrerako jack-a.
- ETH0 - ETH5 (x6): Intel 2.5GbE I226-V LAN ports for network connections.
- USB 2.0 portuak (x2): Periferikoen konexio estandarretarako.
4.3 Orokorra View
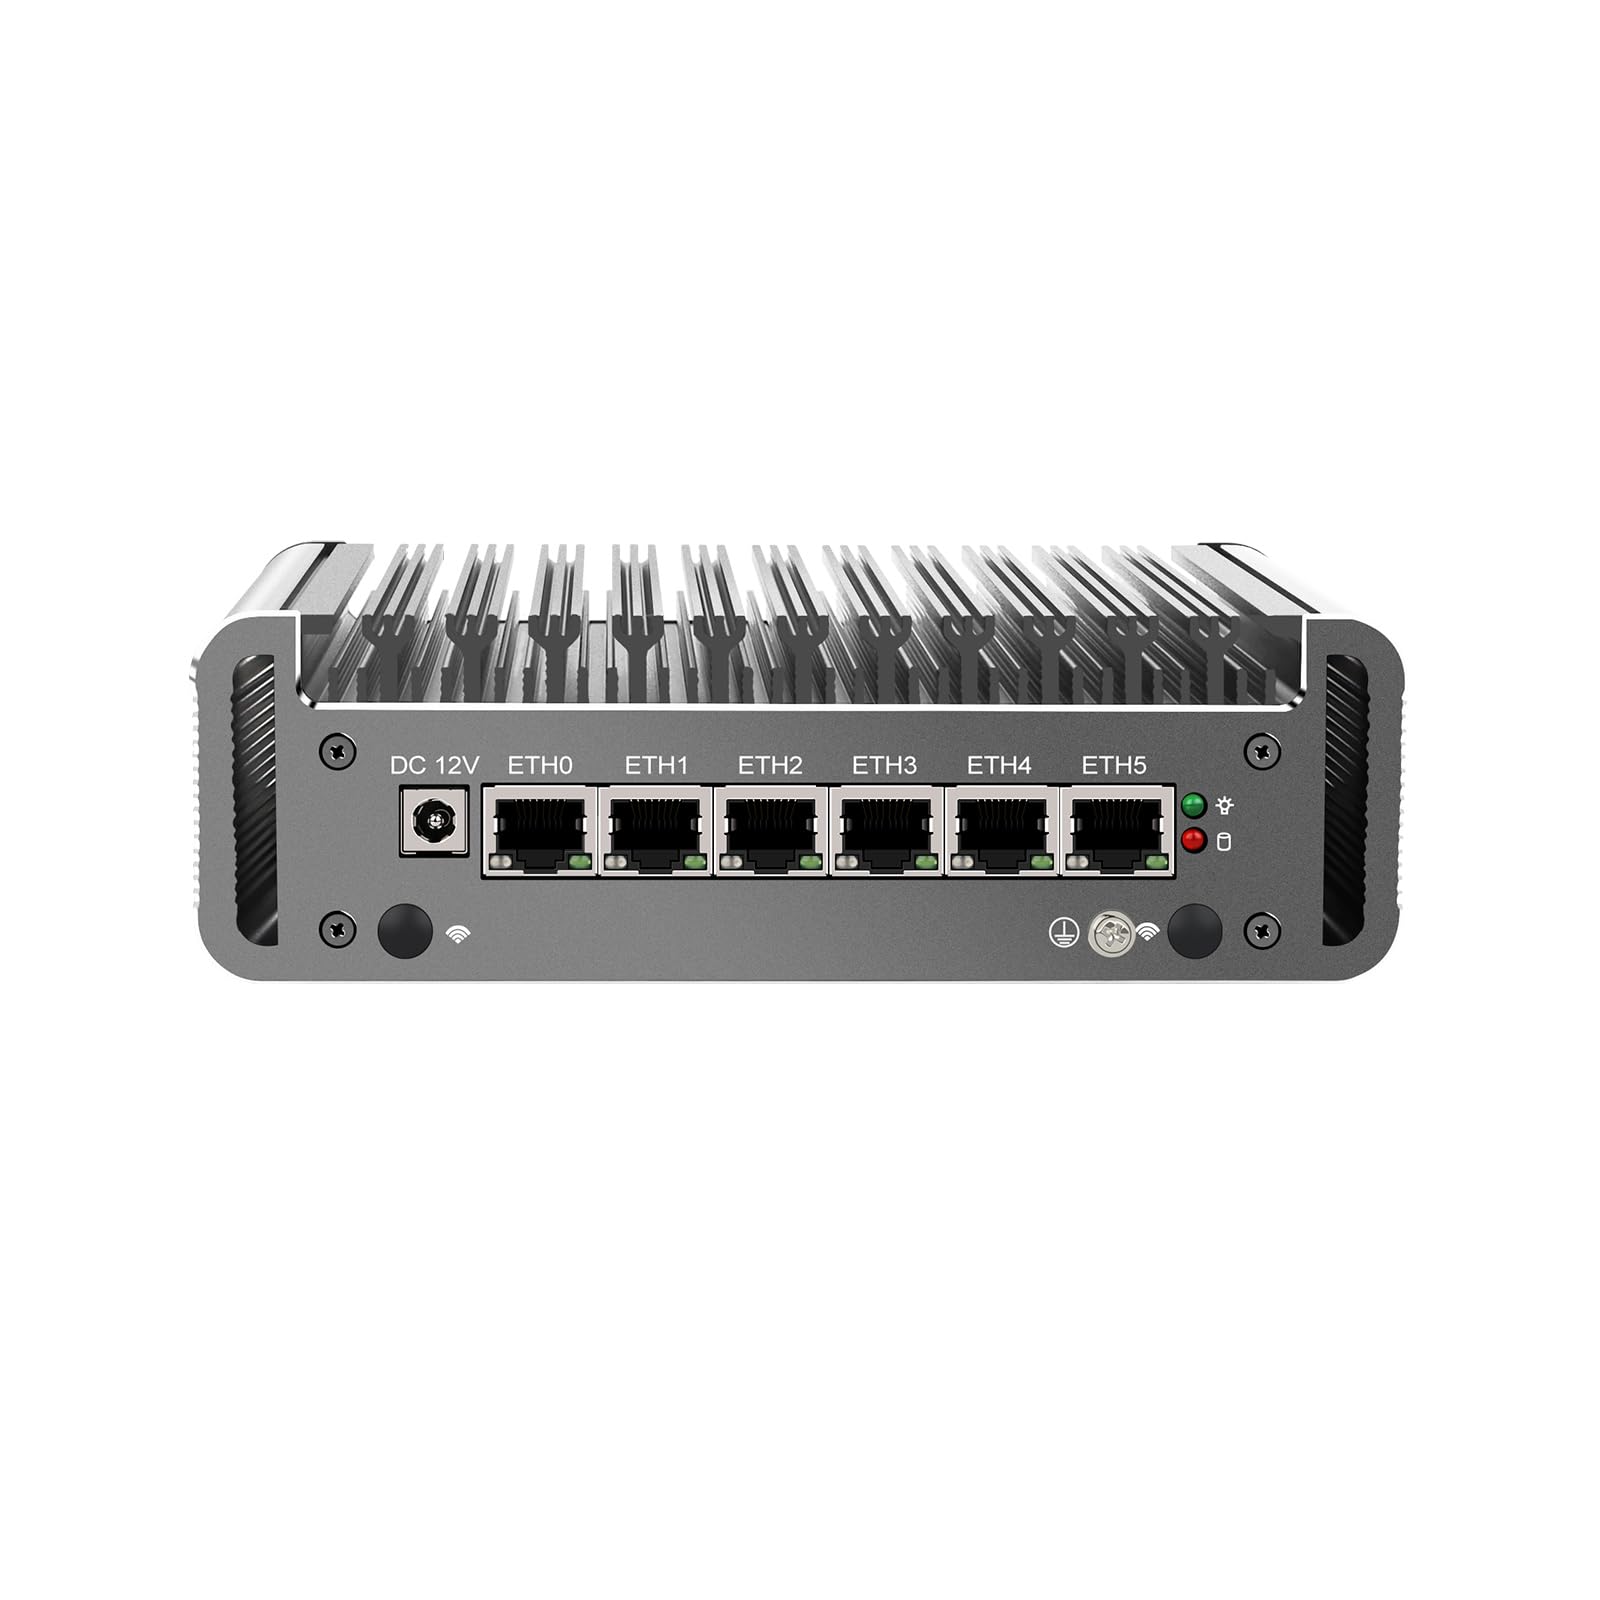
Jeneral bat view of the appliance highlights its compact, fanless design, which ensures silent operation and efficient heat dissipation through its aluminum chassis.
5. Zehaztapenak
| Ezaugarri | Deskribapena |
|---|---|
| Eredua | HUNSN RJ05f |
| Xasisaren materiala | Aluminioa |
| CPU | Intel Celeron N5105 (Quad-Core, 4M Cache, up to 2.90 GHz) |
| AES-NI Support | Bai |
| Memoria | 2 x SODIMM DDR4 2933 MHz, Max. 32GB |
| Biltegiratzea | 1 x M.2 2280 NVMe, 1 x 2.5 inch SATA SSD/HDD |
| Sare Txartela | 6 x Intel 2.5GbE I226-V |
| I/O Interfazea | DP, Power ON/OFF, HDMI, 2 x USB 3.0, 2 x USB 2.0, DC_IN, 6 x LAN |
| Hedapena | Mini PCIe slot for WiFi/4G (with SIM slot) |
| Boterea | DC 100-240V AC/50-60Hz, 12V/5A |
| Funtzionamendu-tenperatura | 0 ~ 70 °C (32 ~ 140 °F) |
| Biltegiratze Tenperatura | -20 ~ 80 °C (-130 ~ 176 °F) |
| Hezetasun erlatiboa | % 10 ~ % 90 (kondentsaziorik gabe) |
| TDP | 10W |
| Hozte Sistema | Fanless |
| Neurriak | 155 × 126 × 53 mm |
| Pisua | 1.5 kg |
| OS bateragarritasuna | FreeBSD-based router systems (e.g., pfSense Plus, OPNsense), Linux distributions, Windows OS (UEFI only) |
| Funtzioak | Auto Power-On (default enabled), Wake-on-LAN, System Power Management, Temperature Management |
6. Konfigurazioa
6.1 Hardware Installation (Optional)
The RJ05f may require installation of RAM, M.2 NVMe SSD, 2.5-inch SATA SSD/HDD, or a Mini PCIe WiFi/4G module. Follow these general steps:
- Prestatu gailua: Disconnect the power adapter. Place the device on a clean, static-free surface.
- Open the Chassis: Carefully remove the screws securing the bottom cover.
- Instalatu osagaiak:
- RAM: Insert DDR4 SODIMM modules into the slots until they click into place.
- M.2 NVMe SSD: Insert the M.2 SSD into its slot and secure it with the provided screw.
- 2.5-inch SATA SSD/HDD: Mount the drive into the designated bay and connect the SATA data and power cables.
- Mini PCIe Module: Insert the WiFi/4G module into the Mini PCIe slot and connect any necessary antenna cables. If installing a 4G module, insert the SIM card into the SIM slot.
- Txasisa itxi: Replace the bottom cover and secure it with the screws.
6.2 Periferikoak konektatzea
- Pantaila: Connect a monitor to the DP or HDMI port.
- Teklatua / Sagua: Connect USB keyboard and mouse to the USB ports.
- Sarea: Connect Ethernet cables from your modem/router and to your internal network devices to the 2.5GbE LAN ports (ETH0-ETH5).
- Potentzia: Connect the power adapter to the DC 12V input and plug it into a power outlet.
6.3 Piztea
Press the power button on the front panel to turn on the device. The power indicator light will illuminate.
7. Sistema eragilearen instalazioa
The HUNSN RJ05f does not come with a pre-installed operating system. You will need to install a compatible OS such as pfSense Plus, OPNsense, a Linux distribution, or Windows OS (UEFI only).
- Create Bootable Media: Prepare a USB drive with the desired operating system's installation image.
- Access BIOS: Power on the device and repeatedly press the DEL or F2 key to enter the BIOS/UEFI setup.
- Configure Boot Order: In the BIOS/UEFI settings, navigate to the Boot menu and set the USB drive as the primary boot device. Save changes and exit.
- Install OS: The device will boot from the USB drive. Follow the on-screen instructions to install your chosen operating system.
- Instalazio osteko: After installation, remove the USB drive and restart the device. Configure your network settings and firewall rules according to your OS documentation.
8. Oinarrizko Funtzionamendua
- Piztu/Itzali: Press the front panel power button. For a controlled shutdown, use the operating system's shutdown function.
- BIOS ezarpenak: To access BIOS settings, press DEL or F2 during startup. Here you can configure boot options, system time, and other hardware settings.
- Auto Power-On: The device supports auto power-on (default enabled) which can be configured in the BIOS.
- Wake-on-LAN (WoL): This feature allows the device to be powered on remotely via a network signal. Ensure WoL is enabled in the BIOS and configured in your operating system.
9. Mantentzea
- Garbiketa: Use a soft, dry cloth to clean the exterior of the device. Do not use liquid cleaners or aerosols. Ensure the heat fins are free from dust accumulation to maintain optimal cooling performance.
- Firmware eguneraketak: Aldian-aldian egiaztatu fabrikatzailearen website for BIOS/UEFI firmware updates. Follow the provided instructions carefully when performing updates.
- Software eguneraketak: Keep your operating system and installed software up to date to ensure security and performance.
10. Arazoak
- Potentziarik gabe: Check the power adapter and power cord connections. Ensure the power outlet is functional.
- Ez dago pantailarik: Verify that the monitor is connected correctly to the DP or HDMI port and is powered on. Try a different display cable or monitor.
- Sistema eragilea ez da abiarazten: Check BIOS boot order settings. Ensure the installed OS is compatible and correctly installed.
- Sarearen konexio arazoak: Verify Ethernet cable connections. Check network adapter drivers and configurations within your operating system.
- Gehiegizko berotzea: Ensure the device is placed in a well-ventilated area and that the heat fins are not obstructed by dust or other objects.
11. Bermea eta Laguntza
Your HUNSN RJ05f Mini Firewall Appliance comes with a warranty. Please refer to the included warranty card for details regarding coverage and duration. For technical support, product inquiries, or warranty claims, please contact your vendor or the manufacturer's official support channels. Keep your purchase receipt as proof of purchase.