1. Segurtasun informazioa
Mesedez, irakurri eta ulertu argibide guztiak muntatu eta erabili aurretik. Gorde eskuliburu hau etorkizunean erreferentzia gisa.
- Pisu-gaitasuna: Ez gainditu gehienezko pisu-ahalmena 660 lb (300 kg). Exceeding this limit may cause structural failure and injury.
- Ertz zorrotzak: Be cautious of sharp edges and metal parts during assembly and handling. Wear protective gloves if necessary.
- Muntaia: Always follow the assembly instructions carefully to prevent instability or collapse. Ensure all connections are secure before use.
- Haurrak: Mantendu pieza txikiak haurren eskura ez daudenak muntatzen ari den bitartean. Produktu hau ez da haurrek helduen gainbegiratzearik gabe erabiltzeko pentsatua.
- Mugimendua: When moving the bed frame, lift it rather than dragging it to prevent damage to the frame or floor, and to avoid dislodging support legs.
2. Konfigurazioa eta Muntaketa
The Giantex Queen Size Metal Canopy Bed Frame is designed for easy assembly. It is recommended that two adults assemble this product.
2.1. Desontziratzea eta piezen identifikazioa
Carefully unpack all components and lay them out on a clean, soft surface to prevent scratches. Verify that all parts listed in the instruction manual are present. Each part is clearly labeled to simplify the process.
2.1. irudia: Amaituview paketean sartutako osagai guztien artean.
2.2. Beharrezko tresnak
- Hex Key (included)
- Small Wrench (included, for specific nuts)
- Phillips Head Screwdriver (not included, may be useful for some connections)
2.3. Muntaketa Urratsak
- Muntatu oheburua eta oin-oheburua: Connect the horizontal bars to the vertical posts of the headboard and footboard sections using the provided hardware. Do not fully tighten screws until all parts are aligned.
- Alboko errailak lotu: Connect the side rails to the assembled headboard and footboard. Ensure the connections are firm.
- Instalatu erdiko euskarri-hankak: Securely attach the central support beam and its legs to the main frame. These legs are crucial for stability and weight distribution.
- Jarri metalezko listoiak: Insert the metal slats into the designated slots on the side rails. Ensure all slats are properly seated and secured.
- Assemble Canopy Posts: Attach the four vertical canopy posts to the corners of the bed frame.
- Install Canopy Crossbars: Connect the horizontal crossbars to the top of the canopy posts to complete the canopy structure. Tighten all screws gently to avoid stripping, especially for plastic inserts.
- Azken estutzea: Once all parts are correctly aligned and in place, go back and fully tighten all screws and bolts. Do not overtighten.

2.2. irudia: Detail of the 11 sturdy metal slats providing mattress support.

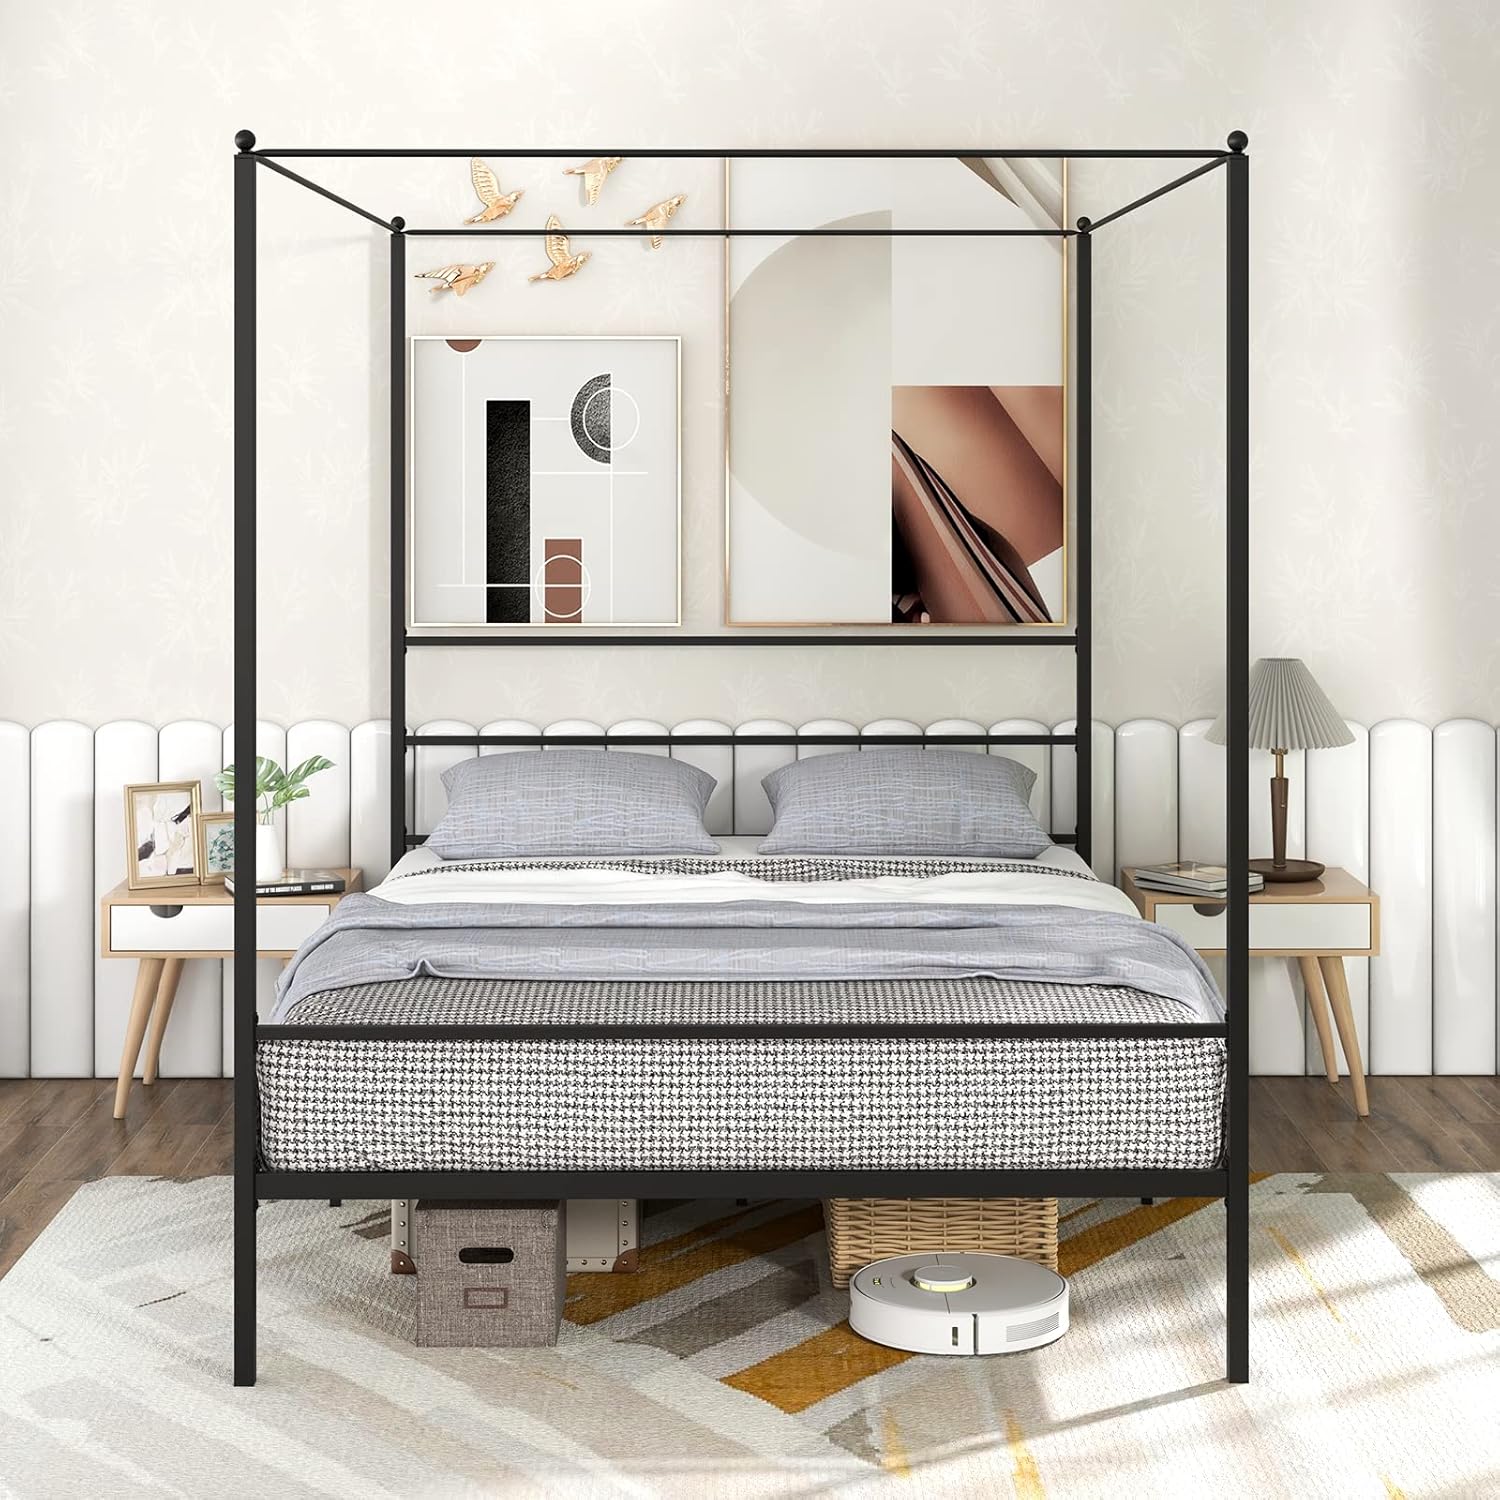
2.3. irudia: The completed bed frame structure, ready for mattress placement.
3. Erabilera eta funtzionamendua
3.1. Koltxoiaren kokapena
This platform bed frame is designed to support a mattress directly, eliminating the need for a box spring. You can use a mattress only, or a mattress with a box spring if preferred. The 11 sturdy metal slats provide even weight distribution and prolong mattress life.
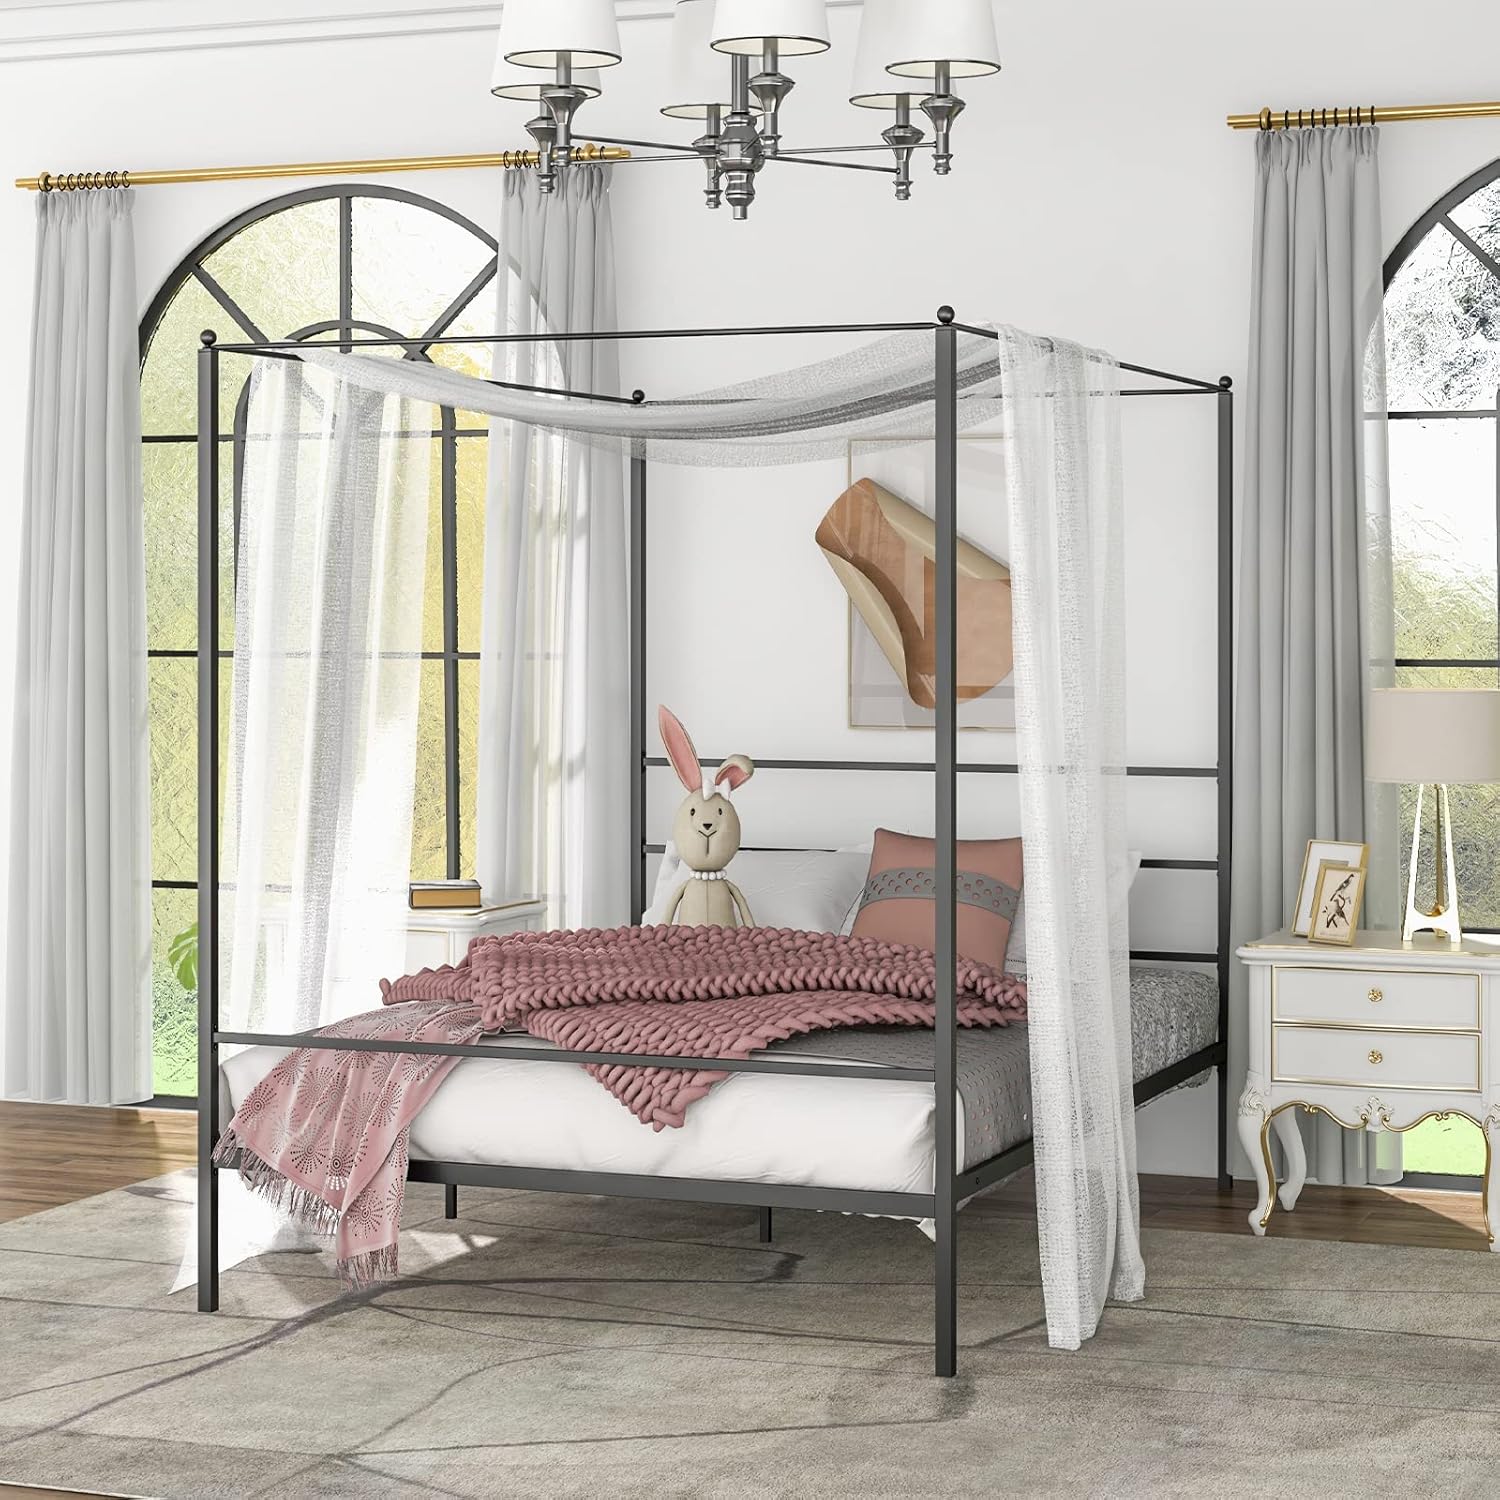
3.1. irudia: The bed frame with a mattress and decorative canopy curtains.
3.2. Canopy Functionality
The four sturdy canopy posts and crossbars allow for hanging bed curtains or other decorative fabrics. This feature can create a personalized and elegant atmosphere in your bedroom.

3.2. irudia: Detail of the canopy structure, suitable for hanging curtains.
3.3. Ohe azpiko biltegiratzea
The bed frame provides 12.5 inches of clearance from the floor. This space can be utilized for storage, helping to keep your room tidy and organized. It also allows for easy floor cleaning underneath the bed.
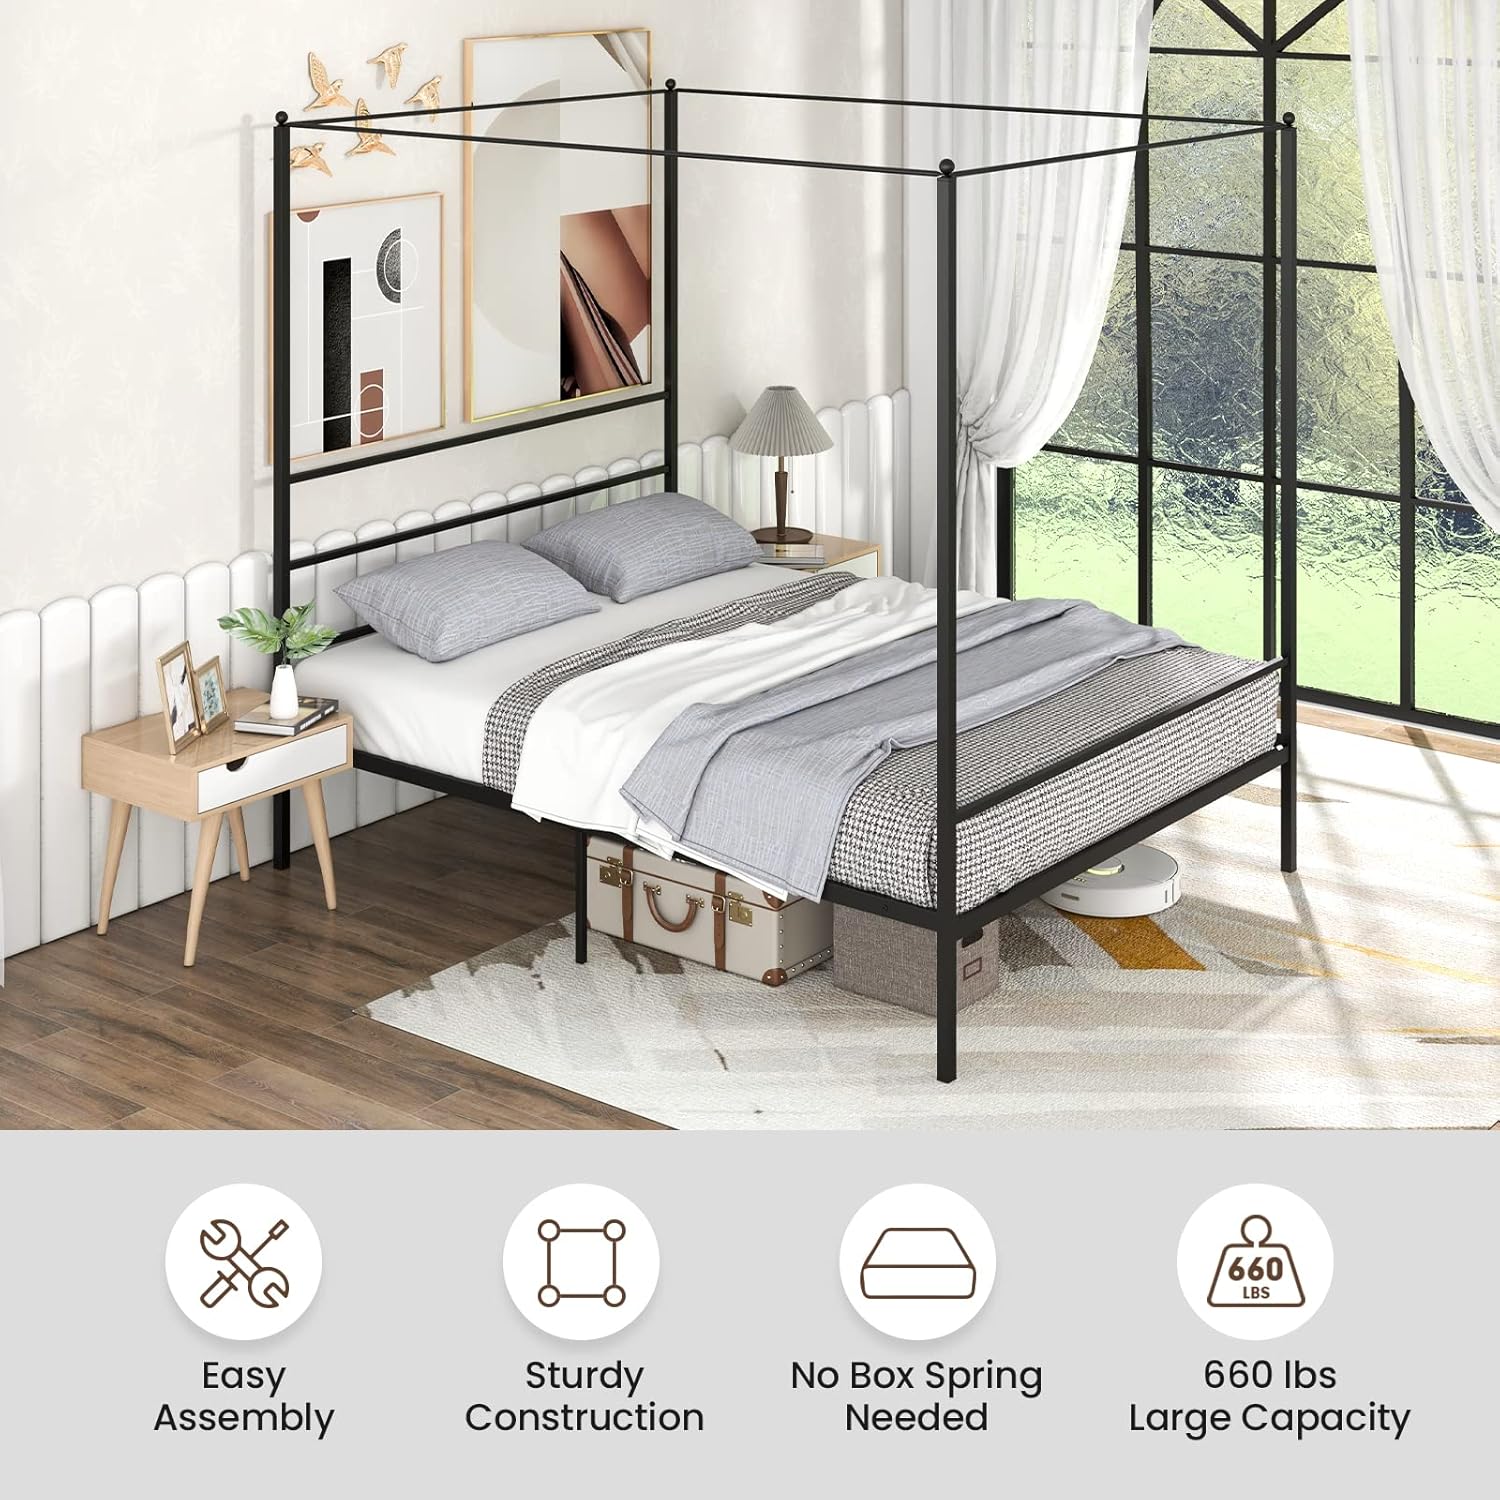
3.3. irudia: Illustration of the under-bed storage space and ease of cleaning.
4. Mantentzea
Regular maintenance helps ensure the longevity and safety of your bed frame.
- Garbiketa: Garbitu metalezko markoa oihal leun batekin,amp oihal. Saihestu produktu kimiko gogorrak edo garbitzaile urratzaileak erabiltzea, hauek akabera kaltetu baitezakete.
- Hardwarearen egiaztapena: Periodically inspect all screws, bolts, and connections to ensure they remain tight. Retighten any loose hardware to maintain stability.
- Oin-babesak: The metal legs are fitted with non-slip foot pads to protect your floor. Ensure these pads are intact and in place. Replace if damaged.
- Herdoilaren prebentzioa: The frame features a rustproof coating. To maintain this, avoid prolonged exposure to moisture.
5. Arazoak
If you encounter any issues with your Giantex bed frame, refer to the following common problems and solutions:
| Arazoa | Kausa posiblea | Irtenbidea |
|---|---|---|
| Ohe-egitura ezegonkorra edo ezegonkorra da. | Loose hardware; uneven assembly; damaged support leg. | Ensure all screws and bolts are fully tightened. Re-check assembly steps for correct alignment. Inspect support legs for damage; if one is shorter, consider adding a shim. |
| Txirrin-hotsak. | Konexio solteak; metalaren eta metalaren arteko marruskadura. | Tighten all hardware. Apply a small amount of lubricant (e.g., silicone spray) to connection points if necessary. |
| Middle support legs dislodge when moving the bed. | Bed frame was dragged instead of lifted. | Always lift the bed frame when moving it to prevent dislodging the central support legs and damaging the floor. Re-position the legs if they have moved. |
| Screws strip during assembly. | Overtightening; misaligned parts. | Tighten screws gently, especially those connecting to plastic inserts. Ensure parts are correctly aligned before tightening. If a screw is stripped, contact customer support for replacement. |
| Bed frame does not support stated weight capacity. | Exceeded weight limit; improper assembly; damaged components. | Ensure the total weight on the bed (mattress + occupants) does not exceed 660 lbs. Verify all support legs and slats are correctly installed and undamaged. |
If the problem persists or is not listed here, please contact Giantex Customer Support.
6. Zehaztapenak
Detailed specifications for the Giantex Queen Size Metal Canopy Bed Frame.

6.1. irudia: Dimentsioz gaindiview of the Queen Size Metal Canopy Bed Frame.
| Ezaugarri | Xehetasuna |
|---|---|
| Modelo zenbakia | GT10408DK-Q-HU |
| Tamaina | Erregina |
| Produktuaren neurriak (L x W x H) | 82" x 61" x 75.5" (208.3 cm x 155 cm x 191.8 cm) |
| Materiala | Metala |
| Kolorea | Beltza |
| Akabera mota | Akabera Beltza |
| Pisu Edukiera | 660 lb (300 kg) |
| Elementuaren pisua | 61.5 lb (27.9 kg) |
| Lurretik elementurako distantzia (ohe azpiko tartea) | 12.5" (31.8 cm) |
| Muntaia Beharrezkoa | Bai |
| Dakarten osagaiak | Canopy Bed Frame, Instruction Manual |
| Koltxoi tamaina bateragarria | Erregina |
| Forma-faktorea | Four-Poster Canopy |
| Estiloa | Modernoa |
7. Bermea eta Laguntza
7.1. Itzultzeko politika
Produktu honek erosketa-datatik aurrera 90 eguneko itzulketa-politika erraz bat du. Informazio zehatza lortzeko, kontsultatu zure dendariaren itzulketa-jarraibide espezifikoak.
7.2. Bezeroarentzako arreta
For any questions, missing parts, or assistance with assembly or troubleshooting, please contact Giantex Customer Support. You can typically find contact information on the retailer's webgunean edo zure erosketa-dokumentazioan.
Visit the official Giantex Store for more information: Giantex Store