1. Sarrera
The REVODATA 5MP POE Mini IP Camera (Model: I706-P-A-TS) is a compact, high-definition security camera designed for indoor surveillance. It features UltraHD 5MP resolution, a built-in microphone for one-way audio, and Power Over Ethernet (POE) functionality, simplifying installation by delivering both power and data through a single Ethernet cable. This manual provides detailed instructions for setting up, operating, and maintaining your camera.

1.1. irudia: The REVODATA 5MP POE Mini IP Camera, a compact black rectangular security camera with a lens on the front, mounted on an adjustable stand.
Ezaugarri nagusiak:
- UltraHD 5MP Quality: CMOS 1/3'' Image Sensor & 5.0 Megapixel (2880 x 1620P) at 20 fps for clear and smooth images/videos.
- POE funtzionalitatea: Supports 48V 802.3af Power Over Ethernet, allowing power and data transmission via a single Cat5/6 cable. Also supports 12V 2A auxiliary power.
- Tamaina txikia: Compact dimensions (5.3 x 4.5 x 4 cm) for discreet installation.
- 3.6 mm lentea: Fixed lens offering a 75° view angelua.
- Mikrofono integratua: Captures one-way audio from the camera's surroundings.
- Mugimendu-detekzioa: Smart motion detection with smartphone alarm notifications.
- H.265/H.264 Compression: Efficient video compression for reduced bandwidth and storage.

1.2. irudia: Bat baino gehiagoview graphic highlighting the camera's main features: HD 5MP resolution, motion detection capabilities, a built-in one-way audio microphone, a 3.6mm fixed lens providing a 75-degree field of view, and Power Over Ethernet (POE) connectivity.
2. Paketearen edukia
Mesedez, egiaztatu behean zerrendatutako elementu guztiak zure paketean sartuta daudela. Elementuren bat falta bada edo hondatuta badago, jarri harremanetan bezeroarentzako arreta-zerbitzuarekin.
- 1 x REVODATA 5MP POE Mini IP Camera
- 1 x Erabiltzailearen eskuliburua
- 1 x Screws Set (for mounting)
Note: A power unit (12V 2A) is NOT included in the package. If not using POE, a separate power adapter is required.
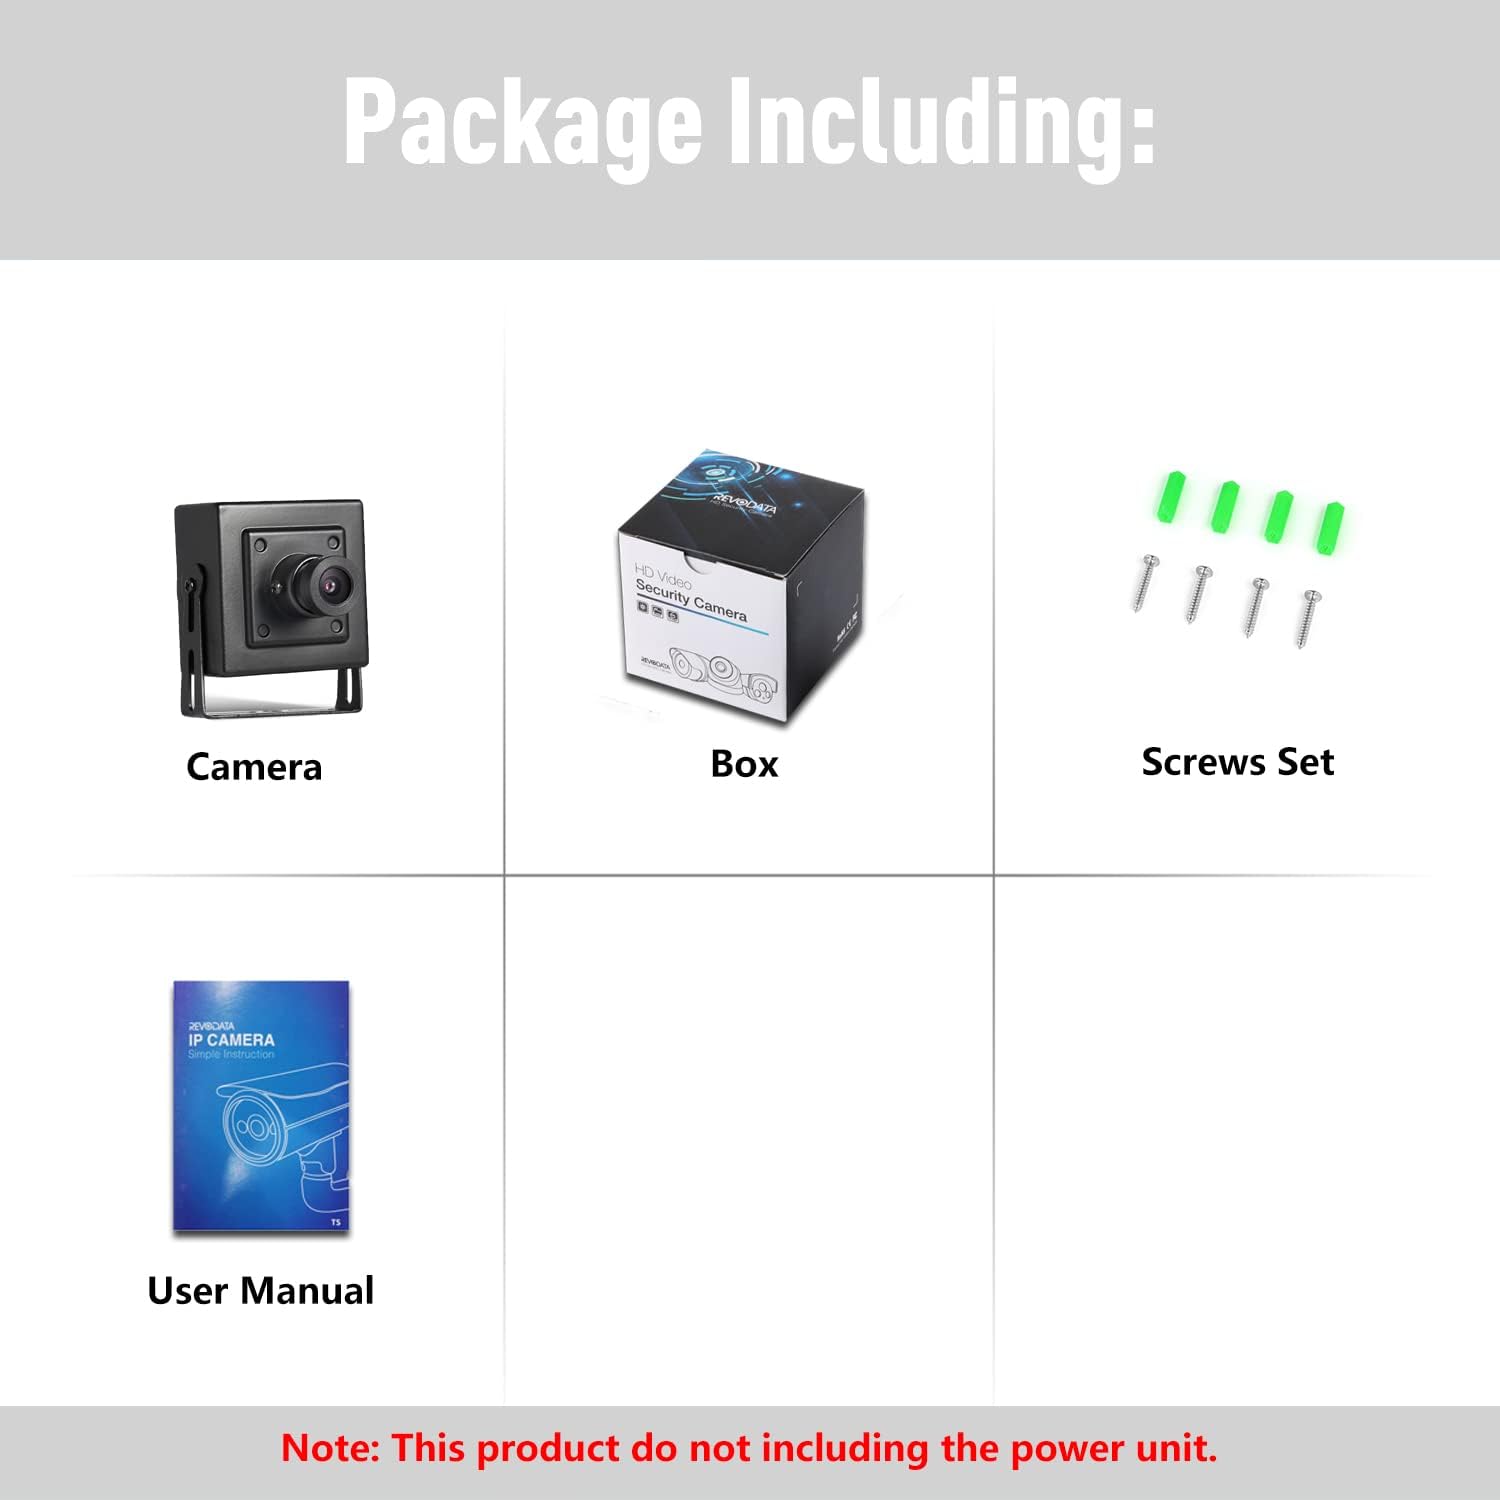
2.1. irudia: The package contents, including the camera, user manual, screws set, and product box. A power unit is not included.
3. Produktuaren osagaiak
Familiarize yourself with the different parts of your REVODATA IP Camera:

3.1. irudia: This image illustrates the camera's dimensions (52mm height, 44mm width, 40mm depth) and highlights key components such as the 3.6mm lens, microphone, mounting brackets, RJ45 port (for POE), and auxiliary 12V 2A power supply port.
- 3.6 mm lentea: The primary optical component for capturing video.
- Mikrofonoa: Built-in for one-way audio capture.
- Muntatzeko euskarriak: Adjustable brackets for secure installation.
- RJ45 ataka: Ethernet port for network connection and Power Over Ethernet (POE).
- Auxiliary Power Port: For connecting a 12V 2A DC power supply if POE is not used.
- Screw Hole: For securing the camera to a surface.
- Metal Shell: Durable housing for the camera components.
4. Instalazioa
4.1 Kamera muntatzea
The camera is designed for indoor use and can be mounted on a ceiling or wall. Use the included screws and anchors to secure the mounting brackets to your desired location. Adjust the camera angle as needed for optimal viewing.
4.2 Energia eta sare konexioa
The camera supports two power options:
- Ethernet bidezko energia (POE): Connect a Cat5/6 Ethernet cable from a POE-enabled switch or POE injector to the camera's RJ45 port. This single cable will provide both power and network connectivity. Ensure your POE equipment supports the 802.3af standard.
- Potentzia laguntzailea: If POE is not available, connect a 12V 2A DC power adapter (not included) to the camera's auxiliary power port. Then, connect a standard Ethernet cable from your router/switch to the camera's RJ45 port for network access.
5. Hasierako konfigurazioa
5.1 Sarearen konfigurazioa
By default, the camera may be set to a static IP address. To access the camera's web interface or connect it to your network, you may need to temporarily adjust your PC's IP address to be in the same subnet as the camera's default IP. Refer to the included simple instruction manual for the default IP address and login credentials.
Once connected, you can configure the camera's network settings (e.g., change to DHCP, set a new static IP) via its web interfazea.
5.2 Software and App Installation
To view and manage your camera, you can use the dedicated mobile app or PC software:
- Smartphone aplikazioa: Download the 'TSEye' app from your smartphone's app store (available for Android and iOS). Follow the in-app instructions to add your camera.
- PC Software (VMS): VMS software is available for Windows operating systems. This software allows for comprehensive management and viewing on your computer. (Note: Not compatible with MAC OS or Linux).

5.1. irudia: This image displays the user interface of the TSEye mobile application for smartphone viewing and the VMS software for PC viewing, showing live camera feeds and control options.
6. Funtzionamendua
6.1 Bizi View eta Grabaketa
Once connected, you can access the live video feed through the mobile app or VMS software. The camera provides UltraHD 5MP resolution for clear visuals. You can initiate manual recordings or configure continuous recording via the software settings.

6.1. irudia: A visual comparison demonstrating the superior clarity and detail of 5MP (2880 x 1620 Pixel) resolution compared to 1080P (1920 x 1080 Pixel) resolution, showcasing the camera's UltraHD capability.

6.2. irudia: Two images showing the camera's performance in different lighting conditions: a clear, well-lit view during the day and a detailed, visible image at night, demonstrating its low-light capabilities.
6.2 Audioaren monitorizazioa
The built-in microphone allows for one-way audio monitoring. You can listen to the sounds from the camera's environment through the app or VMS software. Adjust microphone volume settings as needed within the software.
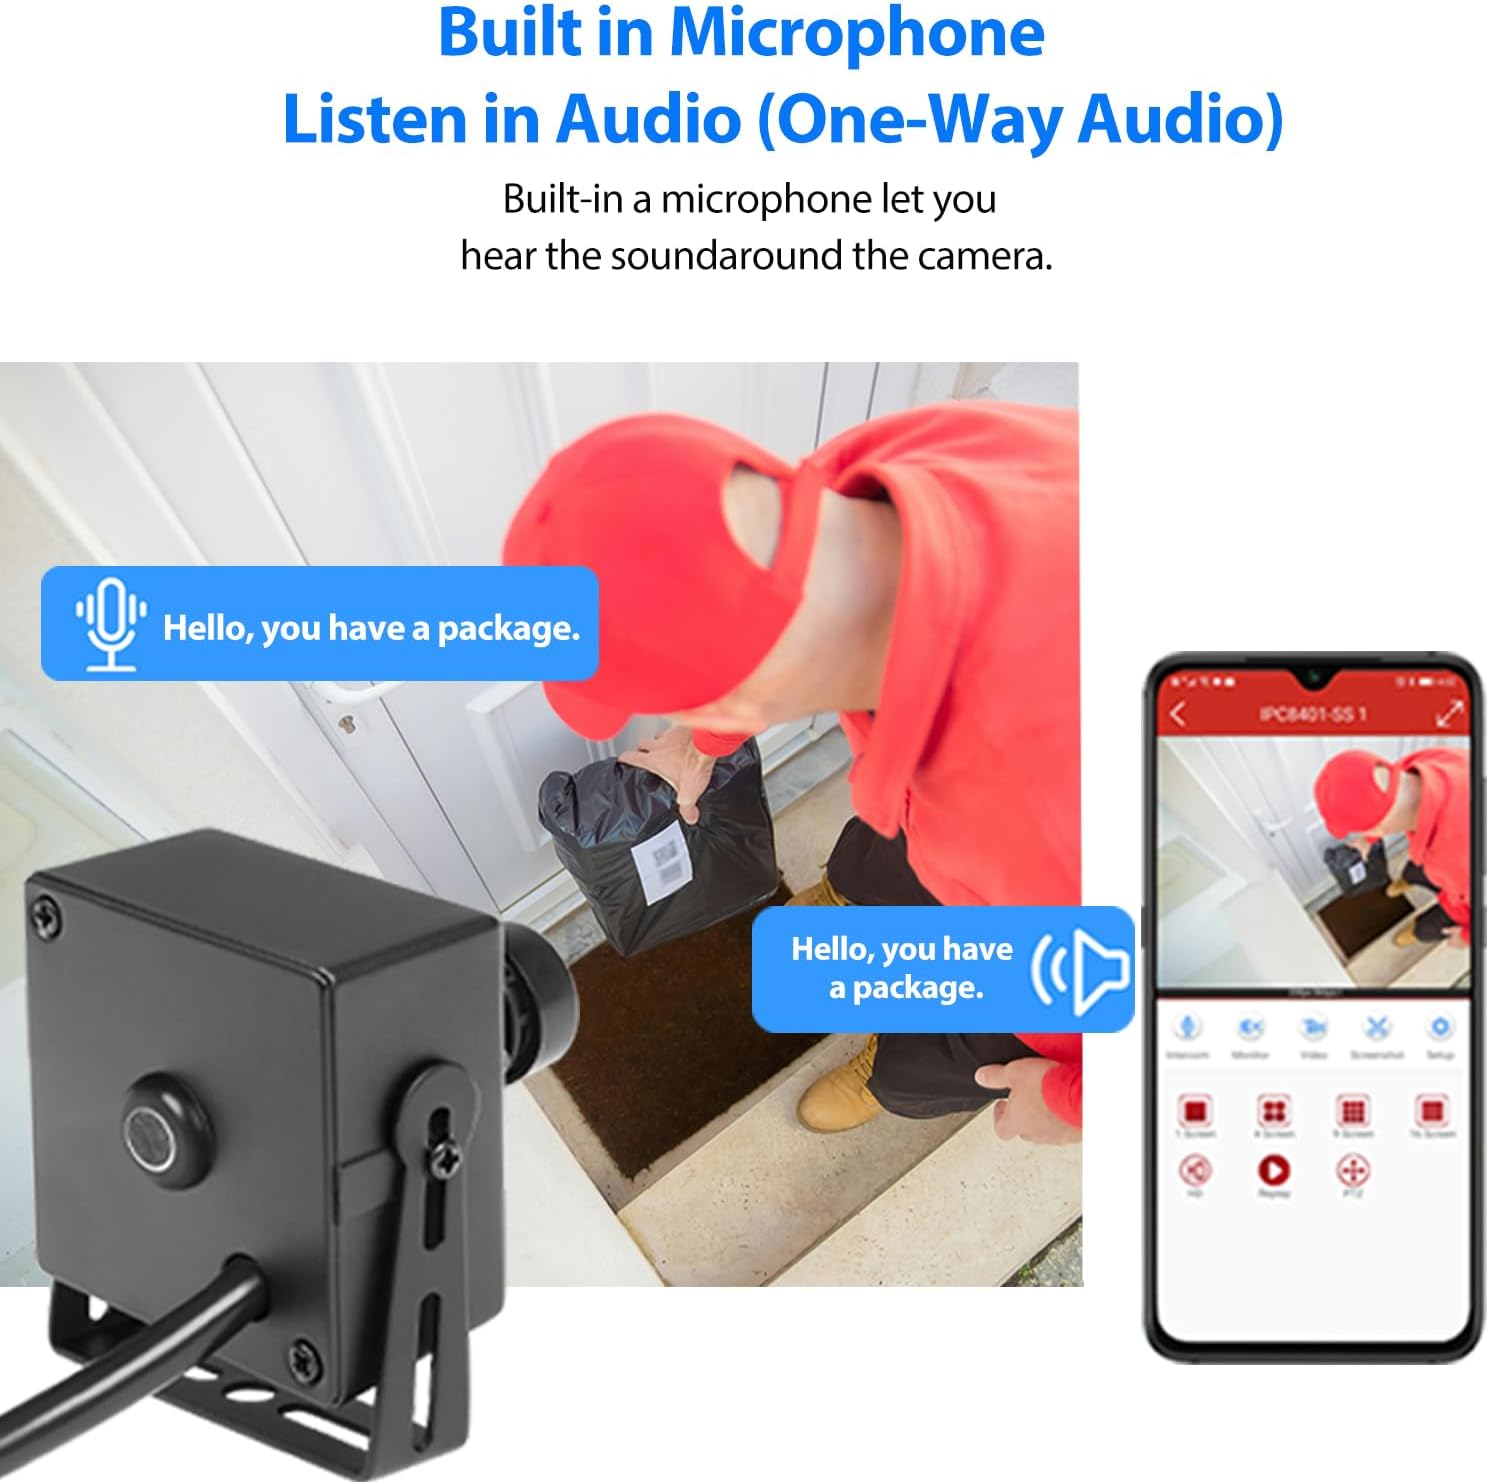
6.3. irudia: This image shows the camera's built-in microphone, illustrating its ability to capture one-way audio, useful for monitoring sounds in the camera's vicinity, such as a delivery person speaking.
6.3 Mugimendu-detekzioa
Configure motion detection settings through the camera's web interface or the VMS software. You can define detection zones, sensitivity levels, and set up alarm notifications to be sent to your smartphone when motion is detected.

6.4. irudia: This image illustrates the smart motion detection feature, where the camera detects movement within its field of view and sends an alarm notification to a connected smartphone.
6.4 Produktuaren bideo ofiziala
6.1. bideoa: Bideo honek ikuspegi orokorra eskaintzen duview of the REVODATA 5MP POE Mini IP Camera, showcasing its compact design and highlighting the built-in microphone feature.
7. Zehaztapenak
| Ezaugarri | Zehaztapena |
|---|---|
| Ereduaren izena | I706-P-A-TS |
| Bideo Harrapaketa Ebazpena | 5 MP (2880 x 1620P) |
| Fotograma-tasa | 20 fps |
| Lentea | 3.6mm Lente finkoa |
| Viewangelua | 75 gradu |
| Konektibitate Teknologia | Kablea (Ethernet) |
| Energia iturria | POE (802.3af) or 12V 2A DC |
| Barruko/Kanpoko erabilera | Barruan |
| Neurriak (L x W x H) | 2.09 x 1.77 x 1.57 hazbete (5.3 x 4.5 x 4 cm) |
| Elementuaren pisua | 6.3 ontza |
| Materiala | Metala |
| Gailu bateragarriak | Smartphone, PC (Windows) |
| Bideo-konpresioa | H.265/H.264 |
8. Arazoak
Atal honek zure kamerarekin izan ditzakezun arazo ohikoenei buruzko informazioa ematen du.
8.1 Camera Not Powering On / No Video
- Check POE Connection: Ensure your POE switch or injector is active and provides 802.3af standard power. Verify the Ethernet cable is securely connected at both ends.
- Check Auxiliary Power: If using a 12V 2A power adapter, ensure it is properly connected and functioning.
- Kableen osotasuna: Inspect the Ethernet cable for any damage. Try a different cable if necessary.
8.2 Cannot Access Camera / Network Issues
- IP Helbide lehenetsia: The camera may default to a static IP. Consult the simple instruction manual for the default IP and ensure your PC is on the same subnet for initial configuration.
- DHCP Settings: If your network uses DHCP, ensure the camera is configured to obtain an IP address automatically.
- Suebakia/Aurkakoa: Temporarily disable any firewall or antivirus software on your PC that might be blocking access to the camera.
8.3 Camera Runs Hot
- Aireztapena: Ensure the camera is installed in a location with adequate airflow and not in an enclosed space that could trap heat.
- Ingurune operatiboa: Verify the ambient temperature is within the specified operating range (up to 60°C).
8.4 Image Quality Appears Low (Not 5MP)
- Ebazpen ezarpenak: Check the camera's resolution settings in the web interface or VMS software. Ensure it is set to 5MP (2880x1620).
- Sareko banda zabalera: Insufficient network bandwidth can affect streaming quality. Ensure your network can support the 5MP video stream.
- Argiztapen baldintzak: While the camera performs well in low light, extreme darkness or glare can impact image clarity.
9. Zainketa eta Mantentzea
- Garbiketa: Erabili zapi leun eta lehor bat kameraren lentea eta gorputza garbitzeko. Ez erabili produktu kimiko gogorrik edo garbitzaile urratzailerik.
- Ingurumena: Keep the camera in a dry environment and avoid exposure to extreme temperatures or direct water spray.
- Firmware eguneraketak: Aldian-aldian egiaztatu fabrikatzailearen webwebgunea eskuragarri dauden firmware eguneratzeetarako, errendimendu eta segurtasun optimoa bermatzeko.
10. Bermea eta Laguntza
For specific warranty information regarding your REVODATA 5MP POE Mini IP Camera, please refer to the warranty card included with your product or contact the seller/manufacturer directly. Warranty terms and conditions may vary by region and retailer.
For technical support, software downloads, or further assistance, please visit the official REVODATA website or contact their customer service department. Contact information is typically provided in the product packaging or on the manufacturer's webgunea.