Motorized Fader (Model: cable)
User Manual: Generic Motorized Fader
For Digidesign/AVID Venue, Profile & Control 24 Command 8 Systems
1. Sarrera
This manual provides comprehensive instructions for the installation, operation, and maintenance of the Generic Motorized Fader. Designed as a replacement component, these faders are compatible with Digidesign/AVID Venue, Profile, and Control 24 Command 8 systems, ensuring precise control and reliable performance in professional audio environments.
Each fader is engineered to meet the specifications required for seamless integration, restoring the functionality of your audio console's motorized fader banks.
2. Produktuaren zehaztapenak
| Ezaugarri | Deskribapena |
|---|---|
| Produktu Mota | Motorized Fader Replacement |
| Bateragarritasuna | Digidesign/AVID Venue, Profile & Control 24 Command 8 |
| Modelo zenbakia | kablea |
| Jatorria | Txina kontinentala |
| Kantitatea | 10 pieces per pack (as typically supplied) |
Oharra: Produktua hobetzeko, zehaztapenak alda daitezke aldez aurretik abisatu gabe.
3. Konfigurazioa eta instalazioa
Installation of the motorized fader requires careful handling and basic technical knowledge. It is recommended that installation be performed by a qualified technician.
3.1 Segurtasun-neurriak
- Always disconnect power from the audio console before beginning any installation or maintenance.
- Use appropriate anti-static measures to prevent damage to sensitive electronic components.
- Refer to your audio console's service manual for specific disassembly and reassembly procedures.
3.2 Instalazio-urratsak
- Prepare the Console: Power off and unplug the audio console from all power sources. Allow sufficient time for any residual power to dissipate.
- Access Fader Bay: Carefully open the console's casing to access the fader bay. This may involve removing screws and panels as per your console's service manual.
- Remove Old Fader: Disconnect the wiring harness from the old fader. Unscrew and gently remove the faulty fader from its mounting.
- Install New Fader: Position the new Generic Motorized Fader into the vacant slot. Ensure proper alignment with mounting holes.
- Konektatu kableatzea: Carefully connect the wiring harness to the new fader. Ensure all connections are secure and correctly oriented. Refer to the image below for typical wiring configuration.
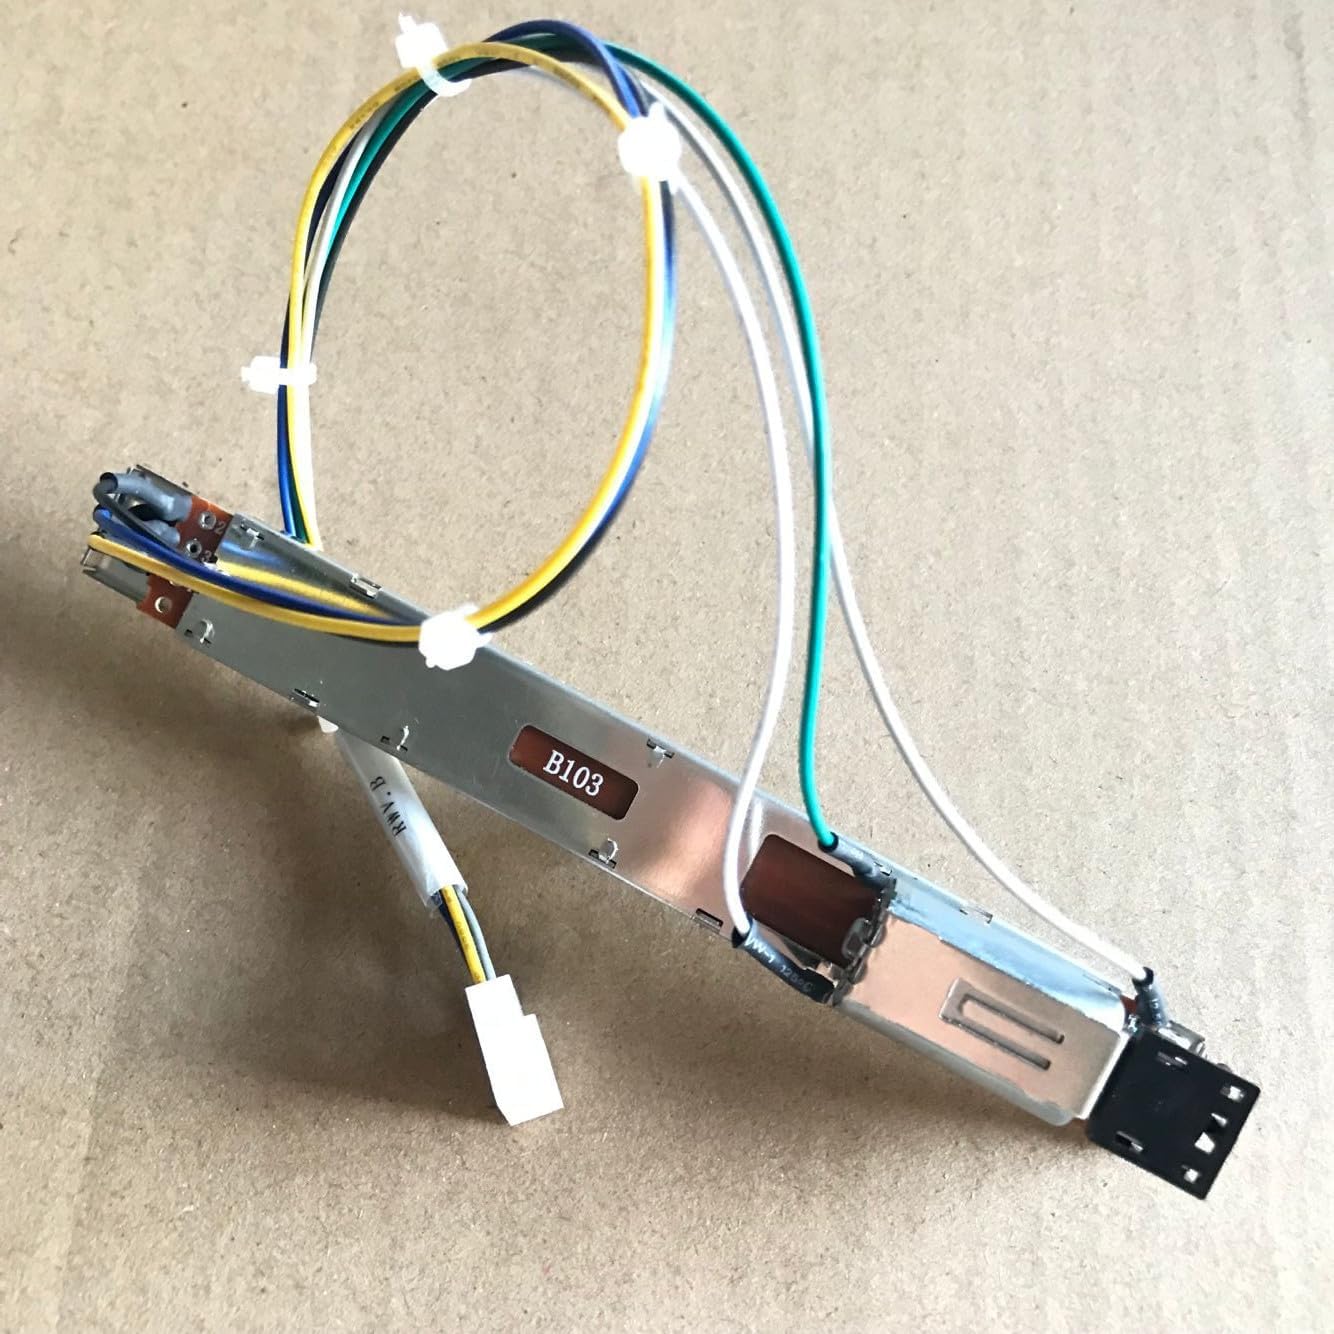
Image: A single motorized fader unit showing the attached multi-color wiring harness and connector. This illustrates the typical connection point for installation.
- Secure Fader: Screw the new fader into place, ensuring it is firmly seated and does not wobble.
- Reassemble Console: Carefully reassemble the console's casing, ensuring all screws are tightened and panels are securely in place.
- Hasierako piztea: Reconnect the console to power. Power on the console and perform a calibration or test procedure as outlined in your console's user manual to ensure the new fader is functioning correctly.
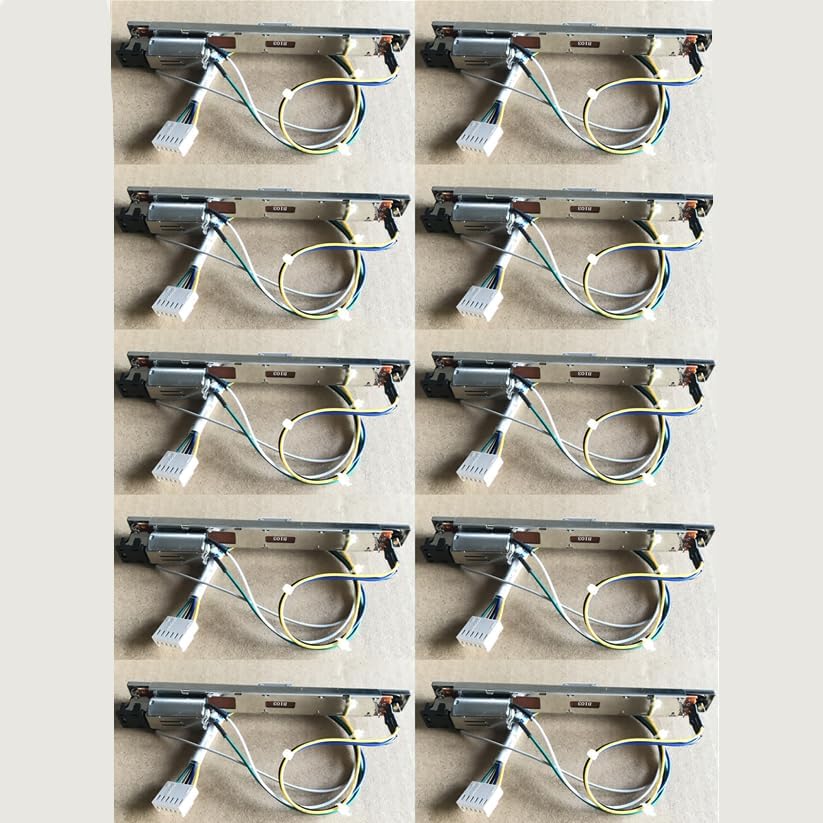
Image: A pack of ten Generic Motorized Faders, illustrating the typical quantity supplied for replacement. Each fader includes its integrated motor and wiring.
4. Operating the Motorized Fader
Once installed, the motorized fader operates as an integral part of your Digidesign/AVID audio console. Its functionality is controlled directly by the console's software and hardware.
- Automated Movement: The fader will automatically adjust its position based on automation data, scene recalls, or control surface commands from the console.
- Eskuz gainditzea: You can manually move the fader to adjust levels. The fader's motor will provide resistance and snap back to the automated position if touch-sensitive automation is enabled and released.
- Kalibrazioa: If fader movement appears erratic or inaccurate after installation, refer to your console's user manual for fader calibration procedures. This typically involves a software-based calibration routine.
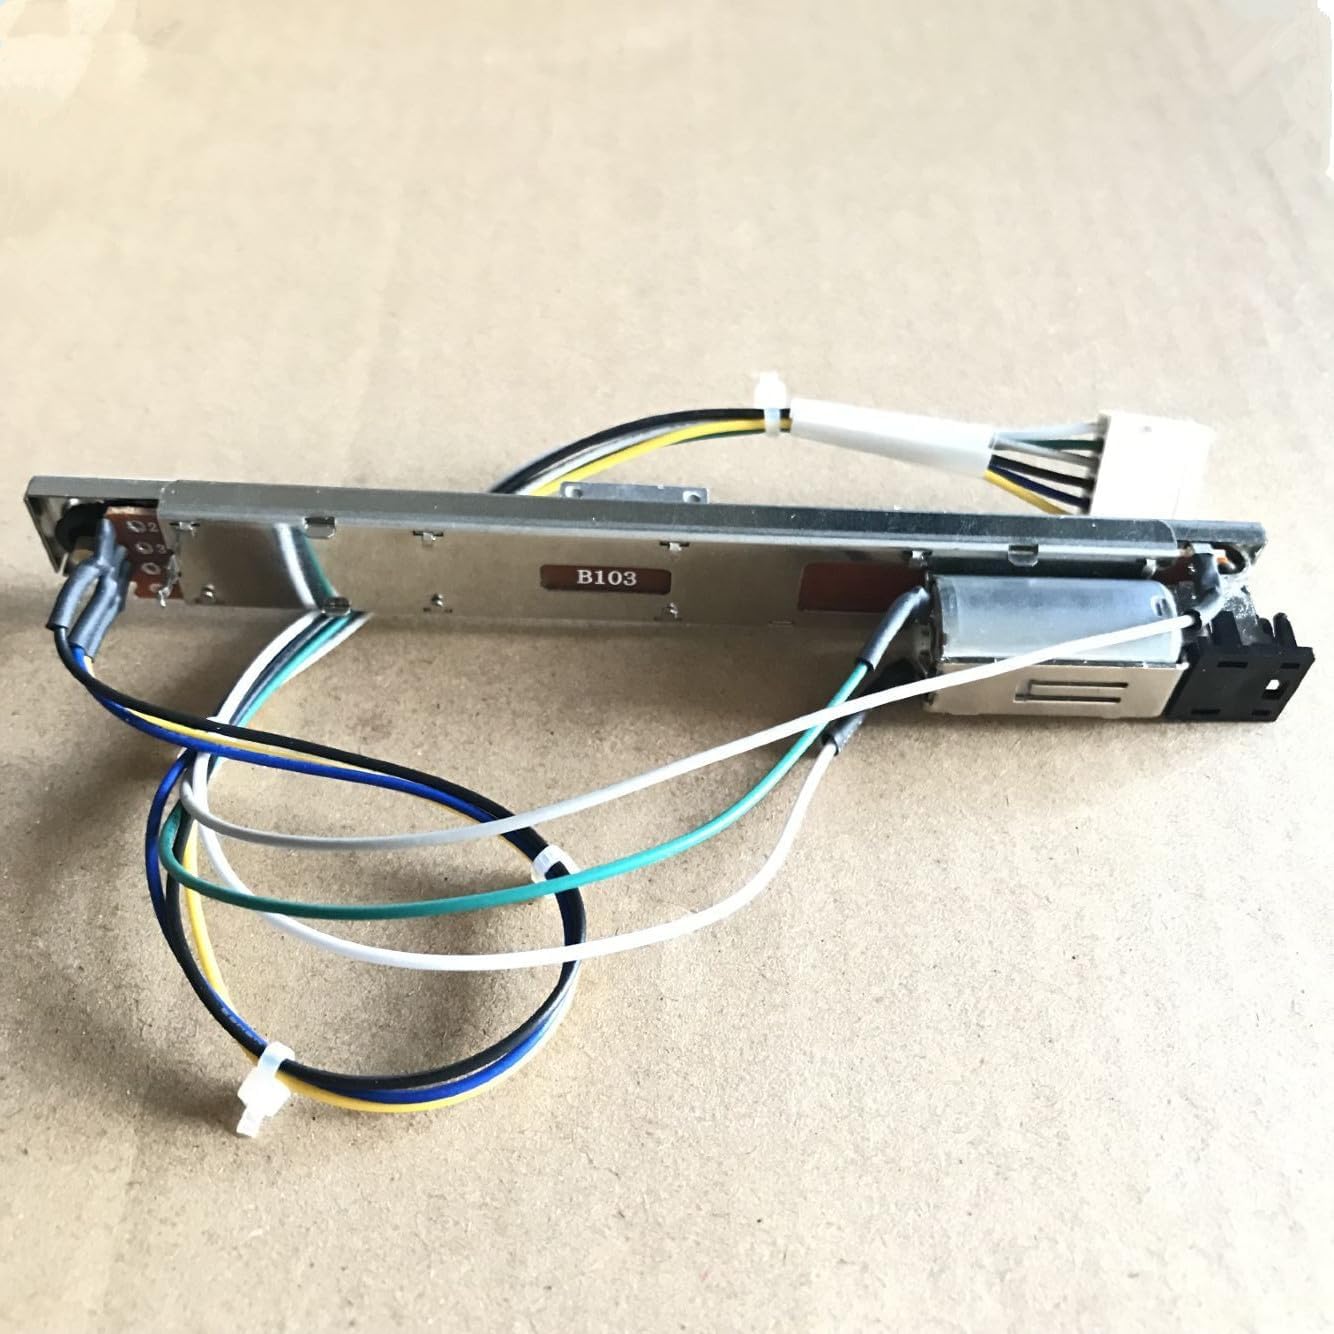
Irudia: Xehetasun zehatza view of a single motorized fader, highlighting its robust construction and integrated motor mechanism.
5. Mantentzea
Proper maintenance ensures the longevity and optimal performance of your motorized faders. While these are replacement parts, general care for the console's fader section is important.
- Mantendu garbi: Regularly clean the fader slots and caps to prevent dust and debris buildup, which can impede fader movement. Use a soft, lint-free cloth.
- Saihestu likidoak: Do not spill liquids on the faders or console. Liquids can cause short circuits and damage internal components.
- Manipulazio leuna: While robust, avoid excessive force when manually moving faders.
- Garbiketa profesionala: For deep cleaning or internal maintenance, consult a qualified service technician.
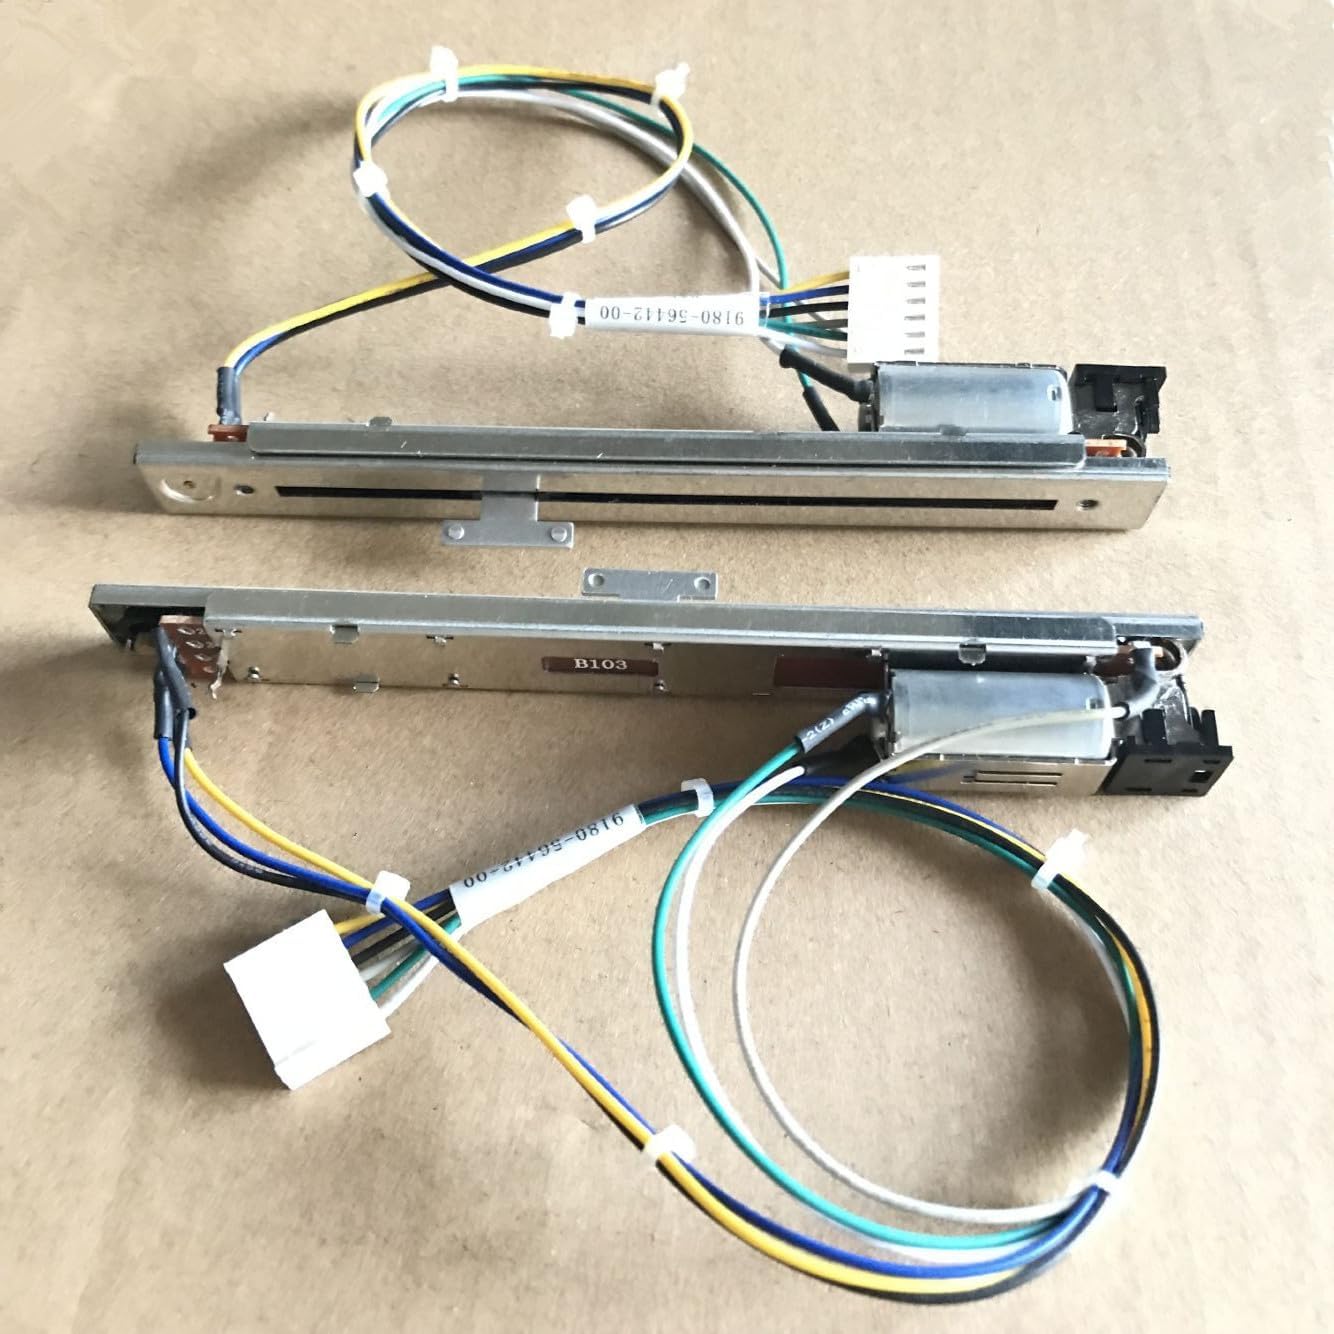
Image: Two motorized faders displayed side-by-side, illustrating their compact design and the length of the fader track.
6. Arazoak
If you encounter issues with your motorized fader, refer to the following common problems and solutions:
| Arazoa | Kausa posiblea | Irtenbidea |
|---|---|---|
| Fader not moving | Incorrect wiring, motor failure, software issue, debris in track. | Check wiring connections. Power cycle the console. Perform fader calibration. Inspect fader track for obstructions. If issue persists, fader may need replacement. |
| Erratic fader movement | Calibration needed, dirty fader track, software glitch. | Perform fader calibration. Clean fader track. Restart console. |
| Fader feels stiff or gritty | Dust or debris in the fader track. | Clean the fader track thoroughly. Avoid using lubricants not specified by the console manufacturer. |
If troubleshooting steps do not resolve the issue, contact customer support or a qualified service technician.
7. Bermea eta Laguntza
Produktua bat dator 12 hilabeteko bermea for full refund or replacement, as per the seller's policy. This warranty covers manufacturing defects and ensures product functionality under normal use.
For any problems, such as damaged or incorrect products, please contact the seller directly through the Amazon messaging system. The seller aims to provide a solution within 24 hours.
For technical support or further inquiries regarding installation and compatibility, please refer to the official documentation of your Digidesign/AVID console or contact their respective support channels.
Harremanetarako informazioa:
- Saltzailearen laguntza: Contact via Amazon messaging system.
- Fabrikatzailea: Generic (as per product listing)
Erlazionatutako dokumentuak - Motorized Fader (Model: cable)
 |
Safety Cones User Manual: Product Guide and Instructions Comprehensive user manual for Safety Cones, detailing product specifications, safety instructions, and usage guidelines for various models including CC-A45, CC-A70, CC-PV45, CC-A90, and CC-PV90. |
 |
VEVOR Square Plant Support Cages User Manual User manual for VEVOR Square Plant Support Cages, providing safety guidelines, specifications, and assembly instructions for various models including FQZZDX and FQZZPS series. |
 |
LED Recessed Spotlight Down Light User Manual User manual for 10-piece white LED recessed ceiling spotlights. Includes installation instructions, safety warnings, maintenance tips, and FAQs. |
 |
Product Manual: Concealed Push Open Drawer Pop Up Device Safety and usage manual for the 10pcs Concealed Push Open Drawer Pop Up Device, including manufacturer and EU representative contact details. |
 |
User Manual for JETTING NN71 Fiber Optic Connectors Quick start guide, safety information, and usage instructions for the JETTING NN71 LC/UPC fiber optic connector adapters. |
 |
SeKi F-Plug 7.2mm with Rubber Seal (10 Pack) - Data & Safety Sheet Technical data and safety instructions for the SeKi 7.2mm F-connector with rubber seal. Includes installation guidelines and specifications. |
Ask a question about this manual
Ask about setup, troubleshooting, compatibility, parts, safety, or missing instructions. Manuals+ will review the question and use this page’s manual context to help answer it.