
Mars Gaming MCVIEW
Mars Gaming MC-VIEW Micro-ATX Gaming Mini Tower Case Instruction Manual
Modeloa: MCVIEW
1. Sarrera
This manual provides detailed instructions for the installation, operation, and maintenance of your Mars Gaming MC-VIEW Micro-ATX Gaming Mini Tower Case. Designed for custom PC configurations, the MC-VIEW offers a unique blend of compact size, aesthetic appeal, and high performance for gaming enthusiasts. Please read this manual thoroughly before beginning assembly to ensure proper setup and to maximize the lifespan of your components.

Figure 1.1: The Mars Gaming MC-VIEW Micro-ATX Gaming Mini Tower Case.
2. Ezaugarri nagusiak
- Continuous Frameless Tempered Glass Design: Showcases internal components with a 90-degree frameless tempered glass panel, offering an unobstructed view of your build.
- Modular Dual-Chamber Structure: Optimizes cooling and space by separating the power supply and storage drives into a hidden side compartment, ensuring efficient airflow and clean aesthetics.
- Expanded Micro-ATX Capacity: Compatible with Micro-ATX and Mini-ITX motherboards. Supports up to 7 fans, 5 storage drives, VGA cards up to 330mm in length and 148mm in width, and CPU coolers up to 158mm in height.
- Optimal Cooling and Liquid Cooling Support: Engineered for superior thermal performance, supporting liquid cooling systems with radiators up to 240mm at the rear and top.

Figure 2.1: Continuous frameless tempered glass design.

Figure 2.2: Expanded Micro-ATX capacity for various components.
3. Zehaztapen Teknikoak
| Atributua | Xehetasuna |
|---|---|
| Marka | Mars Gaming |
| Ereduaren izena | MCVIEW |
| Plaka amaren bateragarritasuna | Micro ATX, Mini-ITX |
| Kasu mota | Mini Dorrea |
| Kolorea | Beltza |
| Materiala | Beira tenplatua, aluminioa |
| PSU Muntaketa Mota | Beheko mendia |
| Hozteko metodoa | Airea, Ura |
| Zaleentzako laguntza maximoa | 7 (120mm/140mm) |
| Erradiadorearen euskarria | Up to 240mm (Rear, Top) |
| VGA luzera maximoa | 330 mm |
| VGA zabalera maximoa | 148 mm |
| CPU hozgailuaren gehienezko altuera | 158 mm |
| Zabaltzeko Slots | 4 |
| Barne unitateak | 5 (2.5-inch compatible) |
| Aurreko I / O Portuak | 2x USB 2.0, 1x USB 3.0, Audio Jack, Power Button, Reset Button |
| Elementuaren pisua | 3.95 kilogramo |

Figure 3.1: Internal dimensions and component compatibility.
4. Konfigurazioa eta instalazioa
Before starting, ensure you have all necessary components and tools. It is recommended to work on a clean, static-free surface.
4.1. Kasua prestatzea
- Deskonprimitu zorroa: Carefully remove the MC-VIEW case from its packaging. Inspect for any damage.
- Kendu alboko panelak: The tempered glass side panels are typically secured with thumbscrews or a latch mechanism. Remove them to access the interior.
- Osagarrien kit: Locate the accessory kit, which usually contains screws, standoffs, and cable ties.
4.2. Plaka amaren instalazioa
- Instalatu Standoffs: Ensure the correct standoffs are installed for your Micro-ATX or Mini-ITX motherboard. The case may have pre-installed standoffs.
- Instalatu I/O babesa: Sartu plaka basearen E/S babeskia kaxaren atzeko irekiduran.
- Muntatu plaka basea: Kontu handiz jarri plaka basea euskarrien gainean, torlojuen zuloak lerrokatuz. Lotu emandako torlojuekin.
4.3. Elikatze-iturriaren (PSU) instalazioa
The MC-VIEW features a dual-chamber design, with the PSU mounted in a separate compartment.
- Position PSU: Slide the PSU into its designated compartment at the bottom rear of the case. Ensure the fan faces the correct direction for optimal airflow (usually downwards or towards the side panel vent).
- Secure PSU: Fasten the PSU with screws from the rear of the case.
- Kableen bideratzea: Route the necessary PSU cables through the cutouts into the main chamber for component connection.

Figure 4.1: Power Supply Unit (PSU) installation in the dedicated compartment.
4.4. Biltegiratze unitatearen instalazioa
The case supports up to 5 x 2.5-inch drives. Refer to the case's internal structure for specific mounting points, typically located in the secondary chamber.
- Locate Drive Bays: Identify the 2.5-inch drive mounting locations.
- Mount Drives: Secure your SSDs or HDDs using the provided screws.
- Konektatu kableak: Attach SATA data and power cables to the installed drives.
4.5. Txartel grafikoaren (VGA) instalazioa
- Remove Expansion Slot Covers: Remove the necessary expansion slot covers at the rear of the case. Note that these are typically break-away covers and cannot be reattached.
- Insert VGA Card: Align your graphics card with the PCIe slot on the motherboard and press firmly until it clicks into place.
- Secure VGA Card: Fasten the graphics card to the case with screws.
- Konektatu energia: Attach any required PCIe power cables from the PSU to the graphics card.
4.6. Cooling System Installation (Fans & Radiators)
The MC-VIEW supports up to 7 fans and liquid cooling radiators up to 240mm.
- Fan Placement: Install fans in the designated locations (front, top, rear, bottom) using fan screws. Consider airflow direction (intake/exhaust).
- Erradiadorearen kokapena: For liquid cooling, mount radiators (up to 240mm) at the top or rear of the case. Secure them with screws.
- Connect Fans/Pumps: Connect fan and pump cables to your motherboard or a fan controller.
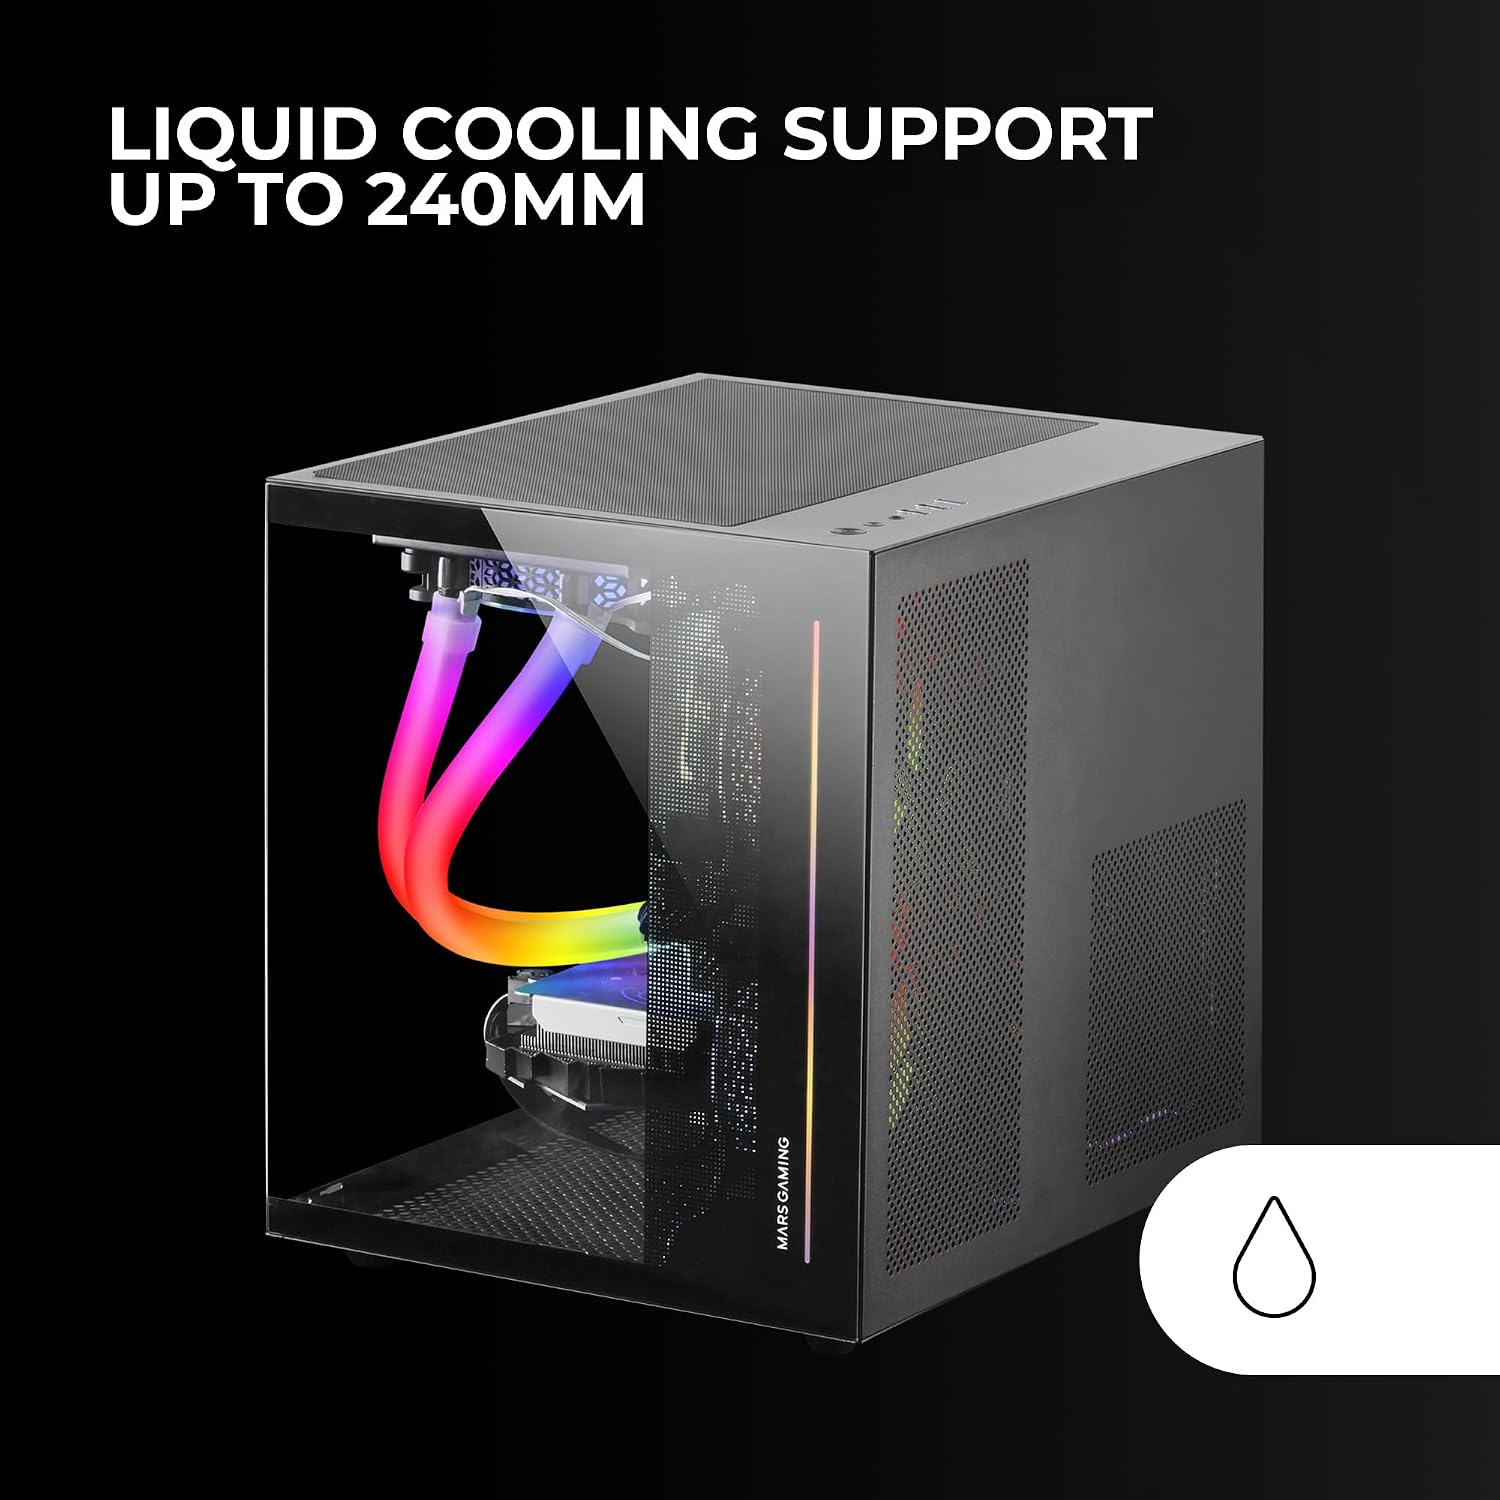
Figure 4.2: Liquid cooling system installed in the MC-VIEW kasua.
4.7. Kableen kudeaketa
Utilize the dual-chamber design and cable routing cutouts to manage cables neatly. This improves airflow and aesthetics.
- Ibilbide kableak: Pass cables through the grommets and tie-down points behind the motherboard tray.
- Kable seguruak: Use cable ties (often included in the accessory kit) to bundle and secure cables.
- Connect Front Panel I/O: Connect the front panel USB, audio, power, and reset cables to the appropriate headers on your motherboard.

Figure 4.3: Modular dual-chamber structure for efficient cable management.
4.8. Azken Batzarra
- Reattach Panels: Once all components are installed and cables managed, carefully reattach the tempered glass side panels.
- Konektatu periferikoak: Konektatu monitore, teklatu, sagu eta beste periferiko batzuk atzeko S/I ataketara.
5. Funtzionamendu-argibideak
5.1. Piztu/Itzaltzea
- Piztu: Press the power button located on the front I/O panel.
- Itzali: Initiate a shutdown from your operating system. For a forced shutdown, press and hold the power button for several seconds.
- Berrezarri: Use the reset button on the front I/O panel for a system restart if needed.
5.2. Front Panel Connectivity
Aurreko S/I panelak portu garrantzitsuetarako sarbide erosoa eskaintzen du:
- USB 3.0 ataka (x1): Gailu bateragarriekin datu-transferentzia azkarra egiteko.
- USB 2.0 portuak (x2): USB periferiko estandarrak konektatzeko.
- Audio Jack: Aurikularrak edo entzungailuak konektatzeko.
6. Mantentzea
Mantentze-lan erregularrak zure ordenagailuaren osagaien errendimendu optimoa eta iraupena bermatzen laguntzen du.
6.1. Dust Management
- Hauts-iragazkiak: The case includes a magnetic dust filter on the top panel. Regularly remove and clean this filter to prevent dust buildup.
- Barne garbiketa: Ireki karkasa aldian-aldian eta erabili aire konprimatua haizagailuetatik, bero-hustugailuetatik eta beste osagai batzuetatik hautsa kentzeko. Ziurtatu sistema itzalita eta deskonektatuta dagoela garbitu aurretik.
6.2. Tempered Glass Care
- Garbiketa: Use a soft, lint-free cloth and a mild glass cleaner (or water) to clean the tempered glass panels. Avoid abrasive materials or harsh chemicals.
- Manipulazioa: Handle tempered glass panels carefully to prevent scratches or breakage.
7. Arazoak
Atal honek aurki ditzakezun arazo ohikoenei heltzen die.
7.1. Sistemak ez du pizten
- Konexio elektrikoak: Verify that the PSU is properly connected to the wall outlet and switched on. Check all internal power connections to the motherboard, CPU, GPU, and drives.
- Aurrealdeko paneleko goiburuak: Ensure the front panel power button cable is correctly connected to the motherboard's power header.
7.2. Gehiegi berotzeko arazoak
- Fan konfigurazioa: Check that all installed fans are operating and configured for optimal airflow (e.g., front/bottom intake, top/rear exhaust).
- Hauts-pilaketa: Clean any dust filters and internal components as described in the Maintenance section.
- Osagaien tartea: Ensure no cables or other obstructions are blocking airflow to critical components.
7.3. Component Fitment Problems
- Egiaztatu zehaztapenak: Refer to the Technical Specifications section for maximum supported dimensions for VGA cards, CPU coolers, and radiators.
- Kablearen oztopoa: Ensure cables are not interfering with component installation.
- Expansion Slot Covers: Note that PCI expansion slot covers are break-away type. Once removed, they cannot be reattached. Plan accordingly before removing them.
8. Bermearen informazioa
The Mars Gaming MC-VIEW case comes with a 3 urteko fabrikatzailearen bermea. This warranty covers defects in materials and workmanship under normal use. Please retain your proof of purchase for warranty claims. The warranty does not cover damage caused by improper installation, accidents, misuse, abuse, negligence, unauthorized modification, or natural disasters.
9. Laguntza eta Kontaktua
For further assistance, technical support, or to inquire about replacement parts, please visit the official Mars Gaming webwebgunean edo jarri harremanetan bezeroarentzako arreta-zerbitzuarekin. Baliabide gehigarriak eta produktuaren informazioa ere aurki ditzakezu Mars Gaming Store on Amazon.
10. Produktuen bideoak
Bideo zehatzik ez URLs with creator type or preview information were provided in the product data. Please refer to the official Mars Gaming product page or support channels for any available instructional videos.
© 2024 Mars Gaming. Eskubide guztiak erreserbatuta.
Ask a question about this manual
Ask about setup, troubleshooting, compatibility, parts, safety, or missing instructions. Manuals+ will review the question and use this page’s manual context to help answer it.