Sarrera
Thank you for choosing the EROMMY 12'x24' Hardtop Gazebo. This manual provides essential information for the safe and correct assembly, operation, and maintenance of your new gazebo. Please read all instructions carefully before beginning assembly and retain this manual for future reference.
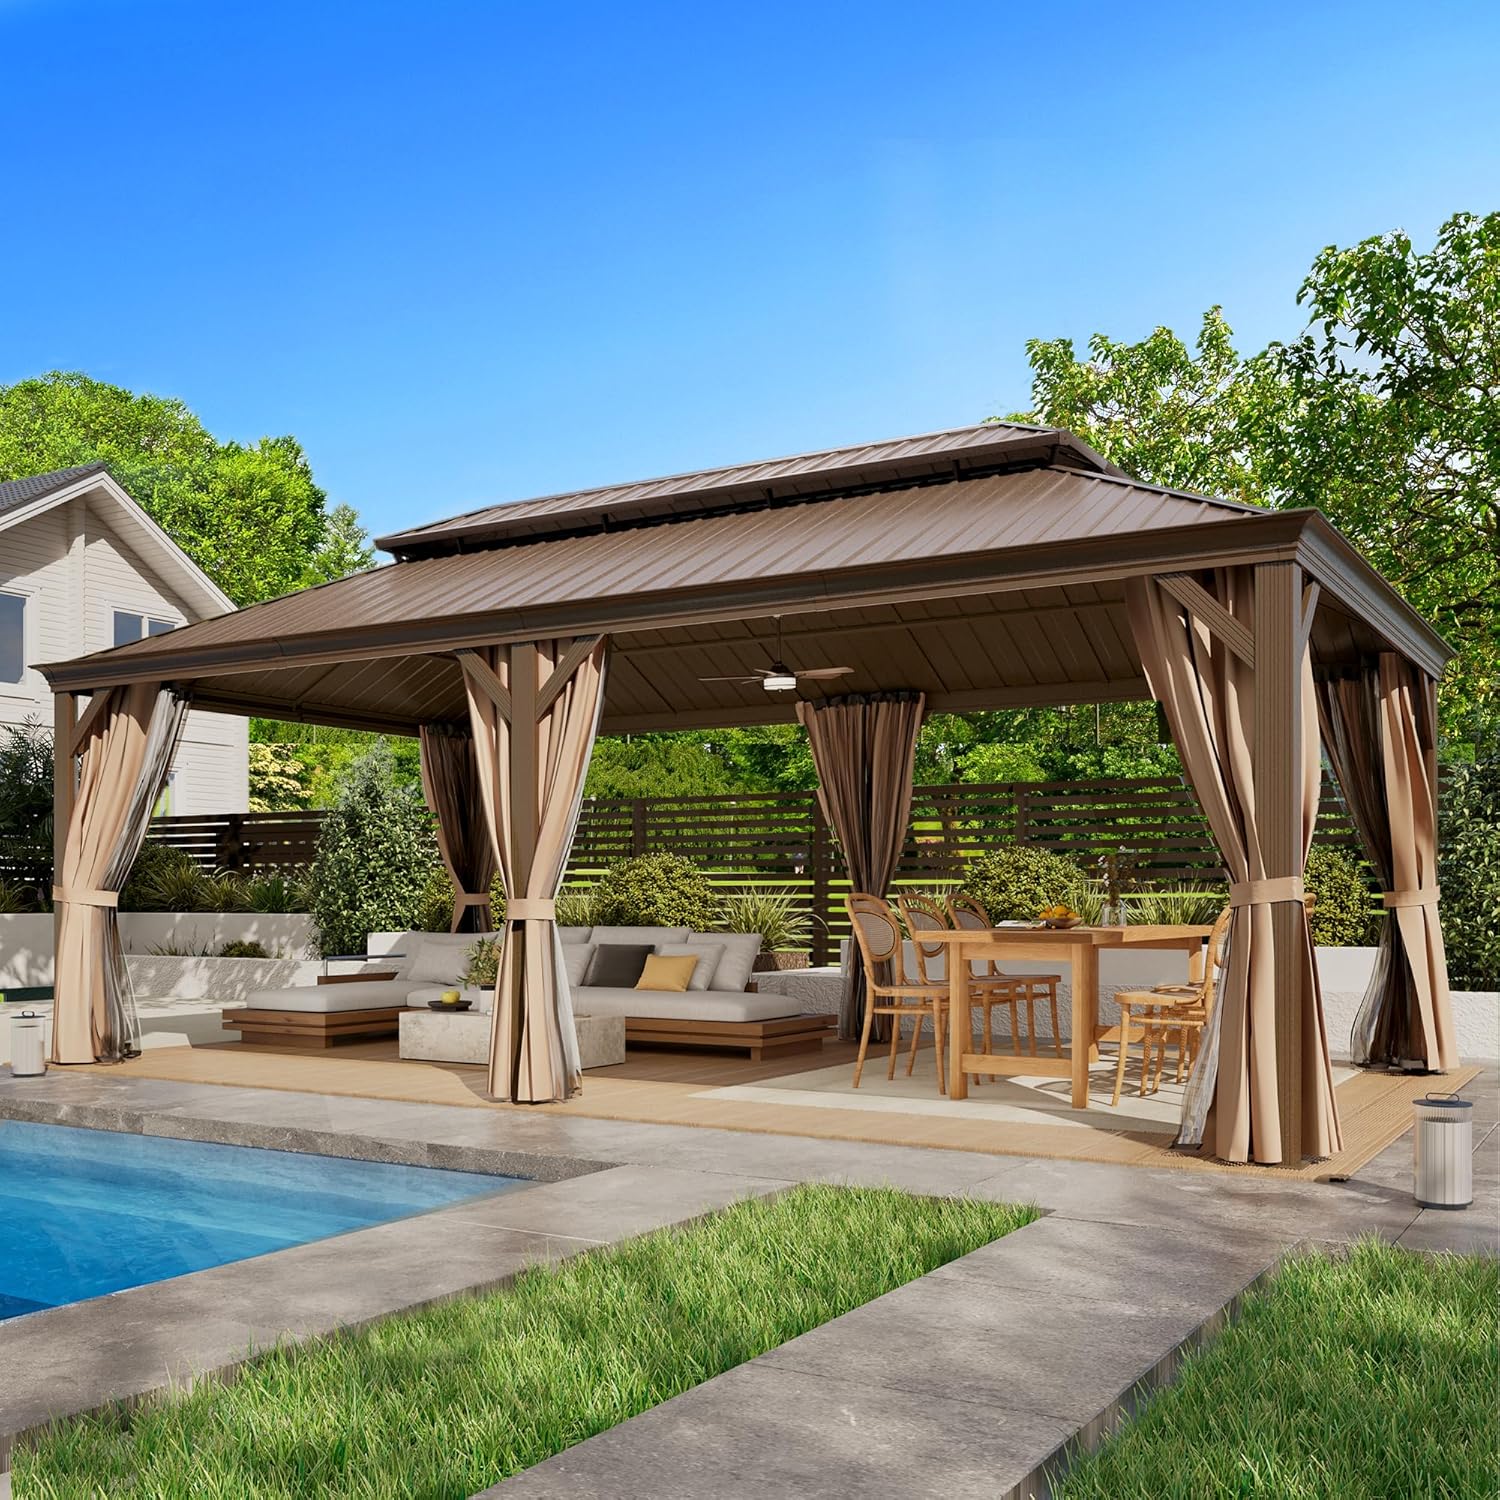
Image: The EROMMY 12'x24' Hardtop Gazebo, showcasing its large size and elegant design in a backyard setting.
Segurtasun Informazioa
Segurtasun-jarraibide hauek betetzea ezinbestekoa da produktuari lesioak eta kalteak saihesteko.
- Always check snow capability and wind rating specifications for your local climate conditions.
- Arretaz berriroview all instructions and verify accessories before beginning installation.
- Be aware that potential leaks may occur in heavy rain if installation tightness is not optimal.
- The gazebo may heat quickly under direct sunlight, reaching high temperatures.
- Ensure anchoring stands are sturdily anchored into the ground to prevent movement.
- Keep all components and tools out of reach of children during assembly.
- Use appropriate safety equipment, such as ladders and gloves, during installation.
- Follow installation steps carefully and seek assistance for heavy or complex parts.
Paketearen edukia
Your EROMMY Hardtop Gazebo is shipped in multiple boxes. Please verify all parts against the detailed parts list provided in your physical packaging before starting assembly. Ensure all components are present and undamaged.
Osagai tipikoen artean hauek daude:
- Aluminum Frame Components (posts, beams, connectors)
- Galvanized Steel Roof Panels (upper and lower sections)
- Netting Panels with Zippers
- Gortina Panelak
- Hardware Kit (screws, bolts, washers, nuts, anchor stakes)
- Tools (basic wrench, hex keys - power tools recommended for efficiency)
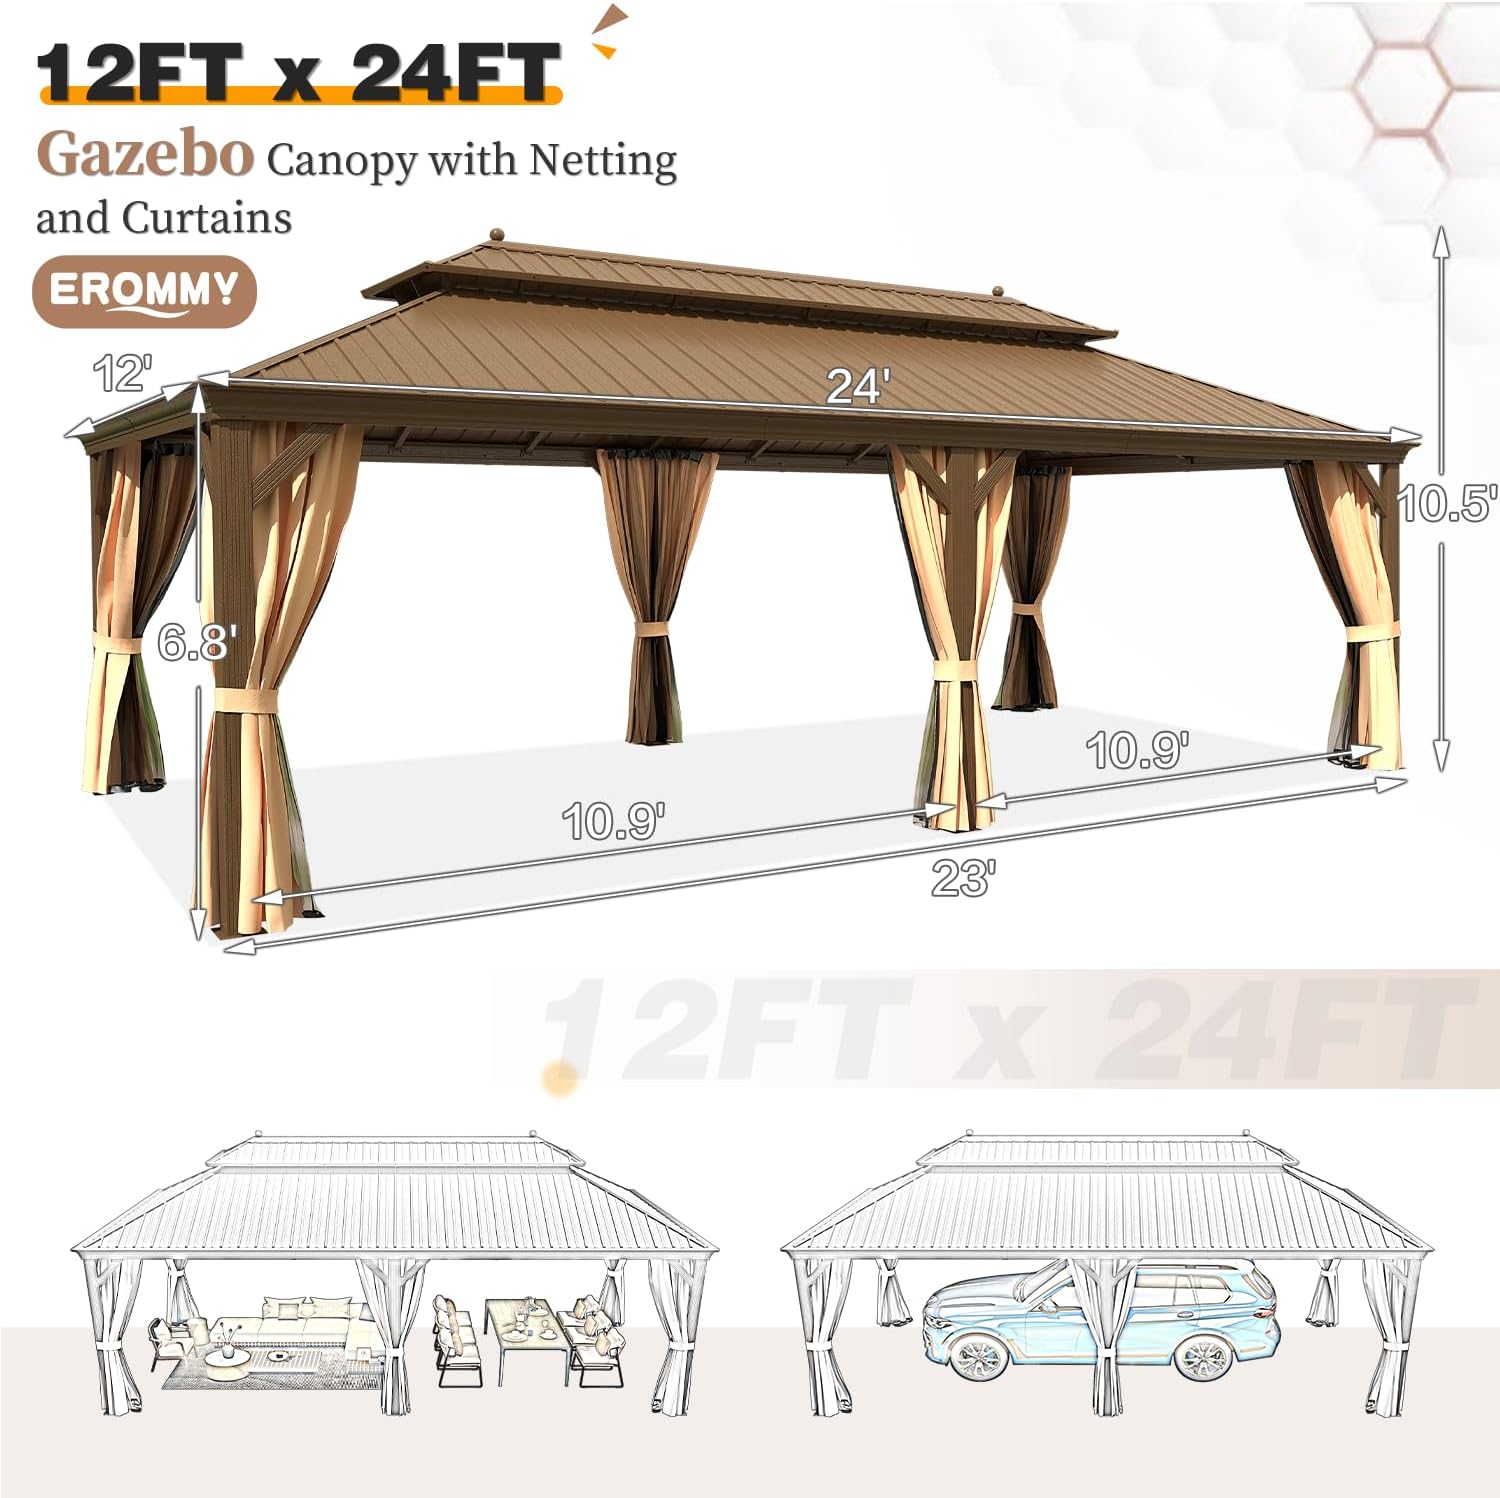
Image: A detailed diagram illustrating the overall dimensions of the 12'x24' gazebo, including height and width measurements.
Muntaketa eta konfigurazio argibideak
Assembly requires at least two people. It is recommended to sort all parts and hardware before beginning. Refer to the numbered steps in your physical instruction manual for detailed diagrams.
1. Markoen Muntaketa
- Unpack all components and lay them out on a clean, flat surface. Separate all screws and fasteners into labeled containers or bags for easy access.
- Begin by assembling the main support posts and horizontal beams. Ensure all connections are secure but do not fully tighten bolts until the entire frame is aligned.
- Attach the triangular support structures at the corners for enhanced stability.
- Once the main frame is upright, carefully anchor the base plates to the ground using the provided anchor stakes or suitable concrete anchors for permanent installation.

Image: Illustration of the triangular structure at the gazebo's corners, designed to enhance overall stability.

Image: A visual representation of the anchor base plates with pre-drilled holes and anchor stakes, ensuring secure ground attachment.
2. Teilatu-panelen instalazioa
Exercise caution during roof installation, especially in windy conditions, as panels can act as sails.
- Install the smaller upper roof panels first, sliding them into their designated channels. Secure them temporarily before moving to the larger panels.
- For the main roof panels, it is often easier to guide them into the channels from underneath the gazebo, working from a ladder. Ensure proper alignment before securing.
- Tighten all roof panel fasteners once all panels are in place and aligned.
- Install the double-top ventilation system, ensuring proper airflow and stability.

Irudia: Gertutik view of the galvanized steel double-top roof, highlighting its ventilation design and robust construction.

Image: An illustration detailing the double-top roof design, which facilitates ventilation and reduces wind pressure for increased stability.
3. Netting and Curtain Installation
The gazebo features a dual-track system for flexible use of netting and curtains.
- Hang the mosquito netting on the inner track and the privacy curtains on the outer track. This configuration allows for optimal functionality and appearance.
- Utilize the combined straps and Velcro attachments to secure the netting and curtains to the leg posts when not in use.

Irudia: Gertutik view of the dual track system, demonstrating how both the inner netting and outer curtains are hung.

Image: An illustration of the dual-track design, highlighting the combined strap feature for easily gathering and securing the netting and curtains.
Funtzionamendu-argibideak
Your EROMMY Hardtop Gazebo is designed for versatile outdoor use.
- Sarearen erabilera: The zippered netting provides protection from insects while maintaining ventilation. Zip up all sides for full enclosure.
- Curtain Use: The privacy curtains offer shade and privacy. They can be drawn closed for full enclosure or tied back to the posts using the integrated straps.
- Ur-kanalizazio sistema: The integrated water gutter design directs rainwater from the roof edges down through the posts to the ground, minimizing water accumulation on the roof.
- Osagarriak kakoak: The roof frame includes "J" shaped hooks for hanging lights, fans, or other lightweight decorations. Ensure any hung items do not exceed the weight capacity specified in the full product documentation.

Image: A close-up showing the "J" shaped hooks integrated into the gazebo roof structure, suitable for hanging lights or fans.

Image: An illustration demonstrating the water gutter design, showing how rainwater is directed from the roof to the four corner pillars for drainage.
Mantentzea
Regular maintenance will extend the lifespan and preserve the appearance of your gazebo.
- Markoa: Clean the aluminum frame with a mild soap and water solution. Rinse thoroughly and dry to prevent water spots. Avoid abrasive cleaners.
- Teilatua: Periodically inspect the galvanized steel roof for debris accumulation. Clean with a soft brush and water. Ensure gutters are clear of leaves and other blockages.
- Netting & Curtains: The yarn-dyed curtains and textilene netting are designed for durability. They can be spot cleaned with mild soap and water. For deeper cleaning, follow care instructions on any attached labels. Ensure they are dry before storing or closing for extended periods to prevent mildew.
- Ainguraketa: Regularly check the ground anchors for tightness and stability, especially after strong winds or heavy rain.
- Neguko zainketa: In areas with heavy snowfall, it is recommended to clear snow from the roof to prevent excessive weight accumulation. Consider disassembling and storing the gazebo during extreme winter conditions if possible.
Arazoak konpontzea
Atal honek aurki ditzakezun arazo ohikoenei heltzen die.
| Arazoa | Kausa posiblea | Irtenbidea |
|---|---|---|
| Screw holes do not align during assembly. | Components are not perfectly aligned or adjacent bolts are too tight. | Loosen adjacent bolts slightly to allow for minor adjustments. Ensure all parts are oriented correctly as per the diagrams. Do not fully tighten any bolts until the entire section is assembled. |
| Roof panels are difficult to install or keep popping out. | Windy conditions; improper technique; panels not fully seated. | Avoid assembly in strong winds. Work from underneath the gazebo when installing panels. Ensure panels are fully seated in their channels before attempting to secure them. Seek assistance to hold panels in place. |
| Water splashes into the gazebo during heavy rain. | Rainwater bouncing off the metal roof into the top vent netting. | This can be an inherent characteristic of double-roof designs with ventilation. Ensure all roof panels are tightly secured and the gutter system is clear. While the roof is waterproof, some splash-back through the ventilated top is possible in extreme conditions. |
| Curtains/netting do not hang correctly or appear misaligned. | Incorrect track placement or improper attachment. | Ensure the mosquito netting is on the inner track and the privacy curtains are on the outer track. Verify that all hooks are properly engaged and straps are used as intended. |
Zehaztapenak
| Ezaugarri | Xehetasuna |
|---|---|
| Marka | EROMIA |
| Eredua | 12'x24' teilatu gogorra duen gazeboa |
| Materiala | Galvanized Steel Roof, Aluminum Frame (Alloy Steel, Aluminum, Metal) |
| Produktuaren neurriak | 288"L x 144"Z x 127"A (24'L x 12'Z x 10.5'A) |
| Elementuaren pisua | 531 kilo |
| Uraren Erresistentzia Maila | Urarekiko erresistentea |
| Forma | Laukizuzena |
| UV babesa | %99 |
| Muntaia Beharrezkoa | Bai |
| Kolorea | Brown, with Gutter |
| Solairua | 288 Oin Karratu |
Bermearen informazioa
For detailed warranty information regarding your EROMMY Hardtop Gazebo, please refer to the warranty card included with your product packaging or contact EROMMY customer support directly. Warranty terms typically cover manufacturing defects and specific components for a defined period from the date of purchase.
Bezeroarentzako Arreta
If you have any questions, require assistance with assembly, or need to report missing/damaged parts, please contact EROMMY customer support. Have your model number and purchase date ready for faster service.
Normalean fabrikatzailearen harremanetarako informazioa aurki dezakezu website or within your product packaging. For general inquiries, you may visit the EROMMY Store on Amazon.