1. Sarrera
Thank you for choosing the Bonsaii A3 Laminator L318-A. This device is designed to protect your documents and photos with a durable, clear laminated finish. This 5-in-1 kit includes the laminator, a paper trimmer, a corner rounder, and laminating pouches. Please read this manual thoroughly before operation to ensure safe and efficient use.
2. Segurtasun-argibideak
- Always connect the laminator to a grounded power outlet.
- Do not operate the laminator with wet hands or near water.
- Keep children and pets away from the laminator during operation.
- Do not insert objects other than laminating pouches into the feed opening.
- Ziurtatu makinaren inguruan behar bezala aireztatuta dagoela gehiegi berotzea saihesteko.
- Deskonektatu laminatzailea erabiltzen ez duzunean edo garbitu aurretik.
- In case of a jam, turn off the machine and follow the jam release instructions.
- The laminator surface can become hot during use. Avoid direct contact.
3. Paketearen edukia
Egiaztatu elementu guztiak paketean daudela:
- Bonsaii A3 Laminator (Model L318-A)
- Paperezko ebakitzailea
- Txoko Biribiltzailea
- 5 x A5 Laminating Pouches
- 5 x A6 Laminating Pouches
- Erabiltzailearen eskuliburua
4. Produktua amaitu daview
Familiarize yourself with the main components of your laminator.
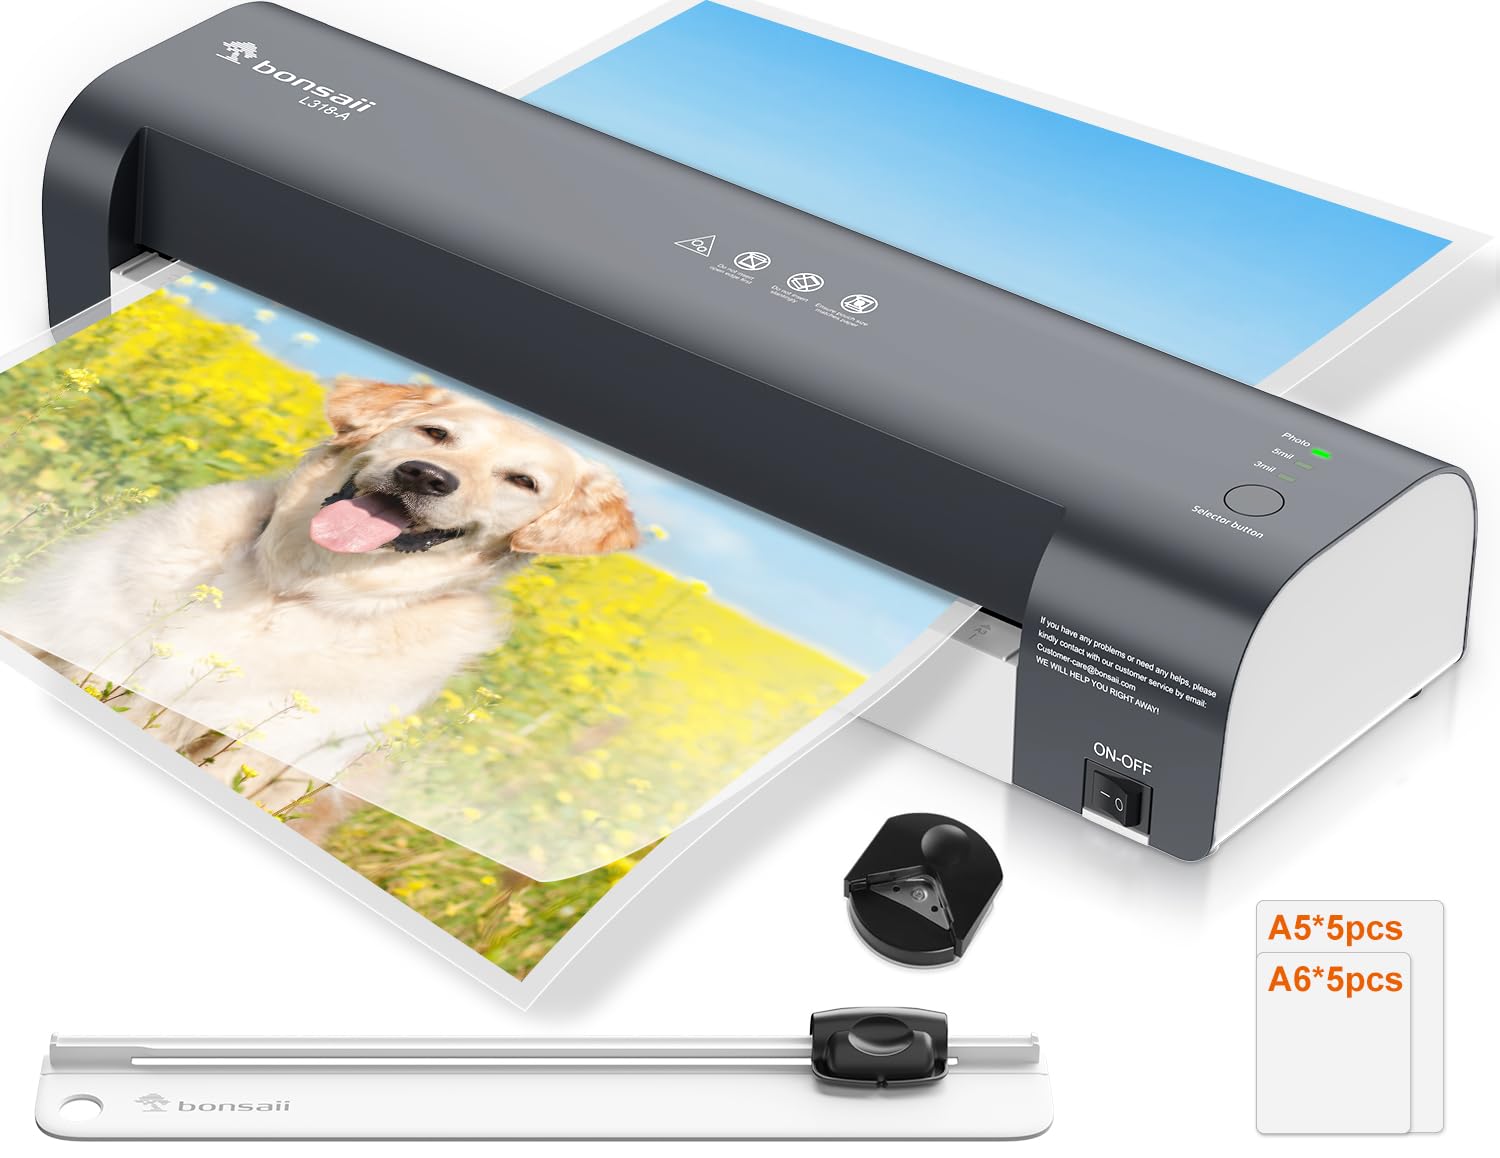
4.1. irudia: Bonsaii A3 Laminator with examples of A3, A4, and A5 document sizes it can handle. The laminator has a maximum width of 330mm (13 inches).
- Switch potentziala: Turns the laminator ON/OFF.
- Modu hautatzaile botoia: Cycles through 80 mic, 125 mic, and Photo modes.
- Egoeraren Adierazleak: Lights indicating Power (green) and Ready (green).
- Jarioaren irekiera: Where laminating pouches are inserted.
- Irteera zirrikitua: Where laminated documents emerge.
- Jam Release Lever: Used to clear jammed pouches.
5. Konfigurazioa
- Desegin: Kontu handiz atera laminatze-makina eta osagarri guztiak paketetik.
- Lekua: Place the laminator on a stable, flat surface with adequate space around it for ventilation and for documents to pass through. Ensure the power cord can reach a grounded outlet.
- Potentzia-konexioa: Entxufatu korronte-kablea entxufe elektriko estandar batean.
- Piztu: Flip the power switch to the "ON" position. The green "Power" indicator light will illuminate.
- Beroketa: The laminator will begin to warm up. This typically takes approximately 3 minutes. The green "Ready" indicator light will illuminate when the machine has reached the optimal operating temperature.
6. Funtzionamendu-argibideak
6.1. Lamination Process
- Dokumentua prestatu: Place your document or photo neatly inside a laminating pouch, ensuring it is centered and there is an even border around the edges.
- Aukeratu modua: Once the "Ready" light is green, press the Mode Selector Button to choose the appropriate setting for your laminating pouch:
- 80 mic: For standard 80-micron laminating pouches.
- 125 mic: For thicker 125-micron laminating pouches.
- Argazkia: For laminating photos, which often require a specific temperature for optimal results.

6.1. irudia: The laminator's control panel showing the three selectable modes: 80 mic, 125 mic, and Photo. Select the appropriate mode after powering on.
- Txertatu poltsa: Insert the sealed edge of the laminating pouch into the feed opening, ensuring it is straight and centered. The laminator will automatically feed the pouch through.
- Retrieve Document: Once the laminated document exits the machine, place it on a flat surface to cool and harden. Avoid touching the hot surface immediately.
6.2. Jam Release Function
If a laminating pouch becomes jammed or misfed:
- Immediately turn off the laminator.
- Locate the Jam Release Lever (usually at the back or side of the machine).
- Press and hold the lever. This will disengage the rollers, allowing you to gently pull the jammed pouch out of the feed opening.
- Release the lever and ensure the pouch is completely removed.
- Turn the laminator back on and allow it to re-warm up before attempting to laminate again.
6.3. Paper-mozgailua erabiltzea
The included paper trimmer is designed for precise cutting of paper and laminated documents.
- Place the paper or laminated document under the cutting guide.
- Align the edge of the document with the desired cutting line.
- Press down firmly on the cutting blade and slide it along the guide to cut.
- Always keep fingers clear of the cutting blade.
6.4. Izkina biribiltzeko makina erabiltzea
The corner rounder helps create smooth, professional-looking rounded corners on your documents.
- Insert a corner of your document or laminated item into the corner rounder slot.
- Sakatu ondo izkina mozteko eta biribiltzeko.
- Errepikatu nahi dituzun izkin guztietarako.
7. Mantentzea
- Garbiketa: Ziurtatu laminatze-makina deskonektatuta dagoela eta guztiz hozten dela garbitu aurretik. Garbitu kanpoaldea zapi leun eta lehor batekin. Ez erabili garbitzaile edo disolbatzaile urratzailerik.
- Arrabolen garbiketa: Aldian-aldian, garbitu garbiketa-orri bat (bereiz saltzen dena) laminatzetik arraboletako itsasgarri-hondakinak kentzeko.
- Biltegiratzea: Gorde laminatze-makina erabiltzen ez duzunean, leku lehor eta hautsik gabeko batean.
8. Arazoak
| Arazoa | Kausa posiblea | Irtenbidea |
|---|---|---|
| Laminagailua ez da pizten. | Ez dago elikadura hornidurarik. | Check if the power cord is securely plugged into the laminator and the wall outlet. Ensure the power switch is ON. |
| Laminating pouch jams. | Pouch inserted incorrectly, wrinkled, or too thick. | Turn off the machine, use the jam release lever to remove the pouch. Ensure the pouch is inserted straight and sealed edge first. Use correct pouch thickness for selected mode. |
| Laminated document is cloudy or bubbly. | Incorrect temperature setting or insufficient warm-up time. | Ensure the "Ready" light is green before laminating. Select the correct mode (80 mic, 125 mic, or Photo) for your pouch thickness. Allow the machine to fully warm up. |
| Laminated document is not sealed properly. | Temperature too low or pouch too thick for setting. | Verify the correct mode is selected for the pouch thickness. Allow the machine to fully warm up. |
9. Zehaztapenak

9.1. irudia: Illustration of the NTC Temperature Control System, ensuring continuous and stable temperature output for efficient and stable lamination quality, compared to less stable systems.
- Eredua: L318-A
- Marka: Bonsaiak
- Gehienezko ijezketa zabalera: 330 mm (13 inches), supports A3, A4, A5, A6 sizes.
- Beroketa-denbora: 3 minutu inguru
- Laminatzeko abiadura: 300 mm/min arte
- Arrabol kopurua: 2
- Laminating Modes: 80 micron, 125 micron, Photo
- Tenperatura kontrola: NTC Precision Temperature Control System
- Neurriak (L x W x H): 42.5 x 13.4 x 8 cm (16.7 x 5.3 x 3.1 hazbete)
- Produktuaren pisua: 1.89 kg (4.17 lb)
- Kolorea: Beltza
10. Bermea eta Laguntza
Bonsaii products are manufactured to high-quality standards. For warranty information, technical support, or service inquiries, please refer to the contact information provided on the Bonsaii official webgunea edo zure erosketa-dokumentazioa.
Mesedez, gorde zure erosketa-froga berme-erreklamazioetarako.
Fabrikatzailea: bonsai