
1. Sarrera
This manual provides detailed instructions for the installation, operation, and maintenance of your Luqeeg Digital Door Viewer. Please read this manual thoroughly before using the product to ensure proper function and safety. Keep this manual for future reference.
2. Produktuaren ezaugarriak
- 2.4 hazbeteko LCD pantaila: Provides a clear and vivid view of visitors at your door.
- 0.3MP Professional Camera: Captures crisp images for easy identification, even in low light conditions.
- 120°-ko angelu zabaleko lentea: Eskaintza zabala. view of your doorstep, minimizing blind spots and enhancing security.
- Zink aleazio iraunkorreko eraikuntza: Engineered for superior wear resistance and impact strength, preventing prying and smashing.
- Elikadura bikoitza: Operates using either 3 x 1.5V AAA batteries (not included) or a 5V 1A USB power source for continuous operation.
- Bistaratzeko aktibazio automatikoa: The screen automatically displays the outside view when the doorbell is pressed, providing convenience for all users.
3. Paketearen edukia
Egiaztatu elementu guztiak paketean daudela:
- 1 x Digital Door Viewer Camera Unit
- 1 x Digital Door Viewer Monitor Unit
- 1 x Accessory Kit (includes 2 x Washers, 8 x Screws)
- 1 x Erabiltzailearen eskuliburua
Note: AAA batteries and a small memory card are not included and must be purchased separately.
4. Produktua amaitu daview
Familiarize yourself with the components of your Luqeeg Digital Door Viewer.

Figure 4.1: Monitor Unit Components
- LCD pantaila: Zuzenekoa bistaratzen du view kameratik.
- Monitoring/Power On/Off Button: Press to activate the screen or power the device on/off.
- USB interfazea: For connecting a 5V 1A USB power source.
- Small Memory Card Slot: Insert a memory card (not included) for potential recording features (if supported by firmware).

Figure 4.2: Monitor Unit Rear View (Battery Compartment)
- Bateriaren konpartimendua: Houses 3 x AAA batteries (not included).
5. Instalazio gida
The Luqeeg Digital Door Viewer is designed for simple installation, fitting standard door peephole holes without requiring special tools.
5.1 Prestaketa
- Ensure your door has an existing peephole or a suitable hole for installation.
- Gather necessary components: Camera unit, Monitor unit, washers, and screws.
- Prepare 3 x AAA batteries (not included) or a 5V 1A USB power source.
5.2 Instalazio-urratsak

5.1. irudia: Instalazioa amaitutaview
- Step 1: Remove Existing Peephole (if applicable)
Carefully unscrew and remove any existing traditional peephole from your door. - Step 2: Insert Camera Unit
From the outside of the door, insert the camera unit through the peephole hole. Ensure the camera is facing outwards and is flush with the door surface. - Step 3: Secure Monitor Unit
From the inside of the door, connect the cable from the camera unit to the monitor unit. Align the monitor unit with the camera unit and secure it to the door using the provided screws and washers. Ensure the monitor is firmly attached and stable.
5.3 Gailua piztea
- Bateria Potentzia: Open the battery compartment on the back of the monitor unit and insert 3 x AAA batteries, observing correct polarity.
- USB Power: Connect a 5V 1A USB power adapter (not included) to the USB interface on the side of the monitor unit. This can serve as a backup or primary power source.
6. Funtzionamendu-argibideak
6.1 Piztu/Itzaltzea
- Pizteko: Press and hold the Monitoring/Power On/Off button located below the LCD screen until the screen illuminates.
- Itzaltzeko: Press and hold the Monitoring/Power On/Off button until the screen turns off.
6.2 ViewBisitariak
- Eskuliburua View: Press the Monitoring/Power On/Off button once to activate the screen and view the outside area. The screen will automatically turn off after a short period of inactivity to conserve power.
- Automatikoa View: When someone presses your doorbell (if connected and compatible, or if the device detects motion/sound, depending on model features), the screen will automatically activate and display the outside view.
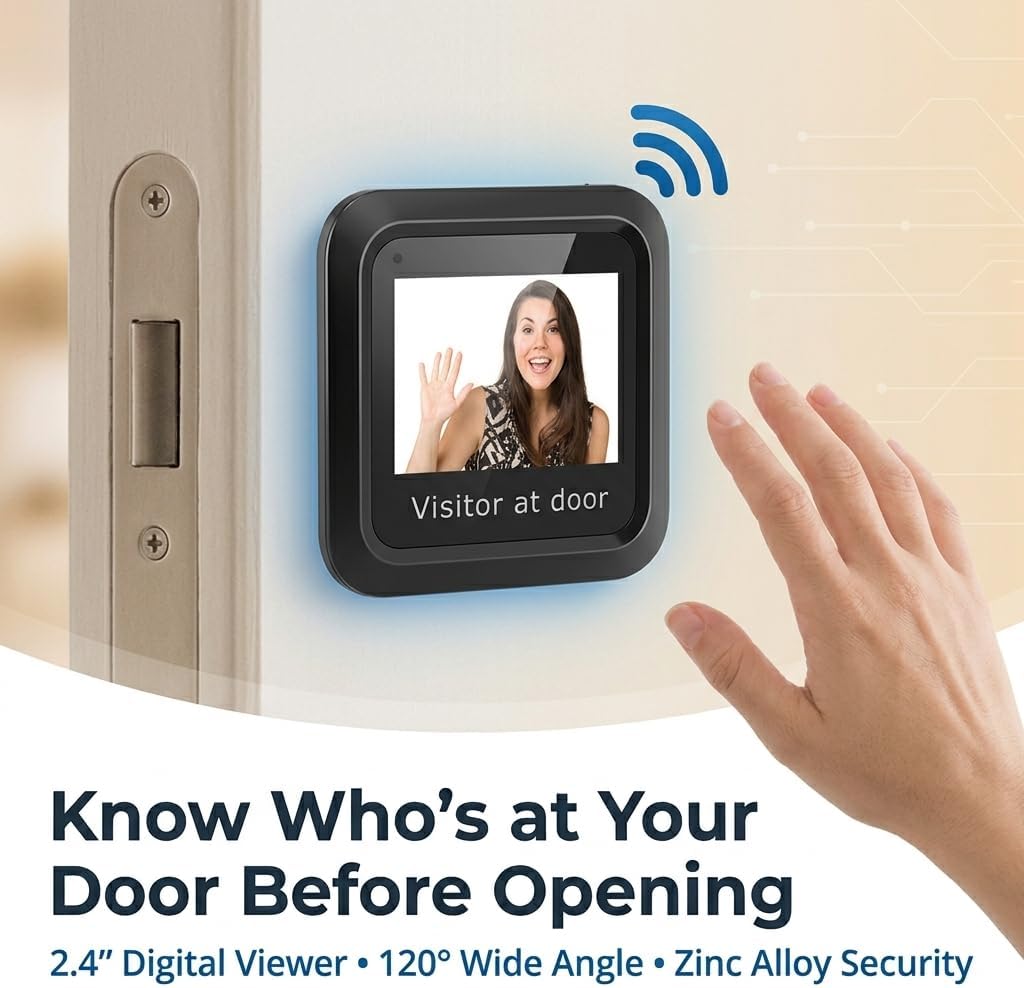
6.1. irudia: Viewing a Visitor
6.3 Memory Card Usage (Optional)
If your model supports recording and you have inserted a small memory card into the slot:
- Refer to the on-screen menu or additional documentation for specific instructions on how to initiate recording, view playback, or manage stored footage.
7. Mantentzea
- Garbiketa: Use a soft, dry cloth to clean the screen and camera lens. Avoid abrasive cleaners or solvents.
- Bateria ordezkatzea: When the battery indicator shows low power, replace all 3 AAA batteries simultaneously. Do not mix old and new batteries.
- Ingurumen-baldintzak: Ensure the device is not exposed to extreme temperatures, direct sunlight for prolonged periods, or excessive moisture.
8. Arazoak
| Arazoa | Kausa posiblea | Irtenbidea |
|---|---|---|
| Gailua ez da pizten. | Bateria gutxi edo agortuta. Bateriaren polaritate okerra. USB power not connected or faulty. | Ordeztu bateriak beste batzuekin, polaritate zuzena ziurtatuz. Check USB cable and power adapter connection. |
| Screen is blank or blurry. | Kameraren lentea zikina dago. Poor connection between camera and monitor. Insufficient lighting outside. | Garbitu kameraren lentea zapi leun batekin. Ensure the camera and monitor cables are securely connected. The device performs best in adequate lighting. |
| Ez dago irudirik txirrina sakatzean. | Doorbell not connected or incompatible. Gailuaren ezarpenak. | Verify doorbell connection and compatibility with the digital viewer. Check device settings for automatic activation options. |
| Image quality is poor compared to expectations. | Environmental factors (e.g., glare, extreme darkness). Camera lens obstruction. | Ziurtatu kameraren lentea garbi eta oztoporik gabe dagoela. Image quality may vary based on external lighting conditions. |
9. Zehaztapenak
| Ezaugarri | Xehetasuna |
|---|---|
| Modelo zenbakia | Luqeegbupzxet1rs |
| Bistaratzeko tamaina | 2.4 hazbetekoa |
| Kameraren bereizmena | 0.3 megapixelekoa |
| Viewangelua | 120 gradu |
| Eraikuntza Materiala | Zink aleazioa |
| Elikatze Hornidura | 3 x 1.5V AAA Batteries (not included) or 5V 1A USB |
| Elementuaren pisua | 8.1 ontza |
| Paketearen neurriak | 7.87 x 4.72 x 1.97 hazbete |
| Dakarten osagaiak | 1 x Camera, 1 x Monitor, 1 x Accessory Kit (2 x Washers, 8 x Screws), 1 x Manual |
10. Laguntza
For any questions, technical assistance, or support regarding your Luqeeg Digital Door Viewer, please refer to the contact information provided with your purchase or visit the official Luqeeg website. Our customer support team is available to assist you.