
Produktua amaituview
The Treeligo 12V Mini Split Air Conditioner is designed to provide efficient cooling for various vehicle types, including semi-trucks, RVs, vans, pickups, cars, trailers, and buses. This unit operates on a 12-volt DC power supply, offering a cooling capacity of 8500 BTU with low noise operation. It features a variable frequency compressor for energy efficiency and multiple operating modes to suit different needs.
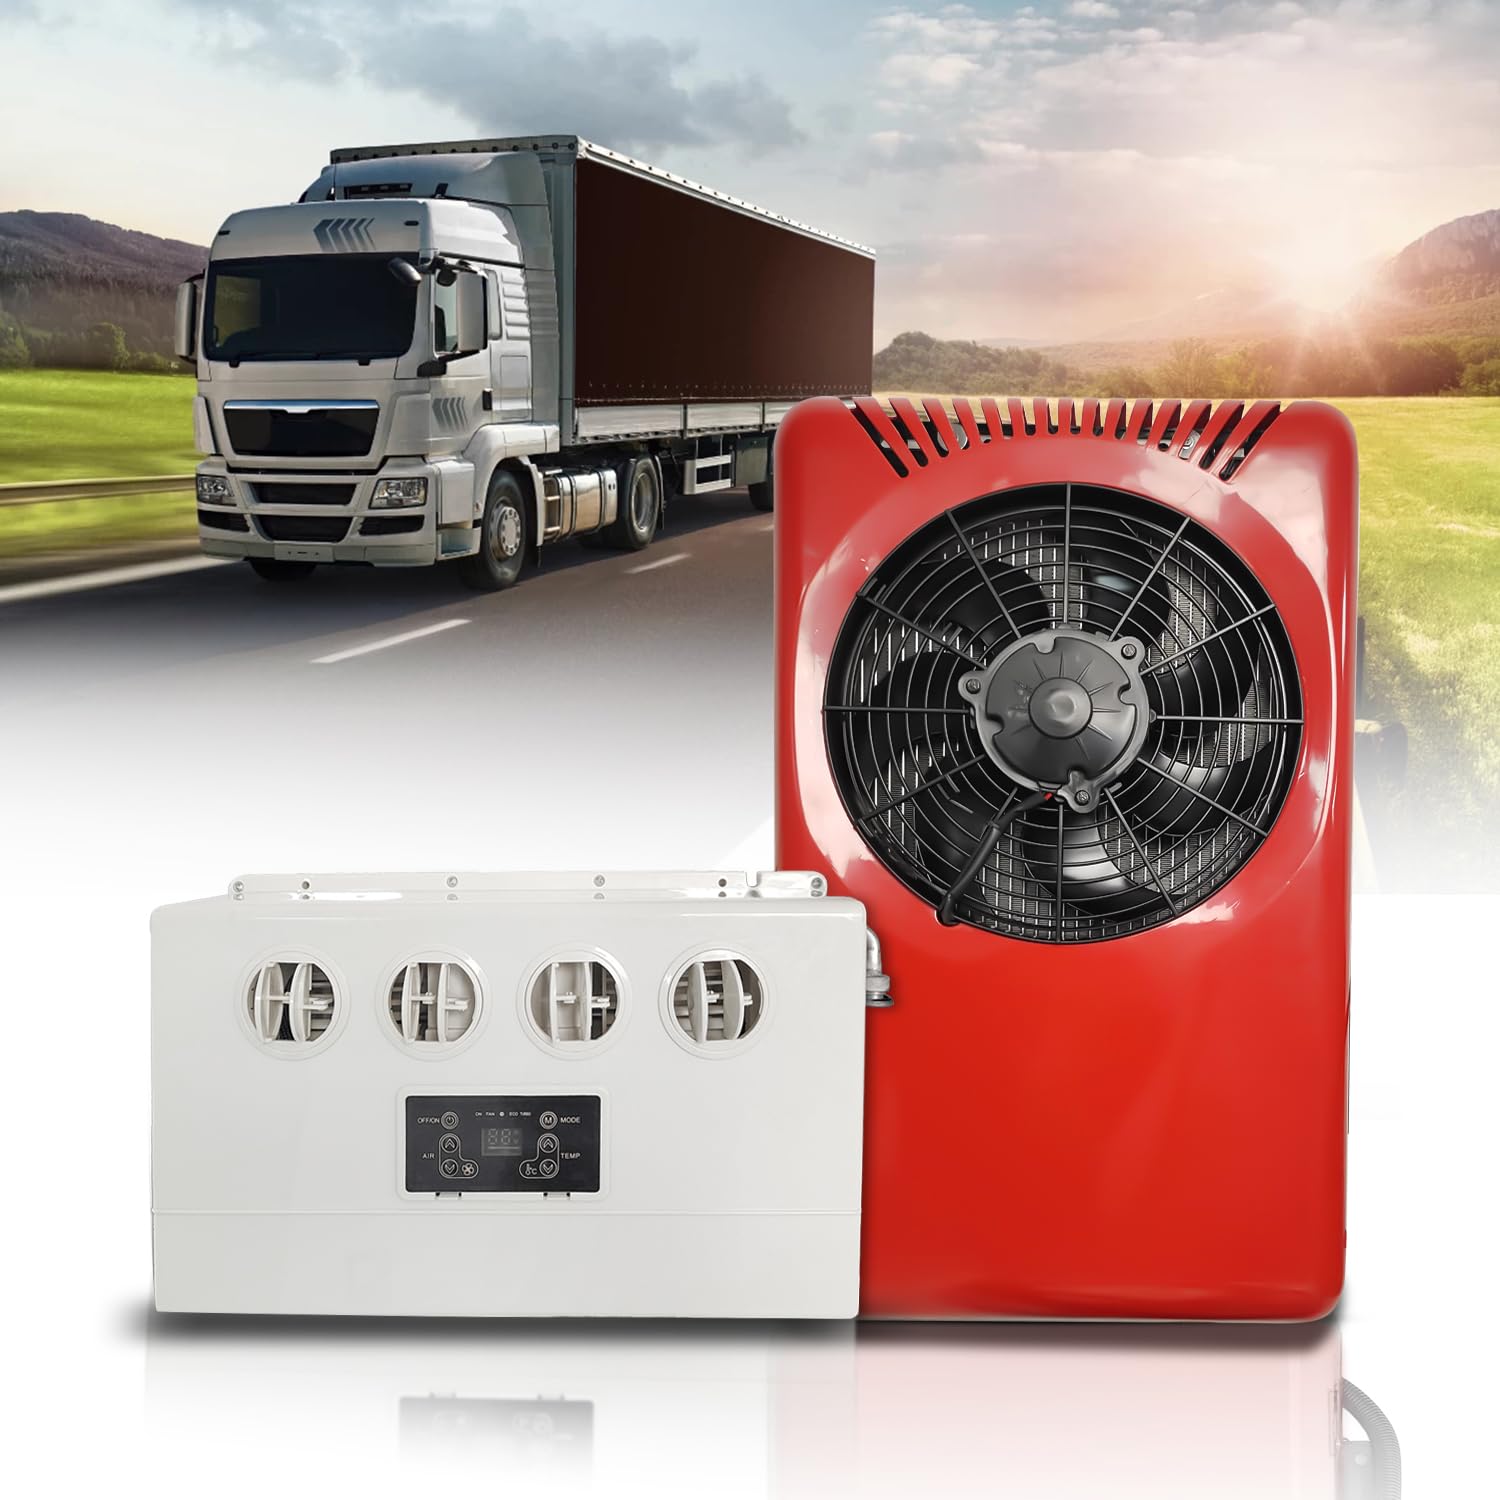
Image: The Treeligo 12V Mini Split Air Conditioner, featuring the indoor evaporator unit and the outdoor condenser unit.
Segurtasun Informazioa
Before installation or operation, please read all safety warnings and instructions carefully. Failure to follow these instructions may result in electric shock, fire, property damage, or personal injury.
- Ziurtatu energia-iturria deskonektatuta dagoela edozein instalazio edo mantentze-lan egin aurretik.
- Installation should be performed by qualified personnel to prevent damage and ensure proper function.
- Do not connect the power cord to the power-off switch or the power switch directly. Connect directly to the battery, observing correct polarity (+ positive / - negative).
- Use only the specified refrigerant (R134a) and quantity (550-650g).
- Mantendu haurrak eta maskotak unitatetik urrun funtzionamenduan eta mantentze-lanetan zehar.
Paketearen edukia
Egiaztatu osagai guztiak paketean daudela:
- Evaporator (Indoor Unit)
- Condenser (Outdoor Unit)
- Electric Scroll Compressor
- Accessories (various bolts, washers, nuts, rubber pads)
- Zinta itsasgarria
- Urruneko Kontrola
- Hozgarrizko hodia
- Xukatzeko mahuka
- Expansio-balbula

Irudia: Produktuaren paketean sartutako osagai guztiak.
Konfigurazioa eta Instalazioa
Follow these steps for proper installation of the air conditioning unit. Professional installation is recommended.
- Install the External Machine:
Kendu casing of the external unit. Mark the drilling positions on the vehicle. Use an 8mm drill bit to create the holes. Use a riveting tool to secure the rivet nuts at the drilling points. Install shock pads and sleeves at the holes of the external machine. Securely fix the external machine to the vehicle.
Image: External unit installation process.
- Install the Expansion Valve:
Locate the position for the expansion valve on the evaporator. Remove any protective iron sheet. Fix the expansion valve to the evaporator. Ensure the two black screws align with the two corresponding holes for correct installation. Wrap the installed expansion valve with black cotton wrap.
Image: Expansion valve installation.
- Install the Indoor Unit:
First, install a wooden board or suitable mounting surface to the interior wall of the vehicle. Then, mount the evaporator (indoor unit) onto this board.
Image: Indoor unit installation.
- Install High & Low Pressure Pipelines:
Create a 50mm hole in the vehicle body for the pipes. Install the rubber cover with three holes into this opening. The thick pipe is the low-pressure line and connects to the compressor. The thin pipe is the high-pressure line and connects to the condenser. Connect the other ends of the high and low-pressure pipes to the corresponding holes on the expansion valve of the indoor unit. Use long black screws and iron sheets to clamp the aluminum joints and tighten the screws securely.
Image: Refrigerant pipeline connection.
- Install the Connection Line, Drain Pipe, and Power Line:
Connect the electrical connection lines between the internal and external units. Plug the power cord plugs into each other. Connect the drain pipe from the evaporator to allow for condensate drainage.
Image: Electrical and drain pipe connections.
- Vacuuming and Adding Refrigerant:
The system must be vacuumed for 15-20 minutes to remove air and moisture. After vacuuming, add R134a refrigerant, approximately 600g. The refrigerant amount can be adjusted based on pressure readings. Typically, after R134a injection, the low-pressure port should read 35psi, and the high-pressure port 140-180psi.
Image: Vacuuming and refrigerant charging process.
- Connect the Power Cord to the Battery:
Connect the power cord directly to the vehicle's battery. Pay close attention to the positive (+) and negative (-) terminals to avoid reverse connection. Do not connect to any power-off switches or general power switches.
Image: Battery connection for power supply.
- Test the Air Conditioner:
After completing all installation steps, start the air conditioner to verify its functionality. Observe the control panel for any error codes.
Image: Final testing of the air conditioner.
Funtzionamendu-argibideak
The Treeligo 12V Mini Split Air Conditioner can be operated via its LCD control panel or the included remote control.
- Piztu/Itzali: Use the power button on the control panel or remote to turn the unit on or off.
- Modu aukeraketa: Select from three operating modes: Lotan, Estandarra, eta Indartsua. These modes adjust cooling intensity and power consumption.
- Tenperaturaren doikuntza: Use the temperature controls on the panel or remote to set your desired cooling level.
- Aire fluxuaren norabidea: The indoor unit features 360° adjustable air vents to direct airflow as needed.
- Bateriaren iraupena: The unit can operate for approximately 8 hours on a 480 AH battery in Strong mode, or 8 hours on a 200 AH battery in Standard or Sleeping mode.

Image: LCD Control Panel, 360° Air Cooling, and Remote Control features.

Image: The indoor unit installed in a vehicle, demonstrating airflow.
Mantentzea
Mantentze-lan erregularrak zure aire girotuaren errendimendu optimoa eta iraupena bermatzen ditu. Deskonektatu beti korrontea edozein mantentze-lan egin aurretik.
- Iragazkien garbiketa: Regularly clean or replace the air filters in the indoor unit to maintain airflow and cooling efficiency.
- Bobinaren garbiketa: Periodically inspect and clean the evaporator and condenser coils. Dust and debris can reduce efficiency.
- Drainatzearen egiaztapena: Ensure the drain hose is clear and free of obstructions to prevent water buildup.
- Hozgarri maila: If you notice a decrease in cooling performance, have a qualified technician check the refrigerant levels.
- Ikuskapen Orokorra: Check all electrical connections and mounting hardware for tightness and signs of wear.

Image: Outdoor unit components, indicating areas for inspection and cleaning.
Arazoak konpontzea
Aire girotuarekin arazoak badituzu, jo ezazu honako arazo eta irtenbide ohikoenei:
| Arazoa | Kausa posiblea | Irtenbidea |
|---|---|---|
| Unitatea ez da pizten | No power, loose connection, battery issue | Check battery connections, ensure sufficient battery charge. Verify all power cables are securely connected. |
| Hozte nahikoa | Low refrigerant, dirty filters/coils, blocked airflow | Check refrigerant levels (professional service recommended). Clean air filters and coils. Ensure no obstructions to airflow. |
| Control panel displays an error code | Insufficient current, incorrect refrigerant level (too much or too little) | Egiaztatu bateria bolumenatage and current supply. Verify refrigerant charge (professional service required). Consult the service center if the issue persists. |
| Ezohiko zarata funtzionamenduan | Osagai solteak, haizagailuaren oztopoa | Inspect for any loose parts or debris obstructing the fan. If noise persists, contact support. |
For issues not listed here or if solutions do not resolve the problem, please contact Treeligo customer support.
Zehaztapenak
Detailed technical specifications for the Treeligo 12V Mini Split Air Conditioner:
| Ezaugarri | Zehaztapena |
|---|---|
| Marka | Treeligo |
| Modelo zenbakia | EAC001.32.R |
| Elementuaren pisua | 57 kilo |
| Produktuaren neurriak (barruko unitatea) | 18 cm-ko zabalera x 11 cm-ko altuera x 6 cm-ko sakonera |
| Produktuaren neurriak (kanpoko unitatea) | 28"W x 16"H x 7"D (Approximate, derived from A+ content) |
| Hozteko Ahalmena | 8500 BTU (2100W) |
| Potentzia nominala | 720W |
| liburukiatage | 12 voltio (DC) |
| Zarata Maila | 45 dezibelio |
| Instalazio mota | Zatiketa Sistema |
| Hozgarria | R-134A (550-650g) |
| Konpresore mota | Variable Frequency Scroll Compressor |
| Material Mota | ABS |
| Ezaugarri bereziak | Fast Cooling, Remote Control, Panel Control |

Image: Noise level comparison, highlighting the unit's quiet operation at 45dB.
Bermea eta Laguntza
Treeligo is committed to providing reliable products and customer satisfaction.
- Bezeroarentzako arreta: For any assistance with installation, operation, or troubleshooting, please contact Treeligo customer service. We aim to provide swift and prompt support within 12 hours.
- Bermearen informazioa: Specific warranty details may vary. Please refer to your purchase documentation or contact customer support for comprehensive warranty terms and conditions.


