Sarrera
This manual provides detailed instructions for the IINE Neptune Wireless Controller, designed for use with Nintendo Switch, Switch Lite, and Switch OLED consoles. Please read this manual thoroughly before using the product to ensure proper operation and to maximize your gaming experience.
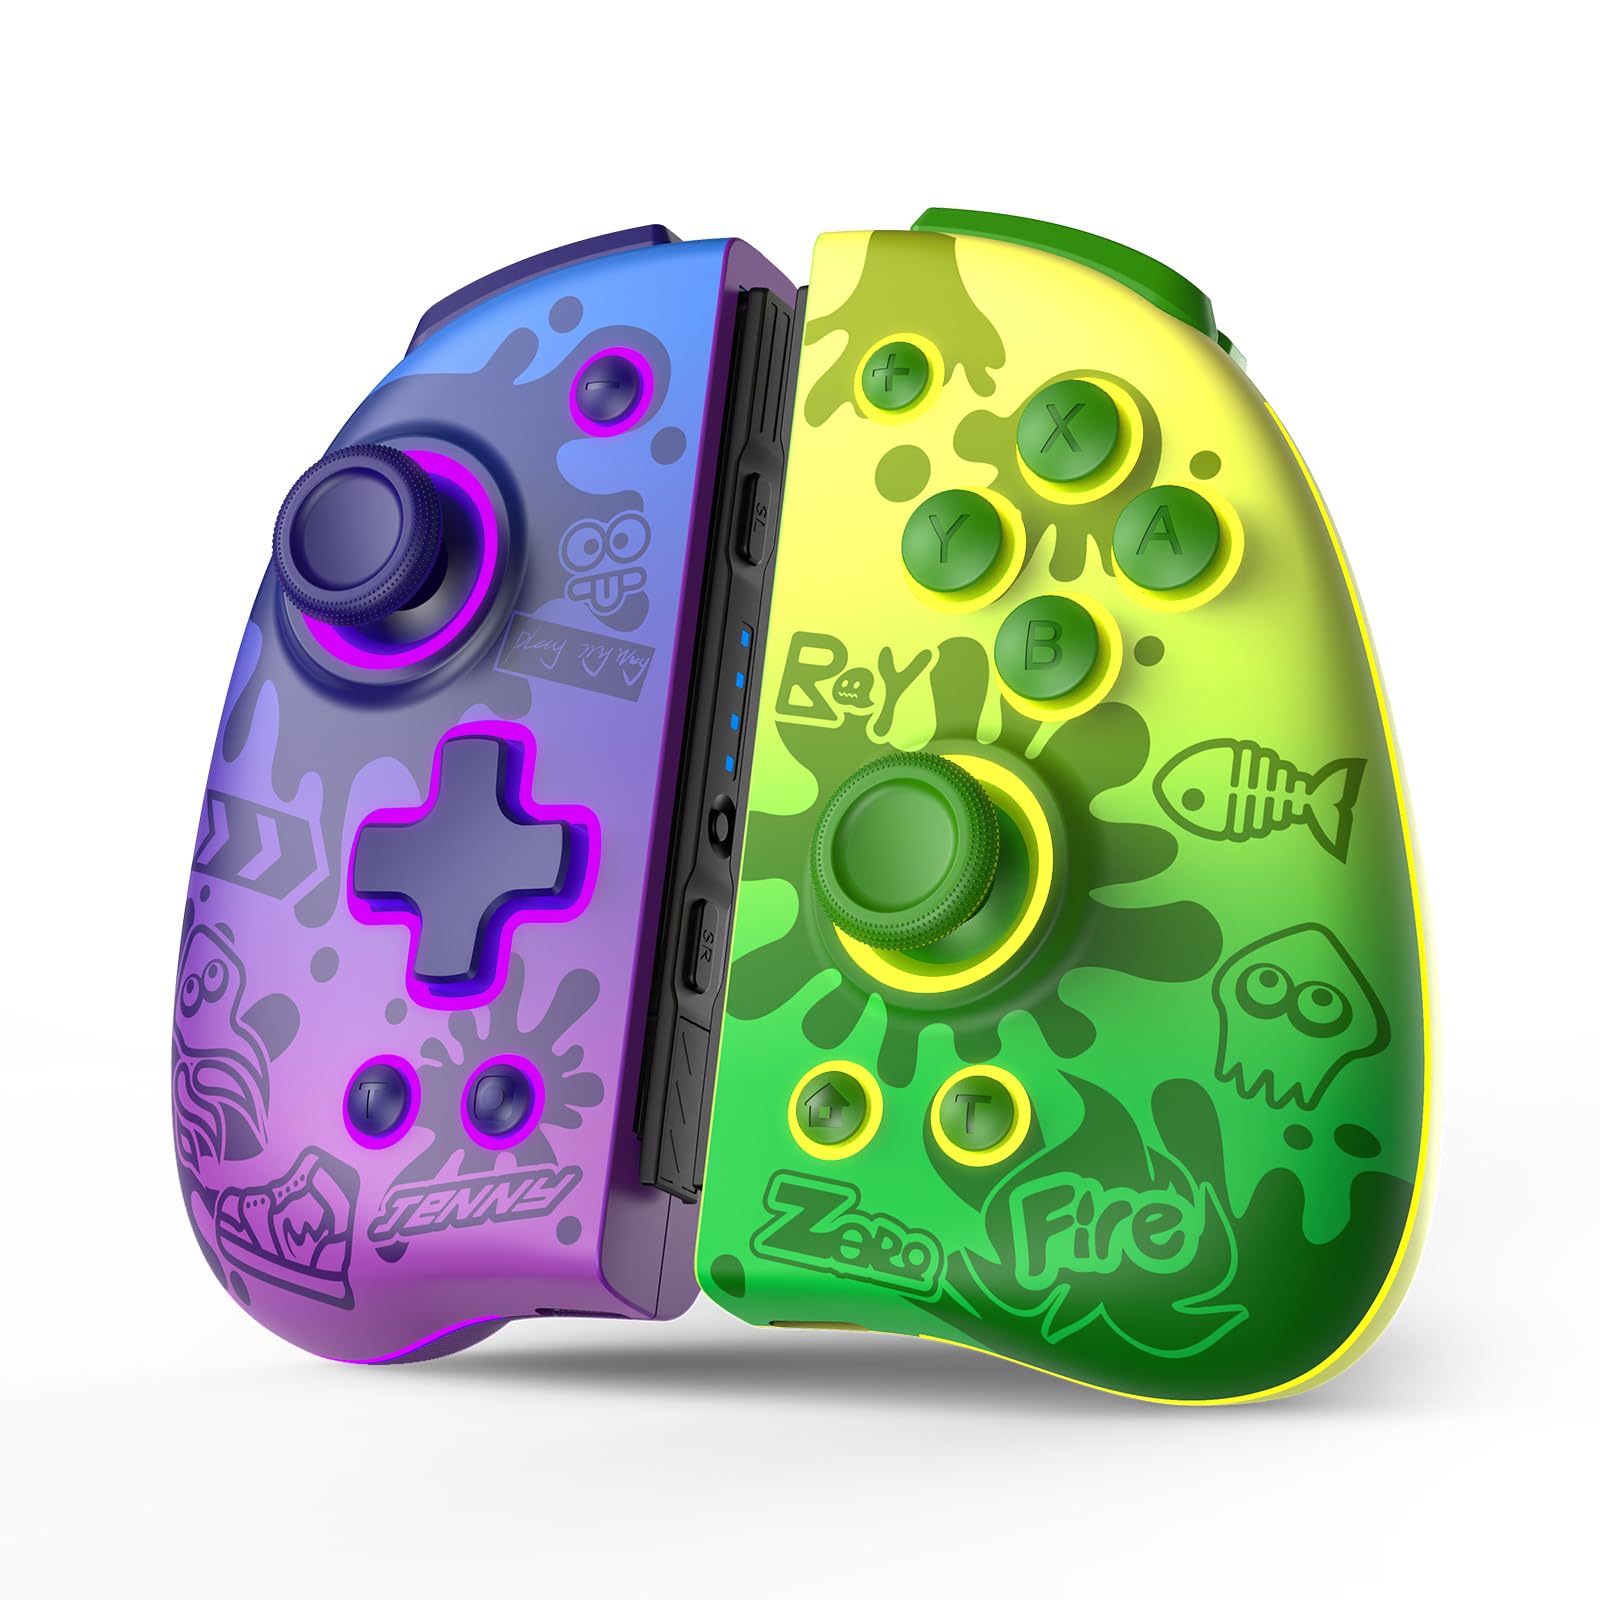
Image: The IINE Neptune Wireless Controller shown attached to a Nintendo Switch console, highlighting its design and compatibility.
1. Konfigurazioa
1.1 Kontrolagailua kargatzea
Before first use, fully charge the controller. The controller features a Type-C charging port.
- Connect the provided 1.5m USB to Type-C cable to the controller's charging port.
- Connect the other end of the cable to a USB power source (e.g., Switch dock, USB wall adapter).
- Karga oso batek normalean 2 ordu inguru behar ditu.
- The controller provides 4-5 hours of usage time on a full charge.
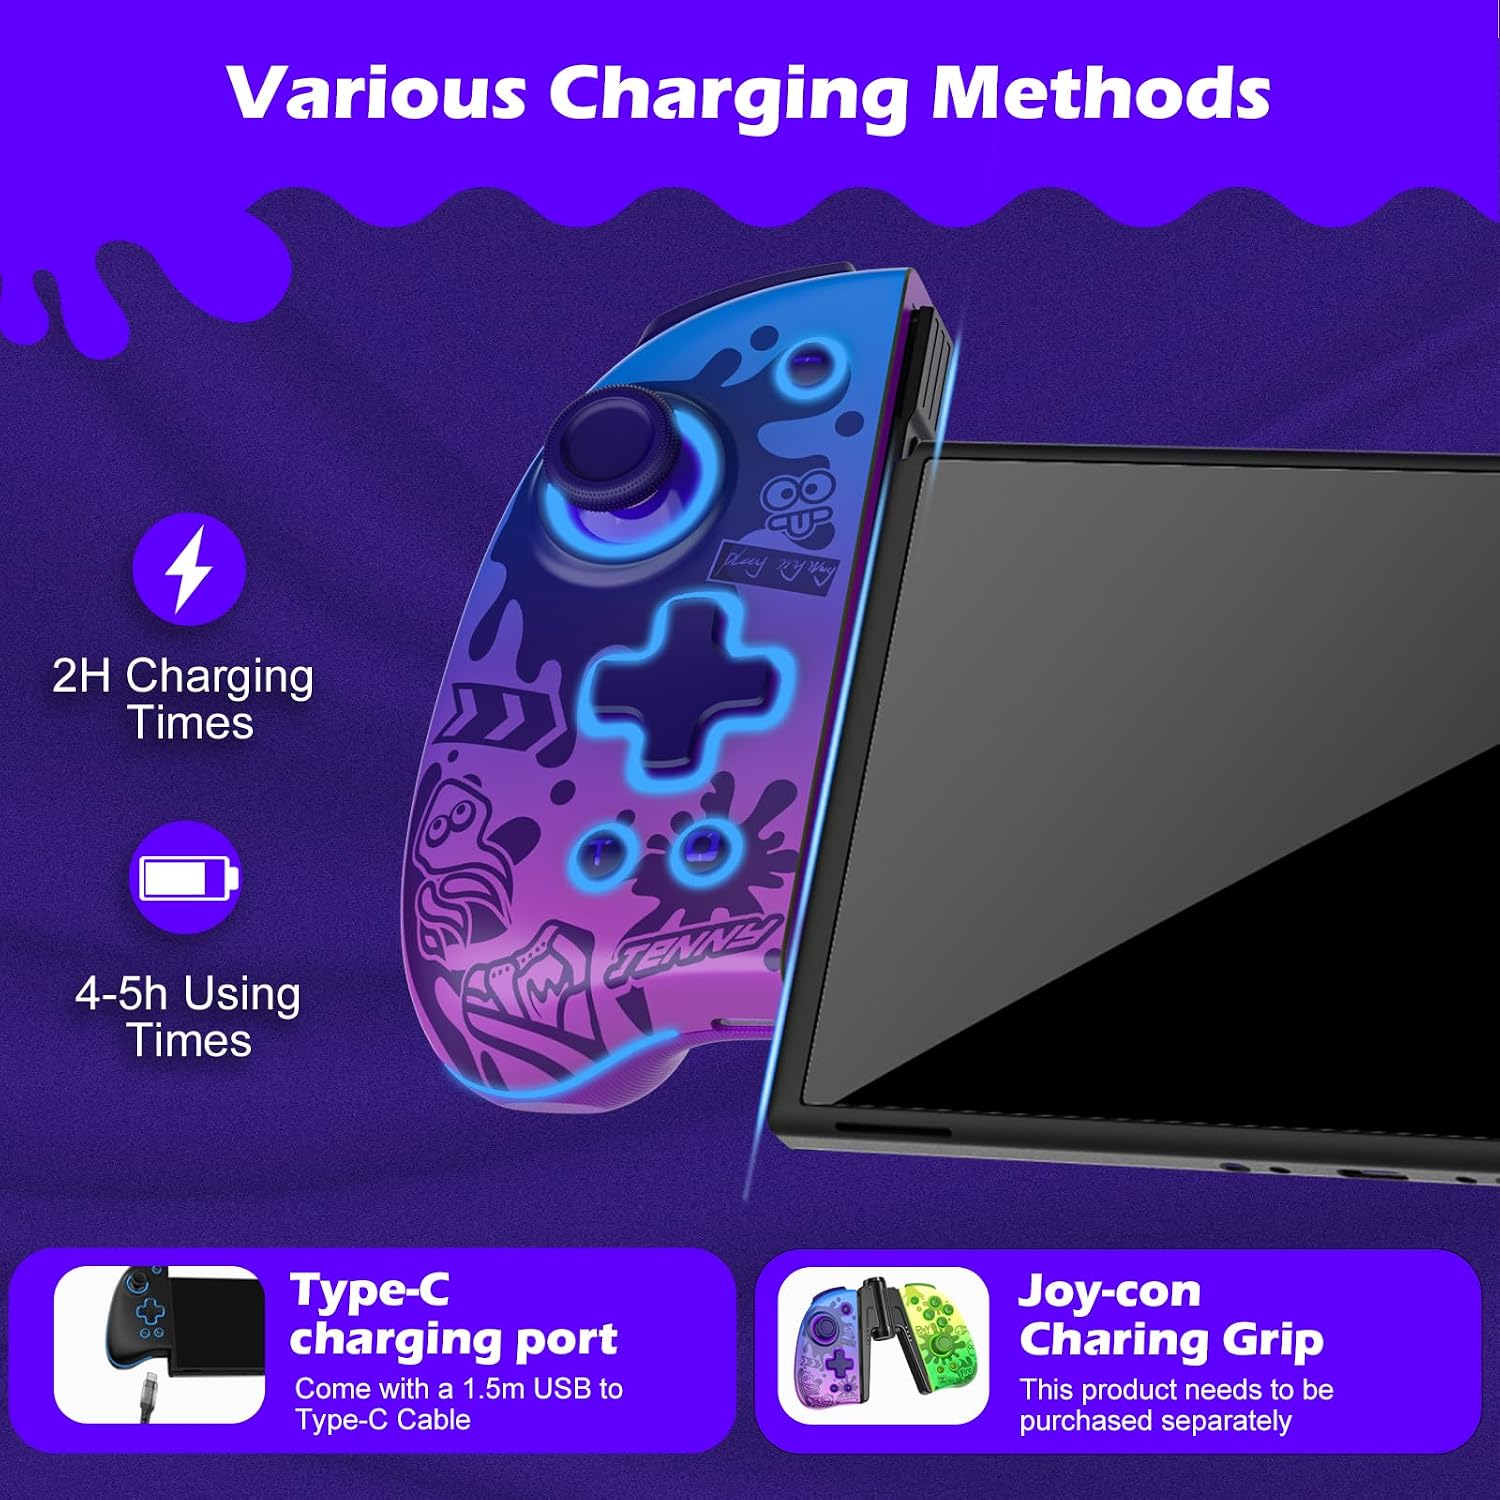
Image: Illustration of the controller's Type-C charging port and estimated charging and usage times.
1.2 Nintendo Switch-ekin parekatzea
Follow these steps to pair your IINE Neptune controller wirelessly with your Nintendo Switch console:
- HASIERA menutik, hautatu "Kontrolagailuak" > "Aldatu heldulekua/ordena".
- While the screen displays "Press L + R on the controller", press and hold the pairing button on the IINE Neptune controller until the player LEDs begin to flash.
- Once paired, the player LED(s) on the controller will remain lit.
Oharra: The controller supports one-click wake-up for the Switch console once paired.
2. Funtzionamendu-argibideak
2.1 Mechanical Buttons and ALPS Joysticks
The IINE Neptune controller features mechanical gaming buttons and ALPS joysticks for enhanced responsiveness and durability.
- Botoi mekanikoak: Provide faster rebound and more sensitive touch feedback. This applies to A/B/X/Y/L/R/ZL/ZR action buttons.
- ALPS joystick-ak: Multi-directional joysticks with metal thumbstick grips designed to prevent dust accumulation and drift, ensuring smooth and precise control.

Image: Detail of the mechanical buttons, emphasizing their responsive design.

Image: Close-up of an ALPS joystick, highlighting its multi-directional capability and metal grip.
2.2 Macro Settings (MR/ML Buttons)
The MR/ML back buttons can be customized to map basic function buttons or a sequence of actions.
- Setting a Macro:
- Hold down the 'M' button.
- While holding 'M', press any action button or sequence of buttons you wish to map.
- Release the 'M' button to save the macro.
- Makro bat garbitzea: Click the 'M' button again to cancel the current macro setting.
- Erreleasing Custom Macro: Click the ML/MR button to execute the custom macro settings.

Image: Visual guide for setting and clearing macros using the MR/ML back buttons.
2.3 Turbo funtzioa
The Turbo function allows for rapid, repeated input of a button press. It supports both automatic and manual turbo modes.
- Turbo aktibatzea: Press the 'Turbo' button simultaneously with the desired action button (e.g., A, B, X, Y).
- Turbo abiadura doitzea: (Specific instructions not provided in source, typically involves Turbo + D-pad Up/Down or joystick)
- Turbo desaktibatzea: Repeat the activation step or press the 'Turbo' button independently.
2.4 6-Axis Gyro Sensor (Somatosensory)
The built-in 6-axis gyro sensor provides precise motion control for compatible games.
- This feature allows for intelligent detection of rotation and direction changes.
- It enhances gameplay in titles that support somatosensory actions, shooting, and aiming.
- Oharra: This feature supports most somatosensory games on Switch, but may not be compatible with games requiring infrared (e.g., Ring Fit Adventure).

Image: Visual representation of the 6-axis gyro sensor's motion detection capabilities.
2.5 Adjustable RGB Lighting
The controller features adjustable RGB LED lights with various modes and brightness levels.
- Argiaren kolorea aldatu: Press the 'Turbo' button + L3/R3 (left/right joystick click).
- Doitu distira: Hold the 'Turbo' button for 3 seconds, then press L3/R3 to cycle through 20%, 50%, 75%, and 100% brightness levels.
- Aldatu argi modua: Press the 'Turbo' button + L3/R3 (double click). Available modes include Monochromatic Light, Breathing Light, and Colorful Light.

Image: Guide to customizing the controller's RGB lighting effects.
2.6 Bibrazio bikoitzaren doikuntza
The controller offers adjustable dual vibration strength for a personalized haptic feedback experience.
- The vibration strength can be adjusted for the left and right joypads independently.
- Adjusting Vibration: (Specific button combination not provided in source, typically involves a dedicated button or Turbo + D-pad/joystick)
- Default vibration levels are typically 0, 50, and 100.

Image: Illustration of the controller's adjustable vibration strength settings.
2.7 Pantaila-argazkiaren funtzioa
The controller includes a dedicated button for taking screenshots during gameplay.
- Press the 'Screenshot' button (usually located near the Home button) to capture in-game moments.
3. Mantentzea
- Garbiketa: Erabili zapi leun eta lehor bat kontrolatzailea garbitzeko. Saihestu produktu kimiko gogorrak edo material urratzaileak erabiltzea.
- Biltegiratzea: Gorde kontrolatzailea leku fresko eta lehor batean, eguzki-argitik eta muturreko tenperaturetatik babestuta.
- Bateria zaintzea: Bateriaren iraupena luzatzeko, saihestu kontrolagailua maiz erabat deskargatzea. Kargatu aldizka, denbora luzez erabiltzen ez baduzu ere.
- Hautsaren prebentzioa: The ALPS joysticks are designed to prevent dust, but regular cleaning around the joystick bases can further minimize debris.
4. Arazoak
| Arazoa | Kausa posiblea | Irtenbidea |
|---|
| Kontrolatzailea ez da konektatzen. | Low battery, out of range, pairing issue. | Ensure controller is charged. Move closer to the console. Re-attempt pairing process (Section 1.2). |
| Botoiek ez dute erantzuten edo atzerapenarekin funtzionatzen dute. | Interference, low battery, software glitch. | Charge the controller. Ensure no strong wireless interference. Restart the Switch console and controller. |
| Motion control is inaccurate. | Controller not calibrated, environmental factors. | Calibrate the controller's motion sensors via Switch system settings. Ensure you are in an open area without strong magnetic fields. |
| RGB argiak ez dira funtzionatzen. | Incorrect settings, low battery. | Check RGB lighting settings (Section 2.5). Ensure controller is sufficiently charged. |
5. Zehaztapenak
- Eredua: IINE Neptune
- Gailu bateragarriak: Nintendo Switch, Nintendo Switch Lite, Nintendo Switch OLED
- Kontroladore mota: Gamepad
- Konektibitatea: Haririk gabekoa
- Joystickak: ALPS Multi-Directional Joysticks with Metal Grips
- Botoiak: Mechanical Gaming Buttons (A/B/X/Y/L/R/ZL/ZR)
- Ezaugarri bereziak: Macro Settings (MR/ML), Turbo Function (Auto/Manual), 6-axis Gyro Sensor (Somatosensory), Adjustable Dual Vibration, Adjustable RGB Lights (Monochromatic, Breathing, Colorful), One-click Wake-up, Screenshot Function, Ergonomic Design
- Energia iturria: Bateriaren bidez
- Kargatzeko ataka: USB C motakoa
- Kargatzeko denbora: 2 ordu gutxi gorabehera
- Erabilera denbora: 4-5 ordu gutxi gorabehera
- Fabrikatzailea: WEUTOP
6. Bermea eta Laguntza
For warranty information and technical support, please refer to the documentation included with your purchase or contact the retailer where the product was acquired. You may also visit the official IINE weblaguntza gehiago jasotzeko gunea.
Harremanetarako: For any questions or support, please reach out to the customer service provided by your retailer or the manufacturer.
