1. Sarrera
This manual provides essential information for the proper setup, operation, and maintenance of your sibolan 18.5-inch 1080P FHD Portable Monitor. This monitor is designed to extend your visual workspace, offering a vibrant 1080P Full HD display with a 100Hz refresh rate, suitable for various applications including work, entertainment, and gaming. Its portable design and versatile connectivity options make it an ideal companion for laptops, PCs, smartphones, and gaming consoles.
2. Paketearen edukia
Mesedez, egiaztatu behean zerrendatutako elementu guztiak zure paketean sartuta daudela. Elementuren bat falta bada edo hondatuta badago, jarri harremanetan bezeroarentzako arreta-zerbitzuarekin.
- sibolan 18.5-inch Portable Monitor
- Erabiltzailearen eskuliburua
- Elikatze-moldagailua
- USB-Ctik USB-Crako kablea (x2)
- HDMI kablea

2.1. irudia: Produktuaren paketearen edukia.
3. Produktua amaitu daview
3.1 Monitor Features
- Pantaila: 18.5-inch Full HD (1920x1080) IPS Panel with 72% sRGB color gamut.
- Freskatze-tasa: 100Hz for smooth visuals.
- Ikusmen-hobekuntzak: HDR support, Low Blue Light, Flicker-Free technology.
- Audioa: Integrated dual speakers.
- Standa: Built-in 0-180° adjustable kickstand.
- Muntaketa: 75x75mm VESA wall mount compatible.
- Diseinua: Lightweight aluminum alloy construction.
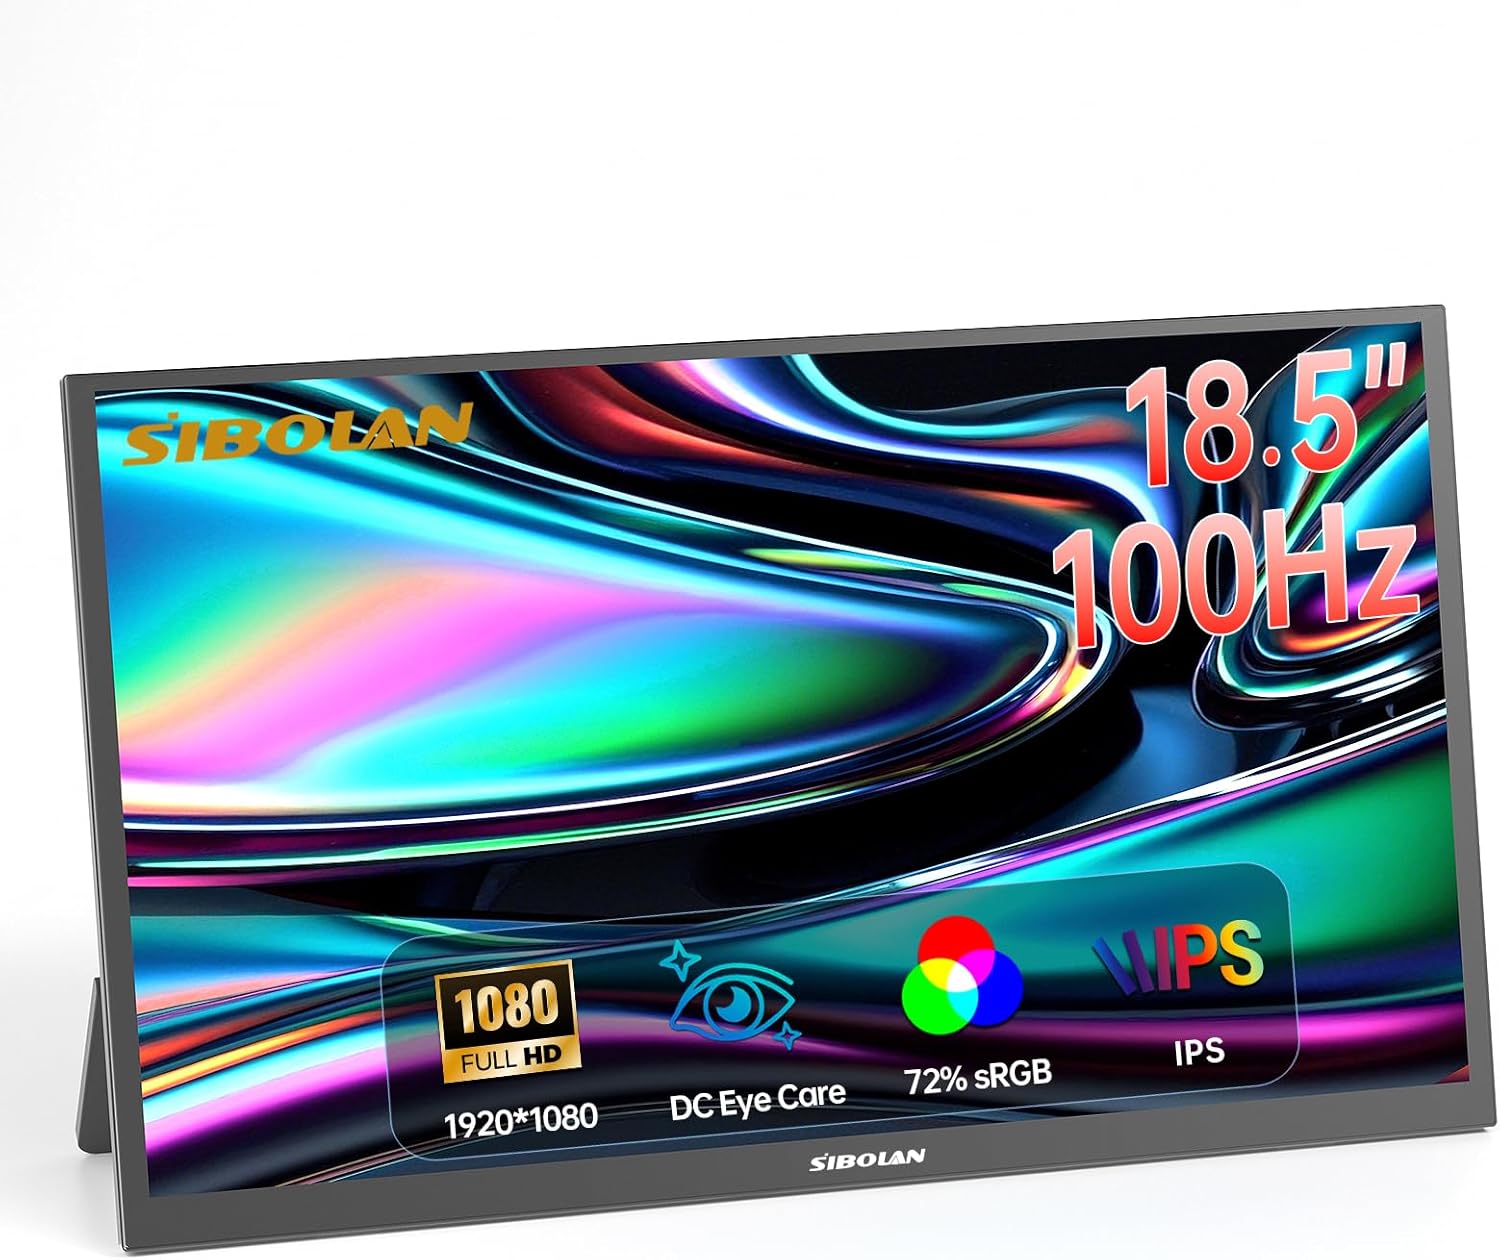
3.1. irudia: Aurrealdea view of the sibolan portable monitor.

Figure 3.2: Monitor dimensions and adjustable stand.
3.2 Portuak eta kontrolak
The monitor features a variety of ports for connectivity and controls for easy navigation:
- Mini HDMI ataka: For video input from devices like PCs, game consoles, and cameras.
- USB-C atakak (x2): Full-featured USB-C ports for video, audio, and power delivery with compatible devices. One port can also be used for power input only.
- 3.5 mm-ko audio-konexioa: Kanpoko entzungailuak edo bozgorailuak konektatzeko.
- Pizteko / itzaltzeko botoia: Monitorea pizteko edo itzaltzeko.
- Kontrol gurpila: Used to navigate the On-Screen Display (OSD) menu and adjust settings like brightness, volume, and input source.

Figure 3.3: Monitor ports and controls layout.

3.4. irudia: Aldea view of monitor ports.
4. Konfigurazioa
4.1 Hasierako kokapena
Place the monitor on a stable, flat surface. The built-in kickstand can be adjusted from 0 to 180 degrees to achieve your desired viewing angle. For alternative mounting, the monitor supports a 75x75mm VESA mount.

Figure 4.1: VESA mounting points on the monitor.
4.2 Energia-konexioa
Connect the provided power adapter to one of the USB-C ports on the monitor and then to a power outlet. The monitor requires external power to operate.
5. Funtzionamendu-argibideak
5.1 Connecting to a Laptop or PC
The monitor offers flexible connectivity options for laptops and PCs:
- Using a Single USB-C Cable (Full-Featured USB-C): If your laptop or PC has a full-featured USB-C port that supports video output and power delivery, you can connect it to the monitor using a single USB-C to USB-C cable. This cable will transmit video, audio, and power, simplifying your setup.

Figure 5.1: Connecting to a laptop via USB-C.
- Using HDMI and Power Cable: If your device does not have a full-featured USB-C port, connect the monitor to your device using the provided HDMI cable for video and audio. Additionally, connect the monitor to a power source using the power adapter and a USB-C cable.

Figure 5.2: Connecting to a laptop via HDMI and power.
5.2 Connecting to a Smartphone
For compatible smartphones with USB-C video output capabilities, connect your phone to the monitor using a USB-C to USB-C cable. The monitor will display your phone's screen, often enabling a desktop-like experience or screen mirroring.
Video 5.1: Demonstration of connecting a smartphone to the portable monitor via USB-C, showcasing screen mirroring and desktop mode functionality.
5.3 Connecting to a Game Console
Connect your game console (e.g., PS4/5, Xbox, Nintendo Switch) to the monitor using an HDMI cable for video and audio. Ensure the monitor is also connected to a power source. This setup provides an expanded display for an immersive gaming experience.

Figure 5.3: Connecting to a game console.
6. Pantailaren ezarpenak
The monitor's settings can be adjusted using the Control Wheel. Press the wheel to access the On-Screen Display (OSD) menu, and roll it to navigate options and adjust values.
6.1 Brightness and Contrast
Adjust the brightness and contrast levels to suit your viewing environment and preferences. These settings are typically found under the 'Picture' or 'Display' menu in the OSD.
6.2 HDR Mode
The monitor supports High Dynamic Range (HDR). You can enable HDR mode through the OSD menu to enhance image brightness, contrast, and color depth, providing a more realistic visual experience for compatible content.
6.3 Low Blue Light
To reduce eye strain during prolonged use, especially in low-light conditions, activate the Low Blue Light feature from the OSD menu. This mode filters out harmful blue light emissions without significantly affecting color accuracy.

Figure 6.1: Low Blue Light feature for eye protection.
7. Mantentzea
7.1 Monitorea garbitzea
Monitorearen pantaila garbitzeko, astiro-astiro zapi leun eta pelusik gabeko batekin garbitu. Orbanik egoskorrak izanez gero, astiro-astiro garbitu.ampen the cloth with water or a mild, non-abrasive screen cleaner. Avoid using harsh chemicals, alcohol, or ammonia-based cleaners, as these can damage the screen surface. Do not spray liquid directly onto the screen.
7.2 Arreta orokorra
Keep the monitor away from direct sunlight, excessive heat, and moisture. Avoid placing heavy objects on the monitor or applying pressure to the screen. When transporting the monitor, use appropriate protective packaging to prevent damage.
8. Arazoak
Monitorearekin arazoak badituzu, jo ezazu honako ohiko irtenbide hauetara:
| Arazoa | Kausa posiblea | Irtenbidea |
|---|---|---|
| Ez dago argindarrik / Monitorea ez da pizten | Energia-egokitzailea ez dago konektatuta edo akastuna. | Ensure the power adapter is securely connected to the monitor and a working power outlet. Try a different outlet. |
| Seinalerik ez / Pantaila hutsa | Incorrect input source selected; cable not connected properly; device not outputting signal. | Check all cable connections (USB-C, HDMI). Use the Control Wheel to select the correct input source in the OSD menu. Ensure your connected device is powered on and configured to output video. |
| Pantaila keinukaria | Loose cable connection; incompatible display settings. | Secure all cable connections. Adjust the refresh rate or resolution on your connected device. |
| Bozgorailuen soinurik ez | Volume too low or muted; incorrect audio output selected on device. | Increase monitor volume using the Control Wheel. Check audio settings on your connected device to ensure audio is routed to the monitor. |
9. Zehaztapenak
| Ezaugarri | Xehetasuna |
|---|---|
| Marka | sibolan |
| Modelo zenbakia | 185BTS |
| Pantailaren tamaina | 18.5 hazbete |
| Ebazpena | FHD 1080p (1920 x 1080 pixel) |
| Freskatze tasa | 100 Hz |
| Bistaratzeko mota | IPS LCD |
| Aspektu-erlazioa | 16:9 |
| Viewangelua | 178 gradu |
| Erantzun Denbora | 5 milisegundo |
| Konektibitate Teknologia | HDMI, USB-C |
| Portuak | 1x Mini HDMI, 2x USB-C, 1x 3.5mm Audio Jack |
| Elementuaren neurriak (L x W x H) | 16.73" x 9.84" x 0.78" |
| Elementuaren pisua | 2.06 kilogramo (gutxi gorabehera 4.54 lb) |
| Ezaugarri gehigarriak | Blue Light Filter, Flicker-Free, High Dynamic Range (HDR), Portable, Built-in Kickstand, VESA Mount (75x75mm) |
| Gailu bateragarriak | Laptops, PCs, Phones, Macs, PS4/5, Xbox, Switch |
10. Bermea eta Laguntza
10.1 Fabrikatzailearen bermea
This sibolan portable monitor is covered by a 1 urteko fabrikatzailearen bermea from the date of purchase. This warranty covers defects in materials and workmanship under normal use. It does not cover damage caused by misuse, accidents, unauthorized modifications, or external causes.
10.2 Bezeroarentzako laguntza
For technical assistance, warranty claims, or any questions regarding your sibolan portable monitor, please contact the manufacturer's customer support. Refer to the contact information provided on the product packaging or the official sibolan webgunea.