
1. Berme garrantzitsuak
Please read these instructions carefully before using your Salter Retro 4-Slice Toaster. Keep this manual for future reference.
- Ez ukitu gainazal beroak. Erabili beti heldulekuak edo eskutokiak.
- Deskarga elektrikoetatik babesteko, ez murgildu kablea, entxufeak edo tostagailua uretan edo beste likido batean.
- Gainbegiratzea beharrezkoa da aparaturen bat umeek edo umeen ondoan erabiltzen dutenean.
- Deskonektatu entxufetik erabiltzen ez duzunean eta garbitu aurretik. Utzi hozten piezak jarri edo kendu aurretik.
- Ez erabili aparaturik kablea edo entxufea hondatuta dagoenean, edo aparatuak gaizki funtzionatzen duenean edo nolabait hondatu ondoren.
- Ez erabili kanpoan.
- Ez utzi kablea mahaiaren edo erakusmahaiaren ertzetik zintzilik zintzilik, ezta gainazal beroak ukitu ere.
- Ez jarri gas edo erregailu elektriko bero baten gainean edo inguruan, edo berotutako labe batean.
- Ez erabili aparatua aurreikusitako erabilera ez den beste baterako.
- Ez sartu tamaina handiko janariak, metalezko paper-paperak edo tresnak tostadorean, sute edo deskarga elektriko arriskua izan baitezakete.
- Sutea gerta daiteke txigorgailuak estaltzen badira edo material sukoia ukitzen badute, gortinak, estalkiak, hormak eta antzekoak barne, funtzionatzen ari direnean.
- Ez saiatu janaria kanporatzen txigorgailua entxufatuta dagoenean.
- Always unplug the toaster before cleaning the crumb tray.
2. Produktua amaitu daview
The Salter Retro 4-Slice Toaster is designed for efficient and convenient toasting. It features four wide slots, allowing you to toast various bread types, including bagels and crumpets. With 6 browning levels and dedicated functions for defrosting, reheating, and canceling, you can achieve your desired toast consistency every time.
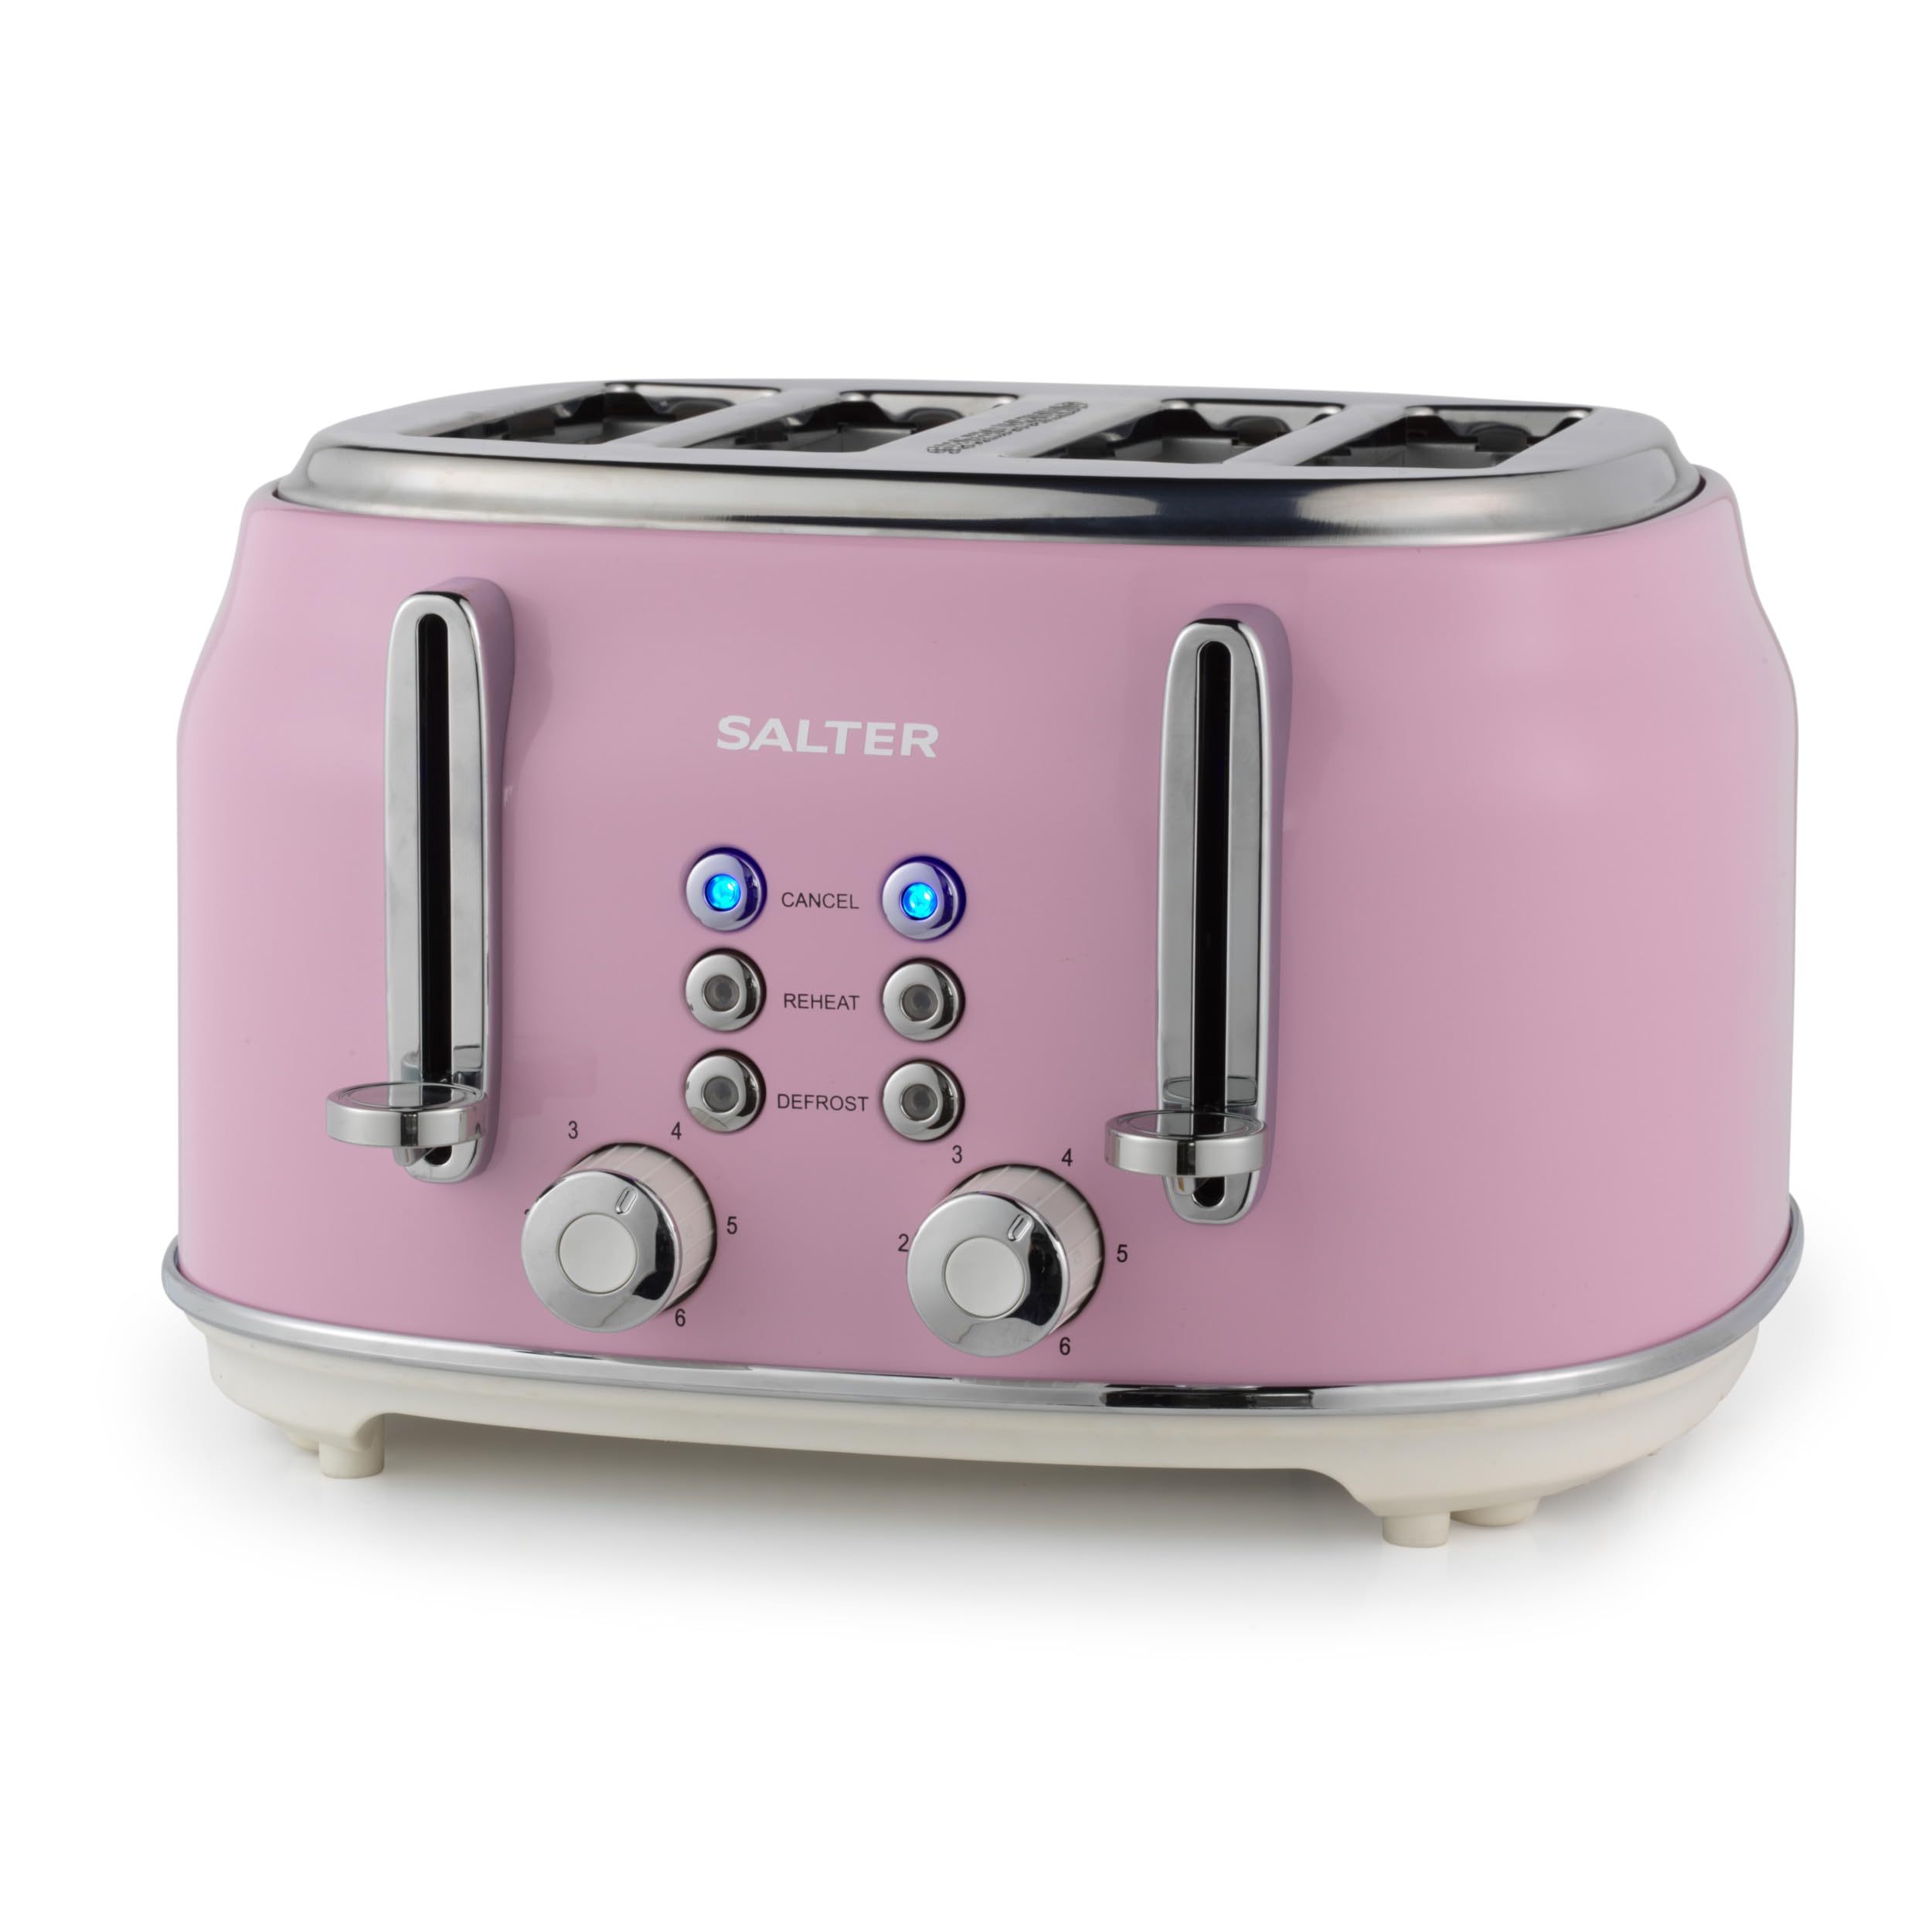
Image: The Salter Retro 4-Slice Toaster in a stylish pink finish, featuring chrome levers and control knobs, positioned on a kitchen counter.
3. Konfigurazioa
- Desontziratu txigorgailua eta kendu bilgarri guztiak.
- Place the toaster on a stable, heat-resistant, and dry surface, away from flammable materials.
- Ensure the crumb tray is correctly inserted at the bottom of the toaster.
- Before first use, operate the toaster without bread on the highest browning setting to burn off any manufacturing residues. This may produce a slight odor and smoke, which is normal. Ensure adequate ventilation.
4. Funtzionamendu-argibideak
4.1. Ogia txigortzea
- Insert up to four slices of bread into the toaster slots. The wide slots accommodate various bread types.
- Hautatu nahi duzun gorritze-maila gorritze-kontrol-botoia (1-6) erabiliz. 1. maila tostada arinetarako da, eta 6. maila tostada ilunetarako.
- Press down the toast lever until it locks into place. The indicator light will illuminate, and the toasting cycle will begin.
- Once the toasting cycle is complete, the toast will automatically eject, and the lever will return to its original position.

Image: Close-up of the toaster's control panel, showing the browning level dial and the 'Cancel', 'Reheat', and 'Defrost' buttons.
4.2. Funtzio bereziak
The toaster includes three special functions:
- Ezeztatu: Press the 'CANCEL' button to stop the toasting cycle at any time. The toast will immediately eject.
- Berotu: Use the 'REHEAT' button to warm up previously toasted bread without further browning. Insert the toast, press the lever, then press 'REHEAT'.
- Desizoztu: The 'DEFROST' function allows you to toast frozen bread. Insert frozen bread, press the lever, then press 'DEFROST'. The toaster will automatically adjust the toasting time.

Image: The toaster with the 'CANCEL' button glowing blue, indicating the function is active or has been pressed.
4.3. High-Lift Ejection
The high-lift ejection feature allows you to easily retrieve smaller items like crumpets or bagels without burning your fingers. Simply lift the toast lever further up after the toasting cycle is complete.

Image: A hand demonstrating the high-lift function by pushing the toast lever upwards to raise the toast higher from the slots.
5. Mantentzea eta Garbiketa
Garbiketa erregularrak errendimendu optimoa bermatzen du eta tostadorearen bizitza luzatzen du.
5.1. Cleaning the Crumb Tray
- Ensure the toaster is unplugged and completely cool.
- Atera tostadorearen behealdean dagoen apur-biltzeko erretilu aldagarria.
- Baztertu pilatutako apurrak.
- Garbitu erretilua iragarkiarekinamp oihal bat jarri eta ondo lehortu berriro sartu aurretik.
- Inoiz ez erabili txigorgailua apurrak erretilua jarri gabe.

Image: A hand pulling out the removable crumb tray from the bottom of the toaster, showing accumulated crumbs.
5.2. Kanpoaldea garbitzea
- Garbitu tostadorearen kanpoaldea oihal leun eta lehor batekinamp oihal. Ez erabili garbitzaile urratzaileak edo zurgatzaileak.
- Ziurtatu tostagailua guztiz lehor dagoela berriro konektatu aurretik.
6. Arazoak
| Arazoa | Kausa posiblea | Irtenbidea |
|---|---|---|
| Tostagailua ez da pizten. | Not plugged in; power outlet faulty; toast lever not fully depressed. | Check power connection; try a different outlet; ensure toast lever is fully locked down. |
| Ogia txigorgailuan itsatsita dago. | Bread slice too thick or uneven. | Unplug the toaster and carefully remove the bread using non-metallic tongs. Do not use metal objects. |
| Tostada argiegia/ilunegia da. | Marroitze mailaren ezarpena okerra da. | Adjust the browning control dial to a higher or lower setting for future use. |
| Kea ateratzen ari da tostagailutik. | Crumbs accumulated; food stuck; first use burn-off. | Unplug immediately. Clean crumb tray. Remove any stuck food. If first use, ensure ventilation. |
7. Zehaztapenak
- Modelo zenbakia: EK5739PNKVDE
- Marka: Gatzaga
- Kolorea: Arrosa
- Materiala: Aluminioa
- Potentzia: 1630W
- Xerra kopurua: 4
- Browning ezarpenak: 6
- Ezaugarri bereziak: Wide Slots, Defrost, Reheat, Cancel Functions, Removable Crumb Tray, High-Lift Ejection, Auto-Centering
- Pisua: 3 kilogramo
8. Bermea eta Laguntza
Your Salter Retro 4-Slice Toaster comes with a standard manufacturer's warranty. For detailed warranty information, product support, or to inquire about replacement parts, please refer to the warranty card included in your product packaging or visit the official Salter website. Do not attempt to repair the appliance yourself, as this may void the warranty and pose a safety risk.


