YESWELDER FLUX-135 MINI
YESWELDER FLUX-135 MINI 3-in-1 soldadura makinaren erabiltzailearen eskuliburua
Model: FLUX-135 MINI
1. Sarrera
This manual provides comprehensive instructions for the safe and effective operation, setup, and maintenance of your YESWELDER FLUX-135 MINI 135Amp 3-in-1 Welding Machine. This versatile unit supports Flux Core MIG, Lift TIG, and Stick welding processes, offering robust performance for various welding tasks. Please read this manual thoroughly before operating the machine to ensure proper usage and safety.
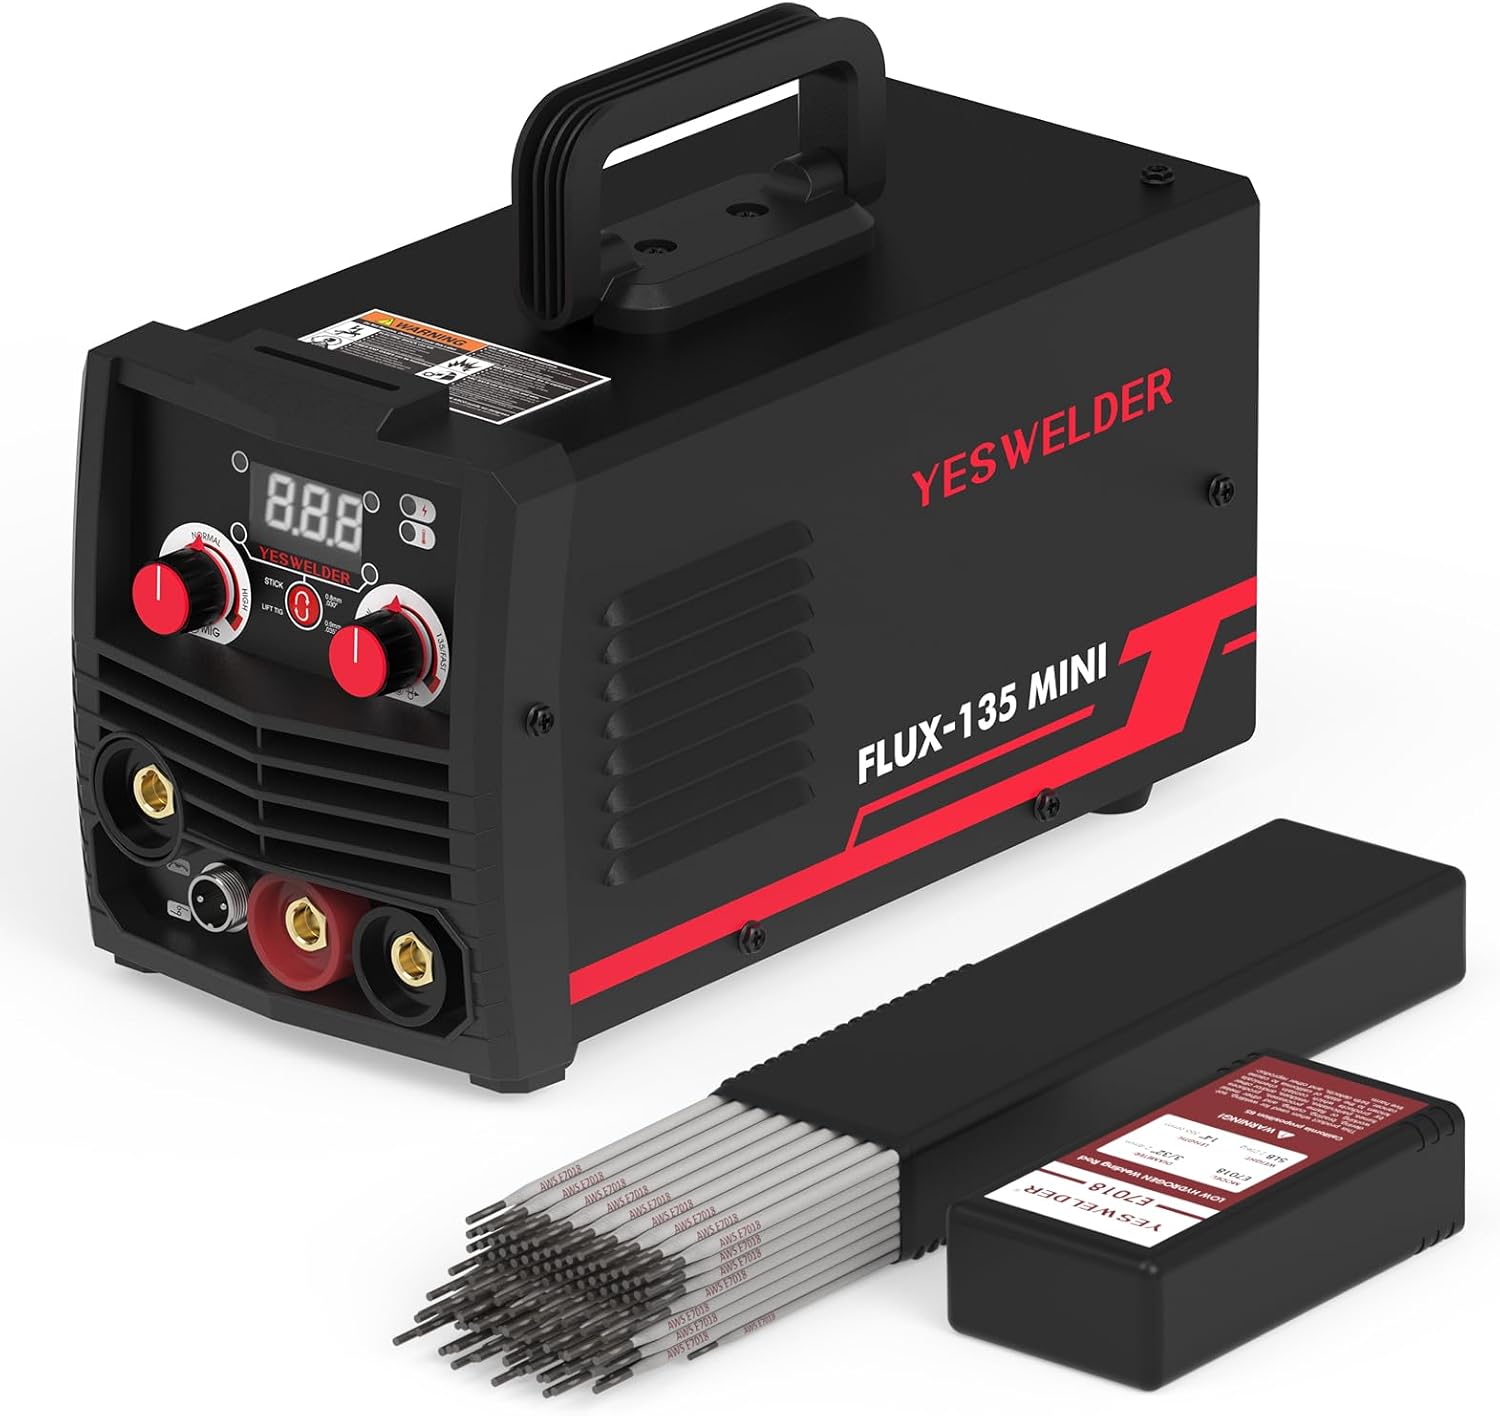
1.1. irudia: The YESWELDER FLUX-135 MINI 3-in-1 Welding Machine, shown alongside a box of E7018 low hydrogen carbon steel stick electrodes.
2. Segurtasun informazioa
Welding can be dangerous. It is essential to follow all safety precautions to prevent injury or damage. Always wear appropriate personal protective equipment (PPE) including welding helmet, gloves, protective clothing, and safety shoes. Ensure adequate ventilation in your work area to avoid inhaling fumes.
Segurtasun-neurri orokorrak:
- Deskarga elektrikoak hil dezake: Do not touch live electrical parts. Insulate yourself from work and ground.
- Lurrunak eta gasak arriskutsuak izan daitezke: Mantendu burua kearen eraginpean. Erabili aireztapena edo ihes-hodia arnasketa-eremuko kea kentzeko.
- Arku izpiek begiak eta azala erre ditzakete: Wear a welding helmet with a proper shade of filter lens to protect your eyes and face. Wear appropriate clothing to protect your skin.
- Sute eta leherketa arriskua: Kendu material sukoi guztiak soldadura-eremutik. Izan ezazu su-itzalgailu bat eskura.
- Zati beroek erredura larriak eragin ditzakete: Allow welded materials to cool before handling.
- Irakurri eskuliburua: Always read and understand the entire instruction manual before installation and operation.
3. Produktuaren ezaugarriak
The YESWELDER FLUX-135 MINI is designed with advanced features to enhance your welding experience:
- Multi-Process Capability: Hau 135Amp 3-in-1 welder supports Flux Core Gasless MIG, Stick, and Lift TIG welding processes. This versatility allows it to handle a wide array of welding tasks with ease.
- Kontrol Sinergikoa: Features an intelligent synergic control system where adjusting the wire feeding speed automatically matches the recommended voltage. This simplifies operation, making it suitable for both beginners and experienced welders.
- Eragiketa erraza: The intuitive control panel provides effortless adjustment of welding modes, voltage, and current/wire feed speed, ensuring both convenience and productivity.
- E7018 Electrode Compatibility: The included E7018 electrodes are low-hydrogen iron powder type, producing high-quality X-ray welds. They can be used in all positions on AC or DC reverse polarity welding current.
- All-Position Welding: Recommended for welding medium-grade carbon steels where no preheat is used, and on cold-rolled steels normally exhibiting excessive porosity when welded with conventional electrodes.

3.1. irudia: The FLUX-135 MINI supports three welding processes: Flux Cored Welding, Lift TIG Welding, and Stick Welding.

3.2. irudia: The simple and intuitive control panel of the FLUX-135 MINI, featuring synergic control for ease of use.
4. Paketearen edukia
Paketea irekitzean, egiaztatu osagai guztiak daudela eta kalterik ez dutela:
- YESWELDER FLUX-135 MINI 3-in-1 Welding Machine
- Flux Core MIG Torch (integrated or included)
- Beheko Clamp
- Electrode Holder (for Stick welding)
- YESWELDER E7018 3/32'' 5LB Welding Rods (Low Hydrogen Carbon Steel Stick Electrodes)
- Erabiltzailearen eskuliburua (dokumentu hau)
- Elikatze kablea
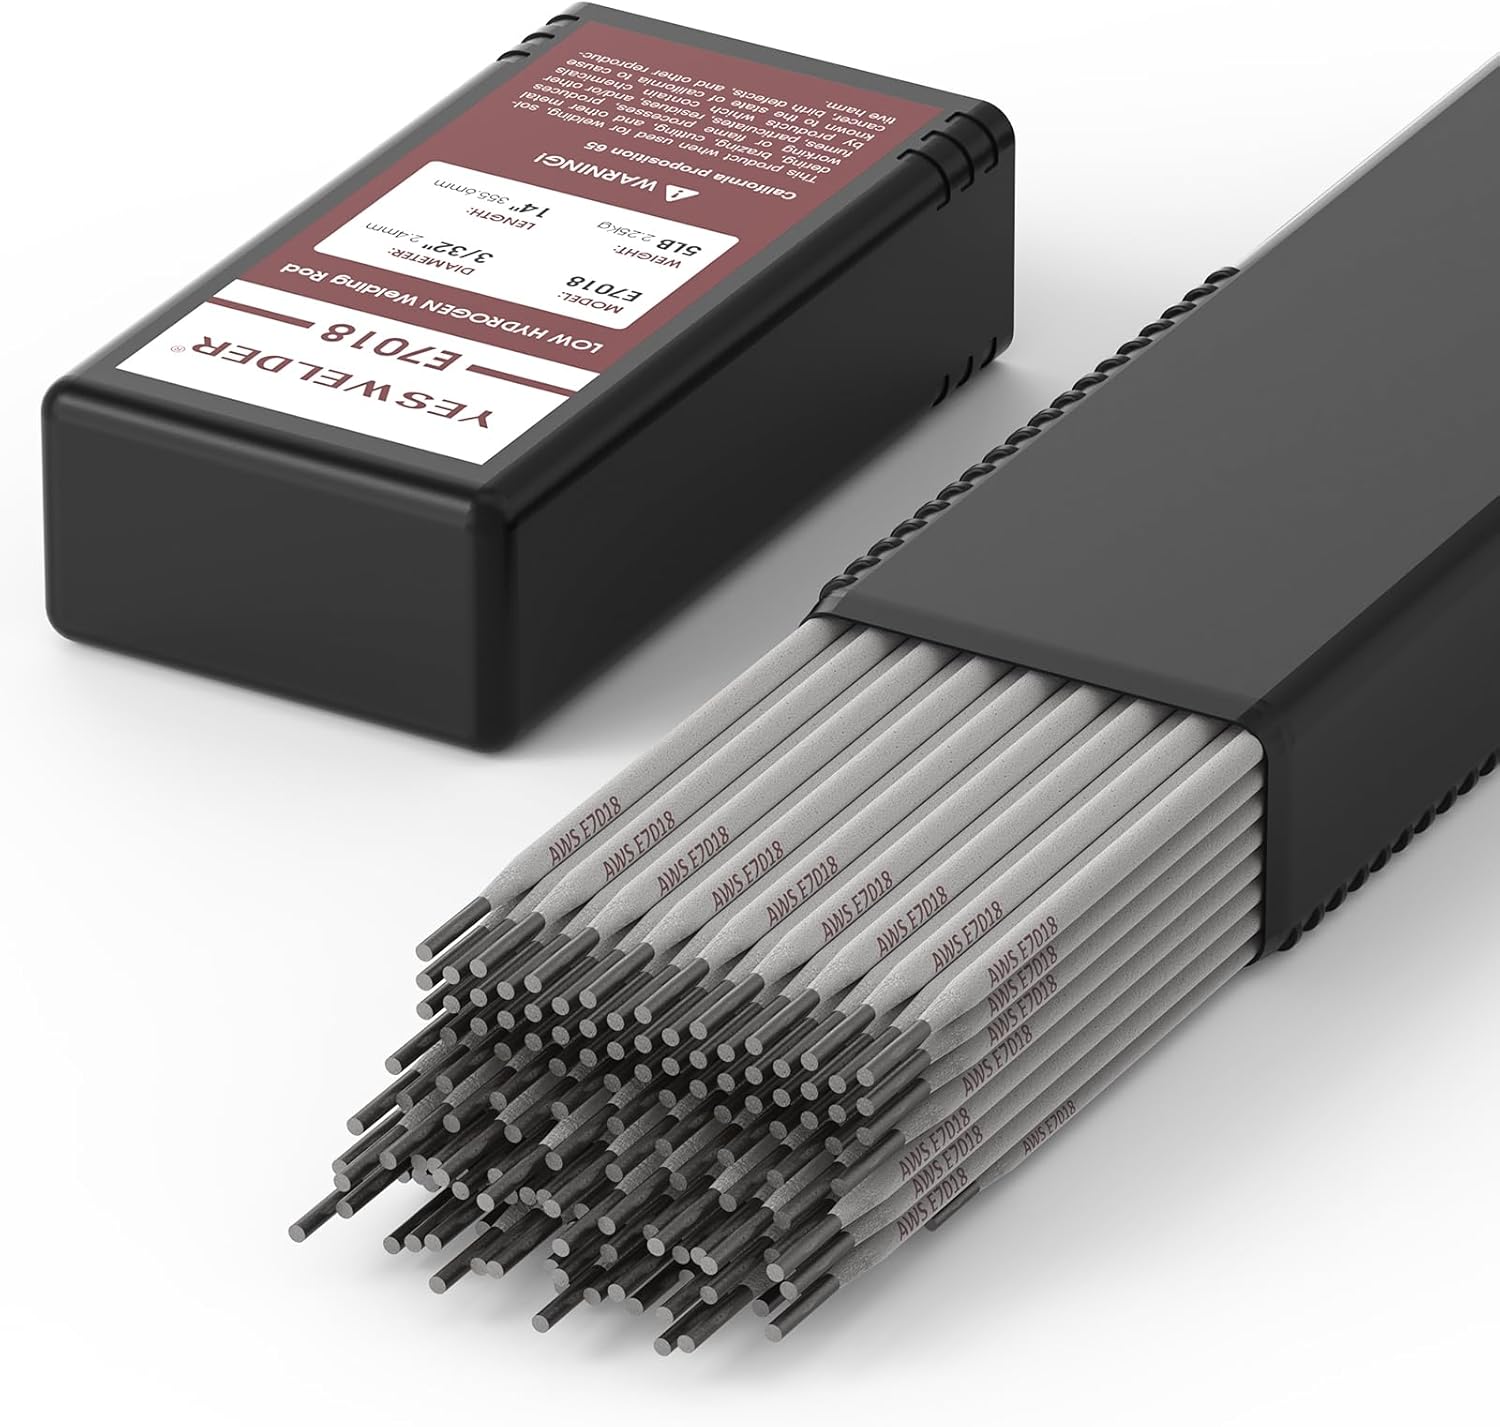
4.1. irudia: The included YESWELDER E7018 welding rods, packaged for protection and easy storage.

4.2. irudia: Professional packing of the E7018 rods in a durable plastic case, ensuring they remain in good condition.
5. Konfigurazioa
5.1 Energia-konexioa
- Ensure the welding machine's power switch is in the OFF position.
- Connect the power cord to a suitable 110V power outlet. Verify that the outlet can provide sufficient amperage for the welder's maximum output.
5.2 Connecting Welding Accessories
The FLUX-135 MINI features standard quick-connect terminals for easy accessory attachment.

5.1. irudia: Front panel connections for the welding machine, including ports for the MIG torch, ground clamp, and electrode holder.
For Flux Core MIG Welding:
- Connect the MIG torch to the designated port on the front panel.
- Konektatu lurra clamp cable to the appropriate terminal and attach the clamp securely to the workpiece.
- Install the flux core welding wire spool inside the wire feeder compartment. Ensure the wire size matches the machine's capabilities (e.g., 2LB spool, 0.030"/0.8mm wire).
- Thread the wire through the feeder mechanism and into the MIG torch liner.

5.2. irudia: The internal wire feeder compartment, demonstrating compatibility with a 2LB welding wire spool (4" diameter).
For Stick (MMA) Welding:
- Connect the electrode holder cable to the positive (+) terminal and the ground clamp cable to the negative (-) terminal for DCEN (Direct Current Electrode Negative) or vice versa for DCEP (Direct Current Electrode Positive), depending on the electrode type. For E7018 rods, DCEP is typically recommended.
- Securely attach the ground clamp piezara.
- Insert an E7018 electrode into the electrode holder.
For Lift TIG Welding:
- A separate Lift TIG torch (not included) is required. Connect the Lift TIG torch to the appropriate terminal.
- Konektatu lurra clamp kablea lan-piezari.
- Ensure a suitable tungsten electrode is installed in the TIG torch.
6. Funtzionamendu-argibideak
6.1 Funtzionamendu Orokorra
- After connecting all necessary components, turn on the power switch located on the machine.
- Select the desired welding process (MIG, Stick, or Lift TIG) using the mode selector switch on the control panel.
- Adjust the welding parameters (voltage, wire feed speed, or amperage) using the control knobs. The synergic control feature will assist in setting optimal parameters for MIG welding.
- Always perform test welds on scrap material to fine-tune settings before welding your actual workpiece.
6.2 Flux Core MIG Welding
- Hautatu "MIG" modua.
- Adjust the wire feed speed knob. The machine's synergic control will automatically suggest the corresponding voltage. Fine-tune as needed.
- Ensure proper stick-out of the wire from the contact tip.
- Begin welding by pressing the trigger on the MIG torch. Maintain a consistent travel speed and angle.
6.3 Arkuzko soldadura (MMA)
- Select "STICK" mode.
- Egokitu amperage knob according to the electrode diameter and material thickness. For E7018 3/32'' rods, typical amperage ranges are provided on the electrode packaging.
- Strike the arc by lightly tapping or scratching the electrode on the workpiece.
- Mantendu arku-luzera eta desplazamendu-abiadura koherenteak.

6.1. irudia: Common electrode sizes and their standard length, important for selecting appropriate welding parameters.
6.4 TIG soldadura altxagarria
- Select "LIFT TIG" mode.
- Egokitu amperage eskuoia.
- To initiate the arc, gently touch the tungsten electrode to the workpiece and then lift it slightly. The arc will ignite.
- Maintain a short arc length and consistent travel speed.
7. Mantentzea
Mantentze-lan erregularrak zure soldadura-makinaren iraupena eta errendimendu optimoa bermatzen ditu.
- Garbiketa: Periodically clean the internal components of the machine using compressed air to remove dust and metal particles. Ensure the machine is unplugged before cleaning.
- Kableen ikuskapena: Aldian-aldian ikuskatu soldadura-kable guztiak, zuzi-konexioa eta lurrerako konexioa.amp for signs of wear, cuts, or damage. Replace damaged components immediately.
- Contact Tip and Nozzle: For MIG welding, regularly check and replace worn contact tips and clean the nozzle to prevent spatter buildup.
- Electrode Holder/Ground Clamp: Ensure good electrical contact by keeping these components clean and free of corrosion.
- Biltegiratzea: Store the welding machine in a clean, dry environment, away from excessive dust, moisture, and extreme temperatures.
8. Arazoak
Atal honek aurki ditzakezun arazo ohikoenak jorratzen ditu. Hemen zerrendatzen ez diren arazoetarako, jarri harremanetan bezeroarentzako arreta-zerbitzuarekin.
| Arazoa | Kausa posiblea | Irtenbidea |
|---|---|---|
| Makinari ez dago energiarik | Kablea deskonektatuta, etengailu magnetotermikoa jauzi eginda, etengailu akastuna. | Check power connections, reset circuit breaker, contact service if switch is faulty. |
| No arc/Poor arc starting | Poor ground connection, incorrect settings, worn contact tip (MIG), damp elektrodoak (makila). | Ziurtatu lurra zikinduta dagoelaamp is secure and on bare metal. Adjust parameters. Replace contact tip. Store electrodes properly. |
| Wire feeding issues (MIG) | Incorrect wire tension, clogged liner, wrong drive roller size, worn contact tip. | Adjust tension. Clean or replace liner. Ensure correct drive rollers. Replace contact tip. |
| Overheating/Thermal overload | Exceeding duty cycle, blocked ventilation. | Allow machine to cool down. Ensure clear airflow around the machine. |
9. Zehaztapenak
Key technical specifications for the YESWELDER FLUX-135 MINI:
- Eredua: FLUX-135 MINI
- Sarrera boltage: 110V
- Irteera-korrontea: 135 Amp (gehienez)
- Welding Processes: Flux Core Gasless MIG, Lift TIG, Stick (MMA)
- Compatible Wire Spool: 2LB (4" diameter)
- Compatible Electrode Sizes (Stick): 3/32'', 1/8'', 5/32'' (E7018 included)
- Estiloa: YESWELDER FLUX-135 MINI & E7018 3/32'' 5LB Welding Rod
- ASIN: B0DJVGLPJF
- Lehenengo eskuragarri: 11ko urriaren 2024a

9.1. irudia: The product adheres to American Welding Society (AWS) standards, specifically AWS A5.12M/A5.12:2009 Conformance.
10. Bermea eta Laguntza
For warranty information, technical support, or service inquiries, please contact YESWELDER customer service. Keep your purchase receipt as proof of purchase.
YESWELDER Customer Service:
- Visit the official YESWELDER website for contact details and support resources: www.yeswelder.com
- Refer to the contact information provided on your product packaging or warranty card.
Ask a question about this manual
Ask about setup, troubleshooting, compatibility, parts, safety, or missing instructions. Manuals+ will review the question and use this page’s manual context to help answer it.