Sarrera
This manual provides detailed instructions for the installation, operation, and maintenance of your Kohler Leap One-Piece Elongated Smart Toilet. Designed for comfort and hygiene, this smart toilet integrates advanced features to enhance your bathroom experience.
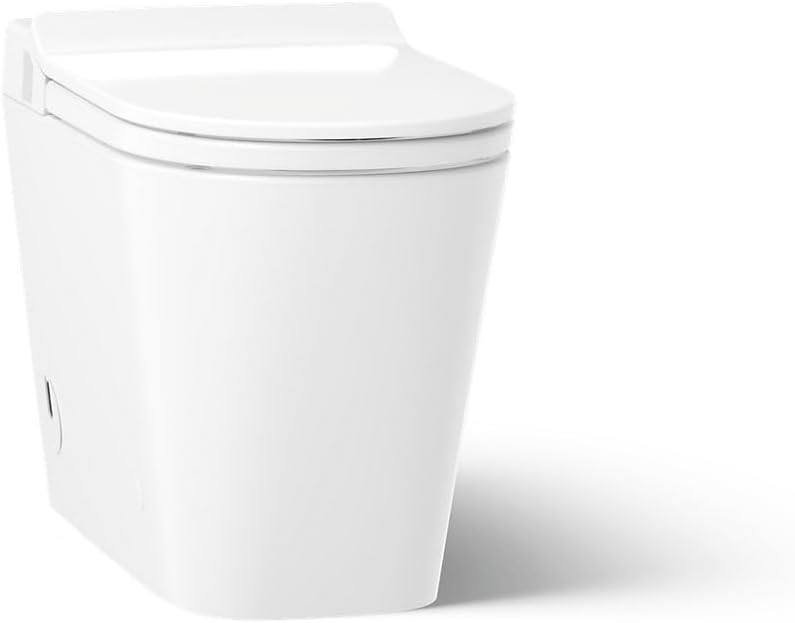
Aurrealdea view of the Kohler Leap Smart Toilet, showcasinbere diseinu dotore eta pieza bakarrekoa.
Ezaugarri nagusiak
- Integrated Bidet Technology: Features a stainless steel wand with adjustable spray shape, position, water pressure, temperature, pulsate, and oscillate functions for personalized cleansing.
- Dual-Flush System: Offers a choice of 1.0 or 1.28 gallons per flush (gpf) for water conservation.
- Motion-Activated Lid: Hands-free opening and closing of the cover for enhanced hygiene.
- Erosotasun altuerako eserlekuak: Provides chair-height seating for easier sitting and standing.
- Tapa eta eserlekua isil-isilik ixteko: Prevents slamming for a quieter bathroom environment.
- Auto-garbiketa makila: Uses UV light to automatically clean wand surfaces.
- Aire epelean lehortzea: Komuneko paperaren beharra murrizten du.
- Fully Skirted Trapway: Garbiketa eta mantentze-lanak errazten ditu.
Konfigurazioa eta Instalazioa
Proper installation is crucial for the optimal performance of your Kohler Leap Smart Toilet. Please follow these steps carefully. It is recommended to consult a professional plumber for installation.
Official Kohler installation video for the Leap Smart Toilet. This video provides a visual guide to the installation process.
Instalazio aurreko urratsak
- Garbitu eremua: Remove the old toilet. If the new toilet is not installed immediately, temporarily place a rag in the closet flange to prevent odors.
- Clean Flange: Remove any wax residue from the flange.
- Verify Outlet and Supply Stop Location: Ensure the supply stop and electrical outlet are not directly behind the toilet. Suggested locations are 9"-12" from the center of the flange to the side wall for both. A GFCI outlet is required.
- Prepare Template: Cut the provided installation template along the marked lines.
- Lanpostuaren txantiloia: Tape the template in position over the flange. Mark the two hole locations for the mounting brackets. Remove the template.
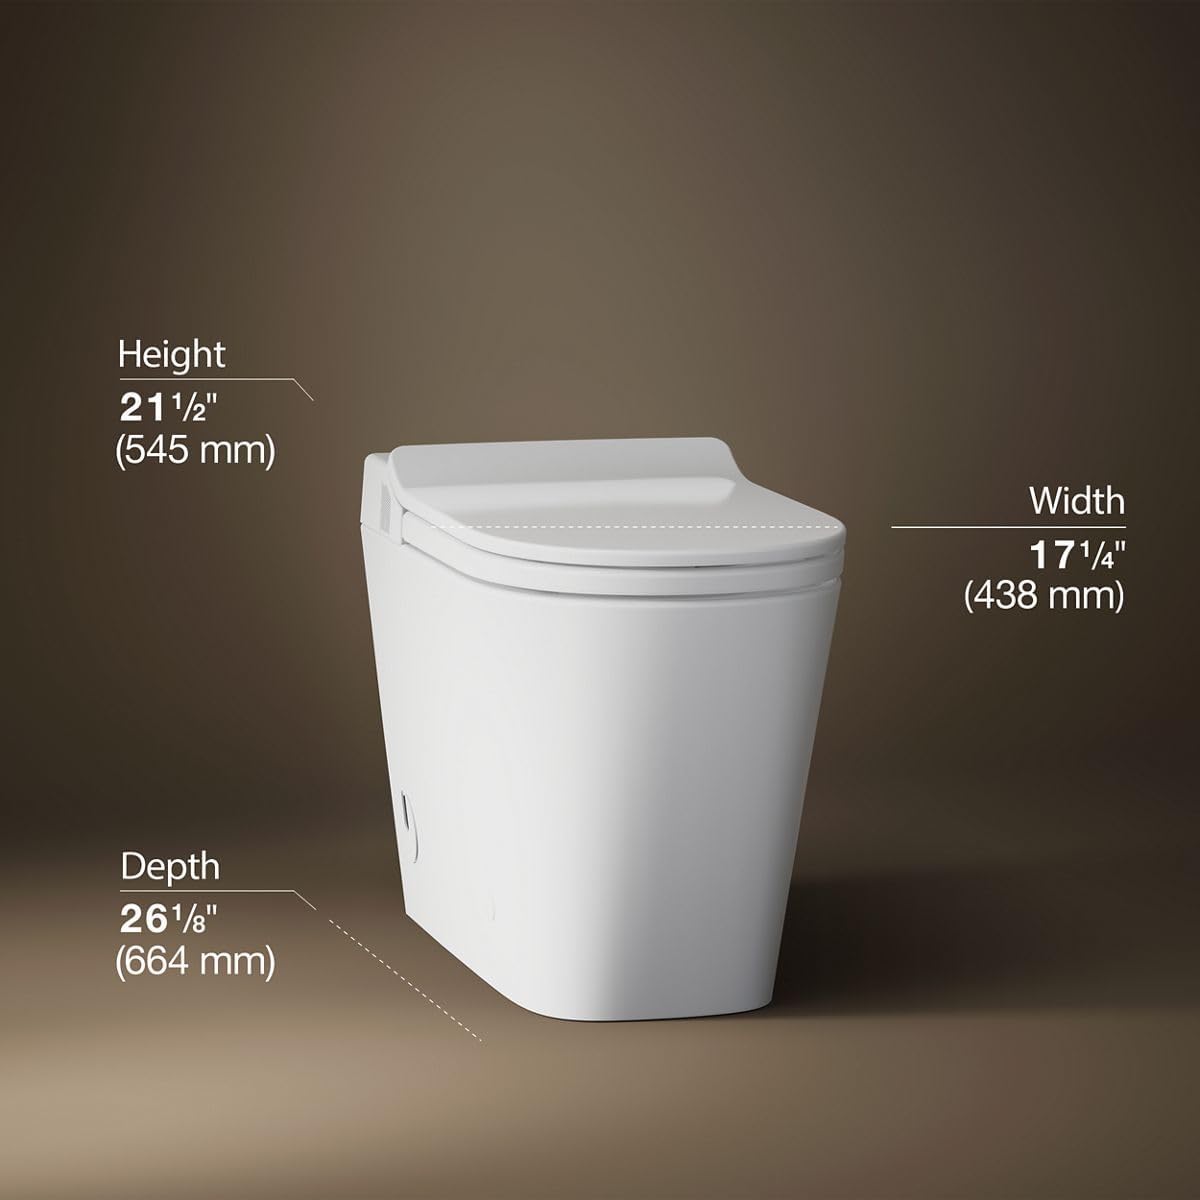
Diagram showing the dimensions of the Kohler Leap Smart Toilet: Height 21 1/2" (545 mm), Width 17 1/4" (438 mm), Depth 26 1/8" (664 mm).
Komuna muntatzea
- Argizarizko eraztuna instalatzea: Position the wax ring on the flange.
- Zulatzeko zulo pilotuak: At the two marked mounting bracket hole locations, drill 3/8" pilot holes.
- Txertatu aingurak: Insert a supplied anchor into each of the holes.
- Posizio-parentesiak: Position the mounting brackets over the mounting holes. Secure each bracket with a supplied washer and lag bolt.
- Install Cams: Install the plastic cam onto each bracket using supplied washers and bolts.
- Route Supply Line and Power Cord: The toilet allows the water supply line and power cord to be routed from either side. Ensure they are not pinched under the toilet during placement.
- Komunaren kokapena: With assistance, lift the toilet over the floor flange and mounting brackets. Carefully lower the toilet onto the floor flange and mounting brackets.
- Konektatu ur-hornidura: Connect the provided filter to the supply stop. Connect the water supply hose to the filter and turn ON the water supply.
- Komun segurua: At a downward angle, insert a screw into the hole on the side of the toilet and tighten securely. Do not overtighten! Repeat for the other side to secure the toilet in place.
- Install Caps: Install a cap over each screw. The caps should be flush with the exterior of the toilet.
- Konektatu: Entxufatu korronte-kablea entxufe elektrikoan.
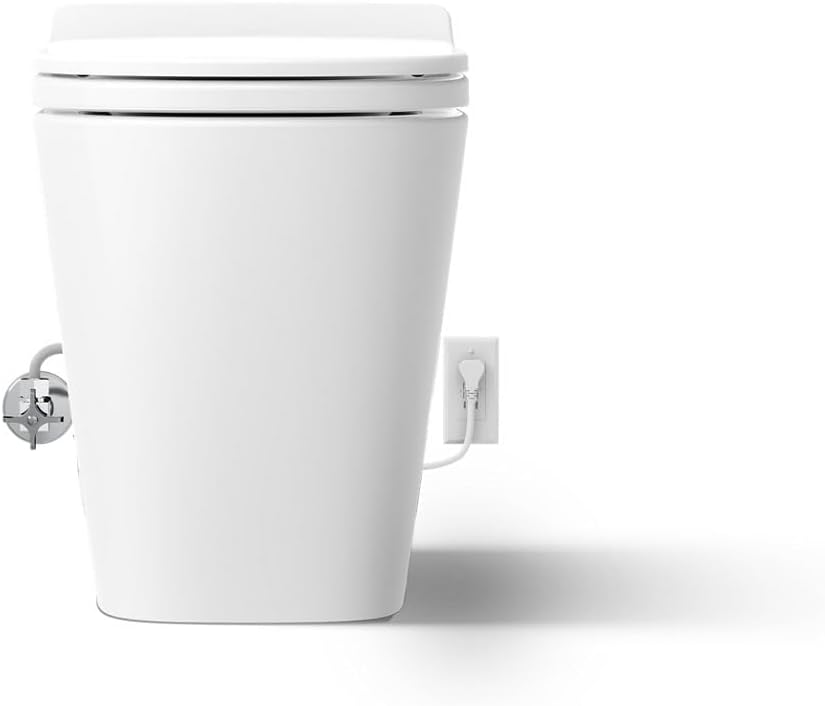
Atzekoa view of the toilet showing the water supply and power cord connections. Ensure cables are not pinched.
Urruneko kontrolaren konfigurazioa
- Position Docking Station: Position the docking station at the desired mounting location. The double-sided tape on the back is for prepositioning only. For reliable installation, use the screws included.
- Zuloak markatu: Arkatza erabiliz, markatu muntatzeko zuloen bi kokapenak.
- Zulatzeko zuloak: For installation using wall anchors, drill a 1/4" hole at each marked location. For installation into a stud or other wood surface, drill a 1/16" hole at each marked location.
- Instalatu hormako aingurak: Install the provided wall anchors into the holes (if applicable).
- Secure Docking Station: Position the docking station over the anchors or marks and secure it with the provided screws.
- Instalatu bateriak: Install the two provided AAA batteries into the remote control.
- Lekua urrunetik: Install the cover to the battery compartment and place the remote control into the docking station.

The remote control for the Kohler Leap Smart Toilet, showing various function buttons.
Funtzionamendu-argibideak
The Kohler Leap Smart Toilet offers a range of features for enhanced comfort and hygiene. Most functions are controlled via the remote control.
Oinarrizko Funtzionamendua
- Motion-Activated Lid: The toilet lid will automatically open and close as you approach and leave the toilet.
- Hustuketa: The toilet features an automatic flush. You can also use the dual-flush options via the remote control for 1.0 gpf (light flush) or 1.28 gpf (full flush).

The motion-activated lid of the smart toilet automatically opens for hands-free operation.
Bidetaren funtzioak
The integrated bidet provides personalized cleansing options:
- Front/Rear Wash: Select the desired wash mode (front or rear) using the remote control.
- Doikuntzak: Use the remote to adjust water pressure, water temperature, and wand position.
- Specialty Sprays: Activate pulsate or oscillate functions for a more thorough cleanse.
- Aire epelean lehortzea: After cleansing, activate the warm air dryer function via the remote control.

Gertutik view of the warm air drying feature in action, reducing the need for toilet paper.
Mantentzea
Regular maintenance ensures the longevity and optimal performance of your smart toilet.
Garbiketa
- Kanpoaldea: Garbitu kanpoko gainazalak zapi leun batekin,amp oihal eta xaboi leun bat. Saihestu garbitzaile urratzaileak.
- Auto-garbiketa makila: The bidet wand features an automatic UV light self-cleaning function. For additional cleaning, refer to the remote control instructions for manual wand extension.
- Tranpa-bidea: The fully skirted trapway design simplifies cleaning around the base of the toilet.
Arazoak konpontzea
If you encounter any issues with your Kohler Leap Smart Toilet, please refer to the following general guidance. For detailed troubleshooting steps, consult the comprehensive user manual provided with your product or contact Kohler customer support.
- Potentziarik gabe: Ensure the power cord is securely plugged into a functional GFCI electrical outlet. Check your home's circuit breaker.
- Bideta ez dabil: Verify the water supply is turned on. Ensure the occupancy sensor (located on the front right side of the seat) is activated (e.g., by sitting on the seat or placing a wet cloth/hand over it). Check remote control batteries.
- Lid Not Opening/Closing: Ensure the motion sensor is clear of obstructions.
- Ur-ihesak: Immediately turn off the water supply. Check all connections for tightness. If the leak persists, contact a qualified plumber.
Zehaztapenak
| Atributua | Balioa |
|---|---|
| Kolorea | Zuria |
| Produktuaren neurriak | 14.51" L x 26.8" W x 20.03" H |
| Materiala | Plastikoa |
| Marka | Kohler |
| Elementuaren pisua | 105.73 kilo |
| Instalazio mota | Solairuan muntatua |
| Forma | Laukizuzena |
| Eserlekuaren material mota | Plastikoa |
| Fabrikatzailea | Kohler |
| UPC | 195711189318 |
| Zati zenbakia | 28529-0 |
| Elementuaren modelo-zenbakia | 28529-0 |
| Estiloa | Garaikidea |
| Amaitu | Zuria |
| Elementu pakete kopurua | 1 |
| Pilak behar dira? | No (for toilet), Yes (for remote) |
| Eskuragarri dagoen lehen data | 24ko urriaren 2024a |
Bermea eta Laguntza
For warranty information, please refer to the warranty card included with your product or visit the official Kohler website. If you require technical assistance, replacement parts, or have any questions regarding your Kohler Leap Smart Toilet, please contact Kohler customer support directly.
Kohler Customer Support: Please refer to your product packaging or the official Kohler webgunea kontaktu-informazio eguneratuena lortzeko.


