
1. Sarrera
This manual provides important information regarding the installation, operation, and maintenance of your GBC iSnatch Carbon Monoxide (CO) Detector. Please read this manual thoroughly before using the device and retain it for future reference.
Carbon monoxide is a colorless, odorless, and tasteless gas that can be fatal. This detector is designed to monitor CO levels and alert you to potentially dangerous concentrations, helping to protect your household.
This CO detector complies with the EN50291-1 standard, ensuring its suitability for household use.
2. Segurtasun-informazioa eta abisuak
Garrantzitsua: This device is designed to detect carbon monoxide gas. It is not designed to detect smoke, fire, or other gases. It is not a substitute for proper maintenance of fuel-burning appliances, including ventilation and exhaust systems.
- Do not paint the detector. Paint can clog the sensor openings and interfere with the detector's ability to detect CO.
- Do not block the ventilation openings on the detector.
- Test the detector regularly using the test button.
- Bateria baxuaren abisua agertzen denean, ordezkatu bateriak berehala.
- Ez instalatu hezetasun handiko, tenperatura muturreko edo hauts gehiegizko lekuetan.
- Mantendu haurren eskura.
3. Paketearen edukia
Egiaztatu elementu guztiak paketean daudela:
- GBC iSnatch Carbon Monoxide Detector (Model 64051105)
- Erabiltzailearen eskuliburua
4. Produktua amaitu daview
The GBC iSnatch Carbon Monoxide Detector features a compact design with an integrated LCD display and indicator lights for easy monitoring.
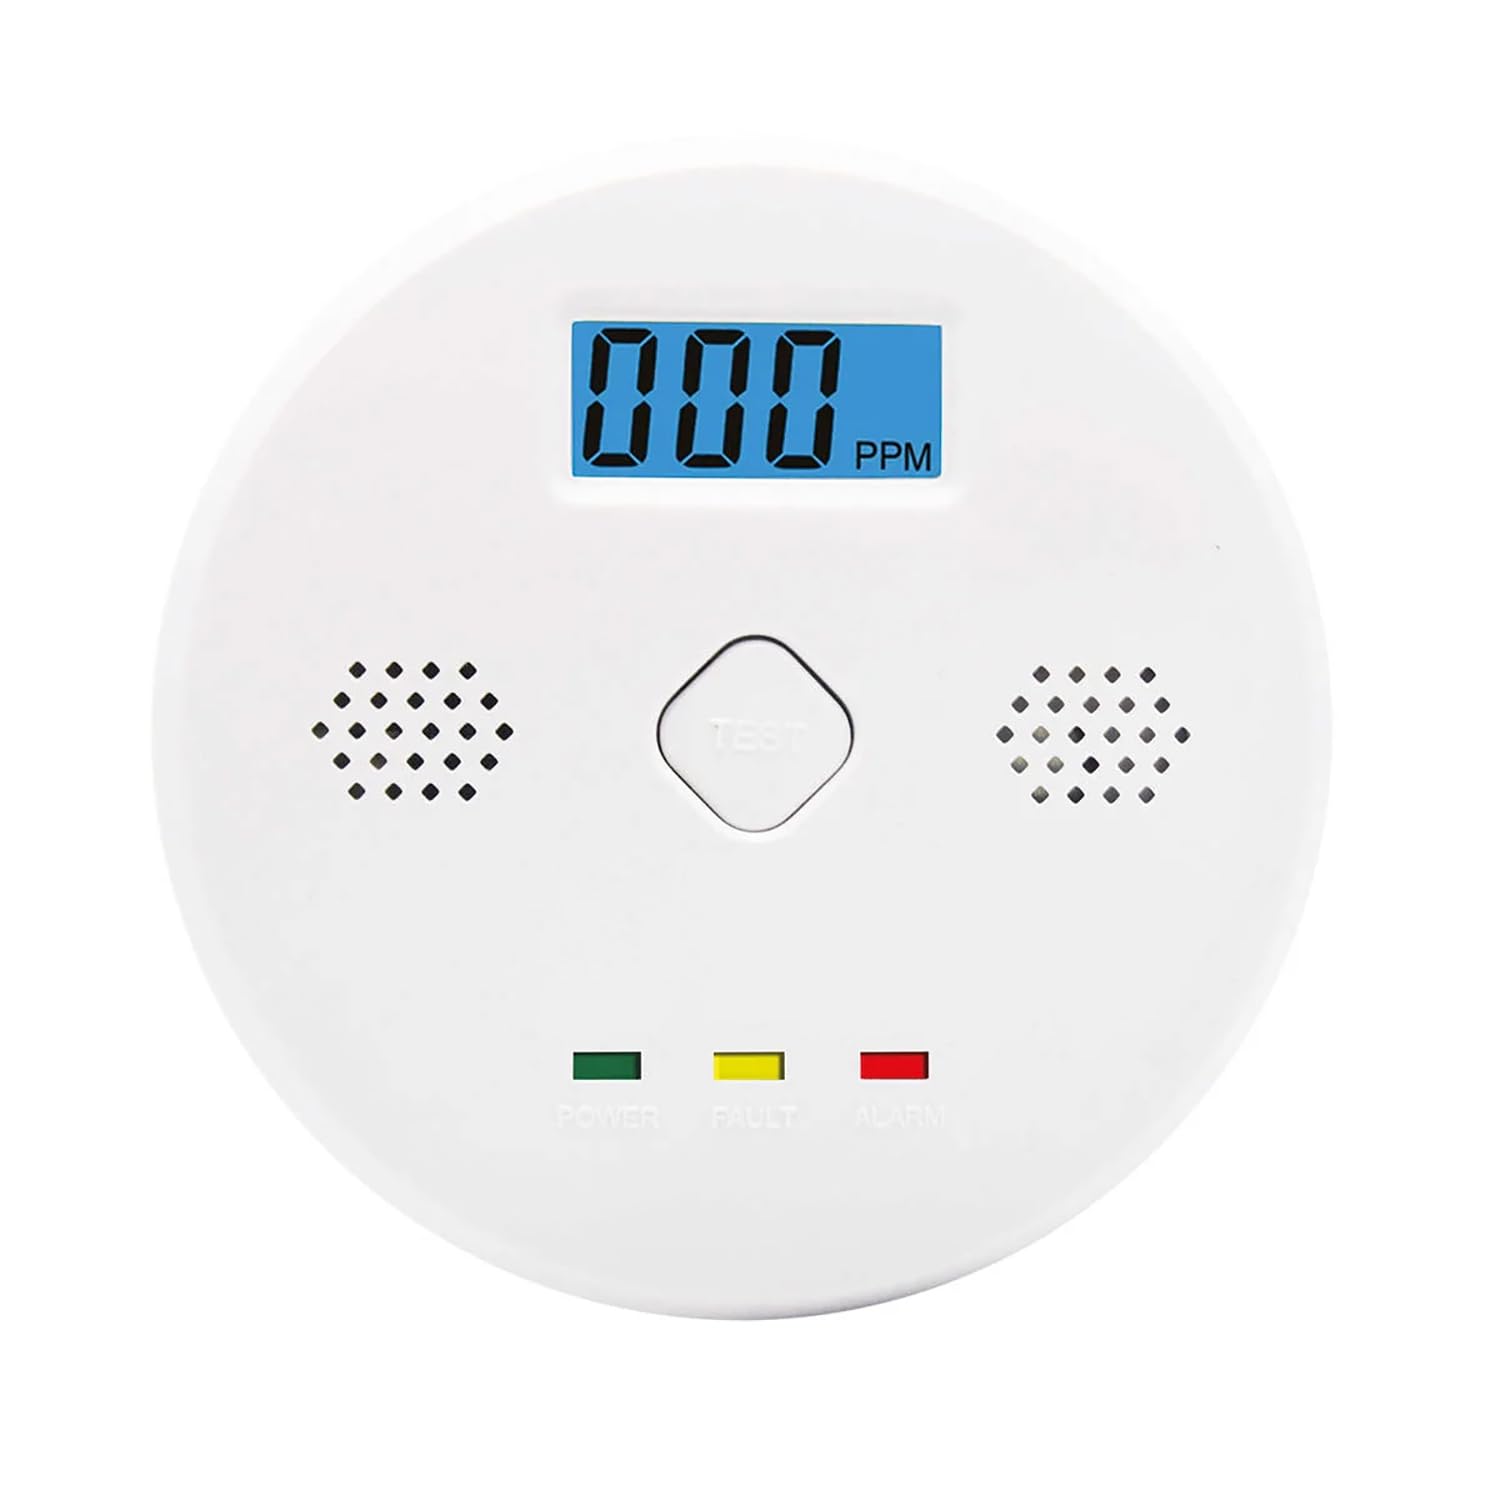
1. irudia: Aurrealdea view of the GBC iSnatch Carbon Monoxide Detector. It features a central digital display showing PPM (parts per million) of CO, a 'TEST' button, and three indicator lights at the bottom: 'POWER' (green), 'FAULT' (yellow), and 'ALARM' (red). Speaker grilles are visible on both sides of the display.
- LCD pantaila: Shows real-time CO concentration in PPM (Parts Per Million).
- Proba botoia: Used to verify the sensor and alarm functionality.
- Energia-adierazlea (LED berdea): Illuminates when the device is powered on and functioning correctly.
- Fault Indicator (Yellow LED): Illuminates to indicate a fault or low battery condition.
- Alarma adierazlea (LED gorria): Flashes when a CO alarm condition is detected.
- 85 dB Siren: Emits a loud audible alarm during a CO event.
5. Konfigurazioa eta instalazioa
5.1 Bateriaren instalazioa
The detector operates on 1 x 9V battery (not included). Ensure the battery is installed correctly before use.
- Locate the battery compartment cover on the back of the detector.
- Ireki bateriaren konpartimendua.
- Insert one 9V battery, observing the correct polarity (+/-).
- Itxi bateriaren konpartimenduaren estalkia ondo.
- Upon successful battery installation, the detector will perform a self-test, and the green POWER LED should illuminate.
5.2 Instalazio-kokapen bat aukeratzea
For optimal performance and safety, consider the following when choosing a location:
- Install at least one CO detector on each level of your home, especially near sleeping areas.
- Place the detector at a height where it can be easily seen and heard, typically at eye level or higher.
- Avoid installing near fuel-burning appliances (furnaces, water heaters, stoves) to prevent nuisance alarms from normal operation.
- Do not install in direct sunlight, near windows or doors, or in areas with strong drafts, as this can affect sensor accuracy.
- Maintain a distance of at least 1.5 meters (5 feet) from any cooking or heating appliance.
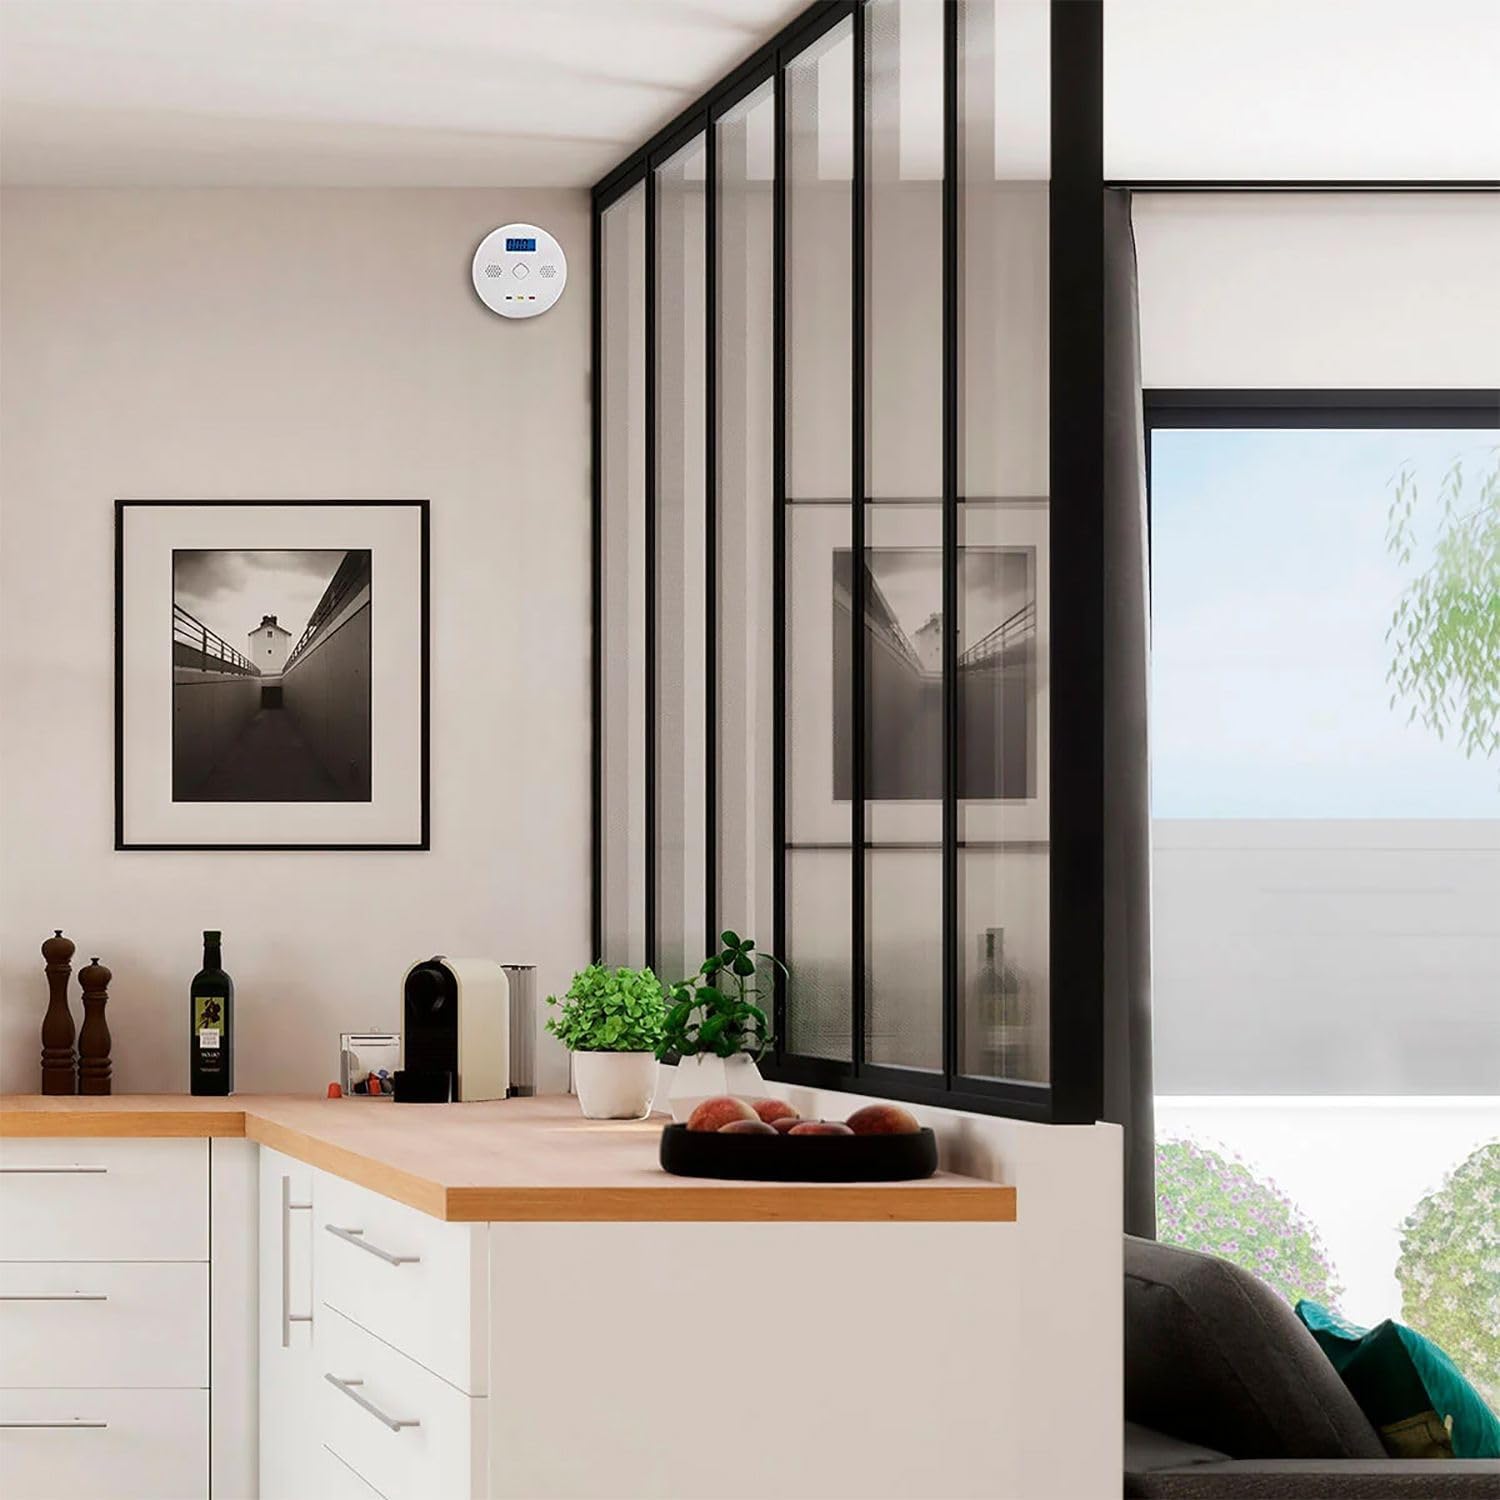
2. irudia: Example installation of the CO detector on a wall in a kitchen area, demonstrating a suitable mounting height.
5.3 Detektagailua muntatzea
Once you have selected an appropriate location:
- Markatu nahi duzun muntaketa-posizioa horman.
- Egin bi zulo markatutako posizioetan.
- Insert wall plugs (if necessary) into the drilled holes.
- Screw the mounting screws into the wall, leaving a small gap for the detector to hang.
- Align the mounting slots on the back of the detector with the screws and slide the detector down to secure it.
- Ensure the detector is firmly attached to the wall.
6. Funtzionamendu-argibideak
6.1 Piztu
After battery installation, the detector will automatically power on. The green POWER LED will light up, and the LCD display will show "0 PPM" or cycle through a brief startup sequence.
6.2 Eragiketa normala
During normal operation, the green POWER LED will remain steadily lit, and the LCD display will show "0 PPM" if no CO is detected, or the current CO concentration if present.
6.3 Proba-funtzioa
It is recommended to test the detector weekly to ensure proper functionality.
- Press and hold the "TEST" button located on the front of the detector.
- The detector will emit a series of loud beeps (85 dB siren), and the red ALARM LED will flash. The LCD display may show a test value.
- Release the button. The detector should return to normal operation.
- If the detector does not respond as described, refer to the Troubleshooting section.
7. Alarm Conditions and Actions
The detector is designed to alarm at specific CO concentrations and durations as per EN50291-1:
- 50 PPM: Alarm within 60-90 minutes.
- 100 PPM: Alarm within 10-40 minutes.
- 300 PPM: Alarm within 3 minutes.
When a CO alarm occurs:
- The 85 dB siren will sound repeatedly.
- The red ALARM LED will flash rapidly.
- The LCD display will show the detected CO concentration in PPM.
What to do if the alarm sounds:
- Berehala ebakuatu: Atera denak, maskotak barne, kanpoko aire freskora.
- Ez berriro sartu: Ez sartu berriro lokalera CO iturria identifikatu eta zuzendu arte, eta eremua ondo aireztatu arte.
- Call Emergency Services: Contact your local emergency services or fire department.
- Iturria identifikatu: After the area is safe, have a qualified technician inspect all fuel-burning appliances and chimneys for proper operation and ventilation.
8. Mantentzea
8.1 Ohiko probak
Test the detector weekly by pressing the "TEST" button as described in Section 6.3.
8.2 Bateria ordezkatzea
The detector will indicate a low battery condition by flashing the yellow FAULT LED and possibly emitting a chirp sound. Replace the 9V battery immediately when this occurs. Refer to Section 5.1 for battery installation instructions.
8.3 Garbiketa
Clean the detector regularly to prevent dust buildup from affecting its performance.
- Erabili biguna, damp zapi bat detektagailuaren kanpoaldea garbitzeko.
- Do not use cleaning agents, solvents, or abrasive materials.
- Do not spray air fresheners, hairspray, or other aerosols near the detector.
- Gently vacuum around the sensor openings to remove dust.
9. Arazoak
| Arazoa | Kausa posiblea | Irtenbidea |
|---|---|---|
| Detektagailua ez da pizten. | No battery or incorrect battery installation. | Install a fresh 9V battery, ensuring correct polarity. |
| Yellow FAULT LED flashes / Chirping sound. | Bateria baxua. | Ordeztu 9V-ko bateria berehala. |
| Alarma jotzen du CO iturri ikusgairik gabe. | False alarm due to interference or sensor issue. | Ventilate the area. If alarm persists, evacuate and contact emergency services. Ensure detector is not near sources of fumes or high humidity. |
| Test button does not activate alarm. | Faulty sensor or internal malfunction. | Ensure battery is fresh. If problem persists, the unit may need replacement. |
10. Zehaztapenak
| Modelo zenbakia | 64051105 |
| Marka | GBC |
| Sentsore mota | Karbono monoxido elektrokimikoa |
| Energia iturria | 1 x 9V bateria |
| Alarmaren bolumena | 85 dB metro 1ean |
| Alarm Thresholds (PPM) | 50 PPM (60-90 min), 100 PPM (10-40 min), 300 PPM (within 3 min) |
| Bistaratzea | LCD, real-time CO concentration |
| Produktuaren neurriak | 9.6 x 9.6 x 3.5 cm (3.78 x 3.78 x 1.38 hazbete) |
| Pisua | 200 g (0.44 lb) |
| Betetzea | EN50291-1 |
| Materiala | Plastikoa |
11. Bermea eta Laguntza
Bermeari buruzko informazioa edo laguntza teknikoa lortzeko, jo ezazu zure saltzaileak edo fabrikatzailearen hornitzaile ofizialak emandako harremanetarako datuetara. webgunea. Gorde erosketa-agiria erosketaren frogagiri gisa.
This product is designed for a specific lifespan. It is recommended to replace the CO detector after 7-10 years from the manufacturing date, or as indicated by the device's end-of-life signal, to ensure continued accuracy and reliability.

