1. Sarrera
Thank you for choosing the vidaxl Galvanized Outdoor Chicken Coop. This manual provides essential information for the safe assembly, operation, and maintenance of your new chicken coop. Please read these instructions carefully before beginning assembly and retain them for future reference.
This durable and spacious enclosure is designed to provide a secure and comfortable environment for your chickens, ducks, and other small animals. Constructed with a galvanized steel frame and a waterproof, UV-resistant polyethylene roof, it offers protection against various weather conditions.
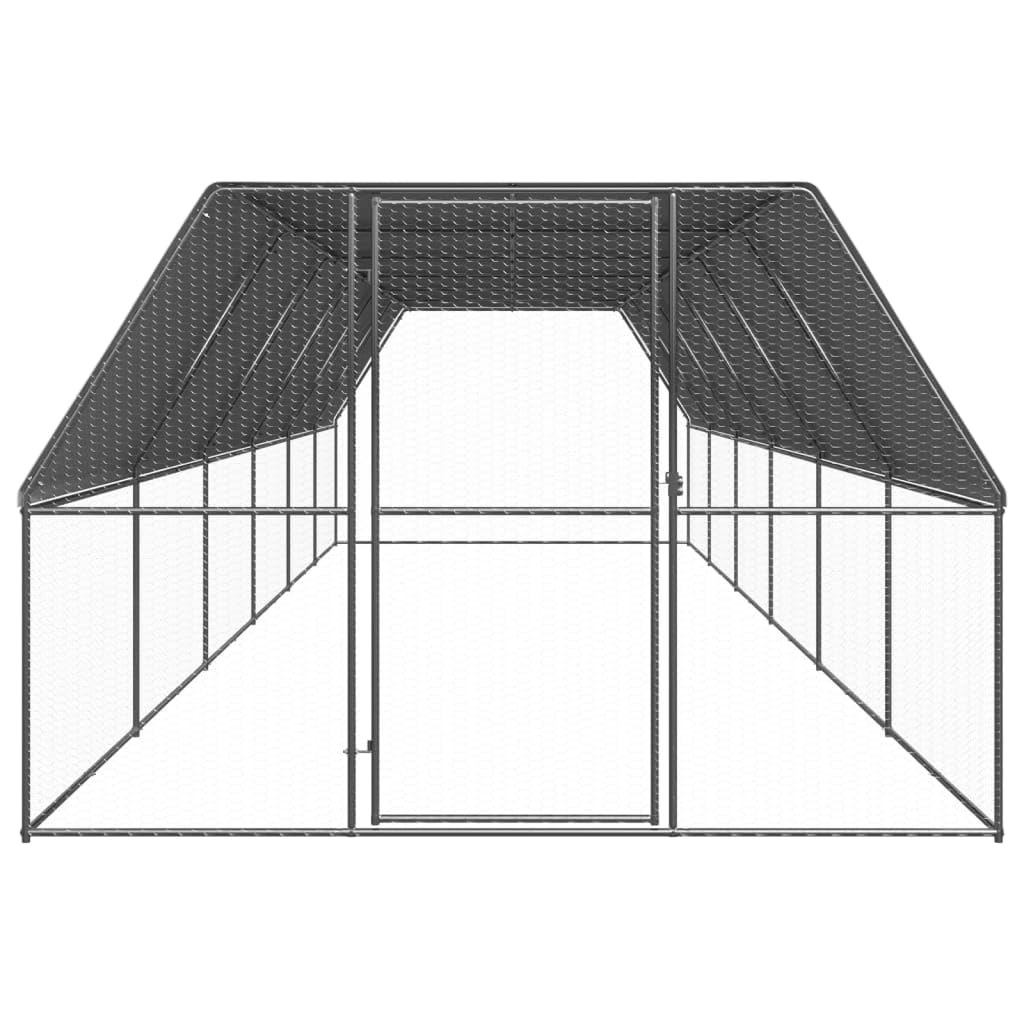
1.1. irudia: Amaituview of the vidaxl Galvanized Outdoor Chicken Coop. This image shows the complete structure of the coop, featuring the galvanized steel frame, wire mesh walls, and the grey polyethylene roof. A single door is visible at one end.
2. Segurtasun informazioa
- Irakurri argibide guztiak: Aurrera jarraitu aurretik, ziurtatu muntaketa-urrats eta segurtasun-abisu guztiak ulertzen dituzula.
- Helduen batzarra behar da: This product should be assembled by adults only.
- Jantzi babes-tresna: During assembly, wear gloves to protect hands from sharp edges and safety glasses to protect eyes.
- Egiaztatu kalterik dagoen: Inspect all components for damage before assembly. Do not use if any parts are damaged.
- Instalazio segurua: Ensure the coop is assembled on a level, stable surface and securely anchored to prevent tipping, especially in windy conditions.
- Animal safety: Regularly inspect the coop for any sharp edges, loose wires, or gaps that could harm animals or allow escape.
- Aireztapena: Ensure adequate ventilation within the coop to maintain a healthy environment for your animals.
- Haurrak eta maskotak: Mantendu haurrak eta maskotak muntaketa-eremutik urrun, lesioak saihesteko.
3. Paketearen edukia
Before assembly, verify that all components are present and undamaged. If any parts are missing or damaged, do not proceed with assembly and contact customer support.
- Galvanized steel frame tubes (various lengths and shapes)
- Wire mesh panels or rolls
- Polyethylene roof cover
- Door assembly (frame, mesh, latch)
- Connectors, bolts, nuts, and washers
- Ground stakes or anchors (if included)
- Assembly tools (e.g., wrench, hex key - may not be included)
4. Konfigurazioa eta Muntaketa
Assembly typically requires two adults. Follow the numbered steps below. Refer to the included diagrams for visual guidance.
- Prestatu gunea: Choose a level, well-drained area for the coop. Clear any debris or obstacles.
- Oinarrizko markoa muntatu: Connect the longest galvanized steel tubes to form the rectangular base of the coop using the provided connectors and fasteners. Ensure all connections are secure.
- Erect the side and roof frames: Attach the vertical and angled frame tubes to the base, gradually building up the side walls and roof structure. Pay attention to the orientation of each piece.
- Install the wire mesh: Securely attach the wire mesh panels or roll to the assembled frame. Use wire ties or clips as directed to ensure there are no gaps. Ensure the mesh is taut.
- Assemble and install the door: Construct the door frame and attach the mesh. Install the door into the designated opening, ensuring it swings freely and the latch operates correctly.
- Attach the roof cover: Drape the polyethylene roof cover over the roof frame. Secure it firmly using the provided fasteners or ties, ensuring it is taut and covers the entire roof area to prevent water ingress.
- Anchor the coop: Use ground stakes or other anchoring methods to secure the coop to the ground, preventing movement or tipping in adverse weather.

Image 4.1: Detail of the galvanized steel frame connection. This image highlights the robust connection points of the frame tubes, showing how they fit together and are secured, indicating the stable structure.

Image 4.2: Detail of the door latch mechanism. This image provides a closer look at the door's locking mechanism, demonstrating how the door can be securely closed to keep animals safe inside.
5. Funtzionamendu-argibideak
- Animal placement: Once fully assembled and secured, introduce your animals to the coop. Ensure they have access to food, water, and appropriate shelter within the enclosure.
- Door usage: Use the lockable door for entry and exit. Always ensure the door is securely latched when animals are inside to prevent escape and protect them from predators.
- Ingurumenari buruzko kontuak: While the roof is waterproof and UV-resistant, consider additional shading or windbreaks depending on your local climate to ensure animal comfort.
6. Mantentzea
- Ohiko ikuskapena: Periodically check all frame connections, wire mesh, and the roof cover for any signs of wear, damage, or loosening. Tighten any loose fasteners.
- Garbiketa: Clean the coop regularly to maintain hygiene for your animals. The galvanized surfaces can be wiped down with a damp cloth. The polyethylene roof can be rinsed.
- Roof integrity: Ensure the roof remains taut and free of tears to maintain its waterproof and UV-resistant properties. Repair any small tears promptly with appropriate materials.
- Ground anchors: Verify that ground anchors remain firmly in place, especially after heavy winds or rain.
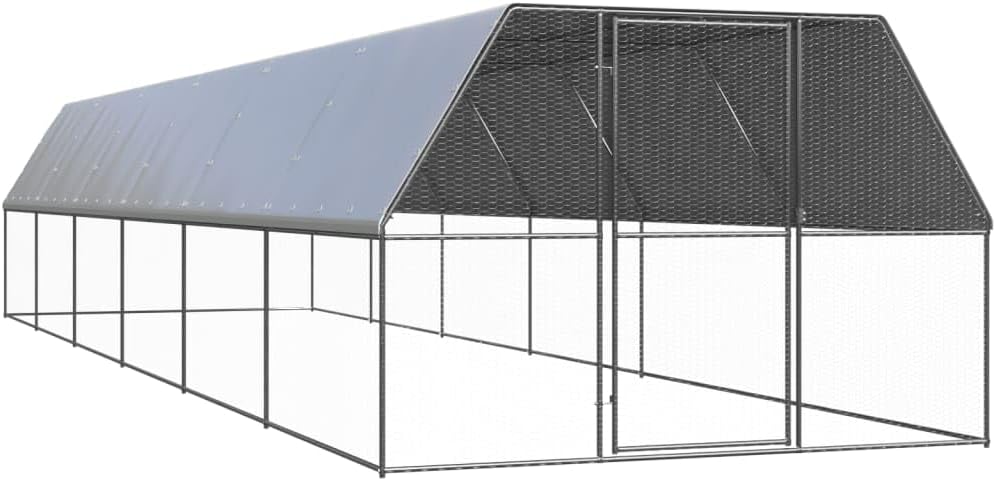
6.1 irudia: Goitik behera view of the chicken coop roof. This image illustrates the full extent of the polyethylene roof cover, emphasizing its waterproof and UV-resistant design for animal protection.
7. Arazoak
| Arazoa | Kausa posiblea | Irtenbidea |
|---|---|---|
| Coop feels unstable | Loose fasteners; uneven ground; insufficient anchoring. | Tighten all bolts and connections. Relocate to a level surface. Ensure ground anchors are fully engaged. |
| Ura teilatuan pilatzen | Roof cover not taut; improper installation. | Re-tension the roof cover to ensure proper drainage. Check for correct frame assembly. |
| Atea ez da behar bezala ixten | Misaligned frame; bent door component; obstructed latch. | Check door frame alignment. Straighten any bent parts. Clear any obstructions from the latch mechanism. |
| Wire mesh is loose or gapped | Insufficient attachment; damage to mesh. | Add more wire ties or clips to secure the mesh. Repair or replace damaged sections of mesh. |
8. Zehaztapenak
- Eredua: Wenjingqi-3154380
- Marka: vidaxl
- Materiala: Galvanized steel frame, Polyethylene (PE) roof
- Kolorea: Silver and silver-grey
- Neurri orokorrak (W x D x H): 3 x 12 x 2 meters (approximately 118.1 x 472.4 x 78.7 inches)
- Atearen neurriak (Z x A): Approximately 91 cm x 186 cm (35.8 x 73.2 inches)
- Roof Features: Waterproof, UV-resistant
- Atearen Ezaugarriak: Blokeagarria

Image 8.1: Dimensional diagram of the chicken coop. This diagram provides key measurements of the coop, including its overall width, depth, height, and specific door dimensions, aiding in planning and assembly.
9. Bermea eta Laguntza
For warranty information, product support, or to order replacement parts, please refer to the documentation included with your purchase or visit the official vidaxl website. Ensure you have your model number (Wenjingqi-3154380) and purchase details available when contacting support.
Fabrikatzailea: vidaxl
ASIN: B0DPN5MRPS