Sarrera
Thank you for choosing the Giantex 3-Drawer Dresser, Model JV12277CH. This multipurpose storage cabinet is designed to enhance your living space with its mid-century modern aesthetic and practical storage solutions. This manual provides essential information for safe assembly, proper operation, and effective maintenance to ensure the longevity and optimal performance of your dresser.
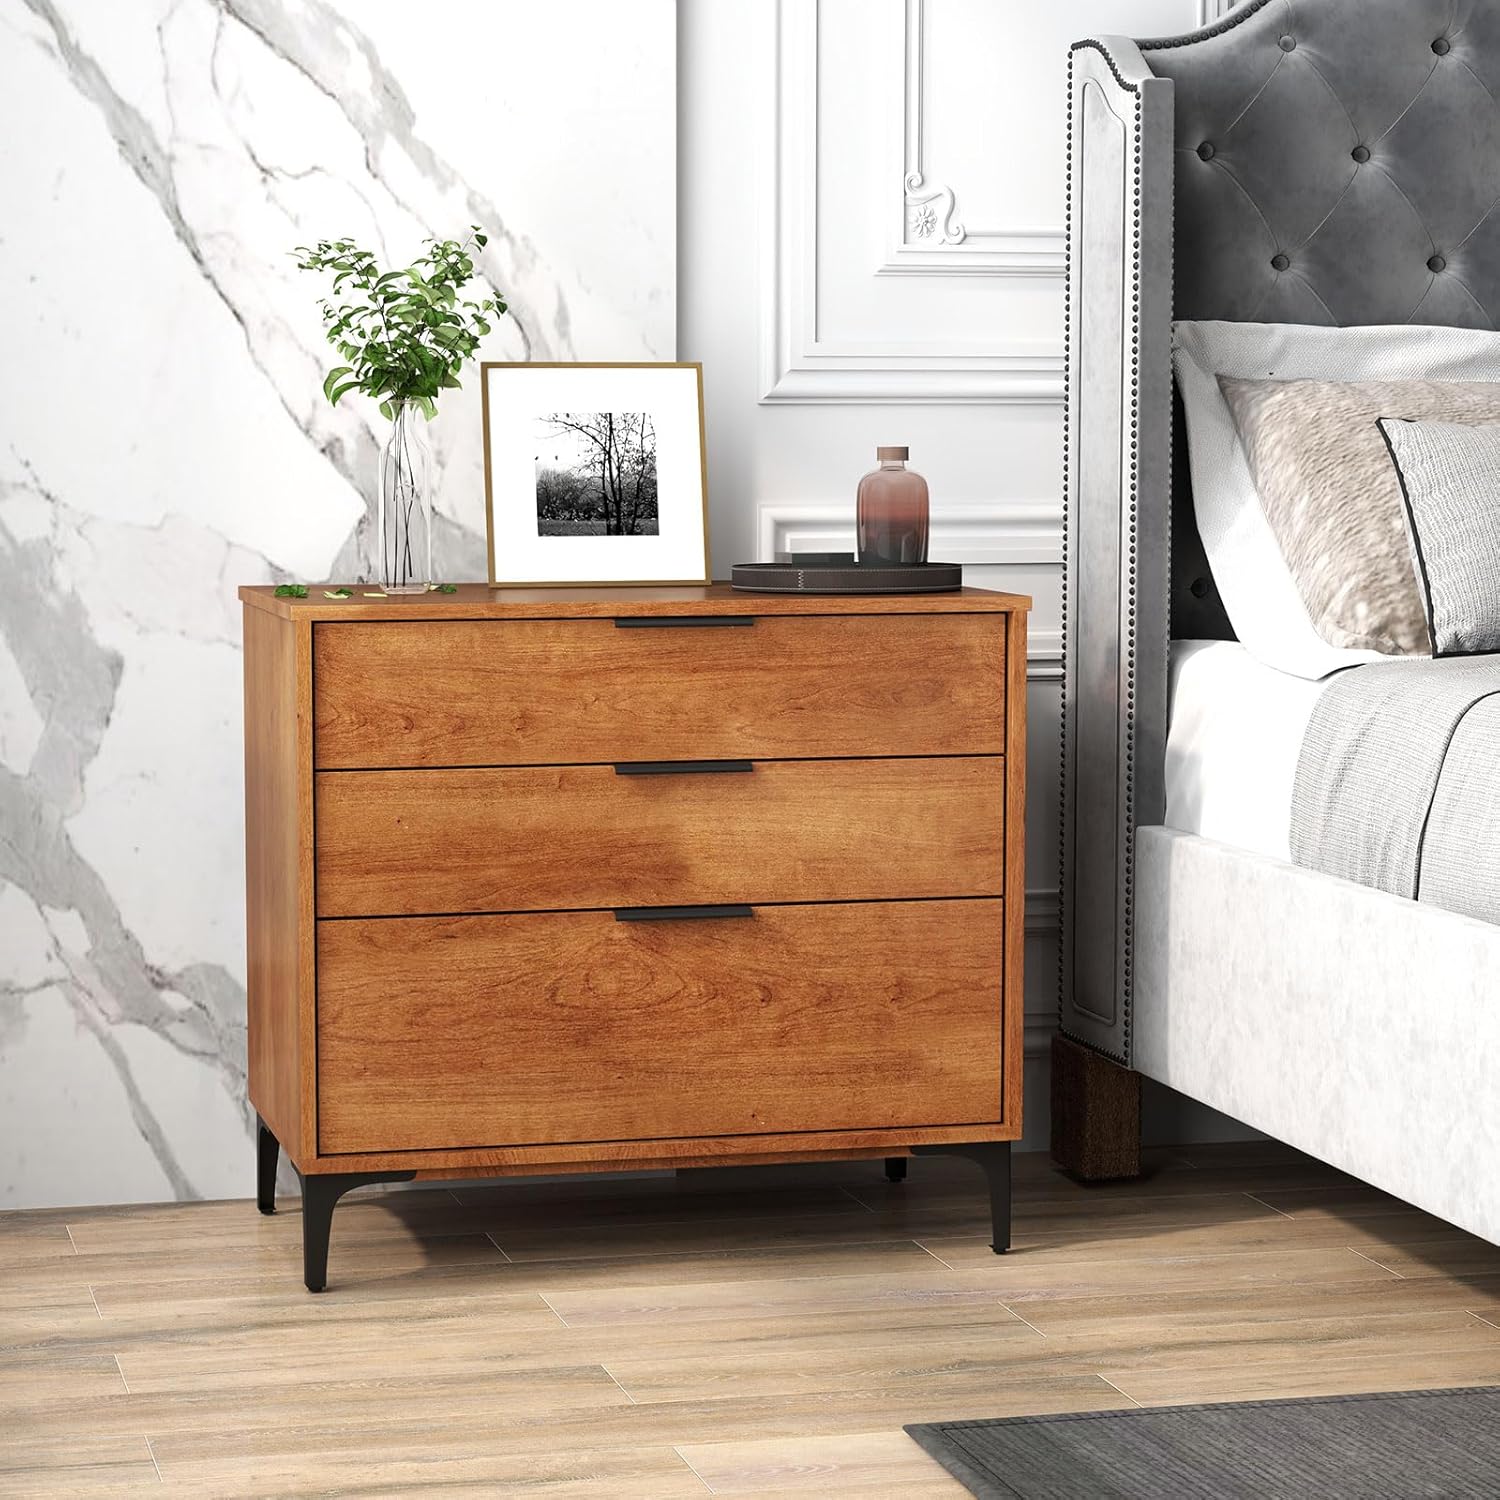
Image: The Giantex 3-Drawer Dresser, showcasing its cherry finish and three spacious drawers, positioned next to a bed.
Segurtasun Informazioa
Your safety is paramount. Please read and follow all safety instructions carefully.
Anti-Tipping Kit Installation
To prevent accidental tipping and ensure stability, it is crucial to install the included anti-tipping kit. This device securely fastens the dresser to a wall, significantly reducing the risk of injury, especially in households with children or pets.
- Identify Wall Mounting Location: Choose a sturdy wall surface behind the dresser.
- Attach Bracket to Dresser: Secure one bracket of the anti-tipping kit to the top rear edge of the dresser using the provided screws.
- Mark Wall Position: Position the dresser against the wall and mark the corresponding spot on the wall for the second bracket.
- Attach Bracket to Wall: Drill a pilot hole if necessary and secure the second bracket to the wall using appropriate hardware (wall anchors may be required depending on wall material).
- Connect Brackets: Use the strap or cable to connect the dresser bracket to the wall bracket, ensuring it is taut.
Warning: Failure to install the anti-tipping kit can result in serious injury or death.
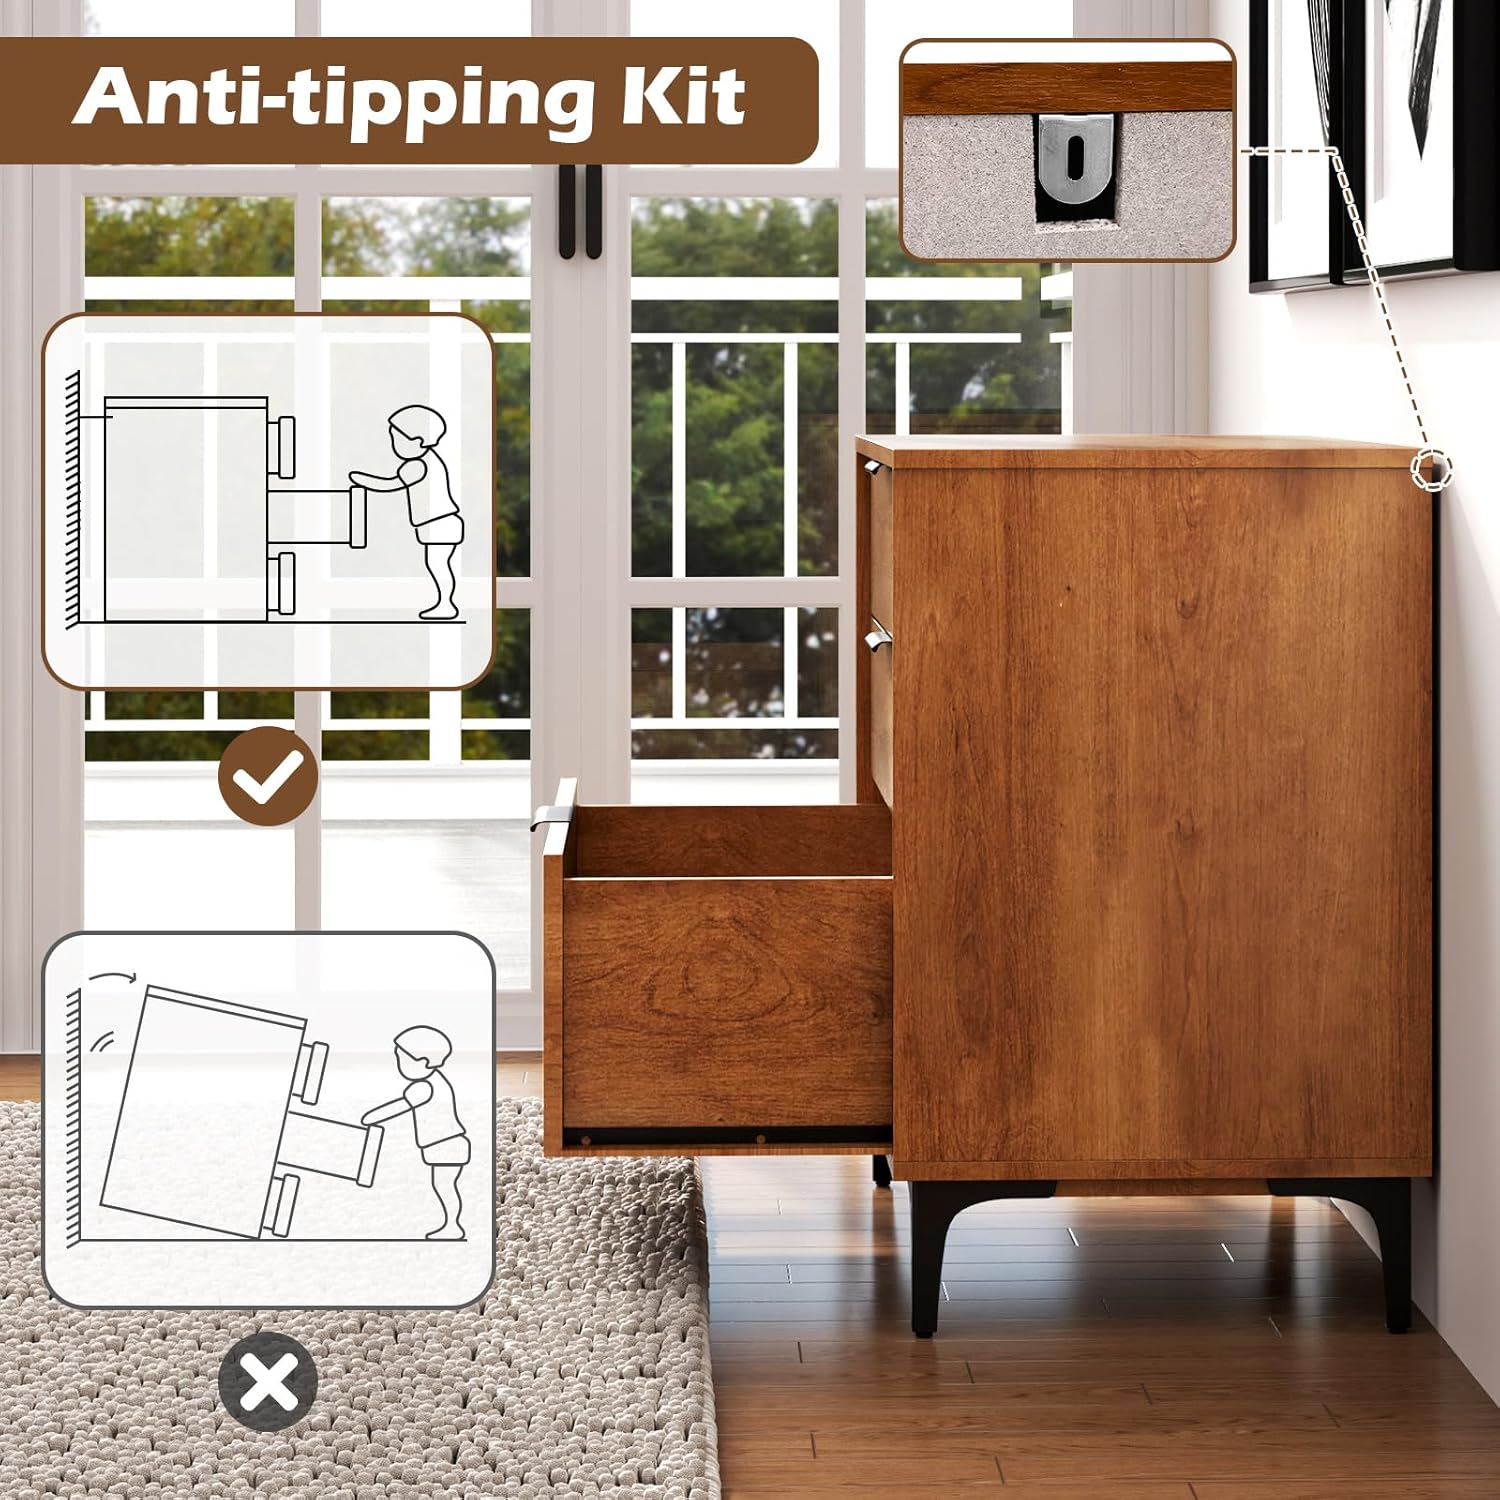
Image: A diagram showing the correct installation of the anti-tipping kit, securing the dresser to the wall.
Paketearen edukia
Before beginning assembly, please ensure all parts and hardware are present and undamaged. Refer to the packing list provided in your product box. If any components are missing or damaged, please contact customer support immediately.
Muntaketa eta konfigurazio argibideak
Assembly of the Giantex 3-Drawer Dresser is required. It is recommended to assemble the dresser on a soft, clean surface to prevent scratches. Two people are recommended for assembly.
Batzar Nagusiaren urratsak:
- Deskonprimitu osagaiak: Kontu handiz atera pieza guztiak paketetik eta jarri itzazu.
- Atalak identifikatzea: Match each component to the parts list in your assembly guide.
- Muntatu markoa: Follow the step-by-step instructions to construct the main frame of the dresser.
- Instalatu tiradera-irristailuak: Attach the metal drawer slides to the dresser frame and the drawer boxes.
- Tiraderak muntatu: Construct the three drawer boxes and attach the sleek metal handles.
- Hankak erantsi: Secure the solid metal legs to the base of the dresser. Ensure the adjustable foot pads are correctly oriented.
- Txertatu tiraderak: Kontu handiz sartu muntatutako tiraderak dagokien zirrikituetan.
- Iraulketaren aurkako kita instalatzea: Refer to the Safety Information section for critical anti-tipping kit installation.
Tools required for assembly typically include a screwdriver (Phillips head) and possibly a hammer. Specific tool requirements will be detailed in the included assembly manual.

Image: A detailed diagram illustrating the overall dimensions (16"D x 30"W x 27"H) and internal drawer dimensions of the dresser.
Funtzionamendu-argibideak
Tiraderaren erabilera
The dresser features three spacious drawers equipped with smooth metal slides for effortless opening and closing. To operate, gently pull the sleek metal handles to open and push to close. Avoid forcing drawers, especially if they feel stiff, and ensure they are properly aligned on their tracks.

Image: The dresser with one drawer partially open, demonstrating its amphainbat elementurentzako biltegiratze-ahalmena.
Adjustable and Removable Legs
The dresser is designed with solid metal legs featuring adjustable foot pads. These pads allow for minor height adjustments to ensure stability on uneven floors. The metal feet are also detachable, offering flexibility in placement and height configuration to suit diverse needs.

Irudia: Gertutik view highlighting the removable metal support legs and the non-slip foot pads, demonstrating their adjustability.
Mantentzea
Proper care will help maintain the appearance and functionality of your Giantex dresser.
Garbiketa
The dresser features an easy-to-clean surface. For general cleaning, wipe with a soft, damp cloth. Avoid using harsh chemicals, abrasive cleaners, or excessive moisture, as these can damage the finish. For stubborn marks, a mild soap solution can be used, followed by drying with a clean, soft cloth.
Zaintza Orokorra
- Aldian-aldian egiaztatu eta estutu torloju eta lotura guztiak egituraren osotasuna bermatzeko.
- Saihestu elementu beroak zuzenean gainazalean jartzea; erabili edalontzi-euskarriak edo babes-oihalak.
- Keep the dresser away from direct sunlight and extreme temperature changes to prevent warping or fading.
- Do not overload drawers, as this can strain the slides and affect their smooth operation.
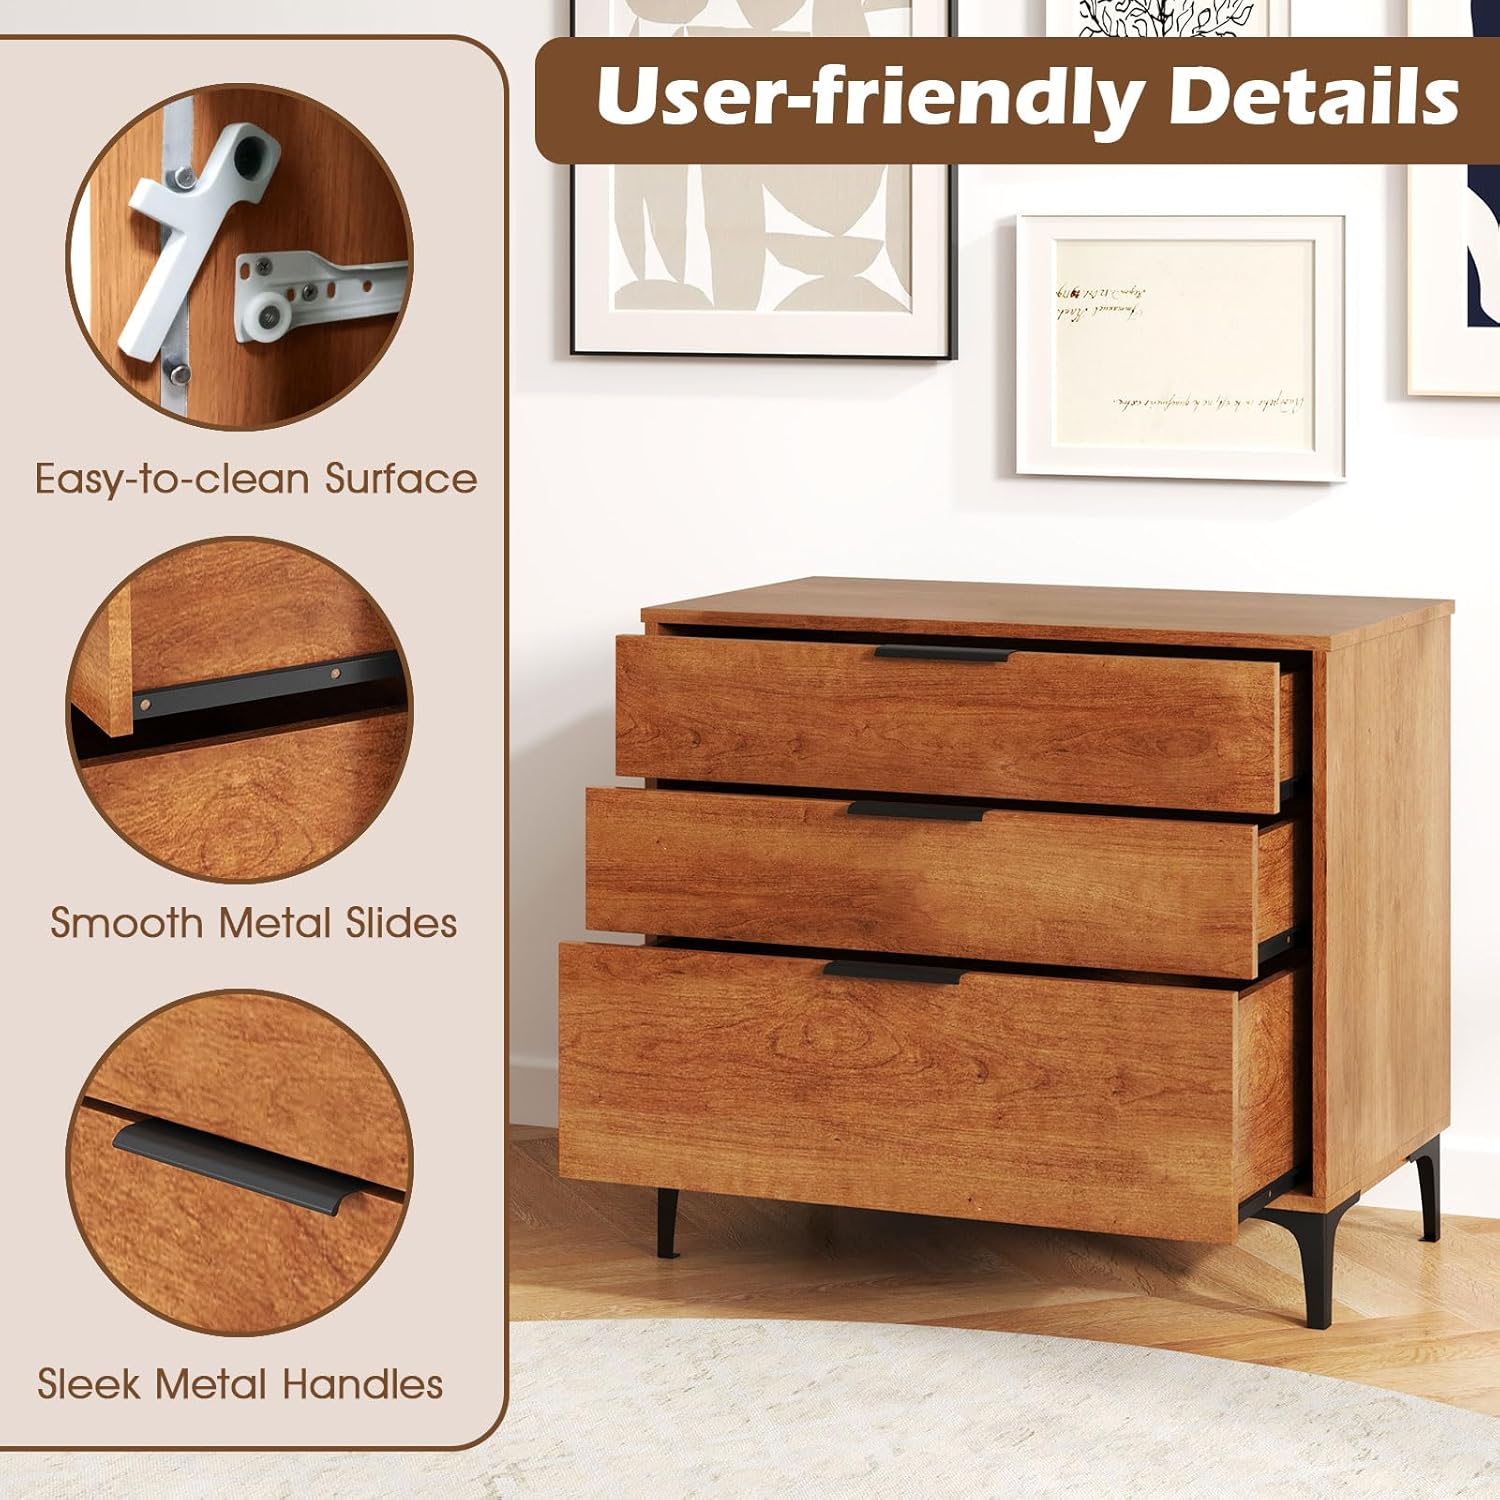
Image: A visual representation of the dresser's user-friendly details, including its easy-to-clean surface, smooth metal drawer slides, and sleek metal handles.
Arazoak konpontzea
Zure komoda-armairuarekin arazorik baduzu, kontuan hartu ohiko irtenbide hauek:
- Komoda dardartia: Ensure the dresser is on a level surface. Adjust the foot pads on the metal legs to stabilize the unit. Check that all assembly screws are securely tightened.
- Tiraderak itsastea: Verify that the drawer slides are properly aligned and free of obstructions. Ensure the drawers are not overloaded. Lubrication of the slides with a silicone-based spray can sometimes improve smoothness.
- Loose Handles: Tighten the screws securing the metal handles from the inside of the drawer.
- Kaltetutako piezak: Muntaketa edo erabilera bitartean piezaren bat kaltetzen bada, ez saiatu behartzen. Jarri harremanetan bezeroarentzako arreta-zerbitzuarekin ordezko piezak lortzeko.
Zehaztapenak
| Ezaugarri | Xehetasuna |
|---|---|
| Marka | Giantex |
| Ereduaren izena | JV12277CH |
| Produktuaren neurriak | 16" L x 30" W x 27" H |
| Kolorea | Gerezi |
| Materiala | Ingeniaritza Egurra, Metala |
| Akabera mota | Powder Coated (for metal parts) |
| Tiradera kopurua | 3 |
| Elementuaren pisua | 114 kilo |
| Muntaia Beharrezkoa | Bai |
Bermearen informazioa
This Giantex dresser is covered by a manufacturer's warranty. Please refer to the warranty card included with your product or visit the official Giantex website for detailed information regarding warranty terms, conditions, and duration. Keep your proof of purchase for warranty claims.
Bezeroarentzako Arreta
For any questions, concerns, or assistance with your Giantex 3-Drawer Dresser, please contact Giantex customer support. You can typically find contact information (phone number, email, or support portal) on the manufacturer's webwebgunean edo erosketarekin batera emandako dokumentazioan.
When contacting support, please have your model number (JV12277CH) and proof of purchase readily available to expedite assistance.


