
Sarrera
Welcome to the ULTRICS Digital Multimeter D2 user manual. This device is designed for precise and reliable electrical measurements, suitable for professionals and DIY enthusiasts. It accurately measures AC/DC voltage, DC current, resistance, continuity, and diodes. This manual provides essential information for safe and effective operation, helping you to maximize the utility of your new multimeter.
Segurtasun Informazioa
OHARRA: Always exercise extreme caution when working with electrical circuits. Improper use of this multimeter can result in electric shock, personal injury, or damage to the device.
- Ez gainditu gehienezko sarrera-balioak inolako tartetarako.
- Do not use the multimeter if it or the test leads appear damaged. Inspect them before each use.
- Ensure the function switch is in the correct position before making measurements. Changing ranges while connected to a live circuit can cause damage.
- Disconnect power to the circuit before measuring resistance, continuity, or diodes.
- Kontuz ibili voltag30V AC RMS, 42V peak edo 60V DC-tik gorakoak. Bolumen hauektages pose a significant shock hazard.
- Always connect the common (COM) test lead first, then the live lead. Disconnect the live lead first, then the common lead.
- Replace the battery when the low battery indicator appears to ensure accurate readings and proper device function.
This multimeter is rated CAT II 600V, indicating its suitability for measurements on circuits directly connected to the low-voltage instalazioa.
Paketearen edukia
Egiaztatu elementu guztiak paketean daudela:
- 1 x ULTRICS Digital Multimeter D2
- 2 x Proba-kableak (gorria eta beltza)
- 1 x 9V bateria
- 1 x Erabiltzailearen eskuliburua (dokumentu hau)
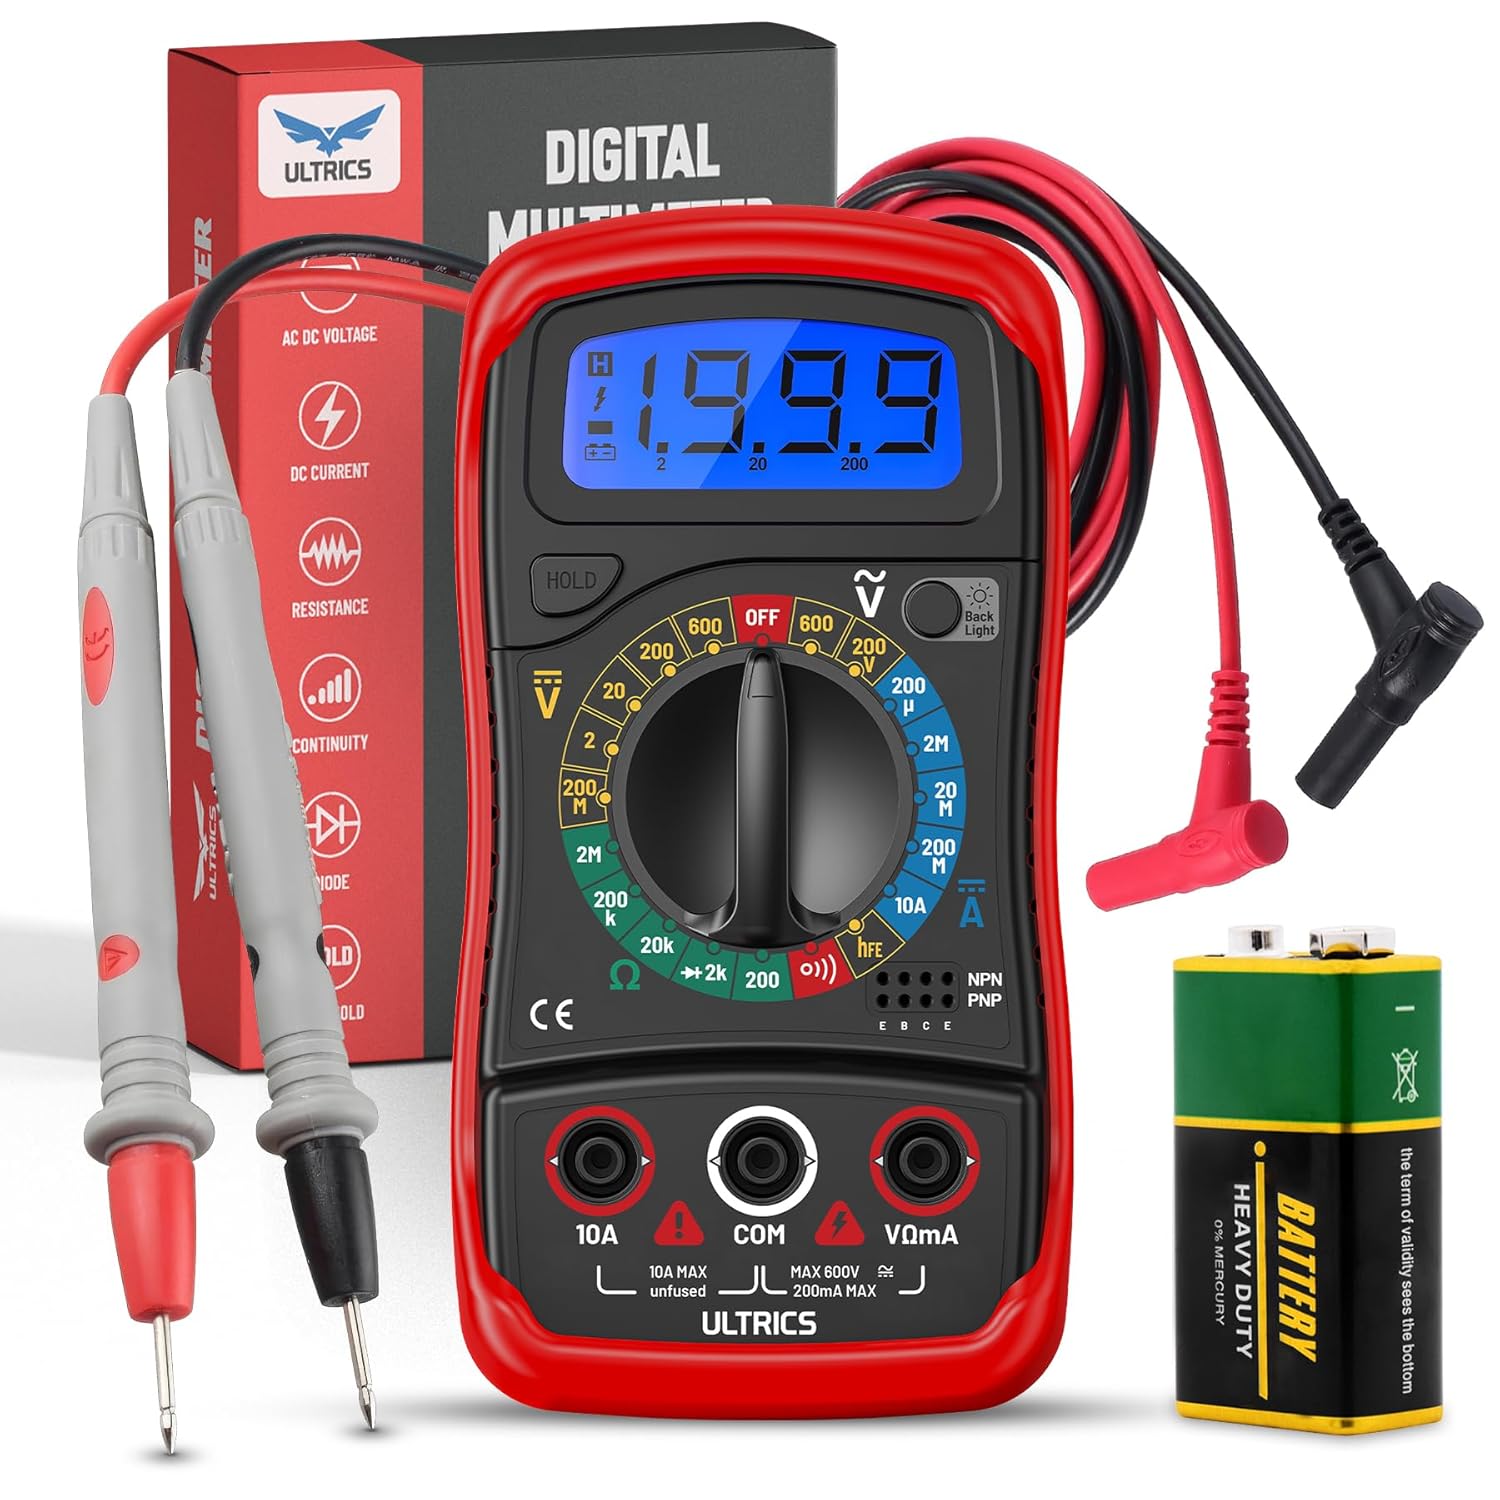
Image: Contents of the ULTRICS Digital Multimeter D2 package, including the multimeter, red and black test leads, and a 9V battery.
Produktua amaituview
Familiarize yourself with the components of your ULTRICS Digital Multimeter D2.

Image: Detailed diagram of the ULTRICS Digital Multimeter D2, highlighting its key components such as the LCD display, data hold button, backlight button, function switch, test lead jacks, and protective rubber shell.
- LCD pantaila: Shows measurement readings, units, and polarity. Features a bright backlight for low-light conditions.
- Datuak atxikitzeko botoia: Freezes the current reading on the display for easier recording.
- Atzeko argiaren botoia: Pantailaren atzeko argia aktibatzen edo desaktibatzen du.
- Function Switch (Rotary Dial): Nahi den neurketa-funtzioa eta -tartea hautatzen ditu.
- 10A-ko sarrera-jack-a: Used for measuring DC current up to 10 Amperes.
- COM (Common) Input Jack: The negative (-) input for all measurements. Always connect the black test lead here.
- VΩmA Input Jack: The positive (+) input for voltage, erresistentzia eta miliampere current measurements. Connect the red test lead here.
- Transistor Test Jacks (hFE): Used for testing NPN and PNP transistors.
- Protective Rubber Shell: Provides durability and protection against minor impacts and splashes.
- Kickstand tolesgarria: Allows for hands-free operation and easy viewangelua.
Konfigurazioa
Bateria instalatzea
The ULTRICS Digital Multimeter D2 requires one 9V battery (included).
- Kokatu bateriaren konpartimendua multimetroaren atzealdean.
- Erabili bihurkin bat bateriaren estalkia lotzen duen torlojua kentzeko.
- Kendu astiro-astiro bateriaren estalkia.
- Connect the 9V battery to the battery clips, ensuring correct polarity (+ to + and - to -).
- Place the battery inside the compartment.
- Jarri bateriaren estalkia eta lotu torlojuarekin.
Probako puntak konektatzen
Ziurtatu beti proba-kableak ondo konektatuta daudela neurketak egin aurretik.
- Insert the black test lead's banana plug into the COM (Arrunta) sarrera-jacka.
- Neurketa gehienetarako (bolumentage, resistance, continuity, diode, small current), insert the red test lead's banana plug into the VΩmA sarrerako jack.
- For high current measurements (up to 10A DC), insert the red test lead's banana plug into the 10A sarrerako jack.
Funtzionamendu-argibideak
This section details how to perform various measurements using your multimeter.
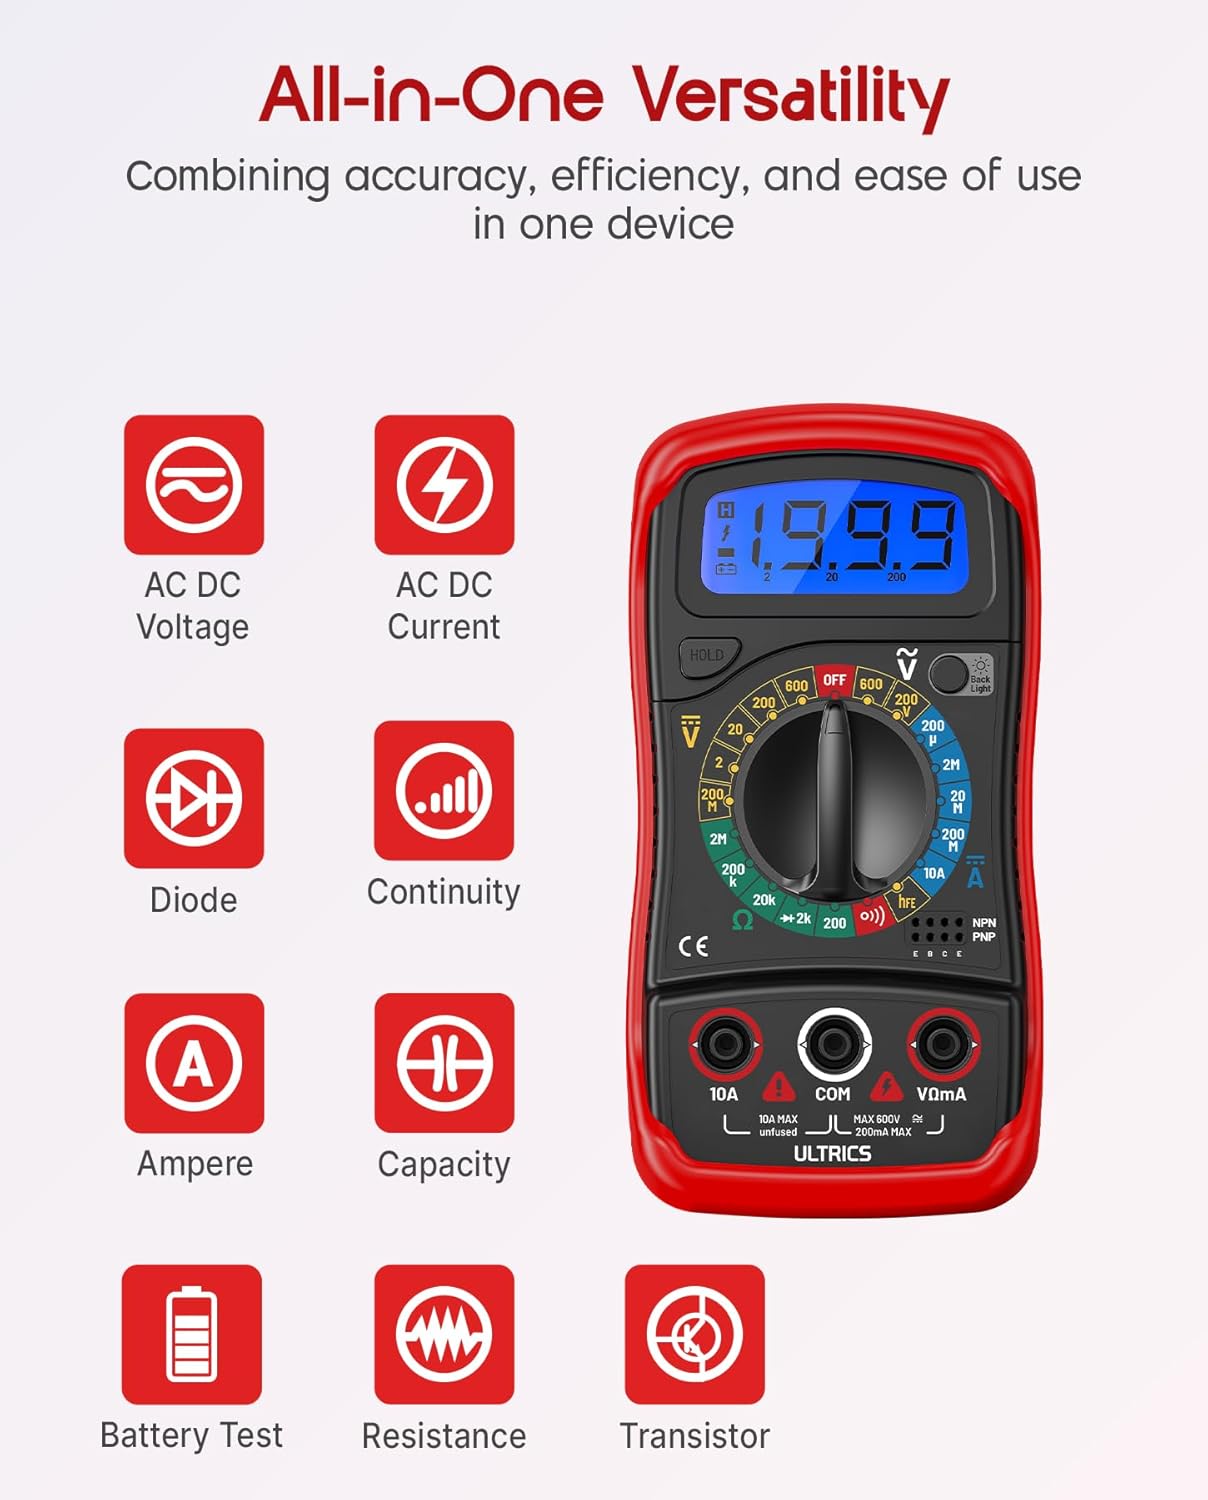
Image: Visual representation of the multimeter's versatile functions, including AC/DC Voltage, AC/DC Current, Diode, Continuity, Ampere, Capacity, Battery Test, Resistance, and Transistor measurements.
Neurketa DC Voltage (VDC)
- Konektatu probako kable beltzara COM jack-a eta proba-kable gorria VΩmA jack.
- Turn the function switch to the desired VDC range (e.g., 200mV, 2V, 20V, 200V, 600V). If unsure, start with the highest range and decrease as needed.
- Konektatu proba-kableak paraleloan neurtu beharreko osagai edo zirkuituan.
- Irakurri liburukiatage balioa LCD pantailan.
Neurketa AC Voltage (VAC)
- Konektatu probako kable beltzara COM jack-a eta proba-kable gorria VΩmA jack.
- Turn the function switch to the desired VAC range (e.g., 200V, 600V).
- Konektatu proba-kableak paraleloan AC bolumenaren artean.tage iturria.
- Irakurri liburukiatage balioa LCD pantailan.
Measuring DC Current (ADC)
KONTUZ: Never connect the multimeter in parallel when measuring current. Always connect it in series with the circuit. Improper connection can damage the multimeter or the circuit.
- Itzali zirkuituari.
- For currents up to 200mA, connect the black test lead to the COM jack-a eta proba-kable gorria VΩmA jack.
- For currents up to 10A, connect the black test lead to the COM jack-a eta proba-kable gorria 10A jack.
- Turn the function switch to the desired ADC range (e.g., 200µA, 2mA, 20mA, 200mA, 10A).
- Break the circuit and connect the multimeter in series with the circuit.
- Turn on power to the circuit.
- Irakurri uneko balioa LCD pantailan.
- Turn off power to the circuit multimetroa deskonektatu aurretik.
Measuring Resistance (Ω)
KONTUZ: Ensure the circuit is completely de-energized before measuring resistance. Measuring resistance on a live circuit can damage the multimeter.
- Konektatu probako kable beltzara COM jack-a eta proba-kable gorria VΩmA jack.
- Turn the function switch to the desired Ω range (e.g., 200Ω, 2kΩ, 20kΩ, 200kΩ, 2MΩ, 20MΩ).
- Konektatu proba-kableak neurtu nahi duzun erresistentzia osagaiaren artean.
- Irakurri erresistentziaren balioa LCD pantailan.
Jarraitasun proba
The continuity test checks for a complete circuit path. An audible buzzer will sound if continuity is detected.
- Konektatu probako kable beltzara COM jack-a eta proba-kable gorria VΩmA jack.
- Biratu funtzioaren etengailua Jarraitasuna (buzzer) position.
- Konektatu proba-kableak zirkuituan edo osagaian zehar.
- Erresistentzia 50Ω gutxi gorabehera baino txikiagoa bada, txisteak joko du jarraitutasuna adieraziz.
Diodo proba
Diodoaren probak aurrerako bolumena neurtzen dutagDiodo baten e jaitsiera.
- Konektatu probako kable beltzara COM jack-a eta proba-kable gorria VΩmA jack.
- Biratu funtzioaren etengailua Diodoa posizioa.
- Connect the red test lead to the anode (+) and the black test lead to the cathode (-) of the diode.
- Irakurri aurrerako liburukiatage drop on the LCD display. Reverse the leads; the display should show "OL" (Overload) for a good diode.
Transistore hFE proba
This function tests the DC current gain (hFE) of NPN and PNP transistors.
- Biratu funtzioaren etengailua hFE posizioa.
- Identify the Emitter (E), Base (B), and Collector (C) leads of the transistor.
- Insert the transistor leads into the corresponding holes in the hFE socket on the multimeter, ensuring correct NPN or PNP type.
- Irakurri hFE balioa LCD pantailan.
Datuak gordetzeko funtzioa
Sakatu EUTSI button to freeze the current reading on the display. Press it again to release the hold and resume live readings.
Atzeko argiaren funtzioa
Sakatu Atzeko argia button to turn the LCD backlight on or off, improving visibility in dim environments.

Irudia: Gertutik view of the multimeter's LCD display, demonstrating its bright backlight feature for enhanced readability in various lighting conditions.
Mantentzea
Garbiketa
Multimetroa garbitzeko, garbitu kaxa publizitatearekin.amp cloth and a mild detergent. Do not use abrasives or solvents, as these may damage the casing edo pantaila.
Bateria ordezkatzea
When the low battery indicator appears on the display, replace the 9V battery as described in the "Installing the Battery" section to ensure continued accurate readings.
Fusiblearen ordezkapena
If the current measurement function stops working, the fuse may need replacement. This multimeter is equipped with internal fuses for protection.
- Ensure the multimeter is OFF and all test leads are disconnected.
- Kendu bateriaren estalkia eta bateria.
- Carefully open the main casing (this may require removing additional screws, typically located under the rubber shell).
- Locate the fuse(s) on the circuit board. This model typically uses a 200mA/250V fuse for the mA range and a 10A/250V fuse for the 10A range.
- Replace the blown fuse with a fuse of the same type and rating. Never use a fuse with a different rating.
- Reassemble the multimeter, ensuring all screws are tightened and the casing is properly sealed.
Biltegiratzea
If the multimeter is not used for a long period, remove the battery to prevent leakage and store the device in a cool, dry place, away from direct sunlight and extreme temperatures.
Arazoak konpontzea
| Arazoa | Kausa posiblea | Irtenbidea |
|---|---|---|
| Pantailarik ez edo pantaila iluna | Bateria agortuta edo baxua | Ordeztu 9Vko bateria. |
| "OL" (Gainkarga) bistaratzen da | Input value exceeds selected range; open circuit (for resistance/continuity) | Select a higher range; check for breaks in the circuit or component. |
| Irakurketa okerrak | Hautatutako funtzio/tarte okerra; proba-kablearen konexio txarra; bateria baxua | Verify function switch position and range; ensure leads are firmly connected; replace battery. |
| Korrontearen neurketa ez dabil | Fusionatua | Replace the appropriate fuse (refer to Maintenance section). |
| Jarraitutasun-bozgorailurik ez | Open circuit; resistance too high | Ensure circuit is closed; check resistance value (buzzer typically activates below 50Ω). |
Zehaztapenak
| Ezaugarri | Xehetasuna |
|---|---|
| Eredua | Digital Multimeter D2 |
| Bistaratzea | 3 ½ digit LCD, 1999 counts, with backlight |
| DC bolumenatage | 200mV / 2V / 20V / 200V / 600V |
| AC Boltage | 200V / 600V |
| Korronte DC | 200µA / 2mA / 20mA / 200mA / 10A |
| Erresistentzia | 200Ω / 2kΩ / 20kΩ / 200kΩ / 2MΩ / 20MΩ |
| Diodo proba | Bai |
| Jarraitutasun zalaparta | Bai |
| Transistore hFE proba | Bai |
| Datuak gordetzea | Bai |
| Energia iturria | 9V-ko bateria |
| Segurtasun Balorazioa | IEC CAT II 600V, CE, RoHS compliant |
| Neurriak (L x W x H) | 14.6 x 10 x 5 cm (5.75 x 3.94 x 1.97 hazbete) |
| Pisua | 240 gramo (0.53 lb) |
Bermea eta Laguntza
ULTRICS provides a 12-month warranty for this product, covering manufacturing defects from the date of purchase. Please retain your proof of purchase for warranty claims.
For technical support, warranty claims, or any questions regarding your ULTRICS Digital Multimeter D2, please contact ULTRICS customer service through the retailer's platform or the official ULTRICS website. Please have your purchase details and model number ready when contacting support.
Fabrikatzailea: ULTRIKOAK
Modelo zenbakia: Digital Multimeter D2
ASIN: B0DYP62MW7