Sarrera
Thank you for choosing the VASAGLE ULSB044W01 Shoe Storage Bench with Cushion. This manual provides essential information for safe assembly, proper use, and maintenance of your new furniture. Please read all instructions carefully before beginning assembly and retain this manual for future reference.
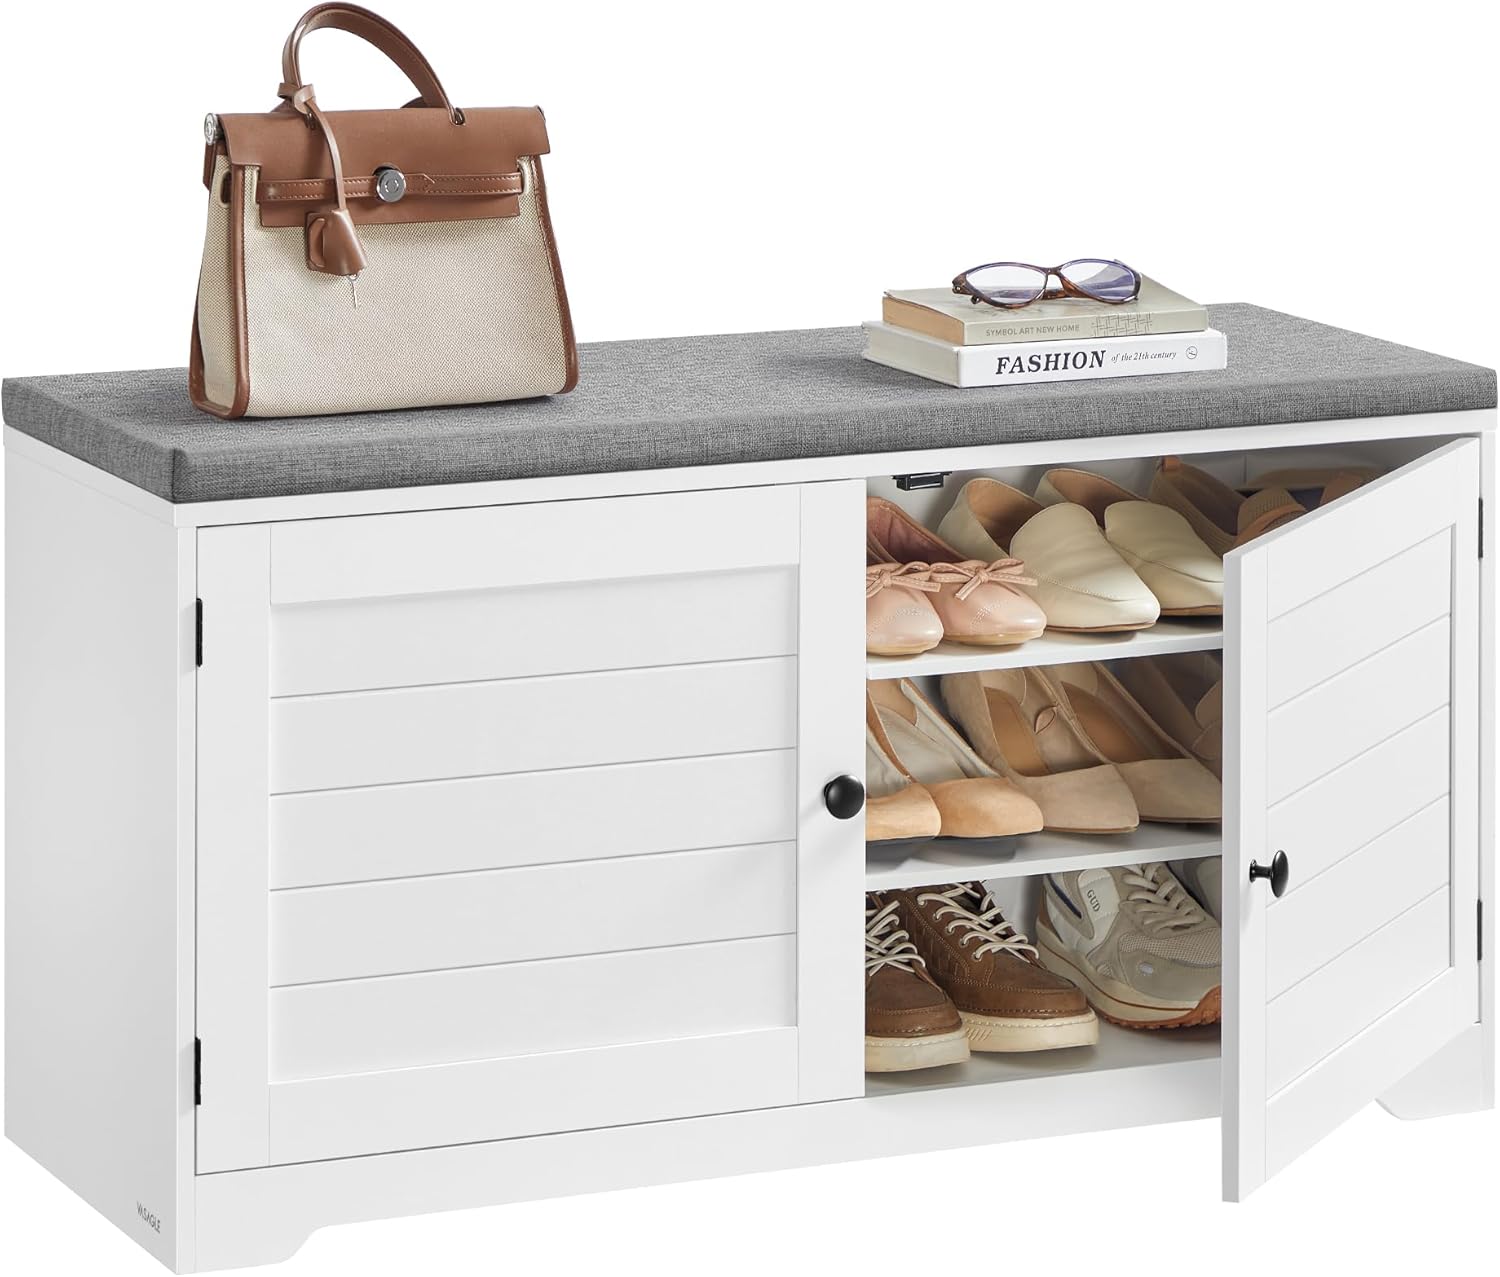
Image: The VASAGLE ULSB044W01 Shoe Storage Bench with Cushion, showcasinbere diseinua eta funtzionaltasuna g.
Segurtasun Informazioa
OHARRA:
- Do not exceed the weight limit of 300 lb (136 kg) on the top surface.
- Always assemble and secure the bench according to the instructions to prevent tipping.
- Keep the bench clean and dry to maintain its integrity and prolong its lifespan.
Paketearen edukia
Before assembly, please verify that all components and hardware listed in the assembly video are present and undamaged. Refer to the initial section of the assembly video for a visual guide to all included parts.
Muntatzeko jarraibideak
For a comprehensive visual guide to assembly, please watch the official product video below. Follow the steps carefully to ensure correct and stable construction of your shoe storage bench.
Video: Official assembly guide for the VASAGLE Shoe Storage Bench. This video demonstrates each step of the assembly process, from identifying parts to final setup.
Urratsez urratseko gida:
- Step 1: Check the Parts List (Video: 0:05 - 0:12)
Unpack all components and compare them against the parts list shown in the video. Ensure all pieces (A, B, C, D, E, F, H, I, J, K, L) and hardware (screws, dowels, hinges, etc.) are present.
- Step 2: Assemble the Bench Frame (Video: 0:13 - 2:14)
Begin by attaching the cam bolts to the designated panels. Connect the base panel (F) to the side panels (B, E) using dowels and cam locks. Secure the central divider (H) into place. Ensure all connections are tight and stable.
- Step 3: Assemble the Doors (Video: 2:15 - 2:56)
Attach the hinges to the doors (I, J) using the provided screws. Then, install the door handles. Carefully align and attach the doors to the main bench frame, ensuring smooth operation.
- Step 4: Assemble the Shelves (Video: 2:57 - 3:10)
Insert the shelf pins into the desired height adjustment holes within the bench compartments. Place the adjustable shelves onto these pins. The shelves can be repositioned to accommodate various shoe sizes.
- Step 5: Secure the Back Panel & Attach the Cushion (Video: 3:15 - 3:40)
Attach the back panel to the rear of the bench using the small nails or screws provided, ensuring it is flush and secure. Finally, place the padded cushion (L) on top of the bench. The cushion is secured with hook-and-loop fasteners for easy removal.
Door Alignment Tip: If the doors are not aligned after assembly, gently shift the cabinet left or right until they are aligned. Then, attach the back reinforcements to finalize the structure.
Funtzionamendu-argibideak
Flexible and Spacious Storage:
The bench features three tiers and four adjustable shelves, allowing you to customize the storage space for various types of shoes, from flats to boots. Each shelf is 13 inches deep, accommodating larger shoe sizes comfortably.

Image: The shoe bench interior showing adjustable shelves configured for different shoe types.
Eserleku erosoa:
The 1.2-inch thick foam cushion provides a comfortable seating area for changing shoes. The cushion can be easily removed thanks to its hook-and-loop fasteners, allowing for cleaning or repositioning.

Irudia: Gertutik view of the soft, premium foam padding on the bench cushion.
Kokapen polifazetikoa:
This bench is designed to complement various spaces, including entryways, hallways, and bedrooms, offering both storage and a functional seating option.

Image: The shoe storage bench positioned at the end of a bed, demonstrating its versatility.
Mantentzea
- Garbiketa: Wipe the bench surfaces with a soft, damp oihal. Saihestu produktu kimiko gogorrak edo garbitzaile urratzaileak erabiltzea, hauek akabera kaltetu baitezakete.
- Kuxinen zainketa: The cushion can be removed for spot cleaning. Refer to the care label on the cushion for specific cleaning instructions.
- Arreta orokorra: Regularly check all screws and connections to ensure they remain tight. Retighten if necessary to maintain stability.
Arazoak konpontzea
- Banku kulunkaria: Ensure all cam locks and screws are fully tightened. Verify that the bench is placed on a flat, even surface.
- Ateak ez dira behar bezala ixten: Check the hinge alignment and adjust if needed. Ensure no items inside the compartments are obstructing the doors.
- Falta diren piezak: If any parts are missing or damaged upon arrival, please contact customer support for assistance.
Zehaztapenak
| Ezaugarri | Xehetasuna |
|---|---|
| Produktuaren neurriak | 14"S x 39.8"Z x 20.7"A (35.5 cm S x 101 cm Z x 52.5 cm A) |
| Kolorea | Hodei Zuria + Uso Grisa |
| Altzarien akabera | Uso Grisa |
| Elementuaren pisua | 44.4 libra (20.1 kg) |
| Materiala | Particleboard, MDF panels, Foam Cushion |
| Max. Static Weight Capacity | 300 libra (136 kg) |

Image: Technical drawing illustrating the dimensions and weight capacity of the shoe storage bench.
Bermea eta Laguntza
For warranty information or customer support, please refer to the product packaging or contact the retailer where the product was purchased. You may also visit the official VASAGLE weblaguntza gehiago jasotzeko gunea.