1. Produktua amaitu daview
This instruction manual provides important information for the safe and effective use of your Generic replacement power adapter. This charger is specifically designed for select cordless vacuum cleaner models.
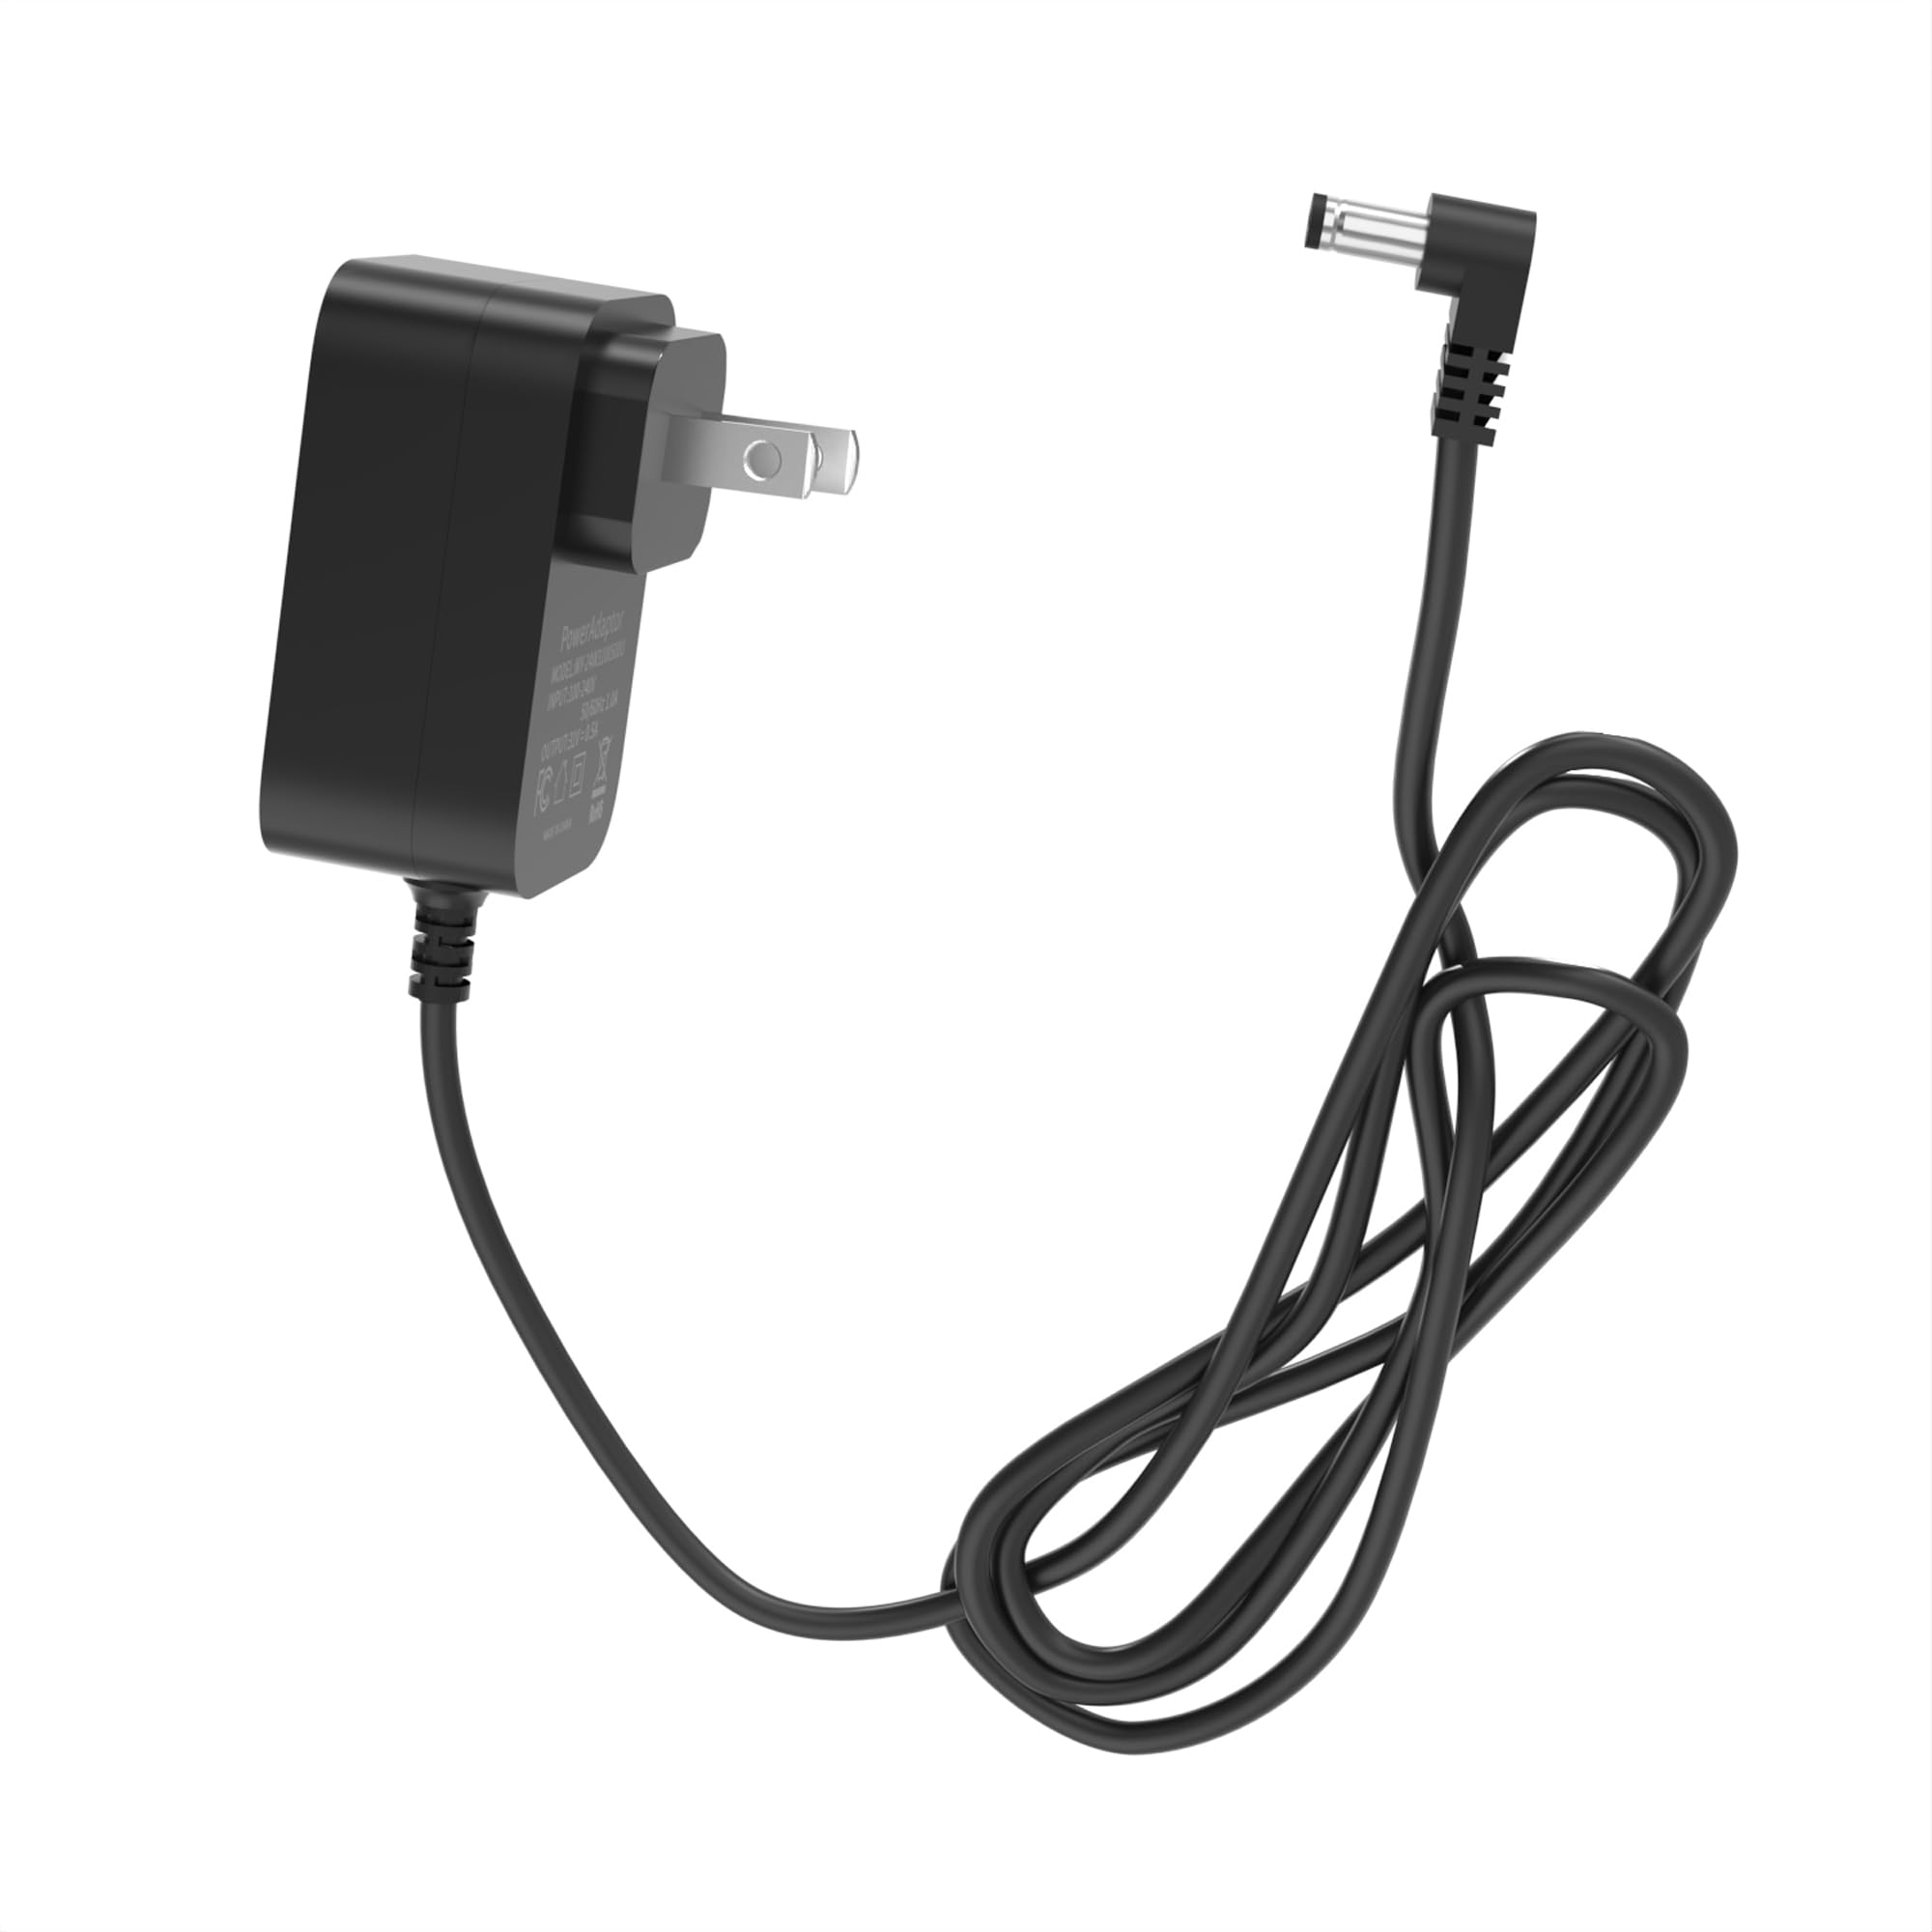
Image 1: Generic Vacuum Charger. This image displays the overall appearance of the charger unit.
2. Bateragarritasunari buruzko informazioa
This charger is compatible with the following cordless vacuum cleaner models:
- CHEBIO V16Pro
- CHEBIO V16 Pro
- SunSare KCV02
- SunSare DSV101B
These models must use a 25.9V Li-ion bateria.
Important Incompatibility Notice:
- NOT for CHEBIO A16, C1, V18 cordless vacuums with 22.2V/29.6V Li-ion batteries (which require 26V/36V chargers).
- NOT for SunSare X7A, X9, X11 cordless vacuums with 29.6V Li-ion batteries (which require 36V chargers).

Image 2: Power Specification Compatibility. This image illustrates the compatible output specifications (31V 0.5A, 30V 0.8A) and incompatible outputs (36V 0.5A, 26V 0.5A). Always check your original charger label for power specifications.

Image 3: Compatible Battery Type. This image highlights that the charger is only compatible with cordless vacuums using 25.2V / 25.9V 7-cell Li-ion batteries. It explicitly states incompatibility with 21.6V / 22.2V / 29.6V Li-ion batteries. Users should check their vacuum's battery label for details.
3. Konfigurazioa
To set up your vacuum charger:
- Ensure your vacuum cleaner is powered off and disconnected from any power source.
- Locate the charging port on your compatible vacuum cleaner.
- Insert the barrel connector of the charger into the vacuum's charging port. Ensure a snug fit.
- Plug the charger's AC plug into a standard 100-240V wall outlet.
- The vacuum cleaner should indicate that it is charging (e.g., via an LED indicator on the vacuum).
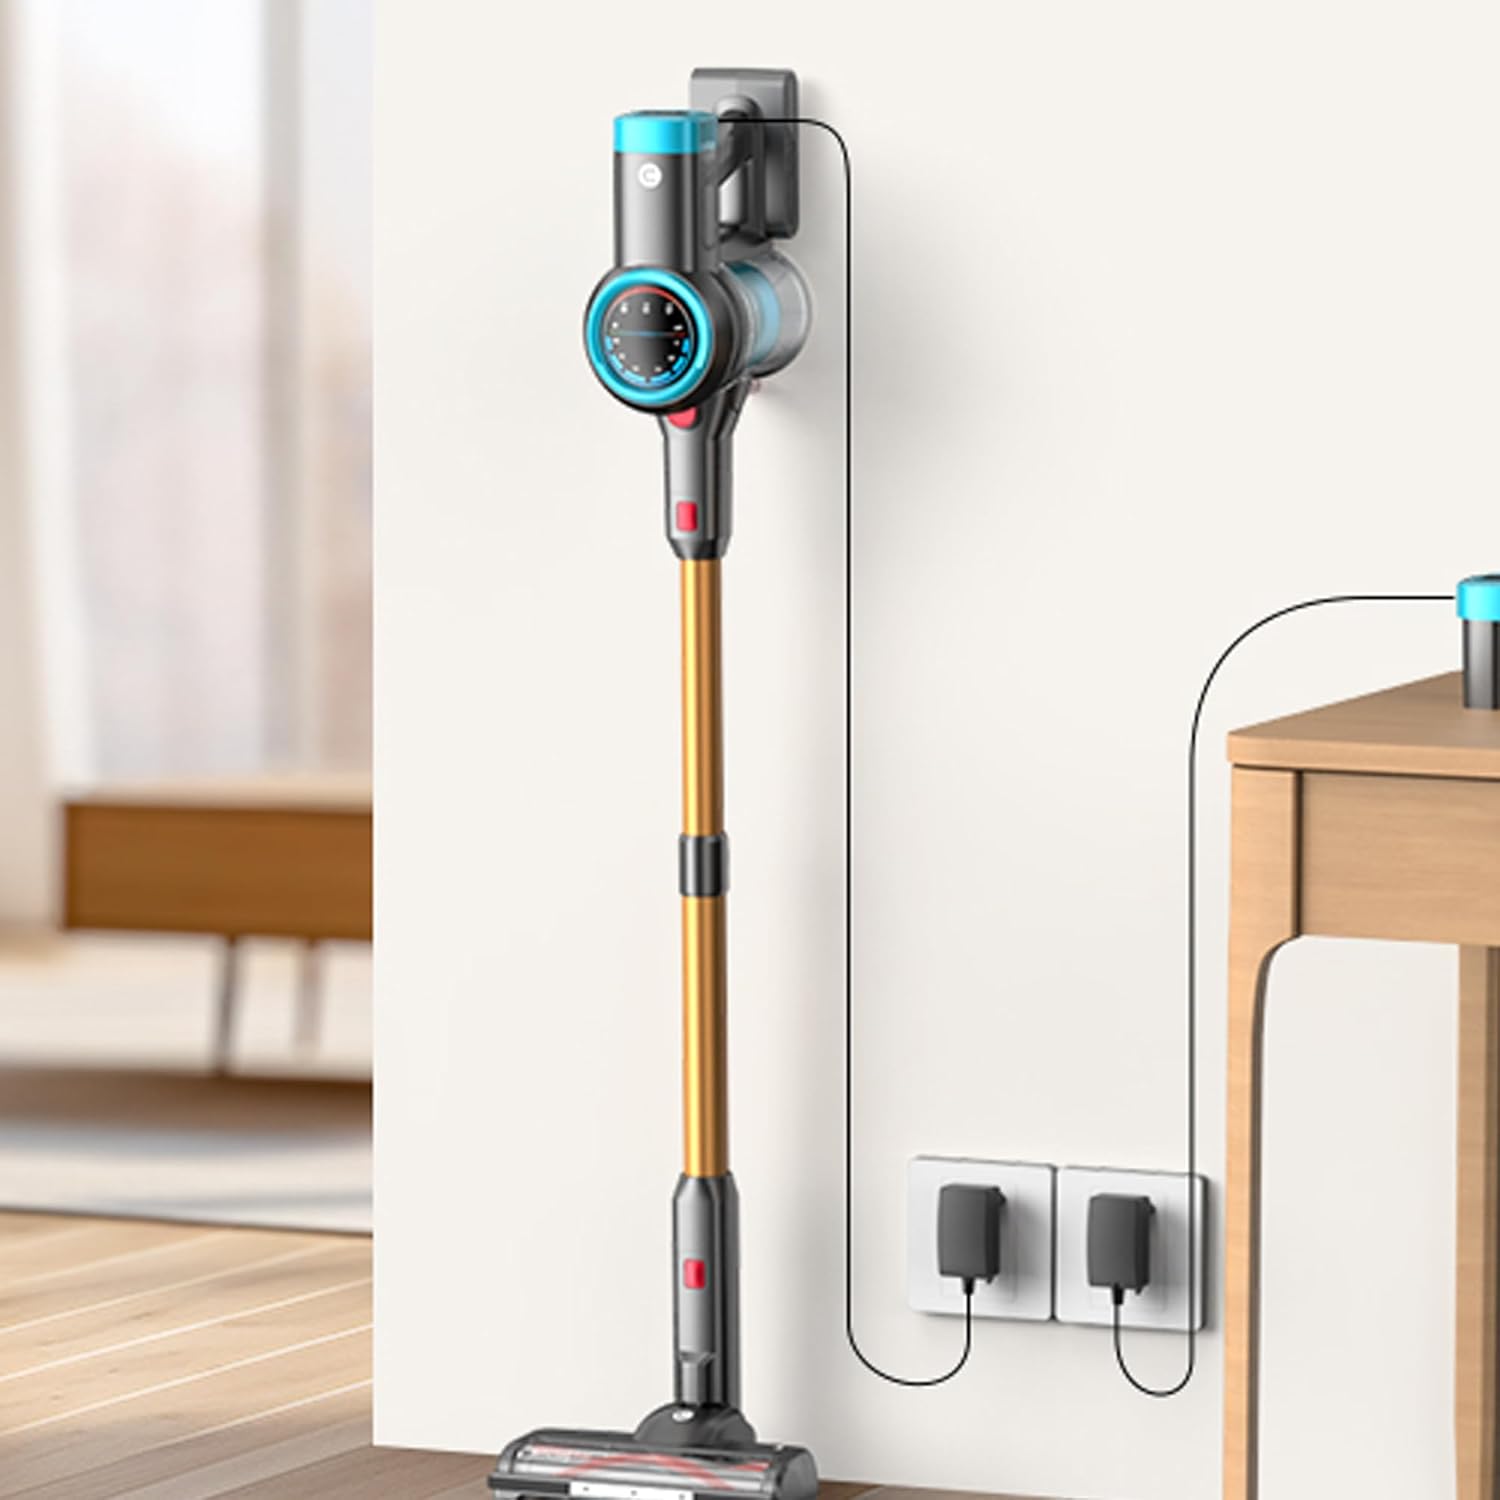
Image 4: Vacuum Charger in Use. This image shows a cordless vacuum cleaner mounted on a wall, with the charger plugged into a wall outlet and connected to the vacuum, illustrating a typical charging setup.
4. Funtzionamendu-argibideak
Once connected, the charger will automatically begin charging the vacuum's battery. The charging time may vary depending on the battery's current charge level and capacity. Refer to your vacuum cleaner's manual for specific charging indicators and expected charging durations.
Always ensure the charger is used in a well-ventilated area and avoid covering it during operation.
5. Mantentzea
To ensure the longevity and safe operation of your charger:
- Kargagailua garbi eta hautsik eta hondakinik gabe mantendu. Erabili zapi lehor eta leun bat garbitzeko.
- Gorde kargagailua leku fresko eta lehor batean erabiltzen ez duzunean.
- Avoid bending or crimping the power cord excessively. The charger features a flexible PVC jacket and copper wire for durability.
- Ez jarri kargagailua uretara edo muturreko tenperaturetara.
- Regularly inspect the charger and cable for any signs of damage. Discontinue use if damage is observed.

Image 5: Premium Cable Construction. This image shows a cross-section of the charger's cable, highlighting its flexible PVC jacket and copper wire construction, designed for durability and efficient power transfer.
6. Arazoak
Kargagailuarekin arazorik baduzu, kontuan hartu honako hau:
- Kargagailua ez dabil: Ensure the charger is securely plugged into both the wall outlet and the vacuum cleaner. Try a different wall outlet to rule out power supply issues.
- Xurgagailua ez da kargatzen: Verify that your vacuum model and battery voltage are compatible with this charger (refer to Section 2).
- Bateria ez du kargarik mantentzen: Rechargeable batteries typically have a lifespan of 1-3 years. If your battery fails to hold a charge, it may indicate natural battery depletion rather than a charger malfunction. A voltage tester can help diagnose if it's a battery aging issue or a device failure.
- Gehiegizko berotzea: While the charger has built-in protection, ensure it is used in a well-ventilated area. If the charger feels excessively hot, disconnect it immediately.
7. Zehaztapenak
| Ezaugarri | Zehaztapena |
|---|---|
| Sarrera boltage | 100-240V AC, 50/60Hz |
| Irteera boltage | 31V (compatible with 30V) |
| Irteera Korrontea | 0.5 Amps |
| Kablearen luzera | 5.9 ft (approximately 6 ft) |
| Konektore mota | Barrako konektorea |
| Kolorea | Beltza |
| Elementuaren pisua | 2.56 ontza |
| Paketearen neurriak | 3.9 x 2.5 x 1.6 hazbete |
| Segurtasun Ezaugarriak | Gainkorrontearen babesa, Overvoltage Protection, Overcharge Protection, Overheating Protection, Short Circuit Protection, Over Loading Protection |

Image 6: Adapter Specifications and Dimensions. This image provides a visual representation of the charger's physical dimensions (2.3 inches height, 1.2 inches width, 1.4 inches depth) and the 6-foot cable length, along with a close-up of the barrel connector.

Image 7: Safety Protection Features. This image visually lists the multiple safety protections built into the charger's intelligent chip, including overcurrent, overvoltage, overcharge, overheating, short circuit, and overloading protection.
8. Bermea eta Laguntza
Information regarding specific warranty terms for this Generic product is not provided in the product details. Please refer to the retailer's return policy or contact the seller directly for warranty inquiries.
For technical support or further assistance, please contact the seller through the platform where the product was purchased.
