1. Sarrera
Thank you for choosing the Behringer B-2 Pro Dual-Diaphragm Condenser Microphone. This versatile microphone is designed for professional audio recording in various applications, including vocals, instruments, and ambient sound capture. Its robust construction and flexible features make it an excellent choice for home studios, project studios, and professional recording environments. This manual provides essential information for the proper setup, operation, and maintenance of your B-2 Pro microphone.
2. Segurtasun-argibide garrantzitsuak
- Irakurri argibide hauek ondo produktua erabili aurretik.
- Gorde jarraibide hauek etorkizuneko erreferentzia izateko.
- Kontuan izan abisu guztiak eta jarraitu argibide guztiak.
- Ez erabili aparatu hau ur edo hezetasunetik gertu.
- Garbitu zapi lehor batekin bakarrik.
- Ez blokeatu aireztapen-irekidurak. Instalatu fabrikatzailearen argibideen arabera.
- Ez instalatu bero-iturri inongo ondoan, esate baterako, erradiadoreak, bero-erregistroak, sukaldeak edo beste aparatu batzuk (barne ampberoa sortzen duten argitzaileak).
- Erabili fabrikatzaileak zehaztutako eranskinak/osagarriak soilik.
- Jarri zerbitzu-zerbitzu guztiak zerbitzu-pertsonal kualifikatuari. Zerbitzua behar da aparatua edozein modutan hondatu denean, hala nola, elikatze-kablea edo entxufea hondatuta dagoenean, likidoa isuri denean edo objektuak aparatura erori direnean, aparatua euria edo hezetasuna jasan duenean, ez du normalean funtzionatzen. , edo erori egin da.
- This microphone requires +48V phantom power to operate. Ensure your audio interface or mixer provides phantom power and that it is enabled before connecting the microphone.
3. Paketearen edukia
Verify that all items listed below are present in your package. If any items are missing or damaged, please contact your retailer.
- Behringer B-2 Pro Dual-Diaphragm Condenser Microphone
- Custom Shockmount
- Haizetakoa
- Durable Aluminum Carrying Case
- Tripod Microphone Stand
- XLR kablea
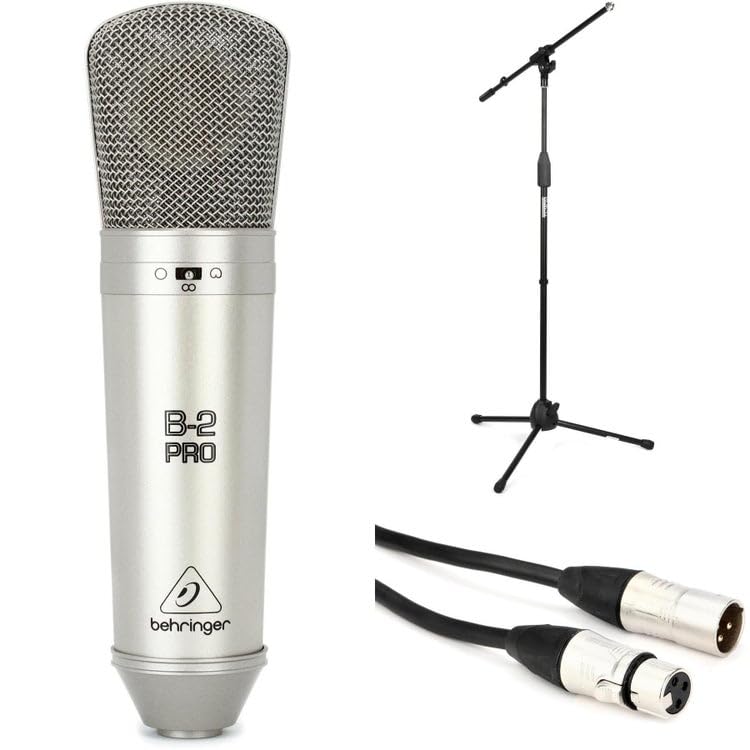
Image: Behringer B-2 Pro microphone with its shockmount, windscreen, and XLR cable, as typically included in the package.
4. Produktuaren ezaugarriak
The B-2 Pro is engineered to deliver high-quality audio performance with exceptional versatility.
- Dual-Diaphragm Design: Enables selection of multiple polar patterns for diverse recording applications.
- Selectable Polar Patterns: Choose between Cardioid, Omnidirectional, and Figure-8 patterns to optimize sound capture for different sources and environments.
- Switchable 10dB Pad: Attenuates input signals by 10dB, allowing the microphone to handle very loud sound sources without distortion. Ideal for drums, guitar amplifiers, or brass instruments.
- Behe-ebaki iragazkia: Reduces unwanted low-frequency rumble or proximity effect, improving clarity in recordings.
- Urrez estalitako XLR konektorea: Ensures signal integrity and corrosion resistance.
- Eraikuntza sendoa: Designed for durability and reliable performance in studio settings.
5. Konfigurazioa
- Mikrofonoa deskonprimitu: Carefully remove the B-2 Pro microphone and its accessories from the aluminum carrying case.
- Mikrofonoaren euskarria muntatu: Extend the tripod legs of the included microphone stand for stability. Adjust the height as needed.
- Lotu kolpe-euskarria: Screw the custom shockmount onto the top of the microphone stand. Ensure it is securely fastened.
- Mikrofonoa muntatu: Gently insert the B-2 Pro microphone into the shockmount. The shockmount's elastic suspension helps isolate the microphone from vibrations and handling noise.
- Attach the Windscreen: Place the foam windscreen over the microphone capsule to reduce plosives (harsh "p" and "b" sounds) and protect the microphone from dust.
- Konektatu XLR kablea: Connect one end of the supplied XLR cable to the microphone's XLR output. Connect the other end to an XLR input on your audio interface, mixer, or preampbiziagoa.
- Enable Phantom Power: The B-2 Pro is a condenser microphone and requires +48V phantom power to operate. Ensure that phantom power is enabled on your audio interface or mixer aurretik connecting the microphone to prevent potential damage.

Image: Illustration of the B-2 Pro microphone setup, including stand, shockmount, and cable connection to an audio interface.
6. Operating the B-2 Pro
6.1. Polar Pattern Selection
The B-2 Pro features a switch on the microphone body to select between three polar patterns. Adjust this switch according to your recording needs.
- Kardioidea: This pattern picks up sound primarily from the front of the microphone, rejecting sound from the sides and rear. It is ideal for isolating a single sound source, such as a vocalist or an instrument, in a live or studio setting.
- omnidirectional: This pattern picks up sound equally from all directions. It is suitable for capturing room ambiance, group vocals, or multiple instruments simultaneously.
- 8. irudia: This pattern picks up sound equally from the front and rear of the microphone, while rejecting sound from the sides. It is commonly used for recording two vocalists facing each other, or for capturing a specific instrument while minimizing room reflections from the sides.

Image: Visual representation of the three selectable polar patterns: Cardioid, Omnidirectional, and Figure-8, showing their sound pickup characteristics.
6.2. 10dB Pad Switch
The B-2 Pro includes a switchable 10dB pad. When engaged, this pad reduces the microphone's output level by 10 decibels.
- Engage the Pad: Use the 10dB pad when recording very loud sound sources, such as drums, loud guitar amplifiers, or brass instruments, to prevent input clipping at your audio interface or mixer.
- Disengage the Pad: For quieter sources like vocals or acoustic guitars, disengage the pad to ensure a healthy signal level.
6.3. Low-Cut Filter Switch
The low-cut filter (also known as a high-pass filter) reduces low-frequency content below a certain point.
- Engage the Filter: Use the low-cut filter to reduce unwanted rumble, handling noise, or proximity effect (an increase in bass response when a microphone is close to the sound source). This can improve clarity, especially for vocals and acoustic instruments.
- Disengage the Filter: For sources where full low-frequency response is desired, such as bass instruments or kick drums, disengage the filter.
6.4. Mikrofonoaren kokapena
Proper microphone placement is crucial for optimal sound quality. Experiment with distance and angle to achieve the desired tone.
- ahotsa: Start with the microphone 6-12 inches from the vocalist, slightly off-axis to reduce plosives. Use the cardioid pattern.
- Gitarra akustikoa: Aim the microphone towards the 12th fret at a distance of 6-18 inches. Cardioid pattern is generally preferred.
- Gelako giroa: Use the omnidirectional pattern and place the microphone in the center of the room or at a distance that captures the desired room sound.
- Two Vocalists: Use the Figure-8 pattern with vocalists positioned on opposite sides of the microphone.
7. Mantentzea
- Garbiketa: Erabili zapi leun eta lehor bat mikrofonoaren gorputza garbitzeko. Ez erabili garbitzaile likidorik edo disolbatzailerik, akabera edo barneko osagaiak kaltetu baitezakete.
- Biltegiratzea: When not in use, store the B-2 Pro microphone in its aluminum carrying case to protect it from dust, moisture, and physical damage. Avoid extreme temperatures and humidity.
- Manipulazioa: Always handle the microphone with care. Avoid dropping it or subjecting it to strong impacts.
8. Arazoak
| Arazoa | Kausa posiblea | Irtenbidea |
|---|---|---|
| Ez dago soinu irteerarik |
|
|
| Soinu distortsionatua |
|
|
| Burrunba edo zarata |
|
|
9. Zehaztapenak
| Marka | Behringer |
| Modelo zenbakia | B2ProPk |
| Mota | Kondentsadore Mikrofonoa |
| Eredu polarrak | Cardioid, Omnidirectional, Figure-8 (Switchable) |
| Pad aldagarria | -10 dB |
| Behe-ebaki iragazkia | Bai |
| Konektibitate Teknologia | XLR |
| Potentzia-eskakizuna | +48V Phantom Power |
| Elementuaren pisua | 1 libra (0.45 kg) |
| Gailu bateragarriak | Audio Interfaces, Mixers, Preamplifiers with XLR input |
| Onartutako softwarea | Any DAW with microphone input |
| Sistema eragileen bateragarritasuna | Windows, macOS |
| Gehienezko Sample Tarifa | 192 KHz |
Oharra: zehaztapenak aldatu egin daitezke, jakinarazi gabe.
10. Bermea eta Laguntza
Bermeari buruzko informazio zehatza eta laguntza teknikoa lortzeko, jo Behringer-en webgune ofizialera. website or contact your local Behringer distributor. Keep your purchase receipt as proof of purchase for any warranty claims.
Behringer Ofiziala Webgunea: www.behringer.com