Sarrera
This manual provides essential information for the installation, operation, and maintenance of your replacement Mini PC CPU Fan. This fan is designed to replace the original CPU cooling fan in specific NiPoGi Mini PC models, ensuring optimal thermal performance for your device.
Segurtasun informazio garrantzitsua
Ohar kritikoa: CPU fans, especially replacement parts, can have varying wiring sequences for their connectors. An incorrect wiring sequence can lead to incompatibility, malfunction, or damage to your Mini PC. It is imperative to verify the wiring sequence of your existing fan and compare it with the replacement fan before installation.
If you are unsure about the wiring sequence or the installation process, it is highly recommended to consult with a qualified technician or contact the seller for guidance. Providing clear images of your original fan's front, back, and its connector's wiring sequence can help in verifying compatibility.
Produktua amaituview
The replacement CPU fan is a critical component for maintaining the operating temperature of your Mini PC's processor. It is a DC 5V, 0.2A fan with a 4-pin, 4-line connector, designed for efficient heat dissipation.
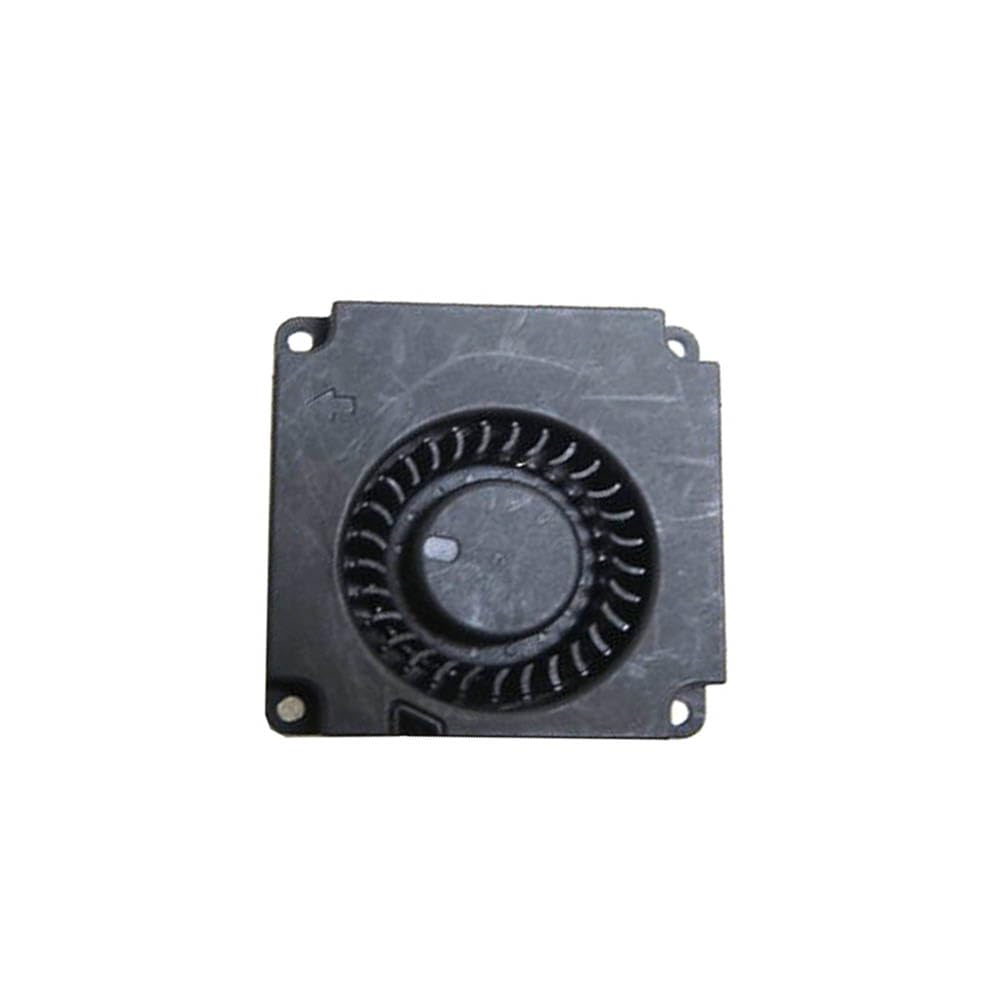
Irudia: Goitik behera view of the replacement Mini PC CPU fan, showing its compact design and fan blades.

Irudia: Gertuko planoa view of the fan's 4-pin, 4-line connector, highlighting the individual wires and their connection points.

Image: A visual warning emphasizing that fan wire sequences can vary and may not be universally compatible. It advises contacting the seller before purchase to ensure correct wiring.
Konfigurazioa eta Instalazioa
Replacing a CPU fan in a Mini PC requires careful handling and attention to detail. It is recommended to have basic technical knowledge or seek professional assistance.
- Prestaketa: Power off your Mini PC completely and disconnect all cables. Place it on a clean, static-free surface.
- Sarbidea: Carefully open the Mini PC casing to gain access to the CPU and its cooling system. Refer to your Mini PC's specific service manual for instructions on opening the case.
- Old Fan Removal: Disconnect the old fan's power cable from the motherboard. Unscrew or unclip the old fan from its mounting points. Gently remove the old fan.
- Crucial Step - Wiring Verification: Before connecting the new fan, compare its 4-pin connector's wire sequence (color order) with that of the fan you just removed. If they do not match, EZ JARRAITU. Contact the seller for clarification or a compatible fan.
- New Fan Installation: If the wiring sequence matches, carefully position the new fan in its designated spot. Secure it with the appropriate screws or clips.
- Konexioa: Connect the new fan's 4-pin connector to the corresponding header on the motherboard. Ensure it is seated firmly and correctly oriented.
- Berriz muntatzea: Carefully close the Mini PC casing, torloju guztiak estutu direla eta kablerik ez dagoela estutu ziurtatuz.
- Probak: Reconnect all peripherals and power on the Mini PC. Monitor the fan's operation and the system's temperature to ensure proper function.
Funtzionamendu-printzipioak
The CPU fan operates automatically, controlled by the Mini PC's motherboard based on the CPU's temperature. When the CPU temperature rises, the motherboard increases the fan's speed to dissipate heat more effectively, preventing overheating and maintaining stable system performance. Conversely, as the temperature drops, the fan speed will decrease, reducing noise and power consumption.
Mantentzea
Regular maintenance can extend the lifespan of your CPU fan and ensure optimal cooling performance.
- Hautsa kentzea: Periodically (e.g., every 6-12 months), open your Mini PC and gently clean the fan blades and heatsink fins using compressed air or a soft brush. Ensure the fan is held stationary while cleaning to prevent damage to the bearings.
- Ikuskapena: Check for any signs of wear, such as unusual noises, reduced fan speed, or physical damage to the blades or wiring.
- Ingurumena: Ensure your Mini PC is operated in a clean, well-ventilated environment to minimize dust accumulation and facilitate airflow.
Arazoak konpontzea
| Arazoa | Kausa posiblea | Irtenbidea |
|---|---|---|
| Fan not spinning or making unusual noise after installation. |
|
|
| Mini PC overheating despite new fan. |
|
|
Zehaztapenak
- Produktu mota: Replacement Mini PC CPU Fan
- Eredu bateragarriak: NiPoGi AK2 Plus, AK2PLUS1TB, AK2PLUS N100, CMNAK2PLAUK1650
- liburukiatage: DC 5V
- Unekoa: 0.2A
- Konektorea: 4-Pin, 4-Line
- Neurriak: 3.94 x 3.94 x 3.94 inches (approximate, as per product listing)
- Pisua: 3.53 ounces (approximate, as per product listing)
- Fabrikatzailea: Generikoa
Bermea eta Laguntza
This product is typically covered by a return policy allowing for refund or replacement within 30 days of purchase. For specific warranty details, return procedures, or technical support, please contact the seller directly. The seller for this product is "RTD Laptop Part".
When contacting support, please provide your order details and a clear description of the issue, including any images or videos that may assist in diagnosis.