Sarrera
This user manual provides essential information for the installation, operation, and maintenance of your A-Tech 32GB DDR5 5200MHz PC5-41600 SODIMM memory module. This module is designed to enhance the performance of compatible ASUS AIO A5702WVAR, A5402WVAR, and A3 A3402WV All-in-One Desktop models by providing increased memory resources for faster speeds and improved multitasking capabilities.
Please read this manual thoroughly before proceeding with installation to ensure proper handling and optimal performance.
Segurtasun Informazioa
When handling computer components, it is crucial to observe proper safety precautions to prevent damage to the components and injury to yourself. Memory modules are sensitive to electrostatic discharge (ESD).
- Always wear an anti-static wrist strap or frequently touch a grounded metal object (like an unpainted metal part of your computer case) before and during installation.
- Work on a clean, dry, and non-carpeted surface.
- Avoid touching the gold connector pins on the memory module. Handle the module by its edges.
- Ensure your computer is powered off and unplugged from the wall outlet before opening the case.
- Keep memory modules in their anti-static packaging until ready for installation.
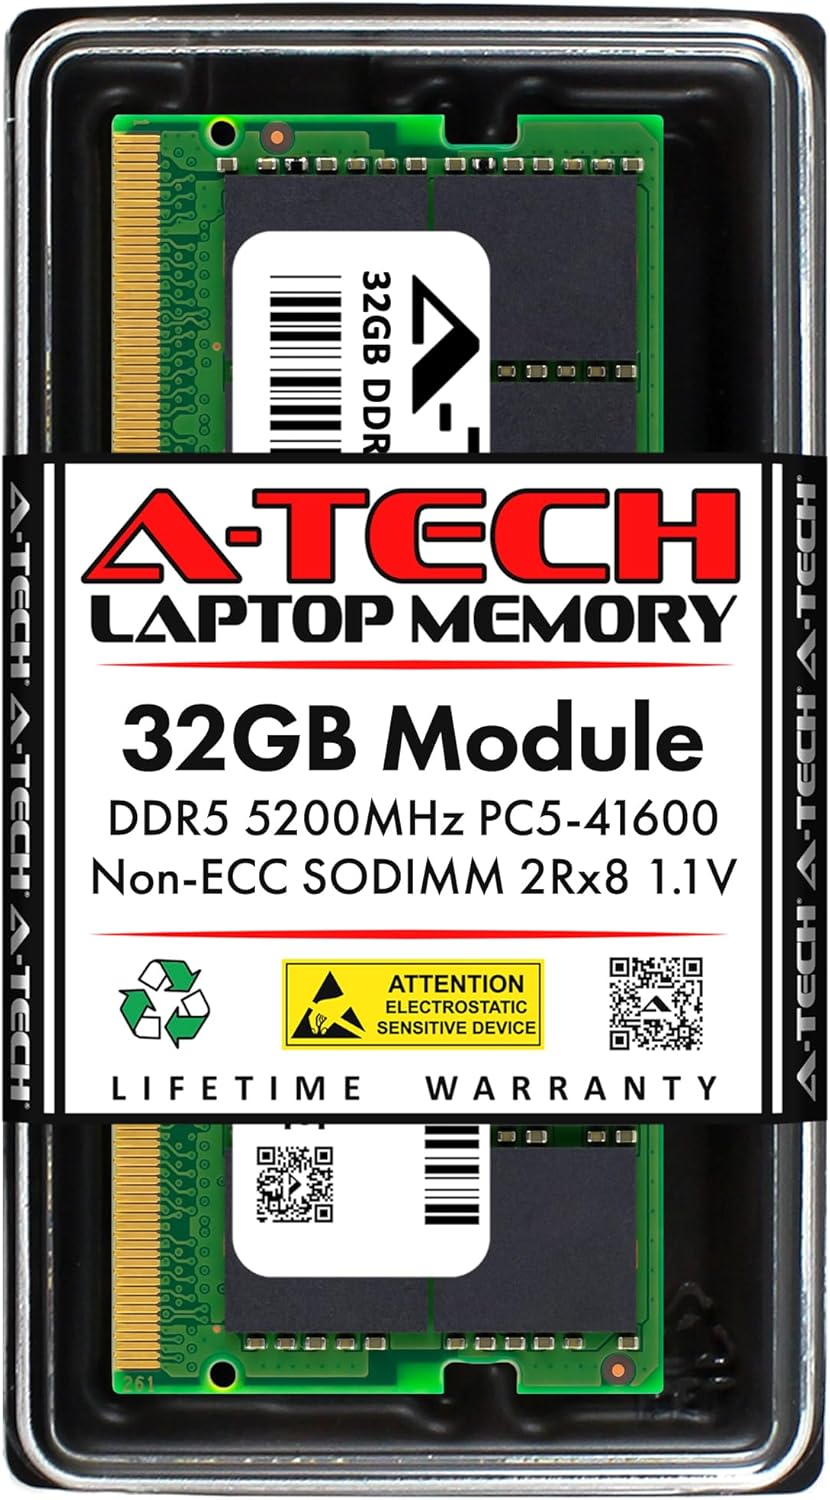
Figure 1: A-Tech 32GB DDR5 SODIMM module in its protective anti-static packaging. Always keep the module in this packaging until immediately before installation.
Paketearen edukia
Your A-Tech 32GB DDR5 SODIMM memory module package should contain the following:
- One (1) A-Tech 32GB DDR5 5200MHz PC5-41600 SODIMM Memory Module
If any items are missing or damaged, please contact A-Tech support immediately.
Zehaztapenak
The A-Tech 32GB DDR5 SODIMM module features the following technical specifications:
| Atributua | Balioa |
|---|---|
| Memoria Tamaina | 32 GB (Single Module) |
| Memoria Mota | DDR5 |
| Forma-faktorea | SO-DIMM (262-Pin) |
| Abiadura | 5200 MHz (PC5-41600 / PC5-5200) |
| ECC mota | ECCrik gabeko bufferrik gabekoa |
| Sailkapena | 2Rx8 - Dual Rank x8 |
| liburukiatage | 1.1V |
| Gailu bateragarriak | ASUS AIO A5702WVAR, AIO A5402WVAR, AiO A3 A3402WV All-in-One Desktops |
| Neurriak (LxWxH) | 2.74 x 1.18 x 0.15 hazbete (69.60 x 30 x 3.81 mm) |

Figure 2: Physical dimensions of the A-Tech DDR5 SODIMM module.
Konfigurazioa eta Instalazioa
This section outlines the general steps for installing the A-Tech DDR5 SODIMM module. Always refer to your specific ASUS All-in-One Desktop's service manual for detailed instructions on accessing the memory slots and any model-specific precautions.
Hasi aurretik:
- Bildu tresnak: You may need a Phillips head screwdriver and an anti-static wrist strap.
- Datuen babeskopia: While memory installation typically does not affect data, it is always good practice to back up important files before performing any hardware changes.
- Deskargatu: Completely shut down your ASUS All-in-One Desktop. Disconnect the power cord and any other cables (USB, Ethernet, etc.) from the system.
- Discharge Static: Wear an anti-static wrist strap or touch a grounded metal object to discharge any static electricity from your body.
Instalazio urratsak:
- Sarbide Memoriaren Zirrikituak: Carefully open your ASUS All-in-One Desktop case to expose the motherboard and memory slots. Consult your computer's manual for specific instructions on how to open the case and locate the SODIMM slots.
- Identifikatu zirrikituak: Locate the available DDR5 SODIMM slots. If you are replacing existing memory, gently unclip the retention clips on both sides of the existing module and remove it.
- Align Module: Hold the A-Tech memory module by its edges. Align the notch on the module with the key in the SODIMM slot. The module will only fit one way.
- Txertatu modulua: With the module aligned, gently push it into the slot at a 45-degree angle until the gold contacts are almost fully inserted.
- Modulu segurua: Press down firmly on both ends of the module until the retention clips on the sides snap into place, securing the module horizontally. You should hear a click.
- Egiaztatu eserlekuak: Ensure the module is seated evenly and securely in the slot, and the clips are fully engaged.
- Itxi kasua: Carefully reassemble your ASUS All-in-One Desktop case.
- Berriro konektatu energia: Reconnect the power cord and any other peripherals.
- Piztu: Turn on your computer. The system should automatically detect the new memory.

Figure 3: The A-Tech DDR5 SODIMM module, ready for installation to boost system performance.
Funtzionamendua
Once the A-Tech memory module is correctly installed, your ASUS All-in-One Desktop should automatically recognize the increased RAM capacity upon startup. You can verify the installed memory in your operating system's system information or BIOS/UEFI settings.
- Windows: Right-click on "This PC" or "My Computer," select "Properties," and look for "Installed RAM" or "System memory."
- BIOSa/UEFIa: During startup, press the designated key (often F2, Del, F10, or F12) to enter the BIOS/UEFI setup. Navigate to the system information or memory section to view the detected RAM.
The system will utilize the new memory to improve overall responsiveness, application loading times, and multitasking efficiency.
Mantentzea
Memory modules generally require minimal maintenance once installed. However, consider the following to ensure long-term reliability:
- Mantendu sistema garbi: Regularly clean the interior of your computer to prevent dust buildup, which can impede airflow and lead to overheating of components, including RAM.
- Aireztapen egokia: Ensure your All-in-One Desktop has adequate ventilation to maintain optimal operating temperatures.
- Estres fisikoa saihestu: Do not apply excessive force or bend the memory module.
- Kontuz maneiatu: If you need to remove or re-install the module, follow the safety precautions outlined in the "Safety Information" section.
Arazoak konpontzea
If you encounter issues after installing your A-Tech memory module, refer to the following common troubleshooting steps:
Ohiko arazoak eta irtenbideak:
- System Does Not Boot / No Display:
- Ziurtatu memoria-modulua bere zirrikituan guztiz sartuta dagoela. Sakatu astiro bi muturretan klipak bere lekuan sartu arte.
- Verify that the module's notch aligns correctly with the slot's key.
- Try reseating the module in a different slot if available.
- If multiple modules are installed, try booting with only the new A-Tech module.
- Check your system's manual for specific memory configuration requirements (e.g., which slots to populate first).
- Incorrect Amount of RAM Detected:
- Ensure the module is fully seated.
- Egiaztatu zure sistemaren BIOS/UEFI ezarpenak detektatutako memoria baieztatzeko.
- Verify that your operating system is a 64-bit version, as 32-bit operating systems cannot utilize more than approximately 4GB of RAM.
- Ensure your system's motherboard supports the full capacity of the installed RAM.
- System Instability / Blue Screens (BSOD):
- This can indicate a faulty module or improper seating. Reseat the module.
- Exekutatu memoria diagnostiko tresna bat (adibidez, Windows Memory Diagnostic) erroreak egiaztatzeko.
- Ensure your system's BIOS is up to date, as updates can improve memory compatibility.
If these steps do not resolve the issue, please contact A-Tech Technical Support for further assistance.
Bermea eta Laguntza
All A-Tech memory products are backed by a Bizi osorako berme mugatua. This warranty covers defects in materials and workmanship for the lifetime of the product.
For technical assistance, warranty claims, or any questions regarding your A-Tech memory module, please contact our U.S. based support team. Our dedicated support staff is available to guide you through any issues and ensure your satisfaction.
A-Tech Support:
Visit the A-Tech Store on Amazon
A-Tech Official Webgunea
A-Tech QR Code Information Page

Figure 4: A-Tech provides dedicated support for all its products.


