
1. Sarrera
This manual provides detailed instructions for setting up, operating, and maintaining your AOOSTAR MACO AMD Ryzen 7 H255 Mini PC. Please read this manual thoroughly before using the device to ensure proper functionality and safety. The AOOSTAR MACO Mini PC is designed for high performance, featuring an AMD Ryzen 7 H255 processor, Radeon 780M graphics, and extensive connectivity options.
2. Paketearen edukia
Egiaztatu behean zerrendatutako elementu guztiak zure paketean daudela:
- 1 x AOOSTAR MACO AMD Ryzen 7 H255 Mini PC
- 1 x SSD Cooling Pad
- 1 x 120W 19V 6.32A Type-C Power Supply
3. Produktua amaitu daview
The AOOSTAR MACO Mini PC is a compact yet powerful computing solution. Below are key features and an overview of its components and ports.
3.1 Ezaugarri nagusiak
- Prozesadorea: AMD Ryzen 7 H255 (8-core, 16-thread, up to 4.9 GHz) with Zen 4 architecture and 4nm process.
- Grafikoak: Integrated Radeon 780M graphics (RDNA 3 architecture).
- Memoria: Dual-channel DDR5 5600MHz (expandable up to 128GB).
- Biltegiratzea: Dual-channel M.2 2280 NVMe PCIe4.0x4 SSD (expandable up to 8TB).
- Segurtasuna: One-touch fingerprint unlock for secure access.
- Erakutsi laguntza: Supports up to four 4K displays simultaneously.
- Konektibitatea: OCuLink, Dual USB4, USB 3.2 Gen2, USB 3.0, HDMI, DisplayPort, Dual 2.5G LAN, Wi-Fi 6.
3.2 External Components and Ports
Familiarize yourself with the various ports and components of your Mini PC.
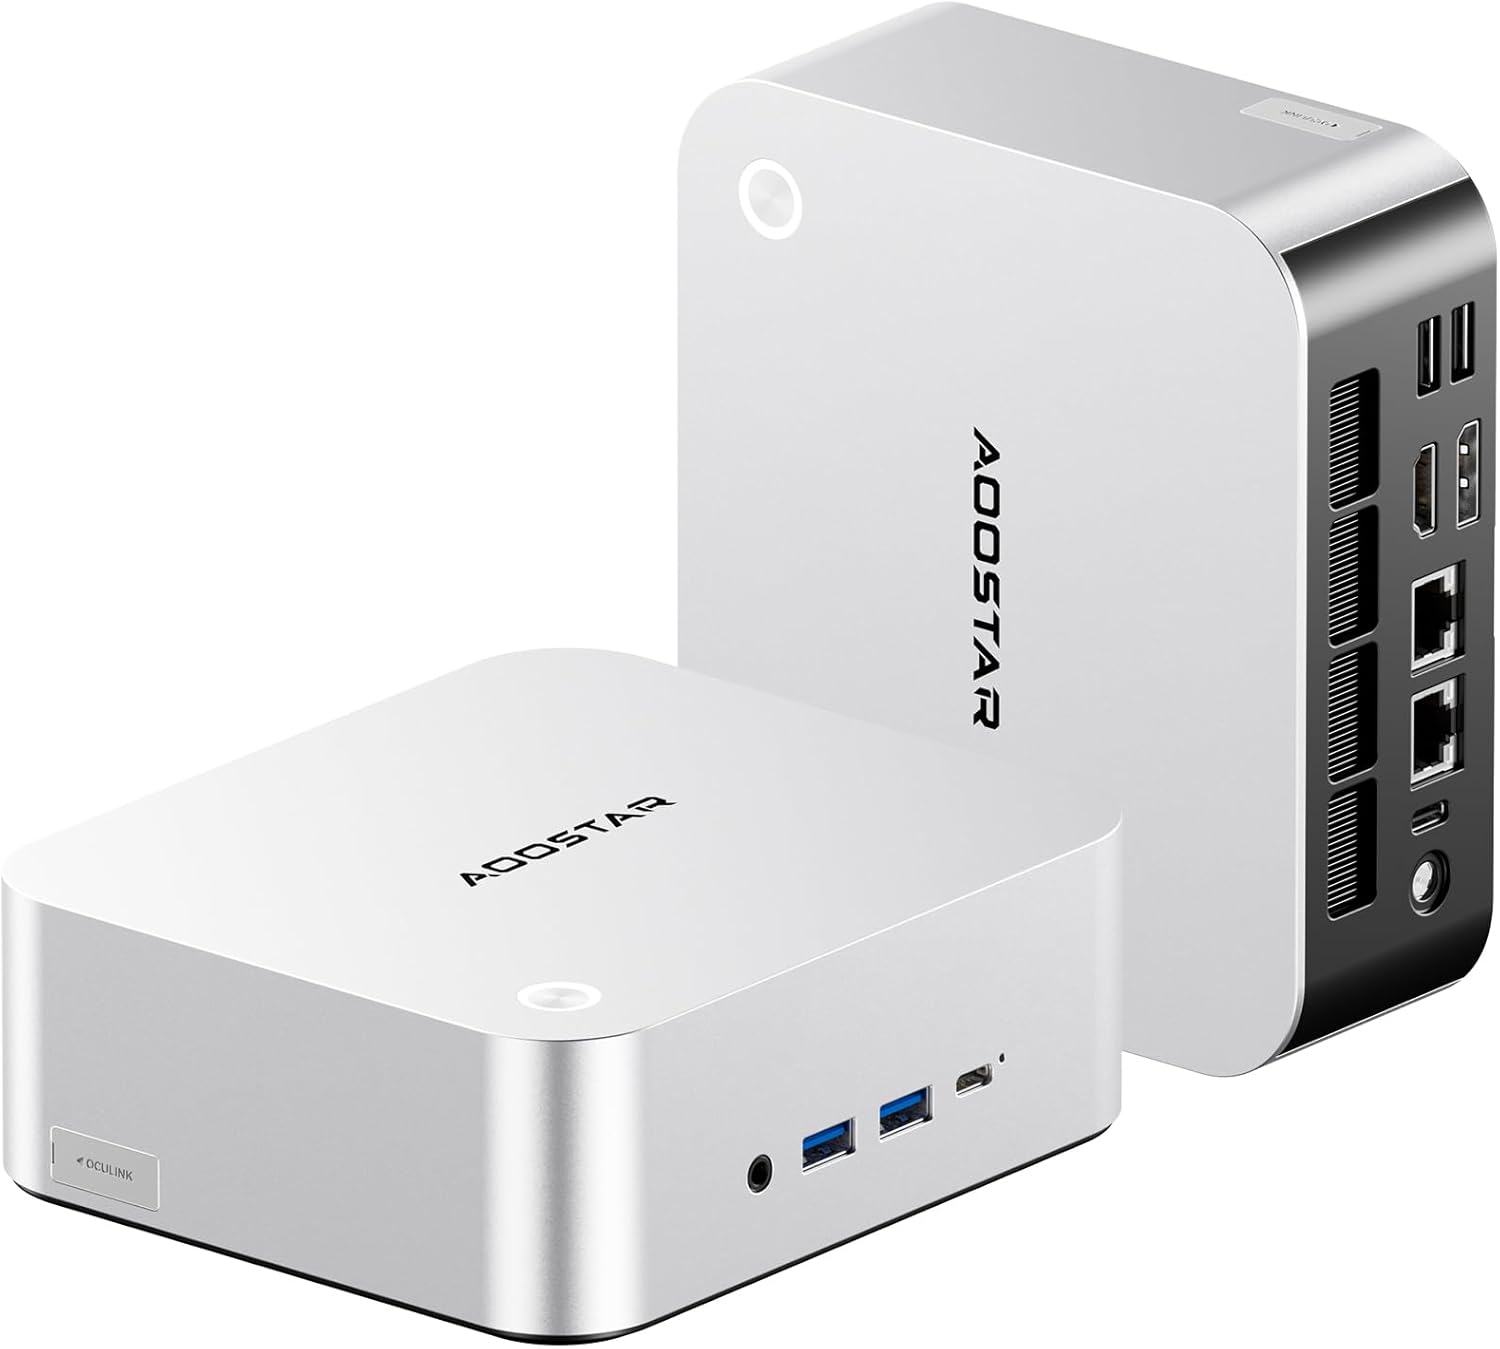
Irudia: Aurrealdea eta atzealdea view of the AOOSTAR MACO Mini PC, showcasinbere diseinu trinkoa eta hainbat portu direla eta.

Irudia: Xehetasun handikoa view of the AOOSTAR MACO Mini PC's rear ports, including OCuLink, USB4, USB 3.2 Gen2, HDMI, DisplayPort, and Dual 2.5G LAN ports.
- Aurrealdeko panela: Power button with fingerprint sensor, USB ports.
- Atzeko Panel: OCuLink port (1), USB4 ports (2), USB 3.2 Gen2 ports (2), USB 3.0 ports (2), HDMI port (1), DisplayPort (1), 2.5G LAN ports (2), DC power input (1), Audio Jack (1).

Image: Close-up of the one-touch fingerprint sensor on the AOOSTAR MACO Mini PC for secure login.

Image: Visual representation of the AMD Ryzen 7 H255 processor, highlighting its core count, turbo frequency, and architecture.

Irudia: Barnekoa view showing the dual DDR5 memory slots and dual M.2 PCIe 4.0 SSD slots for high-speed storage and memory.

Image: The OCuLink port connected to an external GPU enclosure, demonstrating its use for enhanced graphics performance.

Image: Two AOOSTAR MACO Mini PCs side-by-side, highlighting the dual USB4 ports for high-speed data transfer and power delivery.
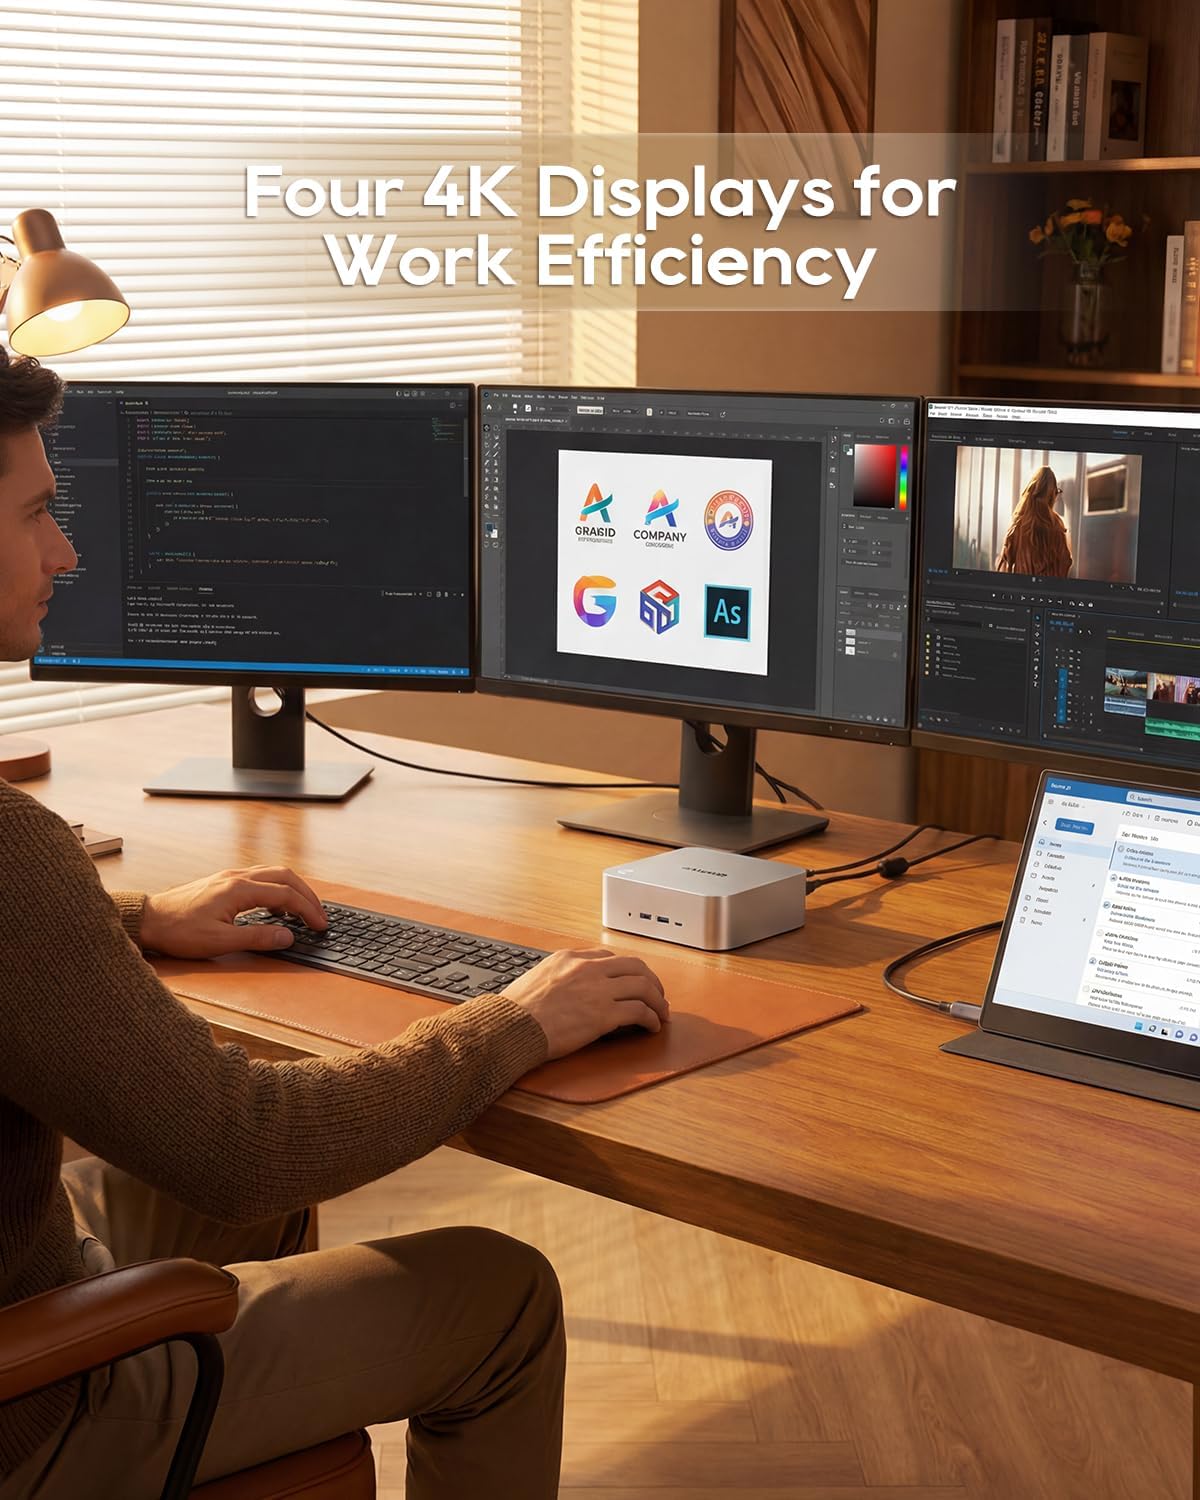
Image: A user working with the AOOSTAR MACO Mini PC connected to four 4K displays, illustrating its multi-display capability for productivity.
Image: The rear of the Mini PC showing the dual 2.5G LAN ports and an external WiFi antenna, emphasizing its high-speed networking capabilities.
Bideoa: Amaiera batview of the AOOSTAR MACO Mini PC, demonstrating its features such as fingerprint unlock, business applications, gaming performance, and home theater use.
4. Konfiguratzeko argibideak
Follow these steps to set up your AOOSTAR MACO Mini PC:
- Konektatu pantaila: Connect your monitor(s) to the Mini PC using an HDMI or DisplayPort cable. The Mini PC supports up to four 4K displays.
- Konektatu periferikoak: Plug in your keyboard, mouse, and any other USB devices into the available USB ports.
- Sare-konexioa: For wired internet, connect an Ethernet cable to one of the 2.5G LAN ports. For wireless internet, ensure the Wi-Fi antenna is connected (if external) and the device is powered on to configure Wi-Fi settings.
- Potentzia-konexioa: Connect the 120W Type-C power supply to the DC input port on the Mini PC, then plug the power adapter into a wall outlet.
- Piztu: Press the power button on the front of the Mini PC. The system will boot up.
- Hasierako konfigurazioa: Follow the on-screen instructions to complete the operating system setup (e.g., Windows OS).
5. Funtzionamendu-argibideak
This section covers general operation and specific features of your Mini PC.
5.1 Hatz-marka desblokeatzea
The Mini PC features a one-touch fingerprint unlock for enhanced security and quick access. During initial OS setup or via system settings, you can enroll your fingerprints. Once configured, simply touch the power button to wake and log in without needing a password.
5.2 Pantaila anitzeko konfigurazioa
The Mini PC supports connecting up to four 4K displays. Connect your monitors to the available HDMI and DisplayPort outputs. You can configure display settings (e.g., extend, duplicate) within your operating system's display settings.
5.3 OCuLink for External Graphics
The OCuLink port provides a high-bandwidth connection (64 Gbps) for external GPU solutions. This allows for significantly improved graphics performance for demanding applications or gaming. Note that OCuLink is not hot-swappable and does not occupy an M.2 2280 PCIe4.0 SSD slot.
5.4 USB4 Ports
The dual USB4 ports offer versatile connectivity with high data transfer speeds and power delivery capabilities (up to 100W). These ports can be used for external graphics card docks, NVMe SSD arrays, or other high-speed peripherals.
6. Mantentzea
Regular maintenance helps ensure the longevity and optimal performance of your Mini PC.
- Garbiketa: Use a soft, dry cloth to clean the exterior of the Mini PC. For dust accumulation in vents, use compressed air. Ensure the device is powered off and unplugged before cleaning.
- Aireztapena: Ensure the Mini PC is placed in a well-ventilated area. Do not block the ventilation openings.
- Software eguneraketak: Regularly update your operating system, drivers, and applications to maintain security and performance.
7. Arazoak
If you encounter issues with your Mini PC, refer to the following common troubleshooting steps:
- Potentziarik gabe:
- Ziurtatu korronte-egokitzailea ondo konektatuta dagoela bai Mini PCra bai funtzionatzen duen korronte-entxufe batera.
- Egiaztatu entxufea funtzionatzen duela beste gailu bat konektatuz.
- Ez dago pantailarik:
- Check that the display cable (HDMI/DisplayPort) is securely connected to both the Mini PC and the monitor.
- Ziurtatu monitoreak piztuta dagoela eta sarrera-iturri zuzenera konfiguratuta dagoela.
- Try connecting to a different display or using a different cable.
- Ez dago Interneteko konexiorik:
- Kable bidezko konexiorako, egiaztatu Ethernet kablearen eta bideratzailearen egoera.
- For Wi-Fi, ensure Wi-Fi is enabled in the operating system settings and you are connected to the correct network with the correct password.
- Restart your router/modem and the Mini PC.
- Errendimendu motela:
- Itxi atzeko planoan exekutatzen ari diren beharrezkoak ez diren aplikazioak.
- Check for sufficient free storage space on your SSD.
- Ensure the Mini PC is well-ventilated to prevent overheating.
8. Zehaztapenak
Detailed technical specifications for the AOOSTAR MACO AMD Ryzen 7 H255 Mini PC:
| Ezaugarri | Zehaztapena |
|---|---|
| Marka | AOOSTAR |
| Modelo zenbakia | MACO AMD Ryzen 7 H255 |
| CPU eredua | AMD Ryzen 7 H255 |
| CPU Abiadura | 3.8 GHz (Base), up to 4.9 GHz (Max Boost) |
| Koprozesadore grafikoa | Radeon 780M |
| RAM memoria instalatuaren tamaina | 24 GB |
| RAM Memoria Teknologia | DDR5 |
| Memoria Abiadura | 5600 MHz |
| RAM memoriaren gehienezko tamaina | 128 GB |
| Memoria Biltegiratzeko Ahalmena | 1 TB-ko SSDa |
| Disko gogorraren interfazea | PCIE x 4 |
| Sistema eragilea | OS (Pre-installed) |
| Konektibitate Teknologia | HDMI, USB, Wi-Fi 6, 2.5G LAN, OCuLink |
| Bideo Irteerako Interfazea | DisplayPort, HDMI |
| Ebazpena | 4K |
| USB portuak guztira | 6 (2x USB4, 2x USB 3.2 Gen2, 2x USB 3.0) |
| Elementuaren neurriak | 5.12 x 5.12 x 2.36 hazbete |
| Elementuaren pisua | 660 gramo |
| Kolorea | Beltza |
9. Bermea eta Laguntza
The AOOSTAR MACO AMD Ryzen 7 H255 Mini PC comes with a 1-year warranty. For warranty claims, technical support, or service inquiries, please contact AOOSTAR customer support through their official channels or the retailer where the product was purchased. Keep your proof of purchase for warranty validation.