Sarrera
Welcome to the user manual for your SINGER 3116 Simple 18 Stitch Sewing Machine. This machine is designed for ease of use, making it ideal for new sewers while offering features that enhance your sewing experience. It includes 18 built-in stitches, an automatic needle threader, and a fully automatic one-step buttonhole. Please read this manual thoroughly before operating your machine to ensure safe and efficient use.
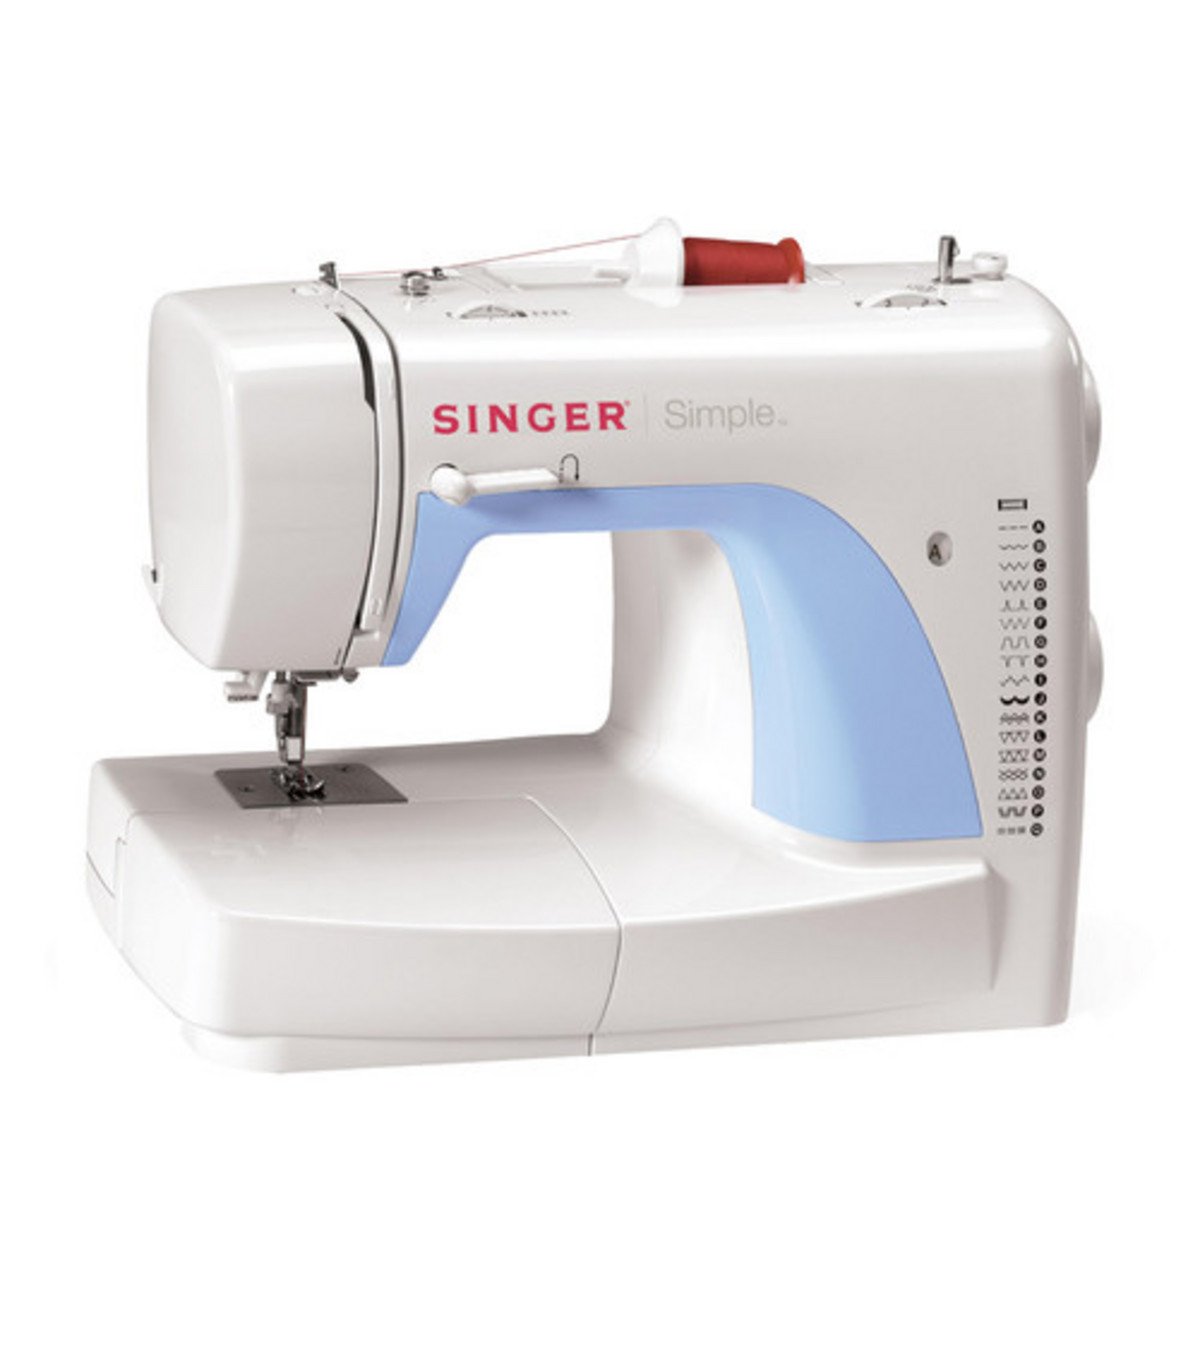
1. irudia: SINGER 3116 Simple 18 Stitch Sewing Machine. This image displays the front view of the sewing machine, highlighting its compact design and stitch selection dial.
Konfigurazioa
1. Desontziratzea eta kokatzea
Carefully remove the machine from its packaging. Place the machine on a stable, flat surface. Ensure there is adequate lighting and space for your sewing projects.
2. Energia-konexioa
- Sartu makinaren entxufea makinaren korronte-hartunean.
- Konektatu korronte-kablea entxufe elektriko egoki batera.
- The machine is designed for corded electric operation.
3. Bobina harilkatzea
- Jarri hari-bobina bat biribilgailuaren gainean.
- Gidatu haria goiko hari-gidatik eta bobina-hazteko tentsio-diskoaren inguruan.
- Place an empty Class 15 bobbin onto the bobbin winder spindle.
- Hari-bildu bobinaren inguruan eskuz hainbat aldiz.
- Bultza ezazu bobina-hazgailuaren ardatza eskuinera.
- Press the foot controller gently to start winding. The machine will stop automatically when the bobbin is full.
- Moztu haria eta itzuli bobina-biragailuaren ardatza ezkerrera.
4. Bobina sartzea
- Ireki bobinaren estalki-plaka.
- Sartu bobina kiribildua bobina-zorroan, haria norabide egokian askatzen dela ziurtatuz (normalean erlojuaren orratzen kontrako noranzkoan).
- Gidatu haria tentsio-malgukitik eta hari-gidarira.
- Itxi bobinaren estalki-plaka.
5. Goiko haria hariztatzea
- Altxa orratza bere posiziorik gorenera bolantea erabiliz.
- Jarri hari-bobina bat biribilgailuaren gainean.
- Gidatu haria goiko hari-gidatik.
- Bring the thread down through the right threading channel.
- Loop the thread up through the left threading channel and over the take-up lever.
- Bring the thread down through the needle bar thread guide.
- Use the automatic needle threader (refer to the "Automatic Needle Threader" section for detailed instructions) or manually thread the needle from front to back.
- Pull about 6 inches of thread through the needle eye.
Funtzionamendu-argibideak
1. Puntuen hautaketa
Turn the stitch selector dial to choose one of the 18 built-in stitches. The machine offers basic, stretch, and decorative stitches. Refer to the stitch chart on the machine for visual guidance.
2. Basic Sewing
- Jarri oihala prentsa-oinaren azpian.
- Behera prentsa oinaren palanka.
- Gently press the foot controller to start sewing. The sewing speed is controlled by the pressure applied to the foot controller.
- To reverse stitch, press and hold the reverse lever/button.
- When finished, raise the needle to its highest position, lift the presser foot, and remove the fabric. Cut the threads using the thread cutter.
3. Orratz-harigailu automatikoa
The automatic needle threader simplifies threading the needle. Ensure the needle is in its highest position. Lower the threader mechanism, hook the thread, and release. The thread will be pulled through the needle eye.
4. One-Step Buttonhole
- Attach the one-step buttonhole foot.
- Jarri erabili nahi duzun botoia botoi-zuloetarako oinaren euskarrian.
- Select the buttonhole stitch on the dial.
- Lower the presser foot and begin sewing. The machine will automatically sew the buttonhole to the correct size.
Mantentzea
1. Makina garbitzea
- Deskonektatu beti makina garbitu aurretik.
- Kendu orratz-plaka eta bobina-zorroa.
- Use the small brush provided (or a soft brush) to remove lint and dust from the feed dogs and bobbin area.
- Garbitu makinaren kanpoaldea zapi leun eta lehor batekin. Ez erabili garbitzaile likidorik.
2. Orratz ordezkatzea
- Replace the needle regularly, especially if it becomes bent, dull, or if you notice skipped stitches.
- Askatu orratza clamp screw, remove the old needle, and insert a new one with the flat side facing the back of the machine.
- Orratza clamp torlojuak ongi.
Arazoak konpontzea
| Arazoa | Kausa posiblea | Irtenbidea |
|---|---|---|
| Makina ez da martxan jartzen | Power cord not connected; machine switched off. | Ensure power cord is securely plugged in; turn on the power switch. |
| Saltatutako puntuak | Incorrect needle; bent needle; improper threading. | Replace needle with the correct type and size; re-thread the machine correctly. |
| Haria haustea | Improper threading; tension too tight; poor quality thread; bent needle. | Re-thread machine; adjust tension; use good quality thread; replace needle. |
| Ehuna ez da elikatzen | Feed dogs lowered; lint accumulation. | Raise feed dogs; clean feed dog area. |
| Looped stitches (bottom) | Upper thread not correctly threaded through tension discs. | Re-thread the upper thread, ensuring it is seated correctly in the tension discs with the presser foot raised. |
Zehaztapenak
- Eredua: SINGER 3116CL Simple
- Puntada kopurua: 18 Built-in Stitches (Basic, Stretch, Decorative)
- Buttonhole Type: 1-Step (Unistyle)
- Bobbin Class: 15
- Thread Delivery: Horizontala
- Presio erregulagarria: Bai
- Osagarriak biltegiratzea: Eraikituta
- Produktuaren neurriak: 18.2 x 10.5 x 13.8 hazbete
- Elementuaren pisua: 3 kilo
- Energia iturria: Kable elektrikoa
- Materiala: Plastikoa
- Kolorea: Zuria
- UPC: 037431881069
Bermea eta Laguntza
For specific warranty information, please refer to the warranty card included with your product or visit the official SINGER website. For technical support, replacement parts, or service inquiries, please contact SINGER customer service. Keep your purchase receipt as proof of purchase for warranty claims.
Fabrikatzailea: Abeslaria