1. Sarrera
This manual provides detailed instructions for the assembly, operation, and maintenance of your BRESSER Messier AR-152L 152/1200 EXOS-2/EQ5 achromatic refractor telescope. Please read these instructions carefully before using your telescope to ensure proper setup and optimal viewing experience. This telescope is designed for observing celestial objects, offering a generous 152mm aperture for impressive light gathering capabilities.

Figure 1: The BRESSER Messier AR-152L 152/1200 EXOS-2/EQ5 Telescope fully assembled.
2. Segurtasun informazioa
- Never look directly at the sun through the telescope or its finder scope without a professionally manufactured solar filter. Begietako kalte iraunkorrak eta itzulezinak, itsutasuna barne, gerta daitezke.
- Ensure all components are securely fastened before use to prevent accidental drops and damage.
- Keep the telescope away from moisture and extreme temperatures.
- Store the telescope in a safe place where it will not be tripped over or fall.
3. Paketearen edukia
Carefully unpack all items and verify that all components are present. If any parts are missing or damaged, contact customer support immediately.
- Optical Tube Assembly (OTA) - BRESSER Messier AR-152L
- EXOS-2/EQ5 Equatorial Mount
- Tripodea osagarrien erretiluarekin
- Kontrapisuak
- 26mm Super Plössl Eyepiece (1.25")
- 8x50 Finder Scope
- Zenith ispilua (diagonala)
- Hodi Clamp with GP Rail
- Integrated 31.7 mm and T2 Adapter
- Adapter for 50.8 mm (2") Eyepieces
- PC Software Stellarium (download/license)
- Rotatable Starmap
- Objective-Sunfilter (for safe solar observation)

Figure 2: The optical tube assembly (OTA) with model designation.

Figure 3: Included 26mm Super Plössl eyepiece.
4. Konfigurazioa
4.1. Assembling the Tripod and Mount
- Extend the tripod legs to a stable height and secure them.
- Attach the accessory tray to the tripod spreader.
- Mount the EXOS-2/EQ5 equatorial head onto the tripod. Ensure it is level using the integrated bubble level.
- Attach the counterweight shaft and slide the counterweights onto the shaft. Secure them with the locking screw.

Figure 4: Use the bubble level to ensure the mount is level for accurate tracking.
4.2. Attaching the Optical Tube
- Attach the tube clamp with the GP rail to the optical tube.
- Carefully place the optical tube (with the attached tube clamp and GP rail) onto the equatorial mount's dovetail saddle. Secure it firmly with the locking screws.
4.3. Teleskopioa orekatzea
Proper balancing is crucial for smooth tracking and preventing strain on the mount. Unlock the Right Ascension (RA) and Declination (DEC) clutches and adjust the counterweights along the shaft until the telescope remains stationary when pointed in different directions. Adjust the optical tube within its rings to balance it along the DEC axis.
4.4. Attaching and Aligning the Finder Scope
- Attach the 8x50 finder scope to its bracket on the optical tube.
- To align, point the main telescope at a distant, stationary object (e.g., a distant tree or building) during daylight hours.
- Zentratu objektua teleskopio nagusiaren okularrean.
- Adjust the alignment screws on the finder scope bracket until the same object is centered in the finder scope's crosshairs.

Figure 5: The focuser assembly where eyepieces and accessories are inserted.

Figure 6: The telescope can accommodate camera attachments for astrophotography (requires additional adapters).
5. Teleskopioaren funtzionamendua
5.1. Inserting Eyepieces and Diagonal
- Loosen the thumbscrew on the focuser.
- Insert the zenith mirror (diagonal) into the focuser. Tighten the thumbscrew to secure it.
- Askatu diagonalean dagoen torloju erpurua.
- Insert the desired eyepiece (e.g., 26mm Super Plössl) into the diagonal. Tighten the thumbscrew.
5.2. Enfokatzea
Once an object is centered in the eyepiece, turn the focuser knobs slowly until the image appears sharp. For fine adjustments, use the smaller knob if available. Different eyepieces and observers may require slight refocusing.
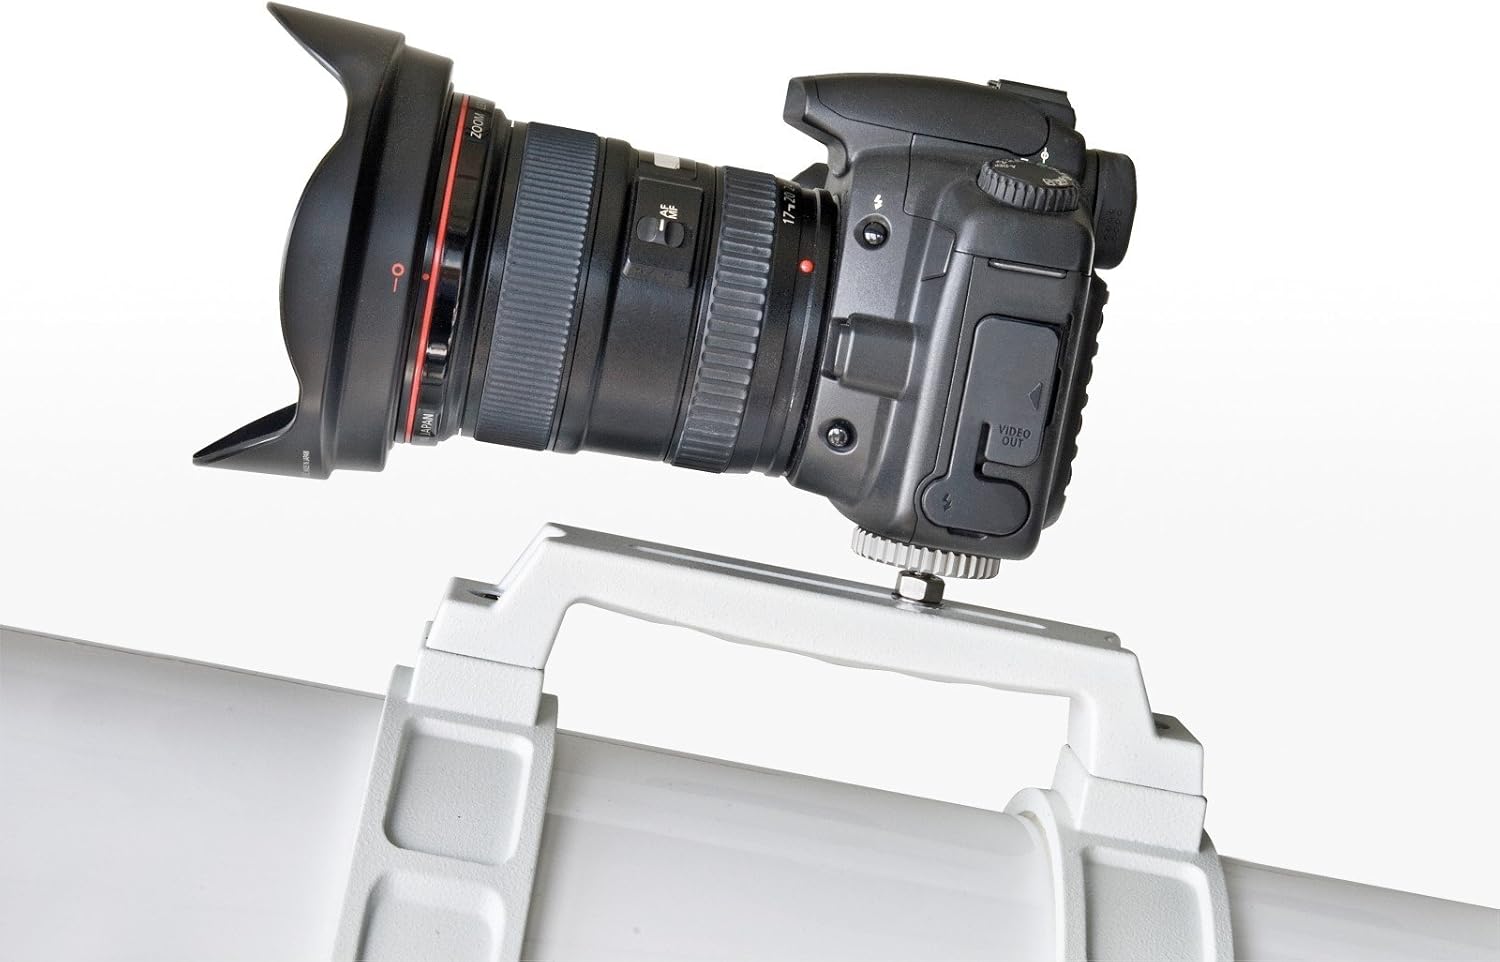
Figure 7: The focuser mechanism for adjusting image sharpness.

Figure 8: Eyepiece with scale, useful for specific measurements or settings.
5.3. Finding Celestial Objects
- Use the 8x50 finder scope to locate the desired object. The finder scope provides a wider field of view, making it easier to initially spot objects.
- Once the object is centered in the finder scope's crosshairs, look through the main telescope's eyepiece. The object should be visible, though perhaps not perfectly centered.
- Use the slow-motion controls on the equatorial mount to fine-tune the telescope's position and center the object in the main eyepiece.
- For tracking celestial objects, the equatorial mount allows you to follow their movement across the sky by rotating only the Right Ascension axis, ideally with an optional motor drive.
6. Mantentzea
6.1. Cleaning Optics
- Dust on the objective lens or eyepieces should be removed with a soft brush or compressed air.
- For smudges or fingerprints, use a specialized optical cleaning solution and a clean, soft microfiber cloth. Apply the solution to the cloth, not directly to the lens. Wipe gently in a circular motion from the center outwards.
- Ez ukitu gainazal optikoak esku hutsekin.
6.2. Biltegiratzea
- When not in use, cover the telescope with dust caps and store it in a dry, dust-free environment.
- Disassemble the telescope into its main components (optical tube, mount, tripod) for easier storage and transport.
7. Arazoak
- Irudi lausoak: Ensure the focuser is properly adjusted. Check if the eyepiece is clean. Allow the telescope to equalize to ambient temperature if moved from a warm to cold environment.
- Objektuak aurkitzeko zailtasuna: Verify that the finder scope is correctly aligned with the main telescope. Start with a low-power eyepiece (larger focal length) for a wider field of view.
- Telescope Drifts: Ensure the mount is properly balanced and the RA and DEC clutches are tightened. If using an equatorial mount, ensure it is polar aligned for accurate tracking.
- Bibrazioak: Ensure the tripod legs are fully extended and locked, and the accessory tray is securely attached. Observe from a stable surface.
8. Zehaztapenak
| Ezaugarri | Zehaztapena |
|---|---|
| Diseinu Optikoa | Errefraktore akromatikoa |
| Irekiera | 152 mm |
| Fokua | 1200 mm |
| Foku-erlazioa | f/7.9 |
| Mendi mota | EXOS-2/EQ5 Equatorial Mount |
| Bilatzailearen esparrua | 8x50 |
| Eyepiece Included | 26mm Super Plössl (1.25") |
| Hodi Optikoaren Luzera | 1200 milimetro |
| Item Weight (OTA) | 24.4 kilo (gutxi gorabehera) |
| Produktuaren neurriak (muntatuta) | 39.37"S x 39.37"Z x 72.83"A (gutxi gorabehera) |
| Elementuaren eredu-zenbakia | 4752128 |
9. Bermea eta Laguntza
For warranty information, technical support, or service inquiries, please refer to the official BRESSER website or contact your local dealer. Keep your purchase receipt as proof of purchase.
For additional resources and software downloads, visit the BRESSER Store.


