Sarrera
This manual provides detailed instructions for the safe and proper installation, operation, and maintenance of your Progress Lighting Inspire Collection 9-Light Off-White Linen Shade Traditional Chandelier in Brushed Nickel. Please read all instructions carefully before beginning installation and retain this manual for future reference.
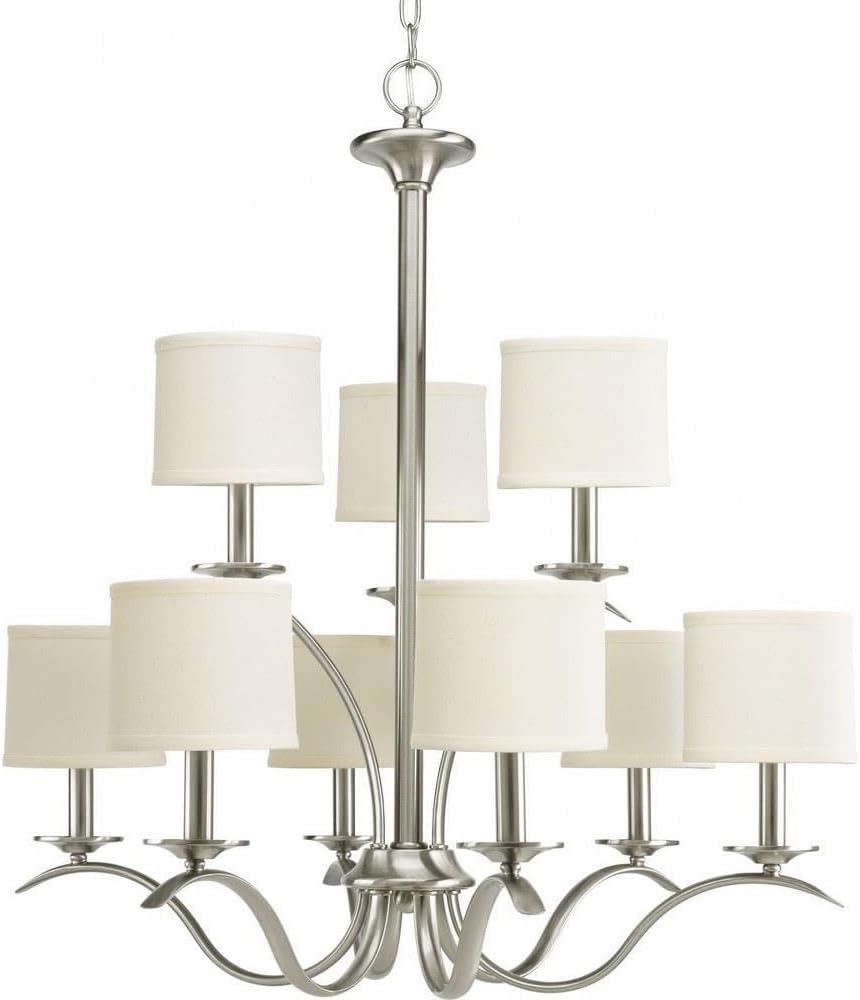
Image: The Inspire Collection 9-Light Chandelier featuring a brushed nickel finish and off-white linen shades.
Segurtasun Informazioa
OHARRA: To reduce the risk of fire, electric shock, or personal injury, always turn off the main power supply at the circuit breaker before installation, removal, or servicing. This product requires professional installation. Always consult a qualified electrician if you are unsure about the installation process.
65. proposamena Abisua: Produktu honek Kaliforniako Estatuak minbizia eta jaiotza-akatsak edo ugalketa-kalte batzuk eragiten dituen produktu kimikoak izan ditzake. Eskuak garbitu ondoren.
- Ensure all electrical connections are in accordance with local codes and ordinances.
- Erabili zehaztutako bonbilla mota eta wat bakarriktage gehiegi berotzea ekiditeko.
- Do not hang anything from the fixture.
Paketearen edukia
Instalazioa hasi aurretik, egiaztatu osagai guztiak daudela:
- Chandelier fixture assembly
- 9 Off-white linen shades
- Ceiling chain (6 feet of 9 gauge chain supplied)
- Kableatu elektrikoa
- Mounting hardware (may require additional screws not included)
- Instalazio orria
Konfigurazioa eta instalazioa
Professional installation is recommended for this chandelier. Follow these general steps, referring to the included installation sheet for specific details.
1. Prestatu instalazioa
- Itzali etengailuan.
- Carefully unpack the fixture and components.
- Determine the desired hanging height. For an 8-foot ceiling, the bottom of the chandelier should be 30-36 inches above a dining table. For higher ceilings, divide the vertical space into thirds and position the chandelier two-thirds of the distance from the floor, ensuring at least 7 feet of clearance from the floor in areas where people walk underneath.
2. Mount the Fixture
- Attach the mounting bracket to the junction box in the ceiling.
- Adjust the chain length as needed. The supplied chain is 6 feet long.
- Thread the electrical wires through the chain and canopy.
3. Konexio elektrikoak
- Connect the fixture's ground wire to the ground wire from the junction box.
- Connect the fixture's 'white or identified' wire (often with ridges) to the white (neutral) wire from the junction box.
- Connect the fixture's 'plain or black' wire to the black (hot) wire from the junction box.
- Lotu konexio guztiak alanbre-azkoinekin eta zinta elektrikoarekin.
4. Azken Batzarra
- Lotu estalkia sabaira.
- Install 9 candelabra-shaped bulbs (E26 base, maximum 60 watts each). Note: Only candelabra-shaped bulbs can be used with the shades.
- Attach the off-white linen shades to each light socket.
- Berrezarri energia etengailuan.
Ikusizko Instalazio Gida
Bideoa: Ikuspegi osoaview of chandelier installation by Progress Lighting, demonstrating key steps and considerations for proper setup.
Produktuaren neurriak

Image: Dimensional drawing of the chandelier, indicating a width of 29.38 inches and a height of 31 inches.
Funtzionamendu-argibideak
Once properly installed, your chandelier can be operated using a standard wall switch. If your electrical setup includes a dimmer switch, ensure it is compatible with incandescent bulbs for optimal performance.
The fixture's switch type is listed as 'Pull Chain' in some specifications, however, the primary control is typically via a wall switch for chandeliers of this design. Please refer to your specific home wiring and switch setup.
Mantentzea
Garbiketa
- Itzali beti korrontea garbitu aurretik.
- Garbitu instalazioa zapi leun eta lehor batekin.
- Do not use abrasive cleaners or solvents as they may damage the finish.
- The linen shades can be gently dusted or spot cleaned with a damp oihala behar izanez gero.
Bonbilla ordezkatzea
- Ensure power is off and bulbs have cooled before replacing.
- Unscrew old bulbs and screw in new E26 candelabra-shaped bulbs.
- Ez gainditu gehienezko wat-atag60 watt-eko e bonbilla bakoitzeko.
Arazoak konpontzea
If your chandelier is not functioning correctly, refer to the following common issues:
- Argirik gabe: Check the circuit breaker, ensure bulbs are securely screwed in, and verify all electrical connections are tight.
- Argi distiratsuak: Ensure bulbs are fully tightened. If using a dimmer, confirm it is compatible with the bulb type and that the bulbs are dimmable.
- Loose Fixture: Re-check mounting hardware and ensure it is securely fastened to the ceiling junction box.
Arazoak jarraitzen badute, kontsultatu elektrizista kualifikatu bati.
Zehaztapenak
| Marka | Aurrerapen Argiztapena |
| Ereduaren izena | Inspiratu |
| Zati zenbakia | P4638-09 |
| Kolorea | Nikel brotxatua |
| Materiala | Altzairu aleazioa |
| Itzala Materiala | Lihoa |
| Estiloa | Trantsiziozkoa |
| Argi-tresnaren forma | Chandelier |
| Produktuaren neurriak | 29.38"L x 29.38"Z x 31"A |
| Elementuaren pisua | 15 kilo |
| Argi-iturri kopurua | 9 |
| Bonbilla Oinarria | E26 |
| Wattage | 60 watt (bonbilla bakoitzeko) |
| liburukiatage | 120 Volt |
| Barruko/Kanpoko erabilera | Barruan |
| Ezaugarri Berezia | UL zerrendatua |
Bermearen informazioa
This Progress Lighting product is covered by a 1 urteko berme mugatua. This warranty guarantees your complete satisfaction with your purchase and includes professional after-sales customer service support. Please retain your proof of purchase for warranty claims.
Bezeroarentzako Arreta
For further assistance, technical support, or warranty inquiries, please visit the official Progress Lighting website or contact their customer service department. Refer to the packaging or the Progress Lighting webuneko harremanetarako informazioa lortzeko gunea.


