1. Sarrera
This manual provides essential information for the safe and effective use of your Leica M (Typ 240) Digital Rangefinder Camera, model 10770. The Leica M is engineered for superior image quality, precise focusing, and robust performance, featuring a 24-megapixel CMOS sensor and the Leica Maestro image processor.
Ezaugarri nagusiak hauek dira:
- High-resolution 24-megapixel CMOS sensor for exceptional detail.
- Fast Leica Maestro image processor for rapid image handling.
- Zuzenean View with 10x magnification and Focus Peaking for precise focusing.
- Splash-proof camera body for enhanced durability.
- 3-inch TFT LCD screen with 920,000 pixels and Corning Gorilla glass protection.
- Full 1080p HD video recording capabilities.
2. Konfigurazioa
2.1 Edukiak desegitea eta egiaztatzea
Carefully unpack your camera and verify that all components are present. The standard package for model 10770 includes the camera body only. Inspect the camera for any signs of damage before proceeding.
2.2 Bateriaren instalazioa
The Leica M (Typ 240) uses one Lithium Metal battery (included). To install the battery:
- Locate the battery compartment cover, typically on the bottom of the camera.
- Open the cover by turning the locking mechanism.
- Insert the battery according to the polarity indicators inside the compartment.
- Itxi bateriaren konpartimenduaren estalkia ondo.
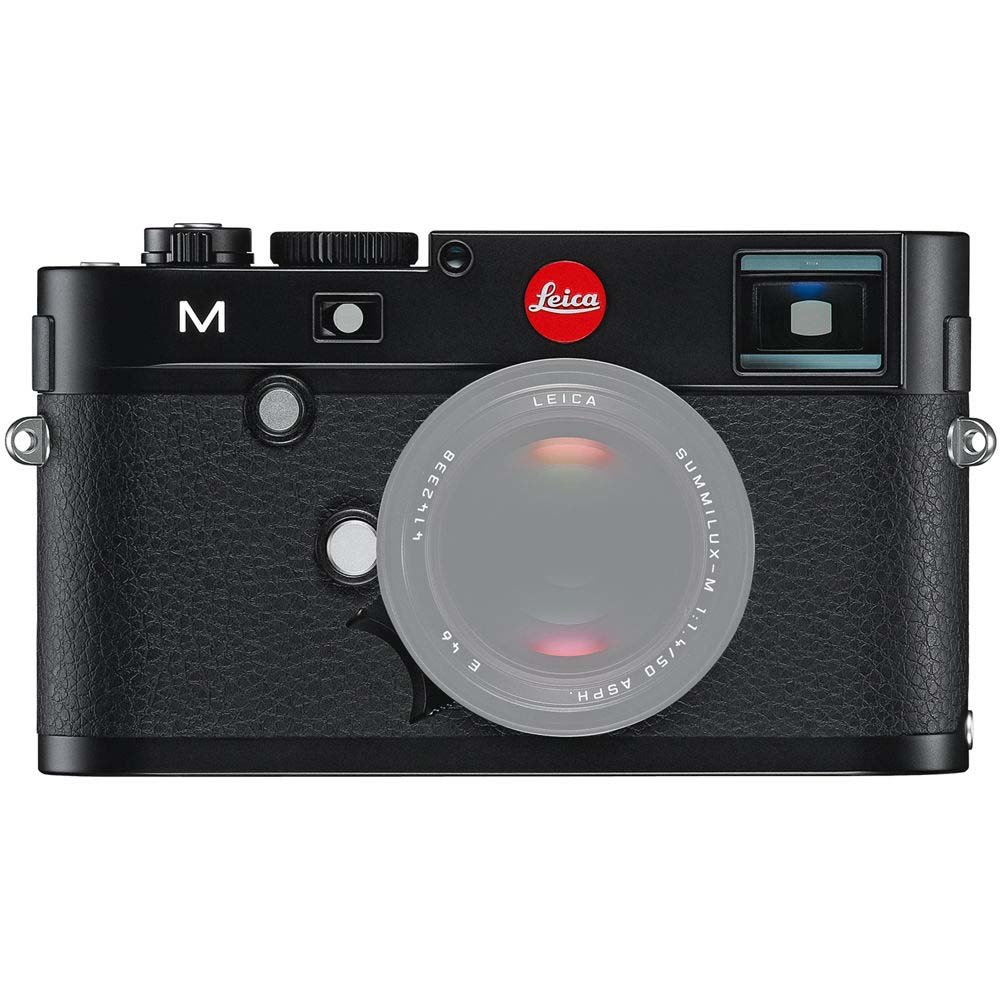
Aurrealdea view of the Leica M (Typ 240) Digital Rangefinder Camera, showing the lens mount and body design. This image illustrates the camera's exterior, which houses the battery compartment and other controls.
2.3 Memoria txartelaren txertatzea
Insert a compatible SD card into the memory card slot. Ensure the card is inserted in the correct orientation until it clicks into place. Refer to the camera's display for confirmation of card recognition.
2.4 Lentearen eranskina
The Leica M (Typ 240) uses the Leica M mount. To attach a lens:
- Kendu gorputzeko tapoia kamerari eta atzeko tapoia lenteari.
- Align the red dot on the lens with the red dot on the camera's lens mount.
- Gently insert the lens into the mount and turn it clockwise until it locks into place.
2.5 Hasierako piztea eta oinarrizko ezarpenak
After installing the battery and memory card, turn on the camera using the power switch. The first time you power on, you may be prompted to set the date, time, and language. Follow the on-screen instructions to configure these basic settings.
3. Kameraren funtzionamendua
3.1 Kontrolakview
The Leica M (Typ 240) features a classic rangefinder design with intuitive controls. Familiarize yourself with the shutter speed dial, aperture ring (on the lens), focus ring (on the lens), and the various buttons and dials on the camera body for menu navigation and function selection.
3.2 Enfokatzea
The camera offers multiple focusing methods:
- Rangefinder System: The classic method for precise manual focusing. Align the split or superimposed images in the viewbilatzailea.
- Zuzenean View Zooma: When using Live View on the LCD screen, you can magnify the image up to 10x for critical focus assessment.
- Zuzenean View Fokuaren gailurra: This feature automatically highlights sharp contours in red on the Live View display, providing visual confirmation of focus.
3.3 Esposizio ezarpenak
The Leica M (Typ 240) provides comprehensive control over exposure. You can manually set aperture (via the lens), shutter speed (via the top dial), and ISO sensitivity. The camera also offers various metering modes, including Center Weighted, to assist in achieving correct exposure.
3.4 Shooting Still Images
Irudi finko bat ateratzeko:
- Idatzi zure planoa erabiliz viewfinder or Live View.
- Adjust focus using one of the methods described above.
- Set your desired exposure parameters (aperture, shutter speed, ISO).
- Press the shutter button halfway to activate the meter, then fully to capture the image.
3.5 Bideoak grabatzea
The Leica M (Typ 240) supports 1080p full-HD video recording. To record a video:
- Switch the camera to video mode (if applicable, refer to the camera's menu).
- Compose your shot and adjust focus.
- Press the dedicated video recording button or the shutter button (depending on configuration) to start and stop recording.
3.6 Irudien erreprodukzioa
Berrizview hartutako irudiak eta bideoak:
- Sakatu Erreproduzitzeko botoia.
- Use the navigation controls to scroll through your media.
- The 3-inch TFT LCD screen provides a clear display for reviewzure planoak eginez.
4. Mantentzea
4.1 Kamera garbitzea
- Kameraren gorputza: Erabili zapi leun eta lehor bat kameraren gorputza garbitzeko. Zikinkeria egoskorra bada, garbitu zapi pixka bat.amp oihalak erabil daitezke, baina saihestu gehiegizko hezetasuna.
- Lentea: Use a lens brush or air blower to remove dust, then gently clean with a microfiber lens cloth and a specialized lens cleaning solution if necessary.
- Sentsore: Sentsorearen garbiketa oso kontu handiz egin behar da. Irudietan hauts-orbanak agertzen badira, gomendagarria da sentsorea baimendutako zerbitzu-zentro batek profesionalki garbitzea.
- LCD pantaila: Use a soft, lint-free cloth. Avoid harsh chemicals.
4.2 Biltegiratzea
When not in use, store the camera in a cool, dry place away from direct sunlight, high humidity, and extreme temperatures. Use a desiccant pack if storing in humid environments. Remove the battery if the camera will not be used for an extended period.
4.3 Bateria zaintzea
Charge the battery fully before first use. For optimal battery life, avoid completely discharging the battery regularly. Store batteries in a cool, dry place. If storing for extended periods, charge them to approximately 50% capacity.
5. Arazoak
5.1 Kamera ez da pizten
- Ziurtatu bateria behar bezala sartuta eta guztiz kargatuta dagoela.
- Check that the battery contacts are clean.
- Saiatu beste bateria kargatu batekin, eskuragarri badago.
5.2 Images Are Out of Focus
- Verify that the lens is correctly attached and the focus ring is being adjusted properly.
- Ensure you are using the rangefinder or Live View focusing aids correctly.
- Check the diopter adjustment on the viewfinder if images appear blurry through it.
5.3 Image Quality Issues (e.g., Noise, Color Cast)
- Zarata: High ISO settings can introduce noise. Try lowering the ISO or using a brighter aperture/slower shutter speed.
- Koloreak: Check the white balance settings. Adjust to match the lighting conditions. Firmware updates may also address color rendition issues.
- Dust Spots: If dark spots appear on images, especially at smaller apertures, the sensor may require cleaning.
5.4 Memory Card Errors
- Ensure the memory card is fully inserted.
- Try formatting the card in the camera (oharra: honek datu guztiak ezabatuko ditu).
- Probatu beste memoria-txartel bateragarri batekin.
6. Zehaztapenak
| Ezaugarri | Xehetasuna |
|---|---|
| Marka | Leica |
| Modelo zenbakia | 10770 |
| Produktuaren neurriak | 5.47 x 1.65 x 3.15 hazbete |
| Elementuaren pisua | 1.29 kilo |
| Pilak | 1 litio metalezko bateria (barne) |
| Muntaketa bateragarriak | Leika M |
| Argazki sentsoreen teknologia | CMOS |
| Onartua File Formatua | JPEG, RAW |
| Irudi Egonkortzea | Digitala |
| Zoom optikoa | 1x |
| Gehieneko irekiera | 3.5 Millimeters (Note: This refers to the camera body's internal specification, actual lens aperture varies.) |
| ISO gutxieneko hedatua | 100 |
| Neurketaren deskribapena | Zentro haztatua |
| Eskuragarri dagoen lehen data | 2ko otsailaren 2010a |
7. Bermea eta Laguntza
For detailed warranty information, please refer to the warranty card included with your product or visit the official Leica webgunea. Gorde erosketaren egiaztagiria bermearen erreklamazioetarako.
For further assistance, technical support, or service, please contact Leica customer service or visit an authorized Leica service center. You can find more information and resources on the Leica denda Amazonen.


