1. Sarrera
Thank you for choosing the Gravity 7 Band Graphic Equalizer GR-EQ9. This equalizer is designed to provide precise control over your car audio system, allowing you to fine-tune sound frequencies for an enhanced listening experience. Please read this manual thoroughly before installation and operation to ensure proper use and optimal performance.
2. Segurtasun informazioa
- Deskonektatu beti ibilgailuaren bateria edozein instalazio hasi aurretik.
- Ziurtatu kableatu guztiak behar bezala isolatuta daudela zirkuitulaburrak saihesteko.
- Mount the equalizer securely to avoid movement during vehicle operation.
- Do not operate the unit in wet conditions or expose it to excessive moisture.
- Instalazio prozesuaren edozein atalen inguruan ziur ez bazaude, kontsultatu autoko audio instalatzaile profesional bati.
3. Paketearen edukia
Verify that all items are present in your GR-EQ9 package:
- Gravity 7 Band Graphic Equalizer GR-EQ9 Unit
- Muntatzeko euskarriak
- Muntatzeko Torlojuak
- Energia/Lurra/Urrutiko Agintearen Kableatu Arnesa
- Erabiltzailearen eskuliburua
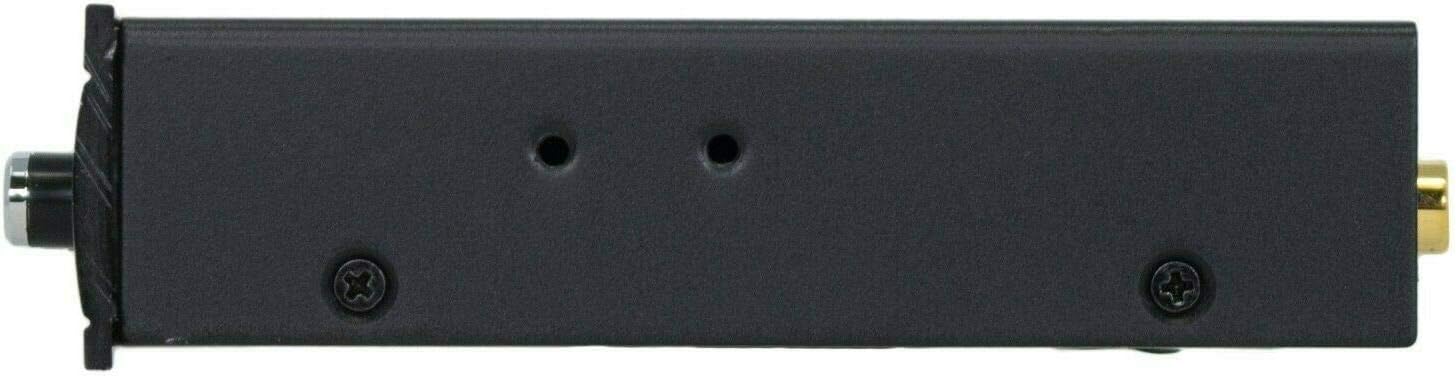
Image: Included mounting brackets, screws, and wiring harness for the GR-EQ9.
4. Produktua amaitu daview
4.1. Aurrealdeko panelaren kontrolak

Irudia: Goian view of the GR-EQ9 front panel with all controls.
- AZPI MAILA: Adjusts the output level of the subwoofer.
- bolumena: Master volume control for the entire system.
- SUB FREQ: Adjusts the low-pass crossover frequency for the subwoofer output (60Hz to 90Hz).
- FADER: Balances the audio output between front and rear speakers.
- AUX/CD Selector: Switches between Main (CD) and Auxiliary (AUX) input sources.
- 7-Band Equalizer Knobs: Individual controls for 50Hz, 125Hz, 315Hz, 750Hz, 2.2KHz, 6KHz, and 16KHz frequencies. Each band can be boosted or cut by -12dB to +12dB.
- HIGH LEVEL / MAIN LEVEL: Input level adjustment for high-level or main RCA inputs to prevent distortion.
4.2. Atzeko panelaren konexioak

Image: Close-up of the GR-EQ9 rear panel connections.
- MAIN IN (L/R): RCA inputs for the primary audio source (e.g., head unit).
- AUX IN (L/R): RCA inputs for an auxiliary audio source.
- FRONT OUT (L/R): RCA outputs for front speakers.
- REAR OUT (L/R): RCA outputs for rear speakers.
- SUB OUT (L/R): RCA outputs for subwoofer amplifier. This output features a 10V line driver.
- Power Terminals (+12V, REM, GND): Connections for power, remote turn-on, and ground.
5. Konfigurazioa
5.1. Instalazioa
The GR-EQ9 is designed for flexible installation in various vehicle locations. Consider a location that allows for easy access to controls and proper ventilation.

Image: Mounting diagram for the GR-EQ9.
- Choose a suitable mounting location (e.g., under the dashboard, in the center console).
- Use the provided mounting brackets as a template to mark screw holes.
- Drill pilot holes and secure the brackets using the supplied screws.
- Attach the GR-EQ9 unit to the mounted brackets.
5.2. Kableatua
Proper wiring is crucial for optimal performance and safety. Ensure all connections are secure and correctly polarized.
- Energia konexioa (+12V): Connect the +12V wire from the equalizer to a constant +12V power source from the vehicle's battery. Use an inline fuse (not supplied) for protection. The unit operates between 9V and 16V.
- Lurreko konexioa (GND): Connect the GND wire to a clean, unpainted metal surface on the vehicle chassis.
- Urruneko piztea (REM): Connect the REM wire to the remote output of your head unit. This will turn the equalizer on and off with your car's audio system.
- RCA sarrerak: Connect the RCA output from your head unit to the NAGUSIA (L/R) inputs on the GR-EQ9. If using an auxiliary device, connect its RCA output to the AUX (L/R) inputs.
- RCA irteerak: Konektatu AURRERA KANPO (L/R), ATZERA KANPO (L/R), and SUB OUT (L/R) from the GR-EQ9 to the corresponding inputs on your ampigogailuak.
6. Funtzionamendu-argibideak
Once installed, the GR-EQ9 allows for precise audio customization.
- Piztu: The unit will power on automatically when the remote turn-on signal is received from your head unit.
- Sarrera hautatzea: Erabili AUX/CD Selector button to switch between your main audio source (CD) and the auxiliary input (AUX).
- Bolumen kontrola: Egokitu BOLUMENA knob to set the overall listening level.
- Subwoofer kontrola:
- Erabili AZPI MAILA knob to control the output volume of your subwoofer.
- Egokitu SUB FREQ knob to set the low-pass crossover point for the subwoofer, typically between 60Hz and 90Hz, to blend with your main speakers.
- Ekualizazioaren doikuntzak: Use the seven individual frequency knobs (50Hz, 125Hz, 315Hz, 750Hz, 2.2KHz, 6KHz, 16KHz) to boost or cut specific frequency ranges. Adjust these to tailor the sound to your preference and vehicle acoustics. Each band offers a range of -12dB to +12dB.
- Fader kontrola: The FADER knob allows you to adjust the balance of sound between your front and rear speakers.
- Sarrera Mailaren Doikuntza: Erabili HIGH LEVEL / MAIN LEVEL switch and corresponding knobs to match the input signal level from your head unit, preventing distortion.
7. Mantentzea
- Mantendu unitatea garbi, zapi leun eta lehor batekin garbituz.
- Saihestu produktu kimiko gogorrak edo garbitzaile urratzaileak erabiltzea.
- Ziurtatu konexio guztiak ondo finkatuta daudela eta korrosiorik gabe daudela.
8. Arazoak
| Arazoa | Kausa posiblea | Irtenbidea |
|---|---|---|
| Botererik ez | Blown fuse; incorrect wiring; no remote signal. | Check and replace fuse; verify +12V, GND, and REM connections. |
| Soinurik ez | Incorrect RCA connections; amplifier not powered; input source issue. | Verify all RCA cables are connected correctly; ensure amplifiers are on; check head unit output. |
| Soinu distortsionatua | Input level too high; equalizer settings too extreme; poor grounding. | Adjust input level using HIGH LEVEL/MAIN LEVEL controls; reduce EQ boost; check ground connection. |
| Noise/Hiss | Poor grounding; RCA cables too close to power wires; gain settings too high. | Ensure proper grounding; reroute RCA cables away from power wires; adjust amplifier irabazien ezarpenak. |
9. Zehaztapenak
- Eredua: GR-EQ9
- Produktuaren neurriak: 1.8 x 9 x 7.7 hazbete
- Elementuaren pisua: 1.6 kilo
- Equalizer Bands: 7 (50Hz, 125Hz, 315Hz, 750Hz, 2.2KHz, 6KHz, 16KHz)
- Boost/Cut: -12 dB to +12 dB per band
- Subwoofer gurutzatze-maiztasuna: Adjustable (60Hz-90Hz)
- Line Driver Output: 10V (Subwoofer Output)
- Elikatze-iturria: 9 V-16 V DC
- Ezaugarri bereziak: EPICENTER, Fully Adjustable EQ Bands, Line Driver, RCA Output, Subwoofer Control
10. Bermea
This Gravity product is covered by a manufacturer's warranty against defects in materials and workmanship. Please refer to the warranty card included with your purchase or contact customer support for specific terms and conditions. Keep your proof of purchase for warranty claims.
11. Laguntza
For technical assistance, troubleshooting, or warranty inquiries, please contact Gravity customer support. Contact details can typically be found on the product packaging or the official Gravity webgunea.


