1. Bukatu daview
The Aerocool Cylon RGB Midi-Tower PC Case, model ACCM-PV10012.11, is designed to house computer components, offering both functionality and aesthetic appeal. It features a side window panel for showcasing internal hardware and an RGB LED illumination strip on the front panel for customizable lighting effects. This case supports ATX motherboards and provides ample space for various components, including multiple storage drives and cooling solutions.

1. irudia: Aurrealdea view of the Aerocool Cylon RGB Midi-Tower PC Case, highlighting its distinctive RGB LED strip.
2. Paketearen edukia
Mesedez, egiaztatu elementu guztiak paketean daudela:
- Aerocool Cylon RGB Midi-Tower PC Case (ACCM-PV10012.11)
- Accessory box (containing screws, standoffs, cable ties, etc.)
- Erabiltzailearen eskuliburua (dokumentu hau)
3. Segurtasun informazioa
Read and understand all safety instructions before installing or operating the PC case. Failure to do so may result in injury or damage to the product.
- Deskonektatu beti korronte-iturria hormako entxufetik edozein instalazio edo mantentze-lan egin aurretik.
- Handle all components with care to prevent damage.
- Avoid touching electronic components directly; use anti-static precautions if possible.
- Mantendu pieza txikiak eta osagarriak haurren eskura ez dauden lekuetan.
- Berotu gehiegizko tenperatura saihesteko, ziurtatu kaxa inguruan aireztapen egokia dagoela.
4. Konfigurazioa eta instalazioa
4.1 Kasua prestatzea
Before installing components, remove the side panels to access the interior of the case.
- Jarri zorroa gainazal lau eta egonkor batean.
- Locate the thumbscrews on the rear of the case securing the side panel.
- Unscrew the thumbscrews and carefully slide the side panel backward, then lift it off. Repeat for the other side panel if necessary.
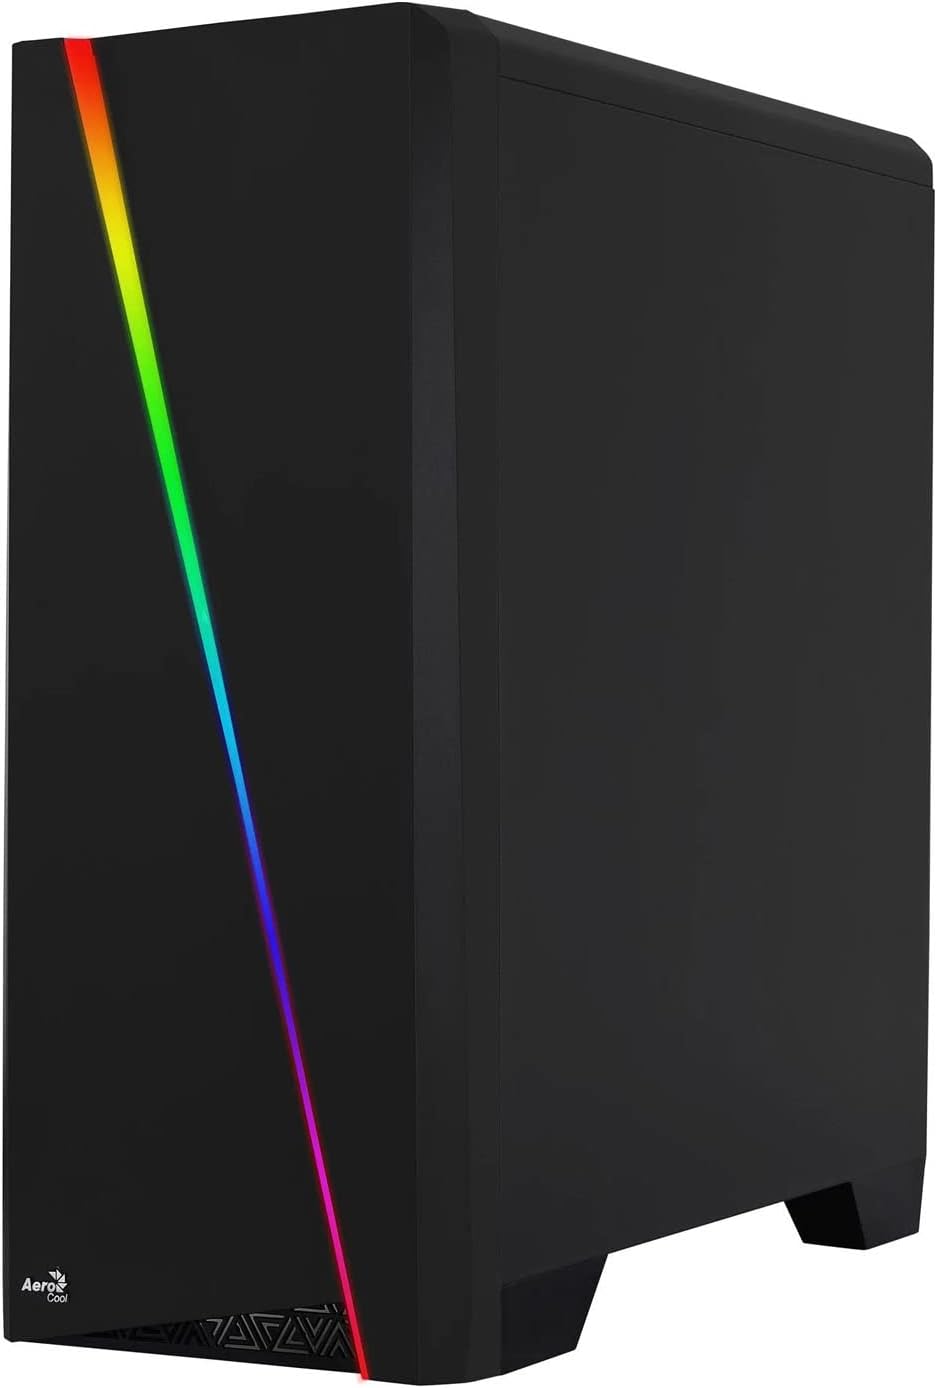

Figure 2: Left image shows the side panel attached, right image shows the side panel removed for access.
4.2 Plaka amaierako instalazioa
The Aerocool Cylon case supports ATX motherboards.
- Install the I/O shield that came with your motherboard into the opening at the rear of the case.
- Ensure motherboard standoffs are correctly aligned with your motherboard's screw holes. Install any missing standoffs from the accessory box.
- Kontu handiz jarri plaka basea euskarrien gainean, torloju-zuloak lerrokatuz.
- Secure the motherboard with the appropriate screws from the accessory box.
4.3 Drive Installation (2.5" / 3.5")
The case provides bays for 2.5-inch and 3.5-inch drives.
- Locate the drive bays within the case. Refer to the case diagram for specific locations.
- For 3.5-inch HDDs, slide the drive into the designated tray or bay and secure it with screws.
- For 2.5-inch SSDs, mount the drive onto the designated bracket or tray and secure it with screws.
4.4 Energia hornitzeko unitatea (PSU) instalatzea
The PSU is typically mounted at the bottom rear of the case.
- Sartu elikadura-iturria dagokion konpartimentuan, kaxaren atzealdetik.
- Align the PSU's screw holes with those on the case.
- Secure the PSU with the provided screws.
4.5 Expansion Card (GPU) Installation
Install your graphics card or other expansion cards into the PCIe slots.
- Remove the necessary PCI-E slot covers from the rear of the case corresponding to your expansion card's size.
- Carefully insert the expansion card into the appropriate PCI-E slot on the motherboard until it clicks into place.
- Secure the expansion card with screws.

3. Irudia: Atzealdea view of the PC case, showing the expansion slots and I/O area.
4.6 Fan / Liquid Cooling Radiator Installation
The Aerocool Cylon case supports various cooling configurations.
- Atzekoa: 1 x 120mm fan (pre-installed or optional).
- Goia: Supports 2 x 120mm fans or 1 x 240mm radiator.
- Behea: 2 x 120 mm-ko haizagailu onartzen ditu.
- Mount fans or radiators to their respective positions using the appropriate screws.
- Connect fan power cables to the motherboard or a fan controller.

Figure 4: An interior shot of the case, illustrating potential fan and liquid cooling radiator placements.
4.7 Kableen kudeaketa
Effective cable management improves airflow and aesthetics.
- Route cables through the cutouts and behind the motherboard tray.
- Use cable ties (included in the accessory box) to bundle and secure cables.
4.8 Aurreko paneleko sarrera/irteera konektatzea
Konektatu aurrealdeko paneleko kableak zure plaka baseko dagokien goiburuetara.
- USB 3.0: Connect the USB 3.0 cable to the motherboard's USB 3.0 header.
- USB 2.0: Connect the USB 2.0 cables (x2) to the motherboard's USB 2.0 headers.
- HD audioa: Connect the HD Audio cable to the motherboard's audio header.
- Power/Reset/LEDs: Connect the small individual cables (Power SW, Reset SW, HDD LED, Power LED) to the motherboard's front panel headers according to your motherboard manual.
5. Ordenagailuaren kaxaren funtzionamendua
Once all components are installed and connected, reattach the side panels and power on your system.
- Piztu: Sakatu kaxaren goiko E/S panelean dagoen pizteko botoia.
- RGB argiztapenaren kontrola: The front panel RGB LED illumination can be controlled via a dedicated button on the top I/O panel or through compatible motherboard software, depending on your setup. Refer to your motherboard manual for software control options.
6. Mantentzea
Mantentze-lan erregularrak zure ordenagailuaren kaxaren eta osagaien errendimendu optimoa eta iraupena bermatzen laguntzen du.
- Hauts-iragazkiaren garbiketa: The case features dust filters (e.g., on the top and bottom). Regularly remove and clean these filters to prevent dust buildup and maintain good airflow. Use compressed air or a soft brush.
- Garbiketa orokorra: Erabili biguna, damp cloth to wipe down the exterior of the case. Avoid abrasive cleaners or solvents. For the transparent side panel, use a microfiber cloth to prevent scratches.
7. Arazoak
Arazoak badituzu, kontuan hartu arazoak konpontzeko ohiko urrats hauek:
- Potentziarik gabe: Ensure the PSU is properly connected to the wall outlet and the power switch on the PSU is in the 'ON' position. Verify all power cables to the motherboard and components are securely seated.
- Haizagailuak ez dira biratzen: Check that all fan cables are correctly connected to the motherboard or fan controller. Ensure the system is receiving power.
- RGB Not Working: Confirm RGB cables are properly connected. If using motherboard software, ensure it is installed and configured correctly.
- Konexio solteak: Recheck all internal connections (power, data, front panel I/O) to ensure they are firmly seated.
8. Zehaztapenak
| Ezaugarri | Zehaztapena |
|---|---|
| Ereduaren izena | ACCM-PV10012.11 |
| Kasu mota | Midi-dorrea |
| Plaka amaren bateragarritasuna | ATX |
| Neurriak (LxWxH) | 16.26 x 7.8 x 18.07 hazbete |
| Elementuaren pisua | 8.36 kilo |
| Materiala | Akrilikoa |
| USB 3.0 Portuak | 1 |
| USB 2.0 Portuak | 2 |
| Hozteko metodoa | Airea |
| Fan Size (Rear) | 120 milimetro |
| RGB argiztapena | Front Panel LED Strip |
9. Bermearen informazioa
The Aerocool Cylon RGB Midi-Tower PC Case is covered by a manufacturer's warranty. Please refer to the warranty card included with your product or visit the official AeroCool webwebgunean bermearen baldintza zehatzak ikusteko, estaldura-epea eta erreklamazio-prozedurak barne.
10. Laguntza
For further assistance, technical support, or to download the latest drivers and software, please visit the official AeroCool webgunea:
Webgunea: www.aerocool.io
You may also contact AeroCool customer service through the contact information provided on their webgunea.