1. Sarrera
Thank you for choosing the NEDIS Automatic Lead Acid Battery Charger, model BACCH02. This charger is designed for safe and efficient charging and maintenance of 2V, 6V, and 12V lead-acid batteries. Please read this manual thoroughly before use to ensure proper operation and to prevent damage to the charger or battery.
2. Segurtasun-argibideak
Always observe the following safety precautions when using the battery charger:
- This charger is for indoor use only. Do not expose to rain or moisture.
- Mantendu haurren eskura.
- Kargatzen ari den bitartean, ziurtatu aireztapen egokia dagoela gasa pilatzea saihesteko.
- Avoid sparks, flames, or smoking near the battery during charging. Batteries can produce explosive gases.
- Erabili begi-babesak eta arropa babesgarriak pilekin lan egiten duzunean.
- Always disconnect the AC power supply before connecting or disconnecting the battery clamps.
- Konektatu gorria (+) clamp bateriaren terminal positiboari eta (-) cl beltzariamp bateriaren terminal negatibora.
- Do not attempt to charge frozen, damaged, or non-rechargeable batteries.
- Do not open the charger casing. Konponketa guztiak langile kualifikatuen esku utzi.
- Hornidura-kablea hondatuta badago, fabrikatzaileak, bere zerbitzu-agenteak edo antzeko gaikuntza duten pertsonek ordeztu beharko dute arriskurik ekiditeko.
3. Produktua amaitu daview
The NEDIS BACCH02 is a compact and automatic battery charger. It features a main unit with LED indicators and a voltage selection switch, connected to an AC power cable and DC output cables with battery clamps.

Image: The main unit of the NEDIS BACCH02 charger, showing the LED indicators for polarity and charge status, and the voltage hautaketa etengailua.
Osagaiak:
- Charger Unit: Main body containing the electronics.
- liburukiatage Hautaketa etengailua: Allows selection between 2V, 6V, and 12V charging modes.
- Polarity LED (Red): Indicates incorrect battery connection.
- Charge LED (Green): Indicates charging status (blinking for charging, solid for fully charged).
- Bateria Clamps: Red (+) and Black (-) for connecting to the battery terminals.
- AC Power kablea: Hormako entxufe batera konektatzeko.
4. Konfigurazioa
Jarraitu urrats hauek bateria-kargagailua konfiguratzeko:
- Ensure Charger is Unplugged: Before making any connections, ensure the charger's AC power cable is disconnected from the wall outlet.
- Bateriaren bolumena identifikatutage: Zehaztu boltage of the battery you intend to charge (2V, 6V, or 12V).
- Select Correct Voltage: Erabili liburukiatage selection switch on the charger unit to set the appropriate voltage (2V, 6V, or 12V) for your battery.
- Konektatu bateria Clamps:
- Konektatu gorria (+) bateria clamp bateriaren terminal positibora (+).
- Konektatu beltza (-) bateria clamp bateriaren terminal negatibora (-).
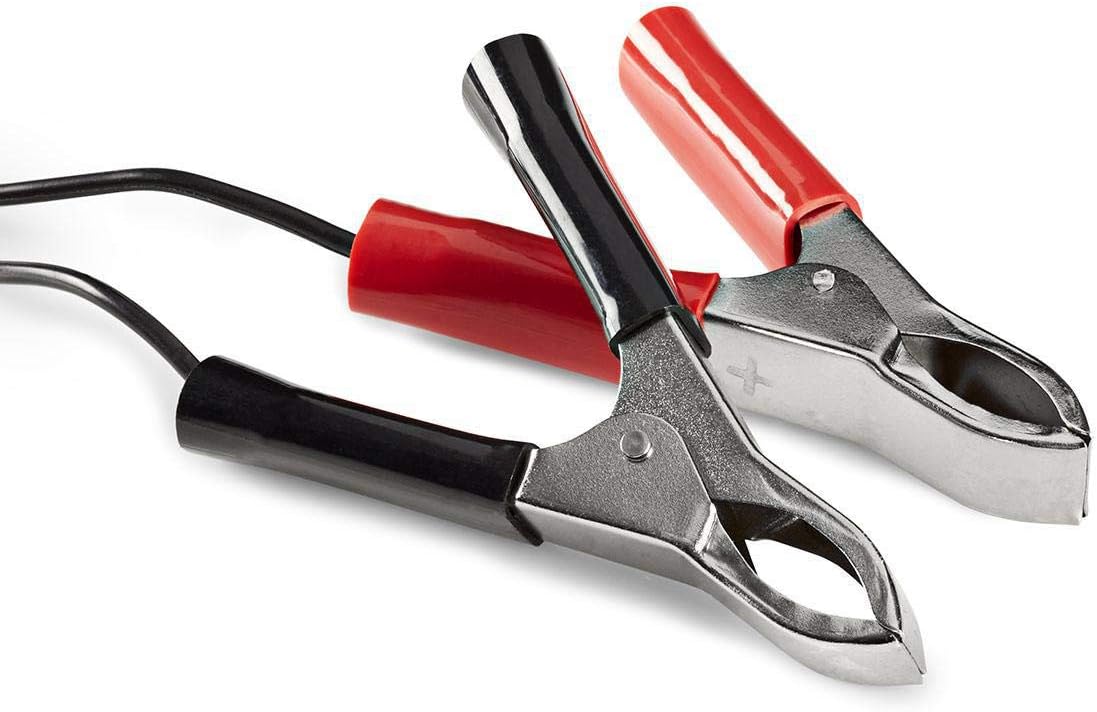
Image: Close-up of the red (positive) and black (negative) battery clamps.
- Konektatu energiara: Behin bateria clamps are securely connected, plug the charger's AC power cable into a standard 220V wall outlet.
5. Funtzionamendu-argibideak
The NEDIS BACCH02 is a fully automatic charger. Once connected to the battery and power, it will automatically begin the charging process.
Kargatzeko prozesua:
- Polaritatearen egiaztapena: If the red 'Polarity' LED illuminates, it indicates that the battery clamps are connected incorrectly. Immediately unplug the charger from the AC outlet and correct the connections before plugging it back in.
- Kargatzeko adierazpena: The green 'Charge' LED will blink when the battery is actively charging.
- Karga osoa adieraztea: When the battery is fully charged, the green 'Charge' LED will stop blinking and remain solid. The charger will then automatically switch to a maintenance (float) charge mode to keep the battery at optimal capacity without overcharging.
Kargagailua deskonektatzea:
To disconnect the charger after use:
- Unplug the charger's AC power cable from the wall outlet first.
- Disconnect the black (-) battery clamp from the negative terminal of the battery.
- Disconnect the red (+) battery clamp bateriaren terminal positibotik.
6. Mantentzea
Mantentze egokiak kargagailuaren iraupena bermatzen du:
- Keep the charger clean and dry. Wipe with a soft, dry cloth. Do not use abrasive cleaners or solvents.
- Gorde kargagailua leku fresko eta lehor batean erabiltzen ez duzunean.
- Regularly inspect the AC power cable, DC output cables, and battery clampKalte, higadura edo korrosio zantzurik dagoen egiaztatu. Beharrezkoa bada, ordezkatu.
7. Arazoak
Kargagailuarekin arazorik baduzu, kontsultatu hurrengo taula:
| Arazoa | Kausa posiblea | Irtenbidea |
|---|---|---|
| Charger not turning on / No LEDs lit | No power supply; Faulty outlet; Damaged cable. | Check AC power connection; Try a different outlet; Inspect cable for damage. |
| Red 'Polarity' LED is lit | Alderantzizko polaritate konexioa. | Unplug charger, correct battery clamp connections (red to +, black to -), then plug back in. |
| Green 'Charge' LED not blinking / Battery not charging | Battery too deeply discharged; Incorrect voltage selected; Damaged battery. | Ziurtatu liburu zuzenatage is selected; Battery may be beyond recovery; Have battery tested by a professional. |
| Charger unit feels excessively hot | Normal operation (some warmth is expected); Overload; Internal fault. | Ensure adequate ventilation; Disconnect immediately if excessively hot and contact support. |
8. Zehaztapenak
| Ezaugarri | Zehaztapena |
|---|---|
| Eredua | BACCH02 |
| Elementuaren eredu-zenbakia | 5412810284245 |
| Sarrera boltage | 220 V AC |
| Irteera boltage | 2V / 6V / 12V DC (selectable) |
| Suitable Battery Capacity | 2.2 Ah eta 10 Ah |
| Babes-eginbideak | Alderantzizko polaritatea, zirkuitu laburra |
| Produktuaren neurriak (L x W x H) | 7 x 10 x 6 cm |
| Elementuaren pisua | 680 gramo |
| Betetzea | CE |
| Kolorea | Beltza |
9. Bermea eta Laguntza
This product is covered by the standard warranty terms provided by the retailer at the time of purchase. For specific warranty details, please refer to your purchase documentation or contact the retailer directly.
For technical support, troubleshooting assistance beyond what is provided in this manual, or inquiries regarding parts and service, please contact your point of purchase or the manufacturer's customer service department.