1. Sarrera
Welcome to the user manual for your Modecom Oberon Pro Glass USB 3.0 White PC Case. This manual provides essential information for the proper installation, operation, and maintenance of your computer chassis. Please read this manual thoroughly before beginning assembly to ensure correct setup and to prevent damage to your components or the case itself.
Segurtasun neurriak:
- Deskonektatu beti korronte-iturria hormako entxufetik edozein osagai instalatu edo kendu aurretik.
- Kontuz ibili osagaiak deskarga elektrostatikoak (ESD) saihesteko. Kontuan hartu eskumuturreko uhal antiestatiko bat erabiltzea.
- Mantendu pieza txikiak eta ontziratzeko materialak haurren eskura ez dauden lekuetan.
- Berotu gehiegizko tenperatura saihesteko, ziurtatu kaxa inguruan aireztapen egokia dagoela.
2. Produktua amaitu daview
The Modecom Oberon Pro Glass is a stylish mid-tower PC case designed to house your computer components. It features a tempered glass side panel for showcasing your build and a clean white finish. The front panel includes convenient USB 3.0 ports for high-speed data transfer.
2.1. irudia: Aurre-eskuin view of the Modecom Oberon Pro Glass PC Case. This image displays the white exterior, the front panel with ventilation, and the top-mounted I/O ports including USB 3.0.
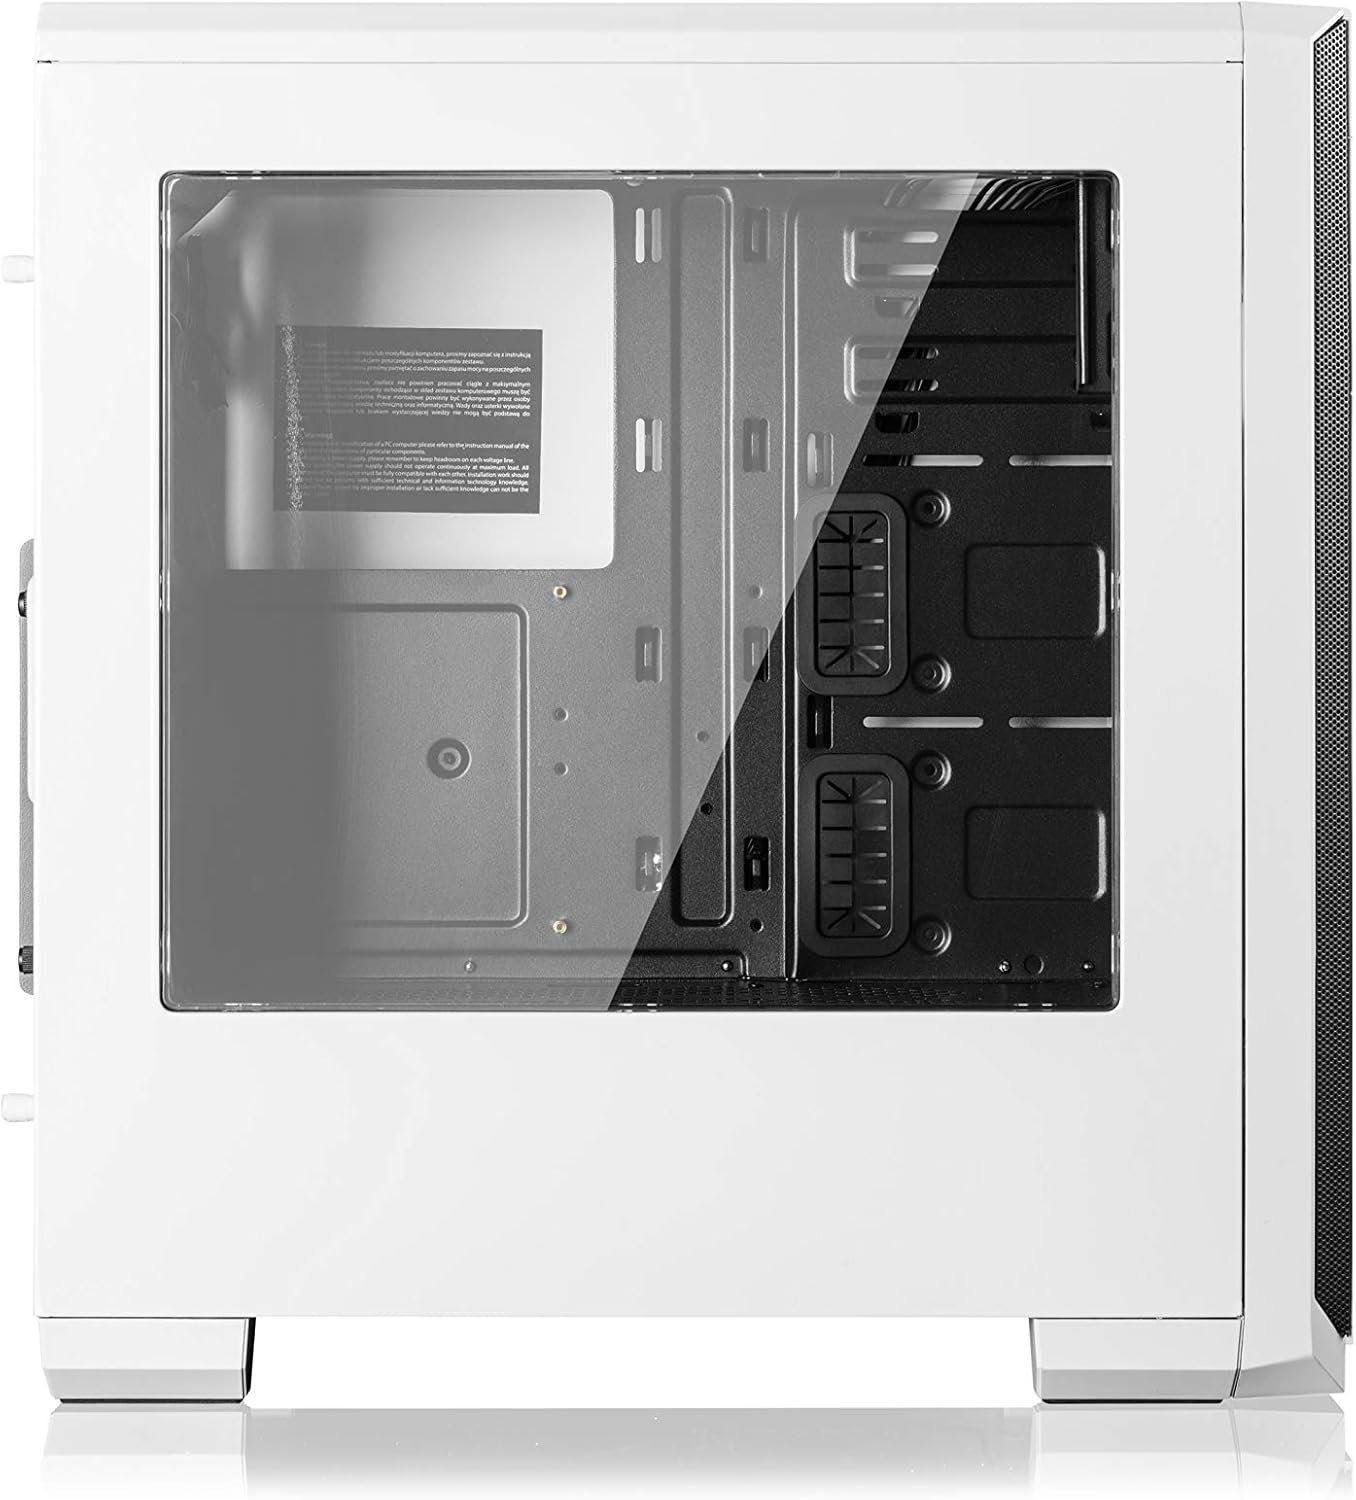
2.2. irudia: Aldea view of the Modecom Oberon Pro Glass PC Case, highlighting the tempered glass side panel. This panel allows for a clear view of the internal components when installed.
3. Konfigurazioa eta instalazioa
Follow these steps to install your computer components into the Modecom Oberon Pro Glass PC Case.
3.1. Despaketatzea eta Hasierako Ikuskapena
- Kontu handiz atera ordenagailuaren kaxa bere paketetik.
- Egiaztatu kaxa garraioan zehar kalterik dagoen. Jarri harremanetan zure saltzailearekin berehala kalterik aurkitzen baduzu.
- Remove the tempered glass side panel by unscrewing the thumb screws, typically located at the rear corners of the panel. Set the panel aside on a soft, flat surface to prevent scratches.
3.2. Plaka amaren instalazioa

3.1. irudia: Barrualdea view of the Modecom Oberon Pro Glass PC Case, showing the motherboard tray, drive bays, and cable management cutouts.
- Install the I/O shield that came with your motherboard into the designated opening at the rear of the case.
- Ensure the motherboard standoffs are correctly aligned for your motherboard's form factor (ATX, Micro ATX, or ITX). Install additional standoffs if necessary.
- Kontu handiz jarri plaka basea euskarrien gainean, torloju-zuloak lerrokatuz.
- Lotu plaka nagusia emandako torlojuekin. Ez estutu gehiegi.
3.3. Elikatze-iturriaren (PSU) instalazioa
- Position your PSU in the dedicated compartment, typically at the bottom rear of the case.
- Align the screw holes on the PSU with those on the case's rear panel.
- Secure the PSU with the provided screws.
3.4. Storage Drive Installation (HDD/SSD)
- Locate the 3.5" HDD bays and 2.5" SSD mounting points within the case.
- For 3.5" HDDs, slide the drive into a bay and secure it with screws or tool-less clips if available.
- For 2.5" SSDs, mount them to the designated trays or screw points, typically behind the motherboard tray or in specific drive cages.
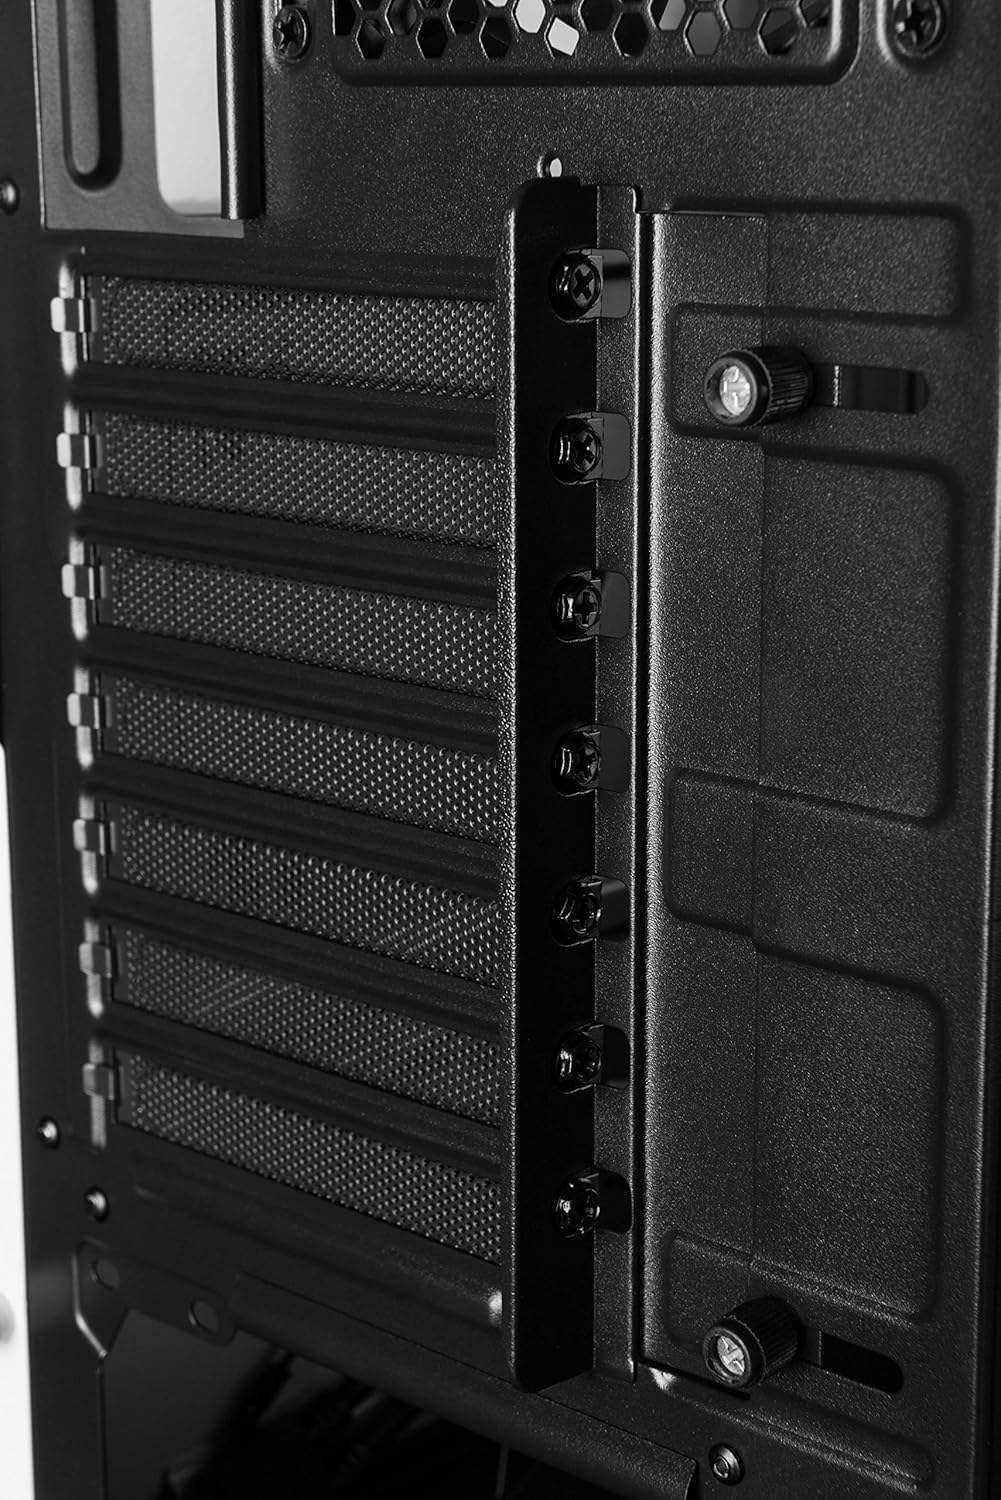
3.5. Expansion Card Installation (GPU, PCIe cards)

3.2. irudia: Atzeko barrualdea view of the Modecom Oberon Pro Glass PC Case, illustrating the expansion slot covers and thumb screws for securing PCIe cards.
- Remove the necessary expansion slot covers from the rear of the case, corresponding to your card's slot on the motherboard.
- Insert your expansion card (e.g., graphics card) firmly into the PCIe slot on the motherboard.
- Secure the card to the case with the provided screws or retention mechanism.
3.6. Front Panel Connector Installation
- Connect the front panel cables (USB 3.0, HD Audio, Power Switch, Reset Switch, Power LED, HDD LED) to their respective headers on your motherboard. Refer to your motherboard manual for exact pin layouts.
3.7. Kableen kudeaketa
- Erabili plaka basearen erretiluaren atzean dauden kableen bideratze-ebakiak eta lotura-puntuak kableak antolatzeko. Horrek aire-fluxua eta estetika hobetzen ditu.
- Osagai guztiak instalatu eta kableak antolatu ondoren, berriro jarri beira tenplatuaren alboko panela eta finkatu torlojuekin.
4. Funtzionamendua
After successful installation, your PC is ready for operation.
- Piztea: Sakatu kaxaren goiko E/S panelean dagoen pizteko botoia.
- Using Front Panel Ports: The front panel includes USB 3.0 ports and audio jacks. Connect your USB devices (e.g., flash drives, external hard drives) to the USB ports for data transfer. Plug your headphones or microphone into the respective audio jacks.
5. Mantentzea
Mantentze-lan erregularrak zure ordenagailuaren osagaien errendimendu optimoa eta iraupena bermatzen laguntzen du.
- Hauts-iragazkiak: Periodically remove and clean the dust filters (if present) to maintain good airflow and prevent dust buildup inside the case. Use compressed air or a soft brush.
- Kanpoko garbiketa: Wipe the exterior surfaces of the case with a soft, damp oihal. Saihestu garbitzaile edo disolbatzaile urratzaileak, akabera edo beira tenplatua kaltetu dezaketenak.
- Beira tenplatuko panela: Clean the tempered glass with a glass cleaner and a microfiber cloth to avoid streaks and scratches.
6. Arazoak
If you encounter issues, consider the following basic troubleshooting steps:
- Sistemak ez du pizten:
- Ziurtatu elikadura-iturria piztuta dagoela eta hormako entxufean behar bezala konektatuta dagoela.
- Egiaztatu aurrealdeko paneleko etengailuaren kablea plaka baseko goiburura behar bezala konektatuta dagoela.
- Egiaztatu plaka nagusira eta osagaietara doazen energia-konexio guztiak.
- USB atakak ez dira funtzionatzen:
- Confirm that the front panel USB 3.0 cable is securely connected to the corresponding header on the motherboard.
- USB gailu ezberdinekin probatu.
- Gehiegizko zarata:
- Identify the source of the noise (e.g., case fans, CPU cooler fan, GPU fan).
- Ensure all fans are free from obstructions and properly secured.
- Clean any dust buildup on fans.
For more complex issues, consult your component manuals or seek professional assistance.
7. Zehaztapenak
| Ezaugarri | Deskribapena |
|---|---|
| Marka | Modecom |
| Ereduaren izena | Oberon Pro Glass |
| Modelo zenbakia | AT-OBERON-PG-20-000000-0002 |
| Kasu mota | Erdiko Dorrea |
| Kolorea | Zuria |
| Materiala | Polikarbonatoa (PC) |
| Plaka Ama bateragarriak | ATX, Micro ATX, ITX |
| Aurreko I / O Portuak | USB 3.0, Audio In/Out |
| Elikatze Hornidura | W/O PSU (Power Supply Unit not included) |
| Elementuaren pisua | 2 kilogramo |
| Nazioarteko Artikulu Kodea | 05901885248370 |
8. Bermea eta Laguntza
Bermearen informazioa:
Modecom provides a guarantee of spare parts availability for 2 years from the date of purchase. This ensures that essential components for repair or replacement will be accessible within this period.
Bezeroarentzako laguntza:
For technical assistance, warranty claims, or further inquiries, please refer to the official Modecom website or contact your local retailer where the product was purchased. Ensure you have your product model number and proof of purchase available when seeking support.