1. Sarrera
This manual provides instructions for the safe and effective operation of the SMART SENSOR AS8906 Handheld NO2 Gas Leak Detector. This device is designed for detecting Nitrogen Dioxide (NO2) gas concentrations in various environments. Please read this manual thoroughly before using the product.
1.1 Segurtasun informazioa
- Always operate the device in accordance with the instructions provided.
- Do not attempt to modify or repair the device yourself. Refer to qualified personnel for service.
- Ensure the device is charged using the provided charging adapter and USB cable.
- Avoid exposing the device to extreme temperatures or humidity outside the specified operating conditions.
- This device is intended for professional use and should be handled with care.
2. Produktua amaitu daview
2.1 Paketearen edukia
Pakete estandarrak elementu hauek ditu:
- 1 x Nitrogen Dioxide Gas Monitor (AS8906)
- 1 x Erabiltzailearen eskuliburua
- 1 x Kargatzeko egokigailua
- 1 x USB kablea
- 1 x Hand Carry Case
- 1 x Kalibrazio Ziurtagiria
- 1 x CNEX Certificate
- 1 x Gift Paper Box

2.1. irudia: Pakete estandarraren edukia.
2.2 Gailuaren osagaiak
Familiarize yourself with the main components of the AS8906 detector:

2.2. irudia: Aurrealdea view and labeled components of the AS8906 detector.
- High Sensitive Sensor: Detects NO2 gas concentration.
- Sampling Pump Connecting Port: For attaching the optional sampling ponpa.
- LCD pantaila: Displays gas concentration, battery status, and other information.
- Behera botoia: Used for navigation and decreasing balioak.
- Gora botoia: Used for navigation and increasing balioak.
- Soinu alarma: Emits an audible alert when gas concentration exceeds set limits.
- Kargatzeko ataka: USB kargatzeko kablea konektatzeko.
- Alarma argia: Visual alert (LED) when gas concentration exceeds set limits.
- Pizteko / itzaltzeko botoia: Gailuaren potentzia kontrolatzen du.
- Sartu botoia: Hautapenak eta ezarpenak berresten ditu.
2.3 Neurriak
The AS8906 detector features a compact design for portability.
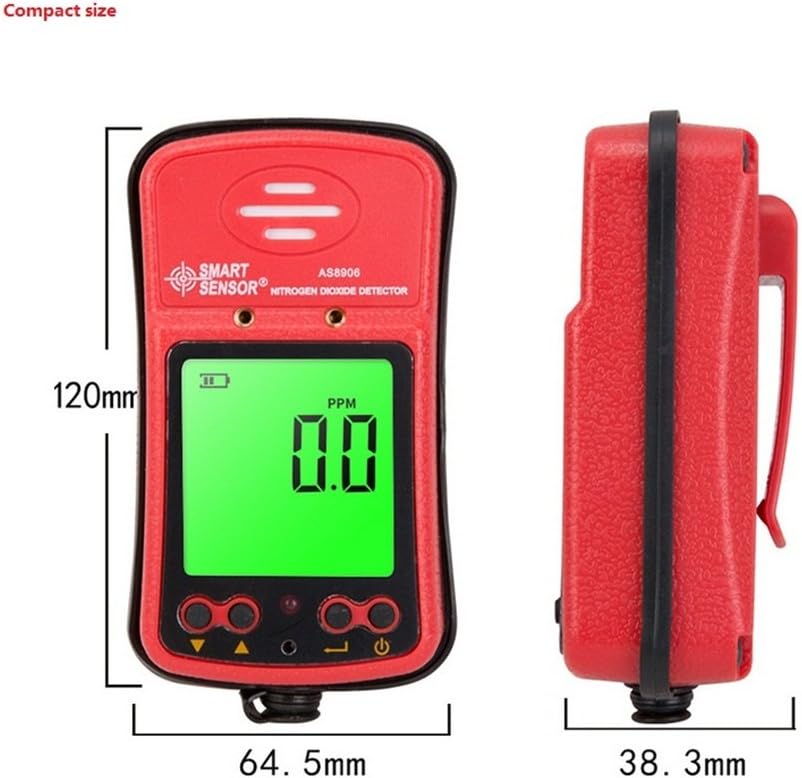
2.3. irudia: Gailuaren neurriak.
Neurriak: 120.2 mm (altuera) x 64.5 mm (zabalera) x 38.3 mm (sakonera).

Figure 2.4: The compact size allows for easy portability.
3. Konfigurazioa
3.1 Gailua kargatzea
The AS8906 detector is powered by a built-in 3.7V Li-battery. Before first use, ensure the device is fully charged.
- Bilatu kargatzeko ataka gailuaren behealdean.
- Konektatu emandako USB kablea kargatzeko atakara.
- Connect the other end of the USB cable to the charging adapter.
- Plug the charging adapter into a standard power outlet.
- The battery indicator on the LCD screen will show charging status. A full charge typically provides up to 12 hours of continuous operation.
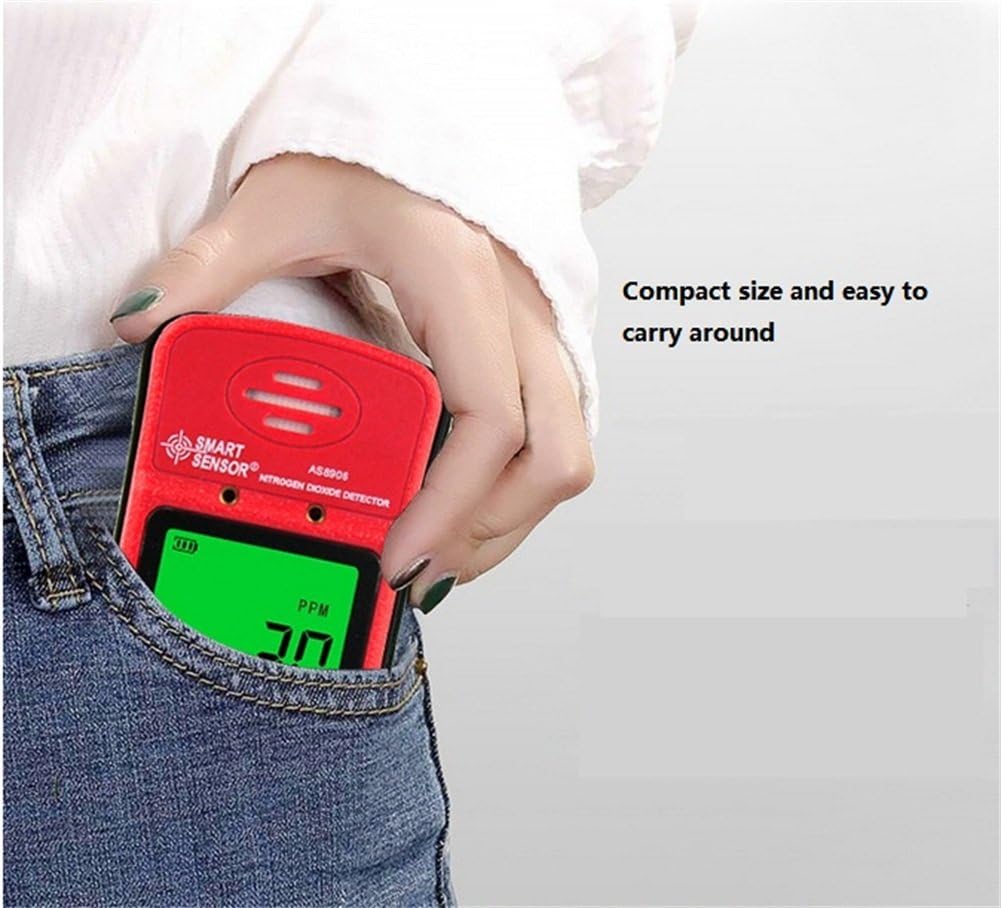
Figure 3.1: Charging port location.

Figure 3.2: Gas detector with recharge adapter.
3.2 S konektatzeaampling Pump (Optional)
The optional sampling pump (AS8930) is designed to assist the gas detector in environments with limited access or poor air circulation. It does not operate independently and requires power from the gas detector.
- Lerrokatu sampling pump with the gas detector's sampling pump connecting port.
- Securely attach the sampling pump to the gas detector using the two closed-type screws. Ensure a tight connection to avoid poor contact.
- Connect the soft rubber tube (500mm long) to the nozzle of the sampling ponpa.
- Garrantzitsua: Do not connect any other voltage power supply to the sampling pump to prevent damage.
3.3. irudia: Sampling pump and accessories.
4. Funtzionamendua
4.1 Piztu/Itzaltzea
- Pizteko: Eduki sakatuta Piztu/Itzali botoia until the LCD screen illuminates. The device will perform a self-test.
- Itzaltzeko: Eduki sakatuta Piztu/Itzali botoia pantaila itzali arte.
4.2 Pantaila ulertzea
The high-density digital LCD screen displays real-time gas concentration values, battery status, and other operational indicators. The backlight function allows for use in dark areas.
- PPM: Indicates parts per million, the unit for gas concentration.
- Bateria ikonoa: Shows the current battery charge level.
- Alarma adierazleak: Visual cues for alarm status.
4.3 Alarma-funtzioak
The device features high and low alarm functions with three alert methods: sound, light, and vibration. Alarm values are adjustable.
- When the gas concentration reaches a preset high or low alarm value, the device will activate its sound, light, and vibration alarms.
- The alarm sound can reach up to 80dB.
4.4 Adjusting Alarm Values
Refer to the on-screen menu for adjusting high and low alarm thresholds. Use the Up eta Behera buttons to navigate and change values, and the Sartu botoia berresteko.
4.5 Using the Sampling Pump
sampling pump is connected, it will draw air into the detector, allowing for gas concentration measurement in remote or confined spaces. The air flow velocity is approximately 0.5 cubic inches per hour, with a maximum gas sample collecting distance of about 50 feet.
5. Mantentzea
5.1 Bateria zaintzea
- Recharge the device when the battery indicator shows low power to ensure continuous operation.
- Saihestu bateria maiz erabat deskargatzea, haren iraupena luzatzeko.
- Gailua denbora luzez gordetzen baduzu, kargatu % 50era gutxi gorabehera eta berriro kargatu hilabete batzuk behin.
5.2 Garbiketa
- Garbitu gailuaren kanpoaldea leun batekin, damp oihal.
- Ez erabili garbitzaile edo disolbatzaile urratzailerik, hauek kaltetu baitezakete c-ri.asing edo pantaila.
- Ensure no liquids enter the sensor area or charging port.
5.3 Kalibrazioa
The device comes with a calibration certificate. For optimal accuracy and compliance, periodic professional calibration is recommended. Refer to the manufacturer or authorized service centers for calibration services.
6. Arazoak
If you encounter issues with your AS8906 detector, refer to the following common problems and solutions:
| Arazoa | Kausa posiblea | Irtenbidea |
|---|---|---|
| Gailua ez da pizten. | Bateria baxua edo agortuta. | Charge the device using the provided adapter and USB cable. |
| Irakurketa okerrak. | Sensor contamination or need for calibration. | Ensure the sensor area is clean. Consider professional calibration if readings remain inconsistent. |
| Alarm not sounding/lighting/vibrating. | Alarm settings configured incorrectly or disabled. | Check alarm settings in the device menu. Ensure volume and vibration are enabled. |
| Sampling pump not working. | Poor connection to the detector or pump malfunction. | Ziurtatu sampling pump is securely attached with screws. Verify the detector is powered on. |
If the problem persists after attempting these solutions, contact customer support for further assistance.
7. Zehaztapenak
7.1 Detektagailuaren zehaztapenak
| Ezaugarri | Xehetasuna |
|---|---|
| Marka | SENTSORE ADIMUNA |
| Eredua | AS8906 |
| Gas Mota | Nitrogeno dioxidoa (NO2) |
| Neurketa-eremua | 0~20 ppm |
| Ebazpena | 0.1 ppm |
| Lan-printzipioa | Sentsore elektrokimikoa |
| Alarma mota | Sound, Light, Vibration (adjustable values) |
| Alarma Soinu Maila | Gehienez 80 dB |
| Funtzionamendu-tenperatura | -10~50°C |
| Funtzionamenduaren hezetasuna | 15~95% RH (standard) |
| Energia iturria | 3.7V Li-battery (Built-in) |
| Laneko Korrontea | 16mA |
| Etengabeko funtzionamendua | Gutxi gorabehera 12 ordu (karga osoa) |
| Materiala | ABS plastikoa |
| Pisu garbia | 200 g (7.1 ontza) |
| Neurriak | 120.2 x 64.5 x 38.3 mm |
| Ziurtagiriak | JJG693; JJG695: JJG915 and GB3836 series anti-explosion standard, CNEX |
7.2 Sampling Pump Specifications (Optional Accessory)
| Ezaugarri | Xehetasuna |
|---|---|
| Bolumen eragileatage Barrutia | DC 2.2V-3.2V |
| Laneko Korrontea | <280mA |
| Toberaren diametroa | 2.5 mm |
| Zarata | <75 dB |
| Neurriak | 100.8 x 62.3 x 50 mm |
| Max Sample Distance | Gutxi gorabehera. 50 oin |
| Air Flow Velocity | Approx. 0.5 cubic inches per hour |
8. Bermea eta Laguntza
8.1 Bermearen informazioa
Your SMART SENSOR AS8906 Handheld NO2 Gas Leak Detector comes with a warranty. Please refer to the included Warranty Card in your package for specific terms and conditions, including warranty period and coverage details.
8.2 Bezeroarentzako laguntza
For technical assistance, troubleshooting beyond this manual, or warranty claims, please contact SMART SENSOR customer support. Contact information can typically be found on the product packaging, the warranty card, or the official SMART SENSOR webgunea.