1. Sarrera
Thank you for choosing the FLYLINKTECH Portable Car Battery Jump Starter. This device is designed to provide a reliable and safe solution for jump-starting 12V vehicles with up to 5.0L gas or 4.0L diesel engines. It also functions as a portable power bank and features an integrated LED flashlight. Please read this manual thoroughly before use to ensure proper operation and safety.

Image: The FLYLINKTECH Portable Car Battery Jump Starter, showing the main unit, smart clamps, and charging cables.
2. Segurtasun informazioa
OHARRA: Irakurri segurtasun-abisu eta argibide guztiak produktu hau erabili aurretik. Abisu eta argibideei jarraitzen ez bazaie deskarga elektrikoa, sua eta/edo lesio larriak gerta daitezke.
- Do not attempt to jump-start vehicles with engines larger than specified (5.0L gas or 4.0L diesel).
- Ez erabili abiarazle elektrikoa bateria itxita badago.amps edo kableak hondatuta daude.
- Ziurtatu polaritate egokia duen konexioa: giltza gorriaamp positiboa (+), KL beltzaamp negatibora (-). Alderantzizko polaritateak kalteak eragin ditzake.
- Mantendu haurren eskura.
- Ez jarri produktua euria edo elurragatik.
- Ez desmuntatu unitatea. Mantendu konponketa guztiak langile kualifikatuen esku.
- Saihestu zirkuitulaburra cl-anamps.
- The device features intelligent chip protection against overcurrent, short-circuit, overload, overvoltage, overcharge, over-discharge, and reverse polarity. However, always exercise caution.
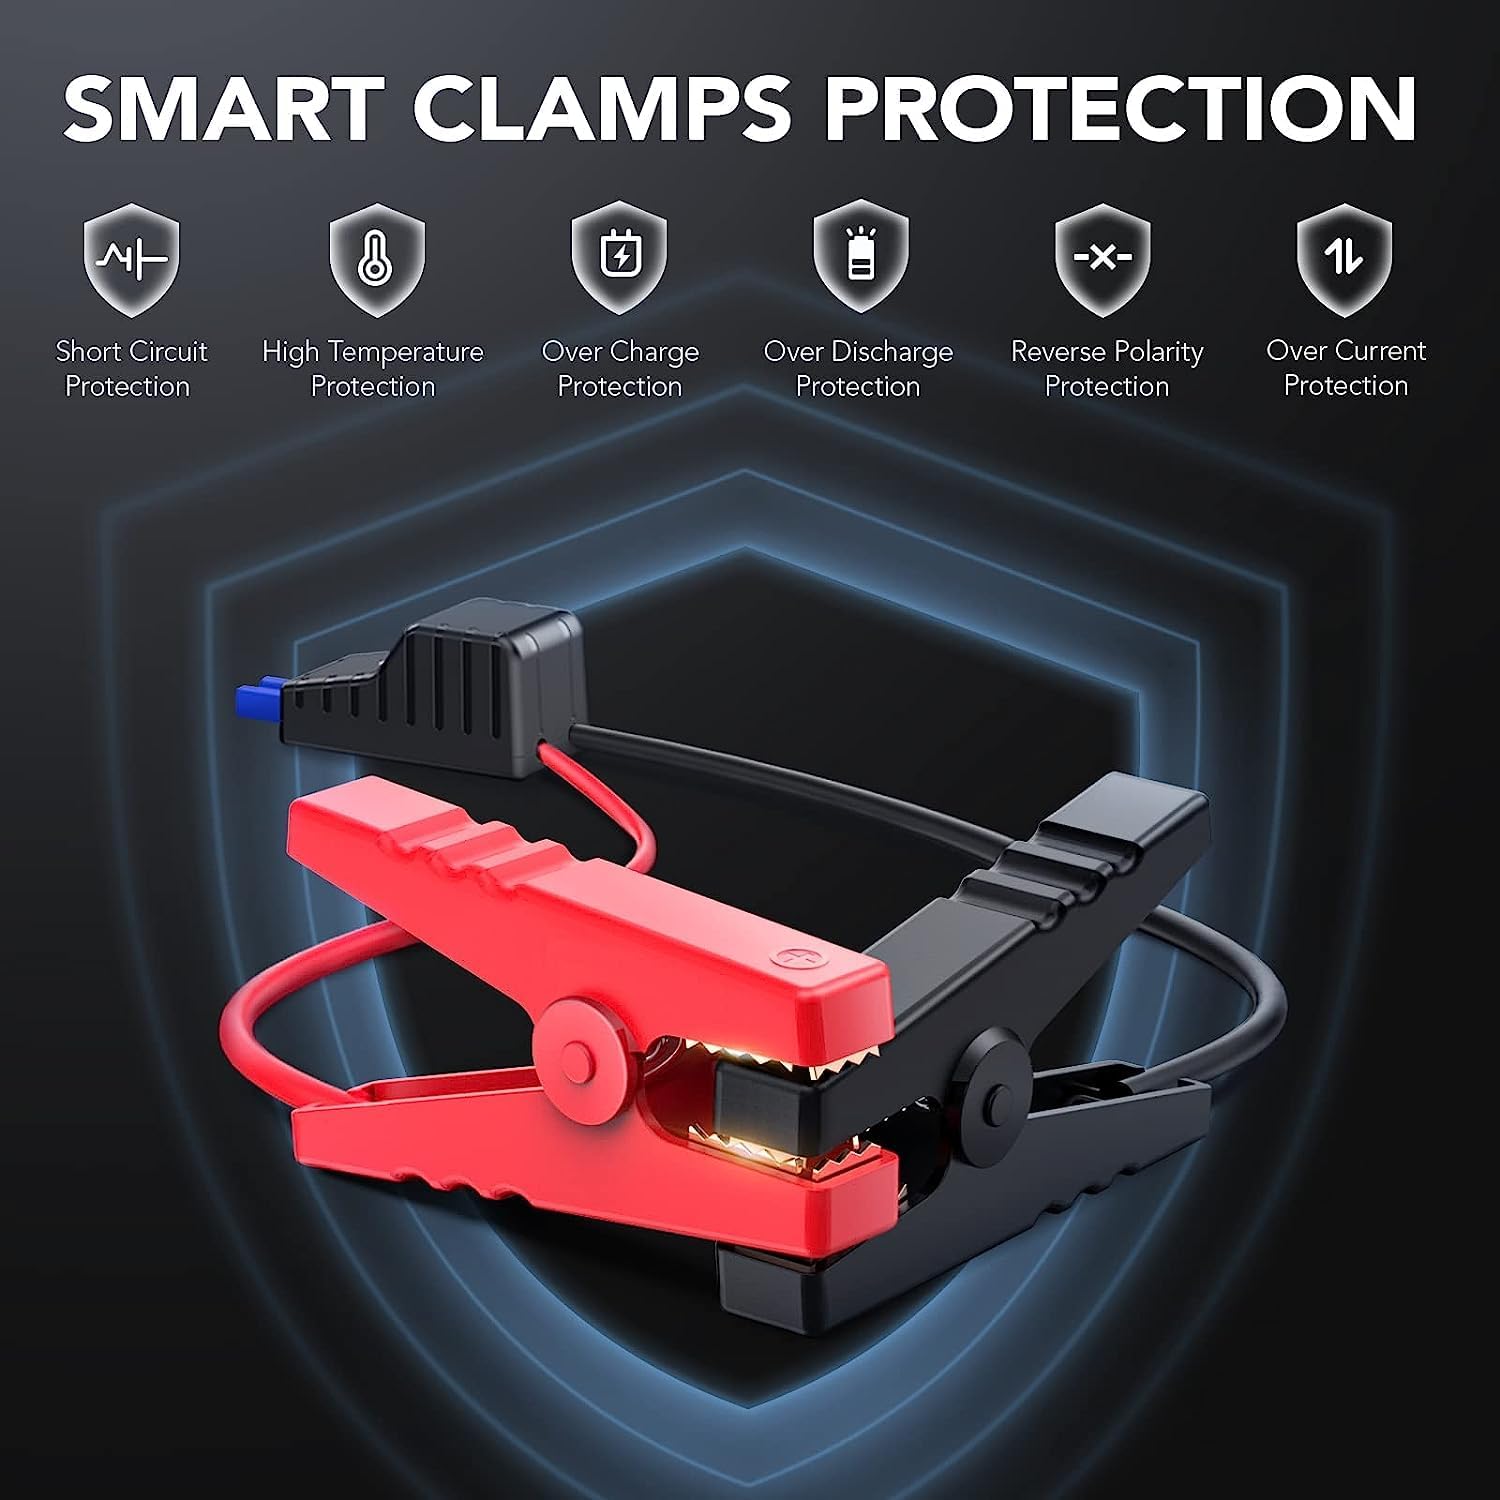
Image: Illustration of the smart clamps and their integrated safety protection features.
3. Paketearen edukia
Egiaztatu elementu guztiak zure paketean daudela:
- FLYLINKTECH Jump Starter Unit
- Smart Jumper Cables (with Red and Black clamps)
- Mikro USB kargatzeko kablea
- Erabiltzailearen eskuliburua
- EC5 Cigarette Lighter Adapter (Optional, may vary by package)

Irudia: Produktuaren paketean sartutako osagai guztiak.
4. Produktua amaitu daview
Familiarize yourself with the components of your jump starter:

Image: Detailed diagram labeling the various ports, buttons, and indicators on the jump starter unit and its clamps.
- Pizteko botoia: Unitatea piztu/itzali eta linterna moduen artean txandakatzen du.
- LED adierazle argiak: Show the battery charge level.
- Linterna: Integrated LED light with multiple modes.
- Mikro USB sarrera: Abiarazle-unitatea kargatzeko.
- USB irteera: For charging external devices (e.g., smartphones, tablets).
- Auto Jump Port: Connects to the smart jumper cables.
- Kable adimendunak: Red (+) and Black (-) clamps with built-in safety features.
5. Abiarazle elektrikoa kargatzea
Before first use, fully charge the jump starter. It is recommended to recharge the unit every 3-6 months to maintain battery health, even if not in use.
- Connect the Micro USB charging cable to the Micro USB Input port on the jump starter.
- Connect the other end of the USB cable to a 5V/2A USB wall adapter (not included) or a car charger.
- The LED indicator lights will illuminate and flash to show the charging progress. All lights will be solid when fully charged.
6. Funtzionamendu-argibideak
6.1. Ibilgailu bat martxan jartzea
Ensure the jump starter is at least 75% charged (3 LED lights illuminated) before attempting to jump-start a vehicle.

Image: The jump starter connected to a vehicle battery, ready for use.

Image: Visual guide for vehicle compatibility based on engine displacement.
- Connect Smart Clamps: Insert the blue plug of the smart jumper cables into the Auto Jump Port on the jump starter. Ensure a firm connection.
- Attach to Car Battery: Konektatu gorria (+) clamp autoaren bateriaren terminal positiboari eta (-) cl beltzariamp to the negative terminal. The smart clamps will indicate a successful connection (e.g., a green light). If an error is detected (e.g., reverse polarity), an alarm may sound or a red light may appear.
- Abiarazi ibilgailua: Behin clamps are correctly attached and the indicator is green, start your vehicle.
- Kendu Clamps: Ibilgailua martxan jarri ondoren, kendu berehala giltza adimenduna.amps from the car battery, then disconnect the smart clamps from the jump starter unit.

Image: Step-by-step visual instructions for jump starting a vehicle.
6.2. Energia-banku eramangarri gisa erabiltzea
The jump starter can charge various USB-powered devices.
- Konektatu zure gailuaren USB kargatzeko kablea abiarazlearen USB irteera atakara.
- Abiarazleak automatikoki hasiko da zure gailua kargatzen.
- Gailuaren kargatze-egoera kontrolatu.

Image: The jump starter functioning as a power bank, charging a smartphone and a tablet.
6.3. LED linterna moduak
LED linterna integratuak hiru modu ditu:
- Normal Light: Pizteko, sakatu pizteko botoia behin.
- SOS modua: Press the power button a second time to activate the SOS signal.
- Estroboko argia: Press the power button a third time for a flashing strobe light.
- Press the power button a fourth time to turn off the flashlight.

Image: The jump starter's LED flashlight in use, highlighting its three modes.
7. Mantentzea eta biltegiratzea
- Garbiketa: Garbitu unitatea zapi lehor eta leun batekin. Ez erabili produktu kimiko gogorrik edo material urratzailerik.
- Kargatzen: Recharge the unit every 3-6 months to prevent deep discharge and prolong battery life.
- Biltegiratzea: Store the jump starter in a cool, dry place, away from direct sunlight and extreme temperatures.
- Tenperatura tartea: The device is designed to operate and be stored within a temperature range of -20°C to 60°C (-4°F to 140°F).
- Uraren eta hautsaren erresistentzia: The unit has an IP67 rating, making it resistant to water and dust. However, avoid prolonged submersion.
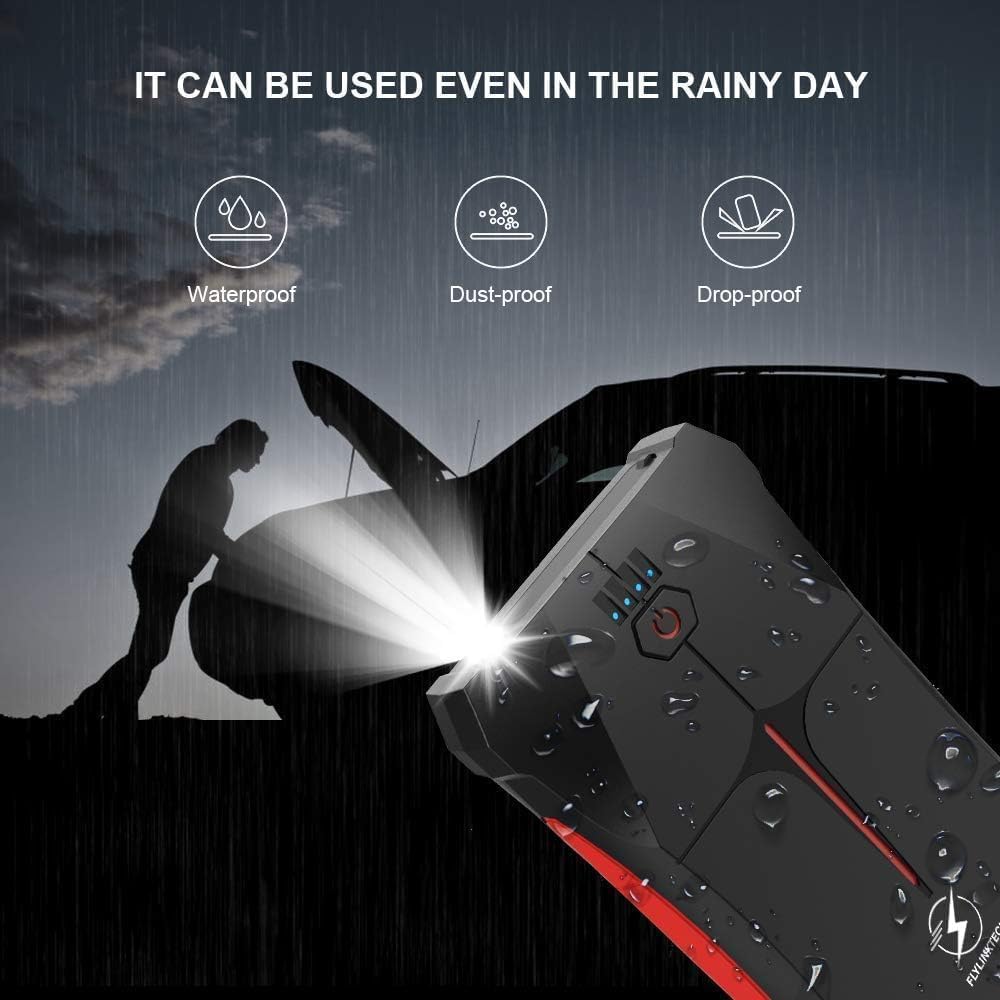
Image: The jump starter demonstrating its weather-resistant properties (waterproof, dust-proof, drop-proof).

Image: The jump starter's operational temperature range from -20°C to 60°C.
8. Arazoak
| Arazoa | Kausa posiblea | Irtenbidea |
|---|---|---|
| Abiarazle elektrikoak ez du pizten. | Bateria guztiz deskargatuta dago. | Kargatu abiarazlea guztiz. |
| Ibilgailua ez da martxan jartzen. | Okerra clamp konexioa. | Ziurtatu giltza gorriaamp is on positive (+), black on negative (-). Check smart clamp adierazlea. |
| Abiarazlearen bateria baxua da. | Jarri jauziaren abiarazlea. | |
| Ibilgailuaren bateria larriki kaltetuta dago. | Kontsultatu mekanikari profesional bati. | |
| Smart clamps show error/alarm. | Reverse polarity or short circuit. | Disconnect immediately and re-attach clampbehar bezala. |
| USB gailua ez da kargatzen. | Abiarazlearen bateria baxua da. | Jarri jauziaren abiarazlea. |
| USB cable or device fault. | Saiatu beste USB kable edo gailu batekin. |
9. Zehaztapenak
| Ezaugarri | Xehetasuna |
|---|---|
| Eredua | CF200 |
| Goiko Korronte | 800A |
| Bateria Edukiera | 13200mAh (Lithium-polymer/Lithium-ion) |
| Hasi Voltage | 12V |
| Gas-motorren balorazioa | Gehienez 5.0 l |
| Diesel Motorren Balorazioa | Gehienez 4.0 l |
| USB irteera | 5V/2.1A |
| Mikro USB sarrera | 5V/2A |
| Funtzionamendu-tenperatura | -20 °C eta 60 °C (-4 °F eta 140 °F) |
| Neurriak (L x W x H) | 15.8 x 8.5 x 2 cm (6.2 x 3.3 x 0.8 hazbete) |
| Pisua | 370 g (0.82 lb) |
| Uraren/Hautsaren Erresistentzia | IP67 |
| Ziurtagiriak | CE |
10. Bermea eta Laguntza
FLYLINKTECH provides a 3-year warranty for this product from the date of purchase. This warranty covers manufacturing defects and workmanship under normal use. It does not cover damage caused by misuse, accidents, unauthorized modifications, or natural disasters.
For warranty claims, technical support, or any questions regarding your product, please contact FLYLINKTECH customer service. Please have your purchase receipt and product model number (CF200) ready when contacting support.
Harremanetarako informazioa:
- Posta elektronikoa: support@flylinktech.hk
- Webgunea: www.flylinktech.com (Please check for the most current contact details)
Note: No official product videos were found in the provided data for embedding in this manual.


