Sarrera
This manual provides detailed instructions for the installation, operation, and maintenance of your Orion Cobalt Series CBA1500.2 2-Channel Class A/B Car Audio Amplifier. To ensure optimal performance and longevity of your amplifier, please read this manual thoroughly before installation and use. Keep this manual for future reference.
Segurtasun Informazioa
KONTUZ: Produktu honek Kaliforniako estatuak minbizia eta jaiotzako akatsak edo ugalketa beste kalteak eragiten dituela ezagutzen dituen produktu kimikoak ditu.
- Deskonektatu beti ibilgailuaren bateriaren terminal negatiboa edozein instalazio hasi aurretik.
- Ziurtatu kableatu guztia behar bezala bideratuta eta finkatuta dagoela kalteak edo zirkuitulaburrak saihesteko.
- Use appropriate gauge wiring for power and ground connections to handle the amplifier's current draw.
- Instalatu ampLikidorea gehiegi berotzea saihesteko aireztapen egokia ahalbidetzen duen leku batean.
- Saihestu muntatzea ampLifter-a hezetasun edo bibrazio gehiegizkoen eraginpean dauden eremuetan.
- If you are unsure about any part of the installation process, seek professional assistance.
Produktua amaituview
The Orion Cobalt Series CBA1500.2 is a high-efficiency 2-channel Class A/B amplifier designed for car audio systems, delivering up to 1500 Watts of output power. It features adjustable low/high pass filters, bass boost, and a MOSFET power supply for reliable performance.
AmpOsagaiak bizigarri
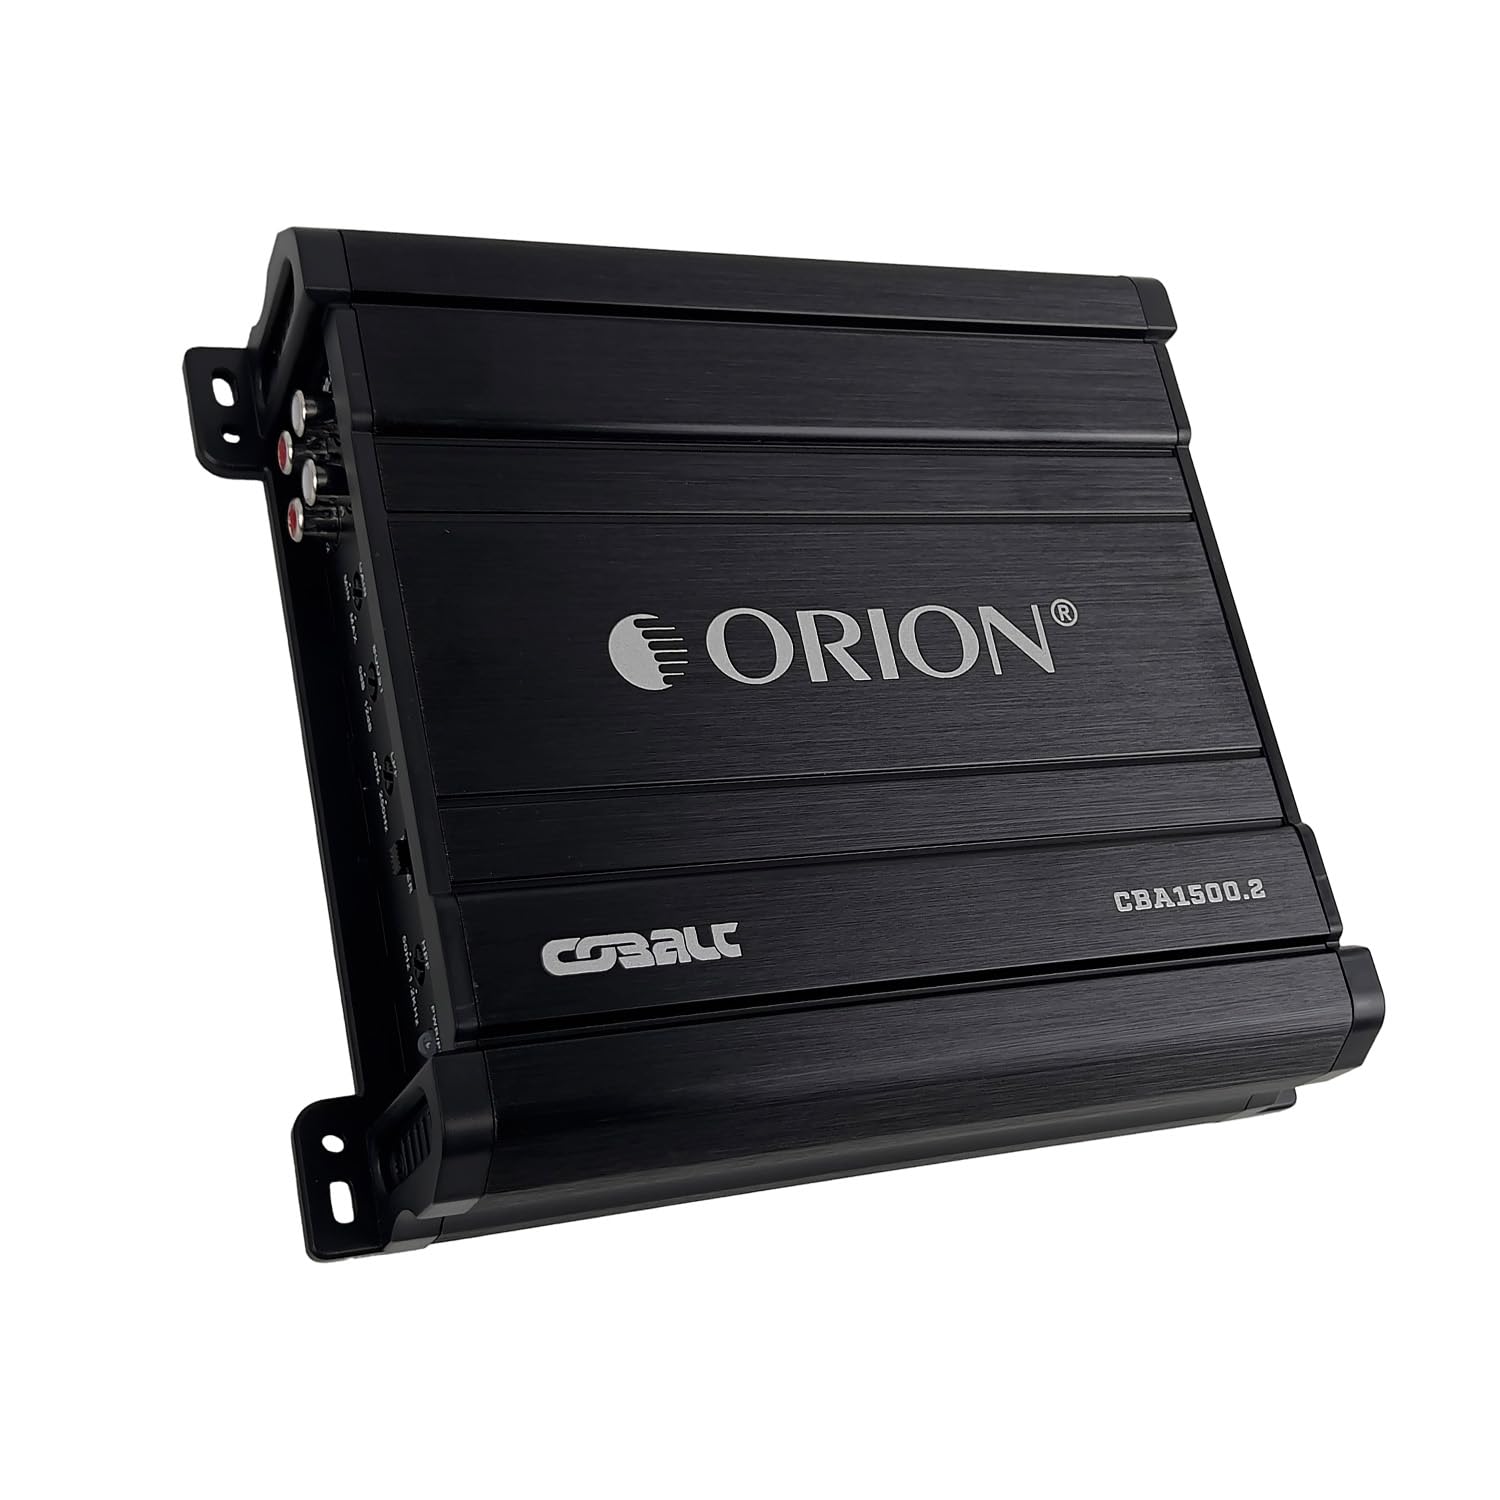
1. irudia: Goiena view of the Orion Cobalt Series CBA1500.2 ampbizitzailea, erakustaldiaasing the brand logo and model number.

2. irudia: Atzekoa view ren amplifier, showing the power, ground, remote, and speaker output terminals, along with the fuse.
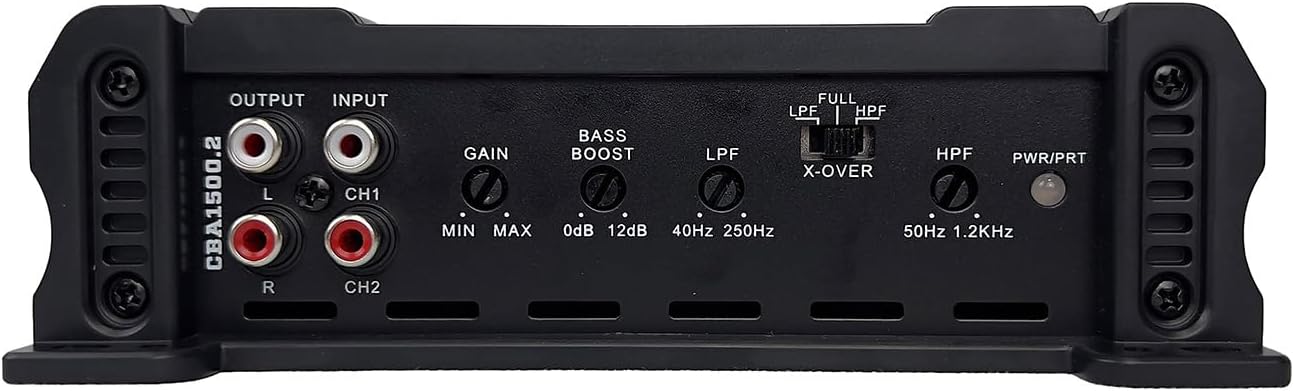
3. irudia: Aurrealdea view ren amplifier's control panel, featuring RCA inputs/outputs, gain, bass boost, LPF, X-OVER, HPF, and power/protection indicators.
Barne Zirkuitua
1. bideoa: An official video from ORION CAR AUDIO demonstrating the internal components and features of the Orion Cobalt CBA1500.2 amplifier, highlighting its MOSFET power supply and precision engineering.
Konfigurazioa eta instalazioa
Instalazio egokia ezinbestekoa da zure errendimendurako eta segurtasunerako ampbizigarria. Jarraitu urrats hauek arretaz.
- Muntatzeko kokapena: Choose a dry, well-ventilated location for the amplifier. Ensure it is securely mounted to prevent movement during vehicle operation. Avoid mounting directly on carpet or in enclosed spaces without airflow.
- Potentzia kableatua: Run a power cable (minimum 8-gauge, preferably 4-gauge for optimal performance) directly from the positive terminal of the vehicle's battery to the amplifier's +12V terminal. Install an in-line fuse holder within 18 inches of the battery.
- Ground Wiring: Connect a ground cable (same gauge as the power cable) from the ampKonektatu kargagailuaren GND terminala ibilgailuaren xasiseko gainazal metaliko garbi eta margotu gabe batera. Ziurtatu konexio elektriko sendoa dagoela.
- Urruneko piztea: Connect a remote turn-on wire (18-gauge) from your head unit's remote output to the ampLikidatzailearen REM terminala. Hari honek seinalea ematen dio ampunitate nagusiarekin piztu eta itzaltzeko lifagailua.
- Audio sarrera (RCA): Connect RCA cables from your head unit's RCA outputs to the amplifier's INPUT (CH1 and CH2) terminals.
- Bozgorailu konexioak: Konektatu zure bozgorailuak amplifier's speaker output terminals (CH1 and CH2). Ensure correct polarity (+ to + and - to -). This amplifier is 2 Ohm stable. For bridged operation, refer to the markings on the amplifier's speaker terminal block.
- Hasierako ezarpenak: Before powering on, set the GAIN control to minimum, BASS BOOST to 0dB, and the X-OVER switch to the desired setting (LPF, HPF, or FULL).
- Berriro konektatu bateria: Once all connections are secure and verified, reconnect the vehicle's battery negative terminal.
Funtzionamendu-argibideak
After successful installation, follow these steps to configure and operate your ampbiziagoa.
- Piztu: Piztu ibilgailuaren piztea eta unitate nagusia. amplifier's power indicator (PWR) should illuminate. If the protection indicator (PRT) illuminates, refer to the troubleshooting section.
- Gain Control: Handitu poliki-poliki IRABAZIA kontrola amplifier while playing music at a moderate volume from your head unit. Adjust the gain until you hear clear, undistorted sound. Avoid setting the gain too high, as this can lead to distortion and speaker damage.
- Baxu Boost: The BASS BOOST control allows you to enhance low frequencies. Start at 0dB and gradually increase to achieve desired bass response. Excessive bass boost can cause distortion.
- Crossover ezarpenak:
- LPF (pasa baxuko iragazkia): Use this setting for subwoofers. It allows only frequencies below the set point (40Hz-250Hz) to pass through.
- HPF (Pasa handiko iragazkia): Use this setting for full-range speakers or tweeters. It allows only frequencies above the set point (50Hz-1.2KHz) to pass through.
- FULL (Full Range): This setting allows all frequencies to pass through the ampbiziagoa.
Mantentzea
Regular maintenance ensures your amplifier continues to perform reliably.
- Garbiketa: Aldian-aldian garbitu kanpoaldea amplifier with a soft, dry cloth. Do not use harsh chemicals or abrasive cleaners. Ensure ventilation openings are free from dust and debris.
- Konexioaren egiaztapena: Annually, inspect all power, ground, remote, RCA, and speaker connections. Ensure they are tight and free from corrosion.
- Fusiblearen ordezkapena: bada amplifier does not power on, check the fuse located on the amplifier's rear panel (Figure 2). Replace with a fuse of the exact same type and rating.
Arazoak konpontzea
Zurekin arazoak badituzu amplifier, kontsultatu beheko taula arazo eta irtenbide ohikoenak ikusteko.
| Arazoa | Kausa posiblea | Irtenbidea |
|---|---|---|
| AmpLikidorea ez da pizten (PWR LEDa itzalita) | No power, ground, or remote signal; blown fuse. | Check all power, ground, and remote connections. Verify the in-line fuse near the battery and the fuse on the ampbiziagoa. |
| Amplifier turns on but no sound | RCA cables disconnected/damaged; speaker wires disconnected/shorted; gain too low. | Check RCA connections from head unit. Inspect speaker wiring for shorts or disconnections. Increase gain slowly. |
| Soinu distortsionatua | Gain set too high; bass boost too high; improper crossover settings; damaged speakers. | Reduce gain and/or bass boost. Adjust crossover settings. Test with different speakers if possible. |
| AmpLikidorea gehiegi berotzen da (PRT LEDa piztuta) | Insufficient ventilation; impedance too low; prolonged high-volume use. | Ziurtatu aireztapen egokia inguruan amplifier. Verify speaker impedance is within the amplifier's stable range (2 Ohm minimum). Reduce volume or allow amphozteko lifikatzailea. |
| Noise/Hissing sound | Poor grounding; RCA cable interference; engine noise. | Ensure ground connection is clean and secure. Reroute RCA cables away from power wires. Consider an RCA filter if noise persists. |
Zehaztapenak
Technical specifications for the Orion Cobalt Series CBA1500.2 ampbiziagoa.
| Ezaugarri | Zehaztapena |
|---|---|
| Modelo zenbakia | COBALT CBT-1500.2 |
| Kanal kopurua | 2 |
| Irteerako potentzia (gehienez) | 1500 Watt |
| RMS potentzia @ 2 ohmio | 125W x 2 |
| RMS potentzia @ 4 ohmio | 60W x 2 |
| Maiztasun Erantzuna | 10Hz - 30KHz |
| Bass Boost | 0dB - 12dB |
| Behe pasako iragazkia (LPF) | 40 Hz - 250 Hz |
| Pasa handiko iragazkia (HPF) | 50Hz - 1.2KHz |
| Gutxieneko Hornidura Voltage | 9 Volt |
| Gehienezko hornidura boltage | 16 voltio (DC) |
| Neurriak (L x W x H) | 10 x 8 x 3 hazbete |
| Elementuaren pisua | 3.21 kilo |
| Materiala | Aluminioa edo altzairua |
| Elikatze-hornidura mota | MOSFET |
Bermea eta laguntza
For warranty information, technical support, or service inquiries regarding your Orion Cobalt Series CBA1500.2 amplifier, please contact ORION CAR AUDIO directly. Refer to the official ORION webwebgunean edo erosketa-dokumentazioan, azken harremanetarako datuak eta berme-baldintzak ikusteko.
Fabrikatzailea: ORION
Saltzailea: ORION CAR AUDIO